What is handlebar reach?
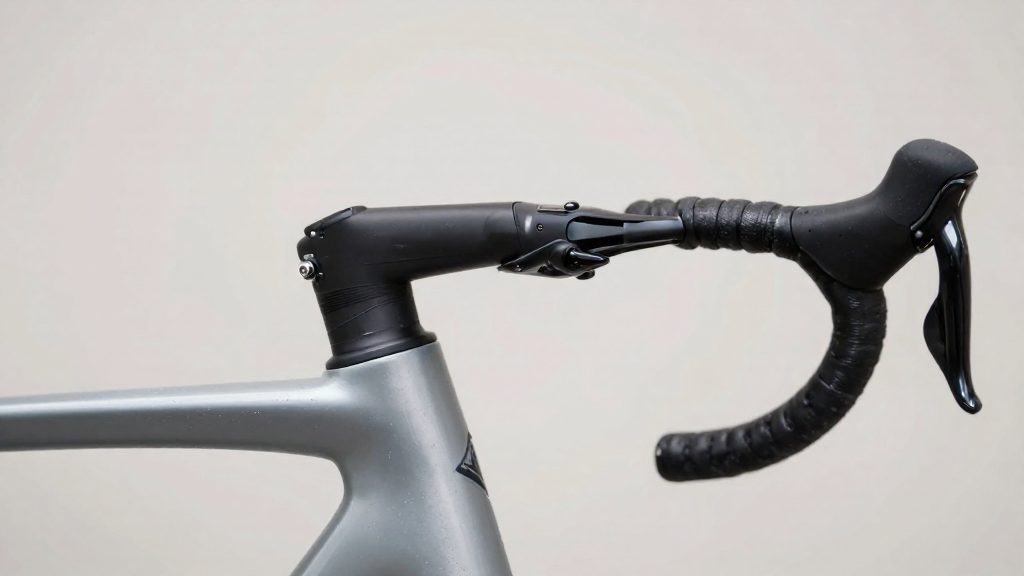
Handlebar reach is the horizontal distance from the centre of the stem-clamp area to the point where the shifters and brake levers sit, according to BikeRadar (2024-12-05). It sets how far your hands sit relative to the stem, which in turn determines how far your arms extend. Always starting the measurement at the stem clamp gives a consistent reference across bars of different shapes, while the end point depends on the bar type.
What is handlebar reach?
Reach is measured from a fixed point at the stem and ends at the control position on the bar. The reference point differs by bar type, so check which one applies before comparing figures.
| Bar type | Reach is measured to | Notes |
|---|---|---|
| Drop bars | Shifters and brake levers | Reach is the horizontal distance from the stem-clamp centre to the levers |
| Flat bars | Centre of the bar ends | Reach can be zero or negative; manufacturers usually quote backsweep instead |
Why reach shapes rider position
Reach governs arm extension. A longer reach stretches the arms and pushes the upper body further forward over the bike. A shorter reach brings the hands closer to the stem and keeps the torso more upright. Because the upper body’s position changes how weight is split between the front and rear wheels, reach also affects weight distribution. This is why a reach change can alter comfort and control even when the saddle position stays the same.
How bar width changes reach
Reach is not fixed by the bar model alone. Narrower bars slightly reduce effective reach, and wider bars increase it. A large change in width may call for a different stem length to restore the intended position (BikeRadar, 2024-12-05).
Handlebar reach vs frame reach
Frame reach and handlebar reach are separate horizontal distances that describe different parts of the bike, so one cannot stand in for the other. Frame reach runs from the bottom bracket axle to the top of the head tube, which describes the frame alone. Handlebar reach describes the cockpit the rider’s hands use.
| Attribute | Frame reach | Handlebar reach |
|---|---|---|
| Start point | Bottom bracket axle | Centre of the stem-clamp area |
| End point | Top of the head tube | Shifter and brake lever position |
| Component measured | Frame | Handlebar |
| Affected by bar width | No | Yes |
The two measurements start and end at different points, so the gap between them is set by the stem and bar, not the frame. Frame reach gives a fixed design value for the frame, but it does not show where the hands are. The bar contributes a quantity that frame reach omits entirely. A rider comparing two frames with identical frame reach can therefore end up with very different hand positions if the cockpits differ.
Flat bars show the same separation in a different form. A frame reach figure gives no indication of the flat-bar value.
Frame reach alone therefore misjudges fit. It excludes the stem and bar, which together determine how far the hands sit from the frame’s reference points.
How do you measure handlebar reach on a drop bar?
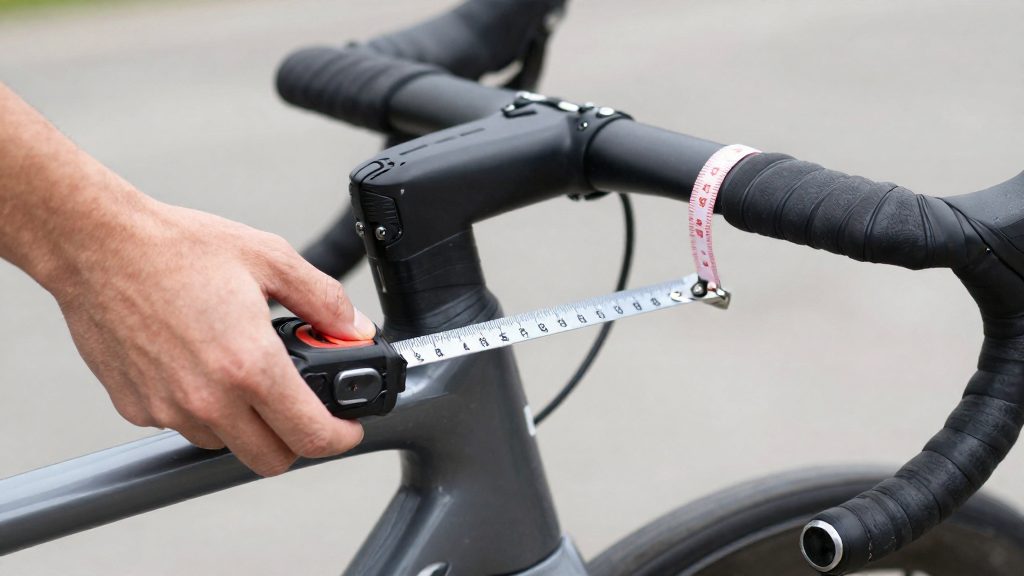
Step 1: locate the stem-clamp centre. With the bike upright on level ground, find the midpoint of the area where the stem clamps the bar. Mark it with a strip of masking tape or a fine marker. This mark is your fixed starting point for every reading.
Step 2: locate the lever reference. Identify where the shifter bodies and brake levers sit on the bar, at the front of the tops. Choose one consistent part of the lever assembly and use it every time. Moving the levers along the bar or rotating them changes the result.
Step 3: measure horizontally. Hold a rigid rule or tape parallel to the floor, running from the stem mark forward to the lever reference. A set square or plumb line helps keep the tape level. A diagonal reading overstates reach, so check that the tape is horizontal before noting the value.
Step 4: record the value. Write the result in millimeters (and inches, if you prefer; 1 in = 25.4 mm) together with the reference points you used. A note such as “stem-clamp centre to shifter body, bike upright” makes later comparisons reliable.
Keeping the same references across readings matters because the figures are only comparable when the method is identical:
| Reference | How to keep it fixed | Effect if it changes |
|---|---|---|
| Stem-clamp centre | Mark with tape before each measurement | Shifts the starting point |
| Shifter and brake lever position | Use the same lever part and rotation | Changes the endpoint |
| Bike orientation | Keep the bike upright on level ground | Tilt alters the horizontal distance |
Total reach is frame reach plus stem length plus handlebar reach. Freewheel (2025-04-26) gives an example in which swapping 70mm-reach bars for 80mm bars adds 10mm to total reach. A difference that small is only measurable when every reading uses the same marks, so any change in the figure should be checked against a repeated measurement taken the same way.
How do you measure flat bar reach?
Measuring it yourself is the only way to get a reach figure for a bar that has none listed.
Measuring method
Use a ruler or tape. Keep the front wheel straight.
- Locate the stem clamp centre. Find the midpoint of the clamp area where the bar sits, along the bar’s horizontal axis.
- Locate the bar-end centre. Find the midpoint of each bar end, measured at the end plug or the outer end of the grip.
- Measure horizontally. Hold the tape level and take the horizontal distance between the two points. Record it as positive if the bar end is ahead of the clamp centre and negative if it is behind.
- Check both sides. Measure left and right separately. Bars that are not symmetrical in their bend will give different values on each side, so record both and compare them.
Interpreting the result
| Measured result | Position of bar ends | Meaning |
|---|---|---|
| Positive | Forward of the clamp centre | Bar ends extend ahead of the stem |
| Zero | Level with the clamp centre | Bar ends sit directly in line with the stem |
| Negative | Behind the clamp centre | Bar ends sit rearward of the stem |
A negative value is the expected result for bars with a noticeable rearward bend. Backsweep bends the ends toward the rider, which places them behind the clamp centre. A zero result means the bars have no horizontal offset from the stem.
Backsweep as the published figure
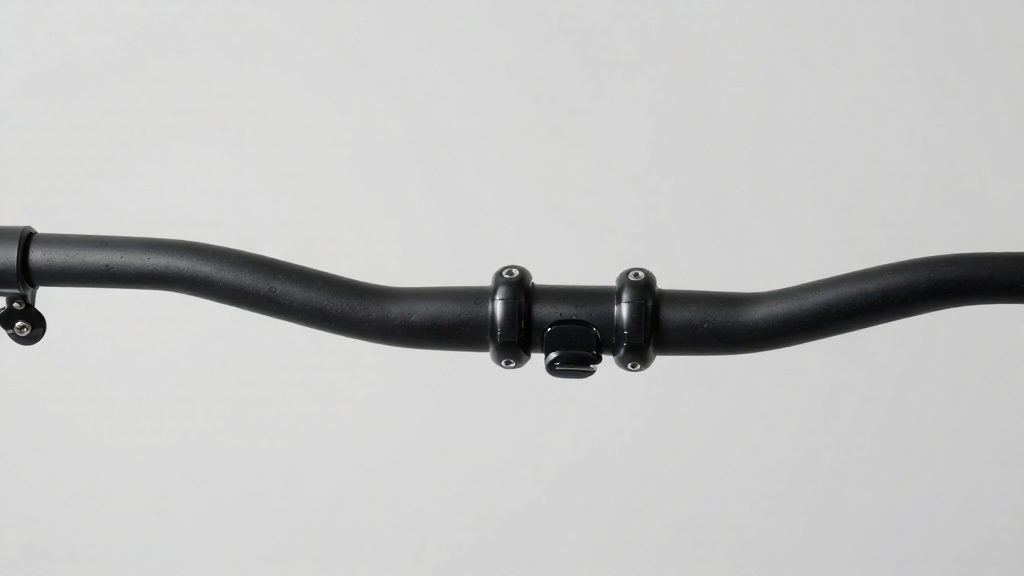
Backsweep is the angle at which the bar ends bend rearward from the central section of the bar. You can find it in the product listing or the manufacturer’s specifications. Use this figure to compare bars of similar width, but do not treat it as a reach value. If you need a horizontal distance for a specific build, measure the bar as described above.
Typical reach figures by bar type
Handlebar reach depends on bar design, and the published ranges differ between drop, endurance and gravel bars.
| Bar type | Typical handlebar reach | Source |
|---|---|---|
| Drop bars | About 60–100mm | BikeRadar (2024-12-05) |
| Endurance and gravel bars | About 60–80mm | BikeRadar (2024-12-05) |
Drop bars therefore offer the widest spread of reach values, while endurance and gravel bars sit in a narrower band at the shorter end of the drop range.
How bar width shifts effective reach
Treat the effect of width as directional: when comparing two bars of the same type, the wider one will reach slightly further. The effect becomes more relevant as the width difference grows, so a width change should be assessed together with the rest of the cockpit geometry rather than in isolation.
How does stem length change total reach?
Total reach is the sum of frame reach, stem length and handlebar reach. According to Freewheel (2025-04-26), a 375mm frame, a 120mm stem and 70mm bars give a total of 565mm. Because the three values add directly, a change in any one of them moves the total by the same amount.
| Component | Original setup (mm) | Swapped to 80mm-reach bars (mm) |
|---|---|---|
| Frame reach | 375 | 375 |
| Stem length | 120 | 120 |
| Handlebar reach | 70 | 80 |
| Total reach | 565 | 575 |
The stem is the only component you can change without replacing the frame, so it is the main tool for correcting total reach. Shortening the stem by the same amount that a bar swap adds restores the original figure. For example, a 10mm bar change can be offset by a 10mm shorter stem, moving from 120mm to 110mm. Shorter-reach bars achieve the same result from the other side.
Drop bars vary widely. A switch across the drop range can shift total reach by more than the 10mm example above, so check the bar’s stated reach before calculating the stem change.
When should you get a bike fit?
Self-adjustment handles small, one-off changes. A professional fit is worth booking when discomfort persists after you have already made sensible adjustments, or when your position has changed through a new bike or new components. Symptoms that continue for several rides, or that return after each adjustment, may be related to position, but they can also have other causes. Do not keep riding through pain, and see a medical professional if symptoms persist.
| Symptom | Why it matters | What to do |
|---|---|---|
| Numbness or tingling in the hands or fingers that persists after rides | May be nerve compression, which a fit alone may not resolve | Reduce or stop riding until it settles, consult a medical professional, and book a fit as well |
| Neck or upper-back pain that returns on every ride | Head and torso position is out of balance with the cockpit | Record when the pain starts and book a fit |
| Wrist pain that worsens over longer rides | Hand and wrist angle on the bars is off | Ask the fitter to check the bar and lever positions |
| Numbness that continues off the bike | This is no longer a fit question | Consult a medical professional |
New bikes are a good reason to have a fit. Manufacturers’ geometry is a starting point, not a fit, so a fitter should check the position before you ride the bike for long periods.
Component changes also justify a fit. Replacing the handlebars, stem, saddle, shifters or cranks alters contact points and can shift your effective reach, even if the frame is unchanged. Swap one component at a time where possible, so each change is easier to assess.
Choosing a fitter and what to bring
Look for a fitter who takes measurements and explains each adjustment, rather than one who only eyeballs the position. Ask how they record the fit so you can compare it later.
Bring:
- Your bike, or its exact frame size and component list
- The shoes and pedals you ride with
- The clothing you normally ride in
- A written note of your symptoms, including where and when they occur
- Your current handlebar and stem measurements, if you have taken them