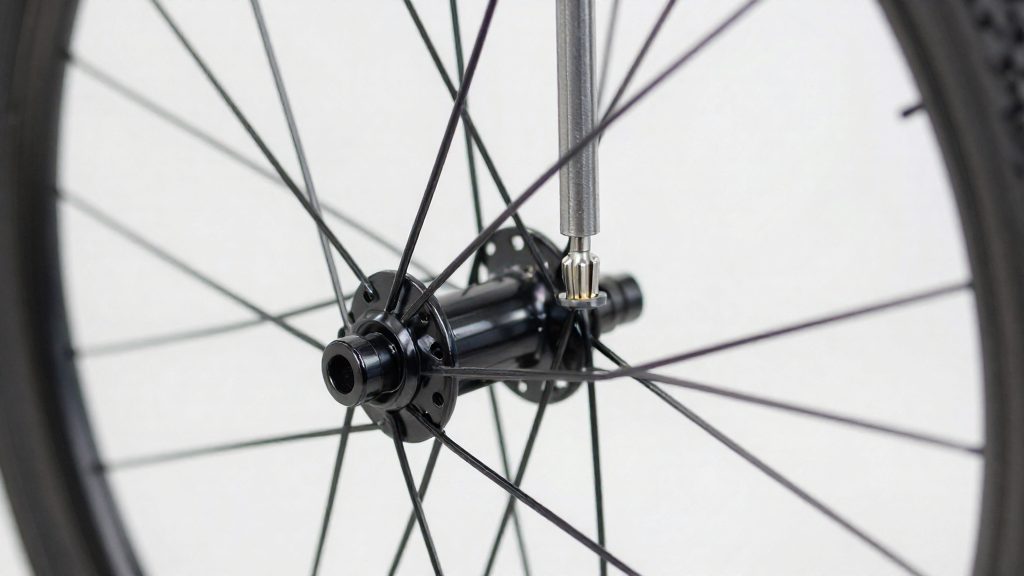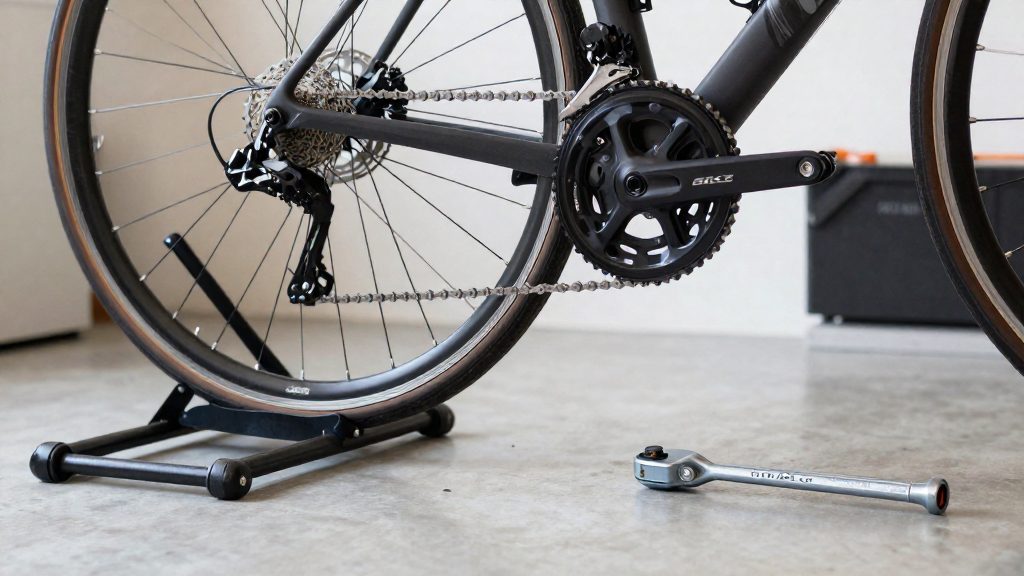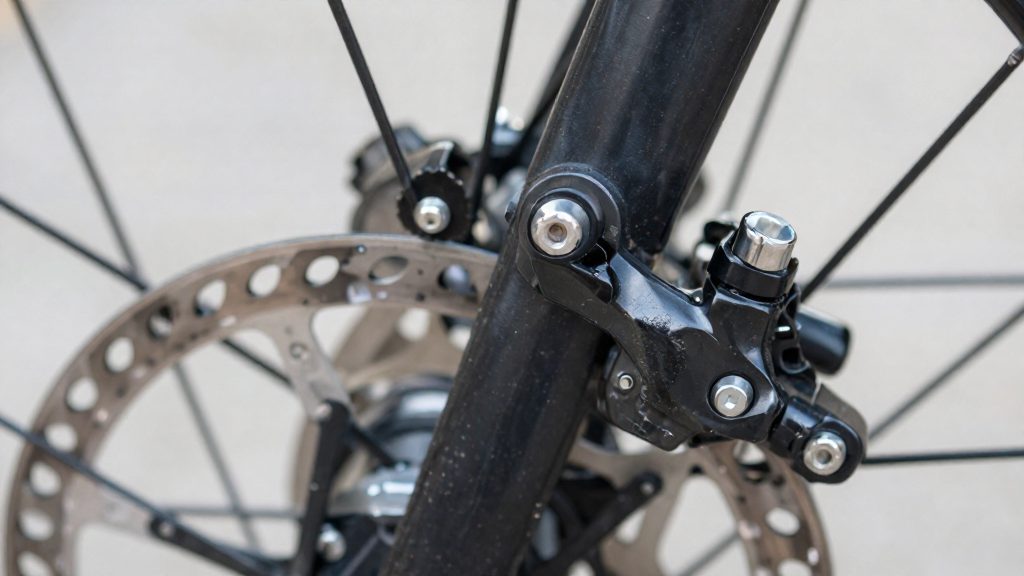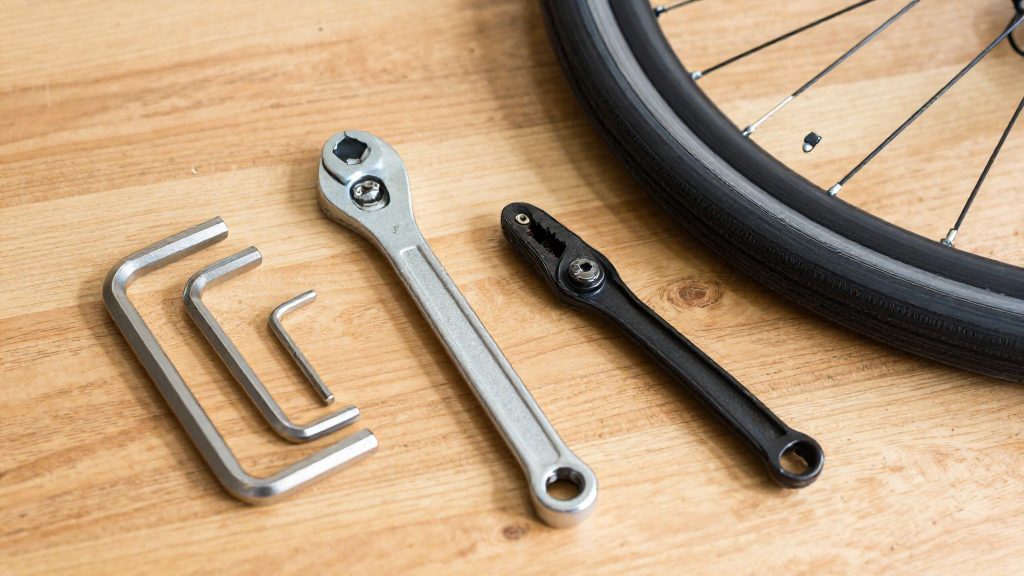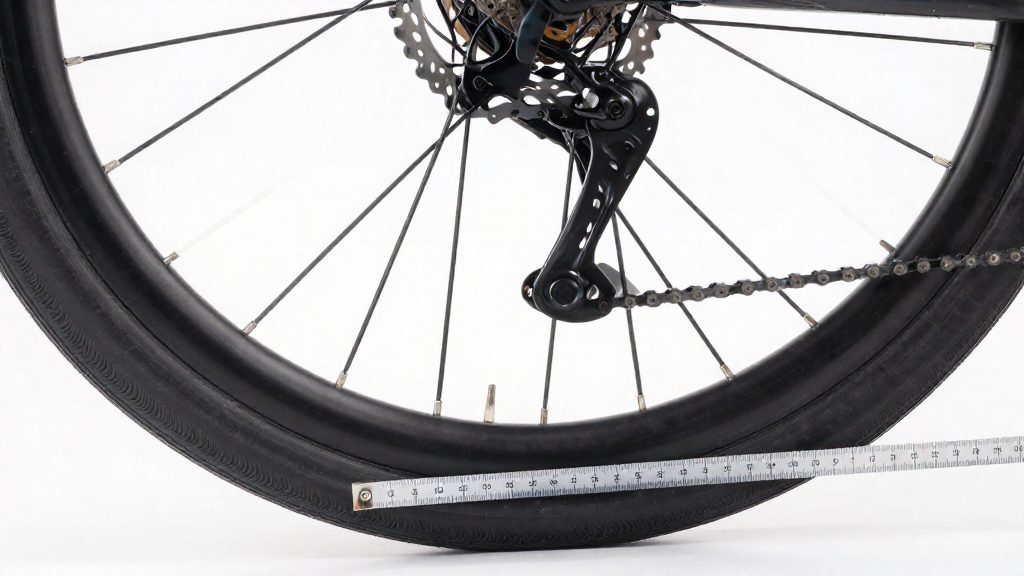
To tell whether the wheel or the frame is at fault, check the rim’s position against the contact points before changing anything. Seat the wheel fully, close the skewer or tighten the axle nuts, then compare the gaps on each side. If the wheel sits correctly and the gaps still differ, the frame or fork is the likely cause. If the gaps change after you re-seat the wheel, the installation was the problem.
Is the wheel off-center or is it the frame?
Check the rim against the contact points
According to Park Tool (2026), the rim should sit at the middle of the frame or fork and midway between the hub locknut faces, which are the contact points. Look at the rim from behind the bike while the wheel is clamped. Then turn the wheel slowly and watch whether the rim stays evenly placed. A rim that drifts toward one side usually means the wheel is not fully seated in the dropouts.
Measure the gap on each side
Measure from the rim’s braking surface or sidewall to the nearest fixed point on the frame, such as the seat stay or fork blade, on the left and right. Use a ruler or caliper and take readings at the same height. Repeat at two or three points around the rim, because a rim that is not round will give misleading single readings. Equal gaps at every point mean the wheel is centered; consistent differences mean the wheel, the frame, or the fork is off.
Separate wheel causes from frame or fork causes
Uneven spoke tension between the two sides of a rear wheel is normal on a correctly centered wheel, because the drive-side flange is offset to clear the sprockets (Park Tool, 2026). Do not treat uneven tension as evidence of misalignment.
| Observation | Likely cause | Next step |
|---|---|---|
| Gaps differ, and the rim moves when the wheel is re-seated | Wheel not seated or not centered between the locknut faces | Re-seat the wheel, re-center it, and recheck |
| Gaps stay unequal after correct seating, and the rim sits midway between the locknut faces | Frame or fork misalignment | Inspect the dropouts or fork legs, or have a shop check alignment |
| Gaps change as the wheel rotates | Rim is out of true | Correct lateral trueness before judging centering |
Work through the table in order. Only move to frame or fork inspection after the wheel is seated and the rim is confirmed as true.
How do you center a wheel with a quick release?
A quick-release skewer holds the wheel by clamping force alone, so the order of seating, lever closing and checking determines whether the rim finishes centered. Park Tool (2026) recommends checking centering after every wheel installation in the frame or fork, because a wheel that looks seated can still sit off-center.
Seat the axle fully before tightening. Position the wheel so both axle ends sit squarely in the dropouts, with the rim evenly placed between the frame or fork contact points. Lift the wheel slightly and set it down again if one side looks higher or lower than the other. Closing the lever on a partly seated axle clamps the wheel off-center, and the error is then locked in.
Close the lever and apply the 90° test. Before closing the lever, set the adjusting nut on the opposite end of the skewer so the lever starts in the open position. Close the lever by hand. Tighten the skewer until the lever meets resistance at about 90° from the frame or fork. If the lever closes fully with little resistance, the clamp is under-tensioned. If it stops well before 90° and is hard to close, the clamp is over-tensioned. Adjust the nut in small steps and repeat the closing test each time.
Re-check centering after tightening. Spin the wheel and compare the gap between the rim and the frame or fork on both sides. If the wheel is off-center, open the skewer, adjust the wheel, and re-tighten to the same 90° endpoint. Repeat the check until the rim sits evenly between the frame or fork contact points.
Tools to check wheel position
Three measuring tools cover the checks that matter for wheel position. A dishing tool gauge shows where the rim sits between the hub flanges. A dial indicator measures lateral runout, the side-to-side wobble of the rim. Calipers or a ruler measure the gap between the rim and the frame or fork. Each tool detects a different error, so none can replace the others.
| Tool | What it measures | How to read it | Main use |
|---|---|---|---|
| Dishing tool gauge | Offset of the rim centre from the hub centre (dish) | Rest the gauge across the rim, then read the gap between the gauge and the hub locknut face; repeat on the other side and compare | Confirming the rim is centred on the hub before any spoke work |
| Dial indicator | Lateral runout of the rim | Hold the indicator steady near the rim sidewall and spin the wheel; the needle shows the deflection | Setting lateral trueness |
| Calipers or ruler | Gap between rim and frame or fork on each side | Measure from the same point on the rim to the stays on both sides and compare the two readings | Checking the rim sits in the middle of the frame or fork (Park Tool, 2026) |
In terms of accuracy, the dial indicator resolves the smallest deflections, because it magnifies rim movement on a dial. The dishing gauge is a fixed reference, so its readings depend on how squarely it sits on the hub. Calipers give finer readings than a ruler, but a gap reading alone cannot separate rim wobble from off-centering, which is why readings at several points are needed. A wheel can sit centred in the frame and still run out sideways, which is why the frame check alone is not enough.
For a practical sequence, start with the frame gap, since it confirms the wheel is seated correctly. Then use the dishing gauge to confirm the rim is centred on the hub, and finish with the dial indicator to check and correct lateral runout. Recheck the frame gap after any adjustment, because changes to one check can shift the other.
Centering a rear wheel with horizontal dropouts
On a bike with horizontal dropouts, the rear axle sits in open slots, so the wheel can be moved sideways without removing it. If the rim is off-center, open the skewer or loosen the axle nuts, adjust the wheel, and re-tighten.
Adjust the position with the axle adjusters on each side of the hub. Use the axle adjusters on each side of the hub to move the axle in its slots. Adjust one side slightly to shift the rim sideways until the gaps match. Then check that the axle sits at the same depth in both slots so the wheel stays square to the frame. Sight the gap between the tyre and the seat stays on both sides, then tighten the axle nuts evenly and spin the wheel to confirm the clearance has not changed. Sight the gap between the tyre and the seat stays on both sides, then tighten the axle nuts evenly and spin the wheel to confirm the clearance has not changed.
Moving the rear wheel also changes the chain line, the straight path the chain follows from the chainring to the cassette. Check it after every adjustment:
| Check | What to look for |
|---|---|
| Rim position | Rim midway between the hub locknut faces |
| Chain line | Chain runs straight from chainring to the middle cogs |
| Chain engagement | No rubbing on the front derailleur cage or the chainstay in any gear |
When the rim itself is off-center
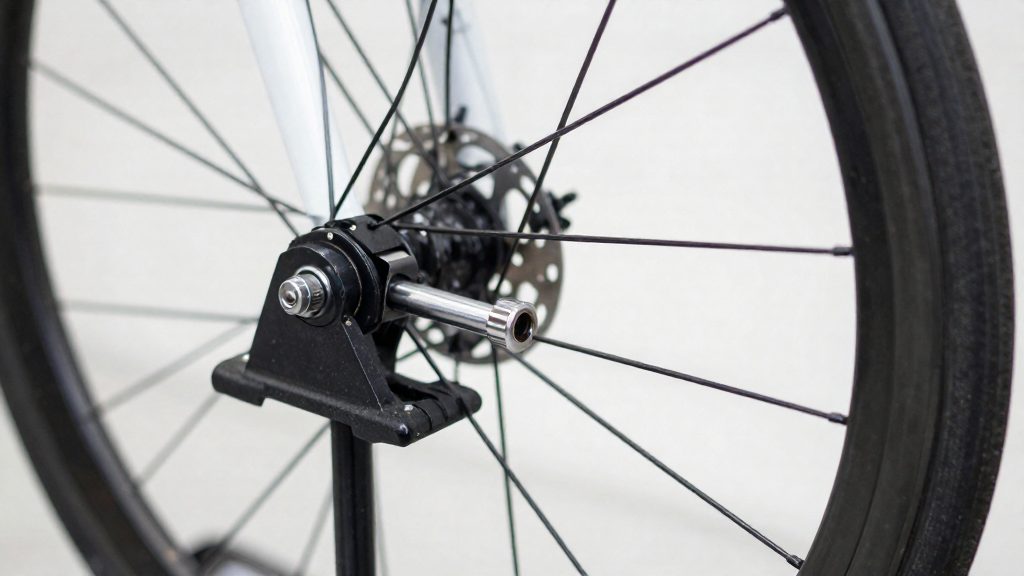
A wheel can be correctly seated in the frame and still sit off-center because the rim is bent or its spoke bed is offset. If the rim fails this check after the wheel is reseated, the cause may lie in the rim rather than the axle.
Confirming a rim-related cause
Mount the wheel in a truing stand, or hold a fixed pointer near the rim’s side and spin the wheel slowly. Check lateral runout (sideways wobble) at several points around the circumference. Then re-check the wheel in the frame or fork. If it stays off-center after you have ruled out the axle and skewer, the rim is the likely source.
Reading the runout pattern
| Observed pattern | Likely rim-related cause | Next step |
|---|---|---|
| A sharp kink that peaks at one point and returns to true on either side | Localized bend, often from an impact | Inspect that spot for a fold, flat, or crack, then correct the bend |
| A gradual, even wave repeated around the whole circumference | Rim out of true overall | True the wheel to the target below |
A localized kink usually needs the damaged section straightened or the rim replaced. A rim-wide wave responds to truing.
Asymmetric rim offset
Some rims are built with their spoke holes set off the rim’s centerline. This is a design feature, not damage. A wheel built on such a rim can center only when spoke tension is unequal between the two sides.
Truing to the target
When correcting lateral deflection, adjust both left and right deflections. Correcting in one direction only can move the rim further off-center. The target is a deflection of one to two tenths of a millimeter on each side (TOUR Magazin, 2026).
When to replace the rim
Truing corrects deflection by changing spoke tension. Replacement becomes the next step when:
- Truing cannot bring deflection within the target range without creating new imbalance on the other side.
- The rim has a crack, a fold, or a flat spot that does not straighten.
- The spoke holes are damaged, so the spokes no longer hold tension evenly.
After replacing the rim, re-check centering in the frame or fork before riding.
How much dish error is acceptable?
A dish gap of about 1 mm or less at the hub is acceptable, according to Park Tool (2026). With that gap, the installed wheel sits off-center by under 0.5 mm, A larger gap means the dish should be corrected.
| Measurement | Acceptable value | Source |
|---|---|---|
| Dish gap at the hub | About 1 mm or less | Park Tool (2026) |
| Resulting off-center in the frame or fork | Under 0.5 mm | Park Tool (2026) |
Correcting dish within tolerance
Dish is corrected by changing spoke tension on one flange, in a fixed sequence:
- Decide which direction the rim must move. Tightening the spokes on one flange pulls the rim toward that side, so work on the flange on the side you want the rim to move toward.
- Turn each nipple on that flange about ¼ turn per step, moving all the way around the wheel on that side.
- Keep each pass to one action. Do not mix tightening and loosening in the same pass.
- Recheck the dish with a dishing tool, then correct lateral trueness.
Correcting lateral deflection on both sides
Once dish is within tolerance, check deflection on the left and right sides of the rim and correct both.
When to see a mechanic
Some off-center wheels cannot be corrected at home. If the rim still sits off-center after you have checked the skewer or axle nuts and adjusted the wheel, the cause may be in the wheel, the frame, or the dropouts. Recognising these cases early avoids repeated adjustment that does not fix the problem.
| Situation | Action |
|---|---|
| Cracked or damaged rim, or several loose spokes | Stop riding on the wheel and have it trued or replaced by a workshop |
| Frame or dropout misalignment, with the rim correctly positioned but still off-center | Have the frame and dropouts checked and realigned by a workshop with alignment equipment |
| Off-center persisting after repeated correction attempts | Stop adjusting and have a workshop diagnose the wheel and frame |
Cracked or damaged rims cannot be restored by adjusting spoke tension. A crack or dent changes how the rim holds the spokes, so further truing only moves the problem. Loose spokes on the same wheel often indicate that the spoke tension has been uneven for some time, and a workshop should inspect the whole wheel rather than tighten individual spokes.
Frame or dropout misalignment is a separate fault. If the rim sits midway between the hub locknut faces and the skewer is set correctly, but the wheel still sits to one side in the frame, the frame or dropouts may be bent. Repositioning the wheel will not correct this, so the frame needs professional alignment.
Finding a qualified service: Call ahead and ask whether the workshop trues wheels and checks frame alignment. Bring the wheel and specify the frame’s axle type, so the mechanic can check the correct contact points. If you are unsure which shop to choose, ask a local bike shop whether it trues wheels and checks frame alignment, or ask other local riders for a referral.
Frequently asked questions
How much difference between the two sides is acceptable?
According to Park Tool (2026), a dish gap of about 1 mm or less at the hub is acceptable. That leaves the installed wheel off-center by less than 0.5 mm.
How tight should a quick-release skewer be?
Close the lever until it meets resistance at about 90° from the frame or fork, according to Park Tool (2026). Set the skewer nut so the lever closes firmly without leaving a hard, awkward position.
Where does a dishing gauge take its measurement?
A dishing gauge sits across the rim and measures to the hub locknut face or axle end, not to the hub body, according to Park Tool (2026). Take both readings from the same point on each side so the comparison is valid.