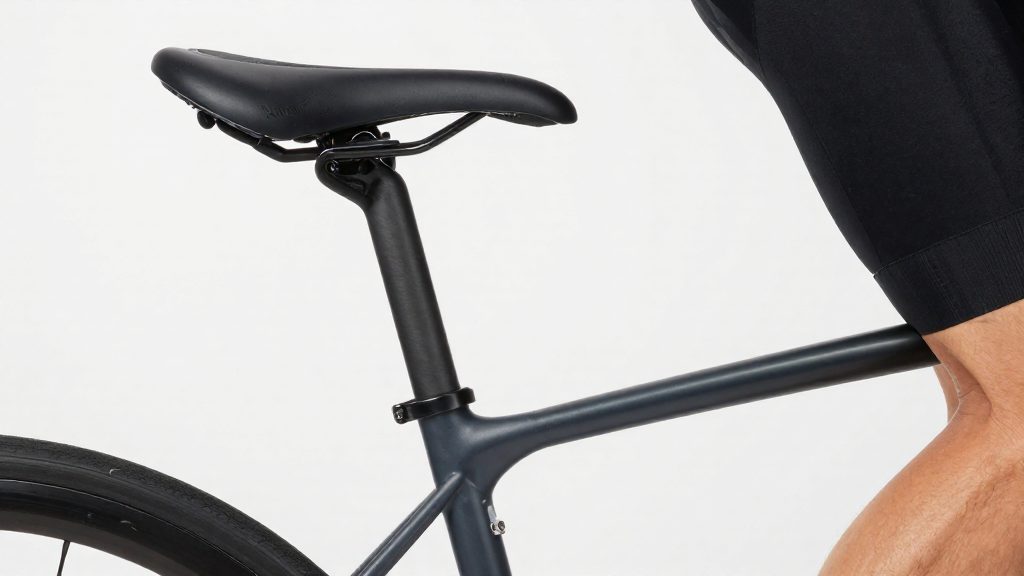
Why saddle height matters
Saddle height sets the range of motion for your legs and hips on every pedal stroke. It changes how power reaches the pedals, how load is shared across the knee and hip, and how much the pelvis and lower back move during a ride.
Power transfer and pedalling efficiency
A saddle set too low limits how far the leg can extend, so the downstroke is shorter and less of the effort reaches the pedal. A saddle set too high makes the foot stretch for the bottom of the stroke, which pulls the hips off the saddle and makes the stroke uneven. Ankling, pointing the toes down at the bottom of the stroke, suggests the saddle is too high, because the foot stretches to reach the pedal.
Knee and hip joint loading
The knee and hip absorb the force of every revolution, so a position that restricts their movement or forces them to stretch concentrates strain on those joints. A very low saddle keeps the knee bent under load, while a very high one forces repeated reaching. Because the same position repeats thousands of times per ride, small errors in height can accumulate into persistent discomfort.
Lower back and pelvis comfort
Hip rocking is the most direct comfort signal. When the pelvis rolls side to side with each stroke, the lower back works to stabilise it, which can cause fatigue and ache on longer rides. Correcting the height often reduces this movement, though setback and tilt can also contribute.
How do you measure your inseam?
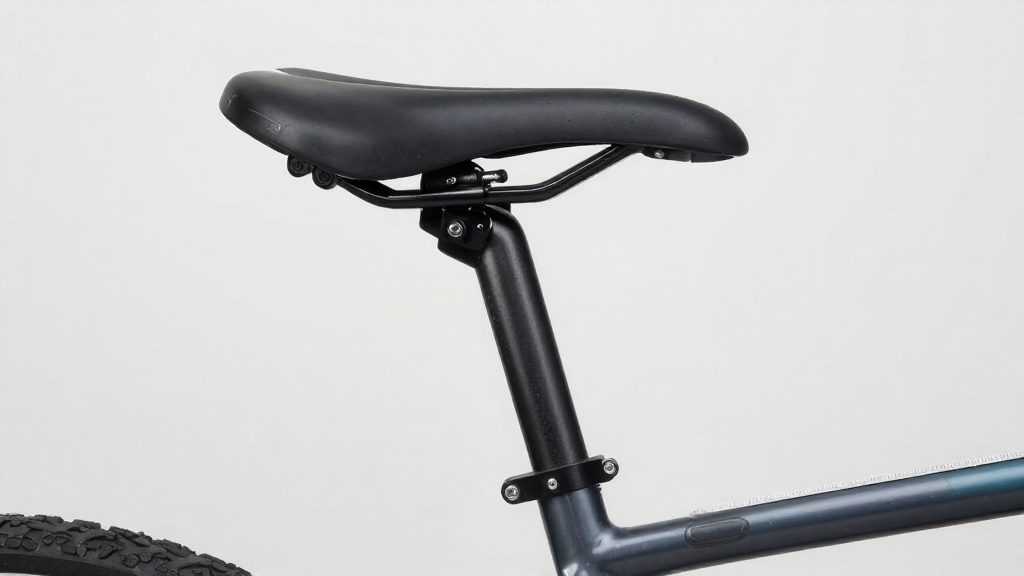
The inseam is the input value that every saddle height formula starts from, so it needs to be measured accurately before any calculation. Cycling UK (2026) advises measuring it barefoot, because shoe soles would add height that the formulas do not account for. The measurement runs from the crotch down to the floor along the inside of the leg.
To measure it against a wall:
- Stand barefoot with your back, buttocks and heels against a flat wall, feet apart and weight evenly distributed.
- Place a hardcover book between your legs, spine facing the wall, and press its top edge firmly up to the crotch.
- Keep the book level and check that it is square to the wall.
- Mark the wall at the top edge of the book with a pencil.
- Step away and measure from the floor up to the mark.
Locating the crotch reference point is the step most often done wrong. The book should press up into the crotch without lifting the heels or tilting. If the book sits too low, the inseam reads short. If it sits too high, the reading is too long, and this error carries into every height calculation that follows.
Use a rigid tape measure or a metal ruler rather than a soft tailor’s tape, which can stretch and give inconsistent readings.
Recording the measurement
Write the inseam in both inches and centimetres (a US tape measure shows both), with centimetres to one decimal place, for example 78.0 cm (about 30.7 in). Repeat the measurement at least twice and check that the readings agree. Keep the value noted with the date, so you can reuse it if you refit the bike later or compare results after a change in footwear or posture.
Heel method: the quick check
The heel method gives a rough starting saddle height without tools or measurements. Its only requirements are a bike you can sit on and a pedal you can turn. BikeRadar describes it as placing your heel on the pedal at the bottom of the stroke, then adjusting the saddle until your hips stop rocking or you no longer have to stretch for the pedals (BikeRadar, 2025-04-27).
Work through the check in this order:
- Sit on the saddle, with one hand on the handlebar for balance.
- Rotate the crank until the pedal you are testing is at the bottom of its stroke, then rest your heel on it with the leg straight.
- Observe your hips as you pedal slowly, and note whether your leg stretches to reach the pedal.
- Raise or lower the saddle in 1–2 cm increments, then repeat steps 2 and 3.
Hip movement is the most useful signal here because it shows up while you are seated and pedalling, not only when you are stopped. The heel method gives a starting point only; it does not replace a more precise adjustment once you have chosen a height.
What is the saddle height formula?
Two inseam-based formulas are widely used to estimate a starting saddle height: the LeMond formula and the Hamley formula. Each multiplies your inseam by a fixed factor to produce a target distance. The two formulas measure that distance to different points on the bike, so the same inseam gives different results and the figures should not be treated as interchangeable.
| Formula | Calculation | Measured from saddle top to | Crank length |
|---|---|---|---|
| LeMond | inseam × 0.883 | Centre of the bottom bracket | Ignored |
| Hamley | inseam × 1.09 | Pedal axle at six o’clock | Accounted for |
According to BikeRadar (2025), the LeMond formula ignores crank length, which makes it a simple baseline. The Hamley formula measures to the pedal axle at six o’clock, so crank length is built into its target. The choice between them depends on which reference point you want the number to describe.
Worked example
For a 78 cm inseam, Cycling UK (2026) gives the LeMond result as 78 × 0.883 = 68.87 cm.
Applying the Hamley factor to the same inseam gives 78 × 1.09 = 85.02 cm, measured to the six o’clock pedal axle. The 16.15 cm difference between the two results comes from the different reference points, not from an error in either calculation.
How do you check knee angle?
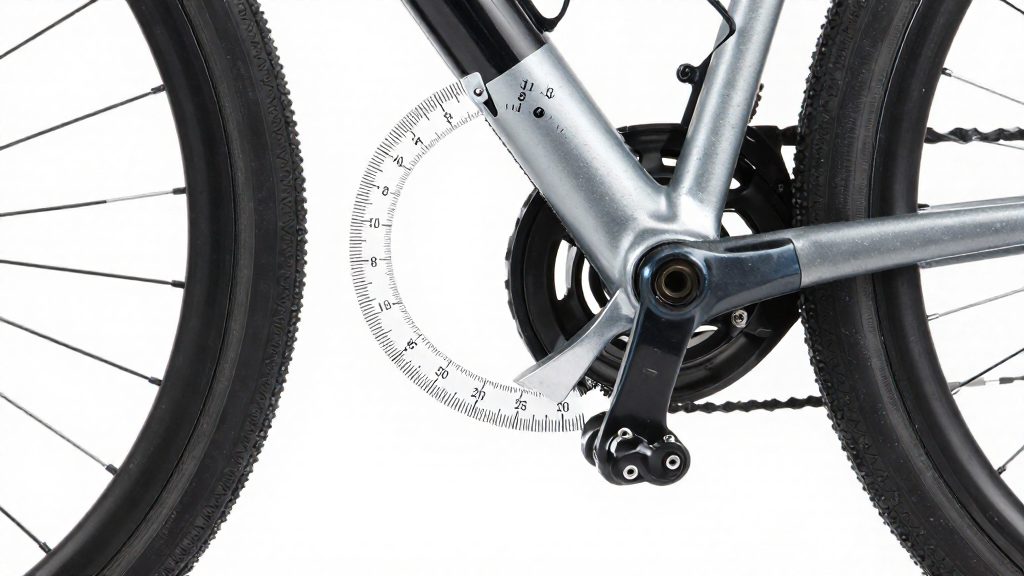
Checking knee angle means filming your pedalling from the side and measuring the bend in your knee when the leg is fully extended. BikeRadar (2025) gives a target knee bend of 30–40 degrees at full extension when you review a photo or video of your pedal stroke. The check replaces guesswork about how the saddle feels with a measurable reading.
Photo or video analysis of pedal stroke
Set up a camera at roughly hip height, square to the bike, so the hip, knee and ankle fall in the same plane. Ride at a steady cadence, then pause the footage at the frame where the pedal is at its lowest point, furthest from the saddle, which is the bottom of the stroke and the point of full extension. Measure the knee bend in that frame, meaning how far the lower leg deviates from a straight line with the thigh (a straight leg is 0 degrees). Use a protractor or an angle-measuring app on a screenshot. Measure one leg per clip and keep the camera position identical between sessions.
Measuring knee angle at full leg extension
| Step | Action | Result to compare |
|---|---|---|
| 1 | Film the pedal stroke from the side | Side-on image or video |
| 2 | Pause at the bottom of the stroke | Full leg extension frame |
| 3 | Measure the knee bend (deviation from a straight leg) | Knee bend in degrees |
| 4 | Compare against the target range | 30–40 degrees (BikeRadar, 2025) |
Signs your saddle is too high or too low
Riding symptoms show which way the saddle is wrong, and the direction of the error tells you whether to raise or lower it. Work from the symptom to the direction before you measure anything else.
A bent knee at the bottom of the pedal stroke means the saddle is too low. Cycling UK (2026) states that a bent leg at that point indicates a low saddle. The opposite symptom is also easy to notice: if you cannot reach the pedal while seated, Cycling UK (2026) says the saddle is too high.
Two further signs involve the foot and pelvis. road.cc (2015) reports that pointing the toes at the bottom of the stroke, known as ankling, suggests the saddle is too high. Hip rocking of more than about 2 cm signals that the height needs adjusting. It is most often linked to overreach with a saddle that is too high, but it does not confirm the direction on its own, so make a small change and check the result on the road.
| Symptom | Likely error | Adjustment |
|---|---|---|
| Knee visibly bent at the bottom of the stroke | Saddle too low | Raise |
| Foot cannot reach the pedal while seated | Saddle too high | Lower |
| Toes pointing down at the bottom of the stroke (ankling) | Saddle too high | Lower |
| Hips rocking side to side by more than about 2 cm | Height needs adjusting | Adjust in small steps, then retest |
Pain location is a weaker clue than these physical signs. The sources available do not tie specific pain sites to a height error, so treat discomfort as supporting evidence only. Note where the discomfort appears, such as the front of the knee, the lower back, or the saddle contact area. After each adjustment, take a short, easy test ride and check whether the discomfort changes. Stop riding if pain is sharp or getting worse, and see a doctor or physiotherapist promptly. Do the same if you have swelling, numbness or tingling, rather than continuing to adjust the saddle around the pain. If it persists across several small changes in both directions, height is unlikely to be the only cause, and the cleat position or saddle setback deserves checking next.
Fine-tune and test your setting
Once the coarse adjustment is done, refine the saddle in single-millimetre steps, riding between each change. Making several changes before testing makes it impossible to tell which one helped, so change one variable at a time.
Before you touch anything, write down your baseline record: the saddle height, the fore-aft setback (the position of the saddle rails relative to the seatpost), and the saddle tilt. Keep the same measuring points each time so the readings stay comparable. If a test ride feels worse, you can return to the baseline in seconds.
Use short test rides of roughly 10 to 20 minutes on a route you know, and check the same things each time:
| Check | What to look for | What it suggests |
|---|---|---|
| Foot level | Pedal platform stays parallel to the ground | A foot that is not level can point to a height or setback problem |
| Pedal stroke | Smooth, even pressure through the full circle | Jerky or uneven motion points to a height or setback problem |
Judge each change against the baseline rather than against your memory of the previous ride. Stop adjusting when a 1 mm change no longer produces a noticeable difference in hip movement, foot position or stroke smoothness.
When should you see a bike fitter?
Self-adjustment works when the bike has a conventional layout and your body matches the average proportions that setup methods assume. A professional fit becomes worthwhile when pain persists after careful adjustment, when the frame or cranks do not follow a standard configuration, or when your body has measurable asymmetry or an injury history. Formulas give a starting estimate, not a diagnosis, so they cannot identify a fit problem on their own.
Persistent pain despite methodical adjustment
If pain in the knees, lower back or hands returns after you have made small, recorded changes, the saddle height may not be the only cause. Setback and tilt can produce similar symptoms to height errors, so changing only the height often hides the real cause. A fitter can assess these variables together and check how your pedal stroke and posture interact under load.
Unusual frame geometry or a new bicycle
A new bicycle, or one with non-standard components, changes the starting point. When crank length differs from the norm, the LeMond figure becomes less reliable, and the Hamley figure is the better reference. Frame size and reach also vary between models, so settings from a previous bicycle rarely transfer directly. Check the crank length stamped on the crank arm and bring that figure to the fitter.
Limb length asymmetry or previous injury history
Standard formulas assume a single inseam measurement describes both legs. If one leg is noticeably longer, a single measurement misrepresents the fit, and a fitter can measure both legs and address the difference, for example through cleat or pedal adjustments. Previous injuries to the knee, hip or back also change how much movement and load your body tolerates. Tell the fitter about the injury before any adjustment. See a medical professional promptly if you have sharp or worsening pain, swelling or numbness, rather than adjusting the saddle to work around pain.
Frequently asked questions
Which formula gives me a starting saddle height?
The LeMond method multiplies your inseam by 0.883 to reach the bottom bracket centre and ignores crank length. The Hamley method multiplies it by 1.09 to reach the pedal axle at six o’clock and accounts for crank length. Cycling UK’s 78 cm inseam example gives 68.87 cm with the LeMond figure, so use the result as a starting point rather than a final setting.
How far should I move the saddle at each step?
BikeRadar’s heel method uses 1–2 cm steps to find a rough position where your hips stop rocking. Once you are close, road.cc advises adjusting in single millimetres and riding between changes. Note your starting height, setback and tilt first so you can return to the original setting if the new one feels worse.
When should I stop riding and see a professional?
Stop riding if the pain is sharp or getting worse, and see a doctor or physiotherapist promptly. Seek the same prompt advice for swelling, numbness or tingling. If you have an existing injury, tell your bike fitter before making any changes.