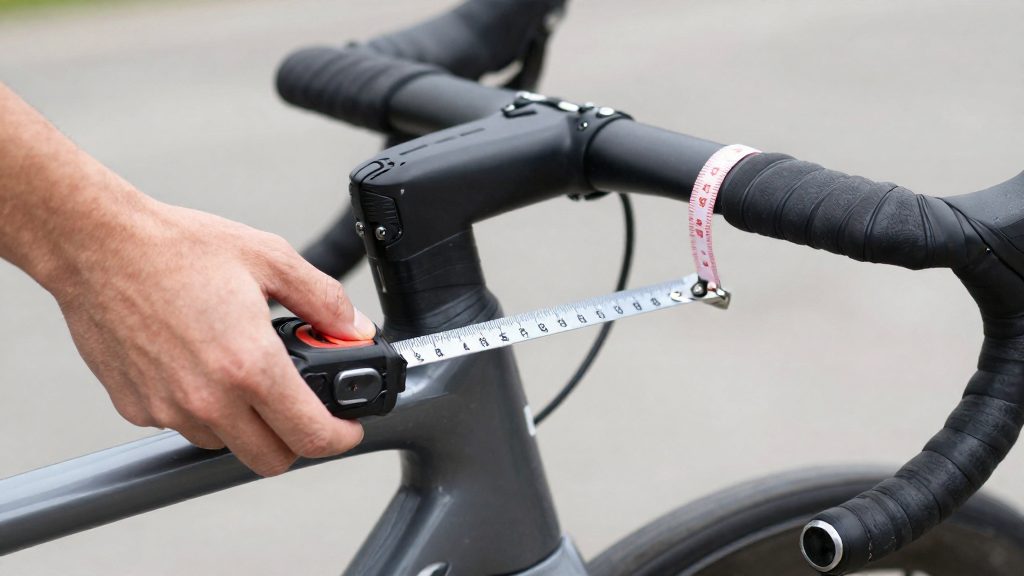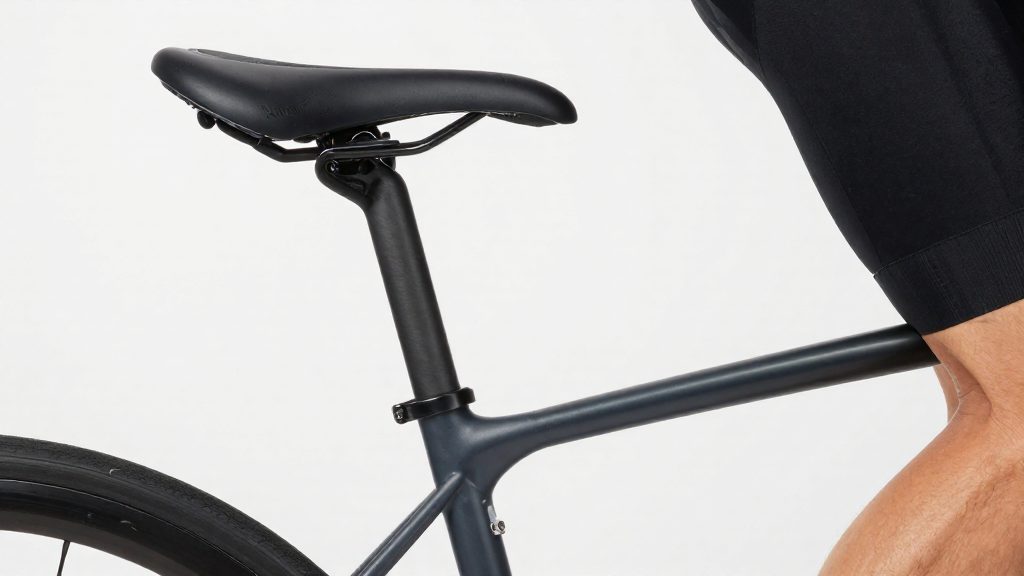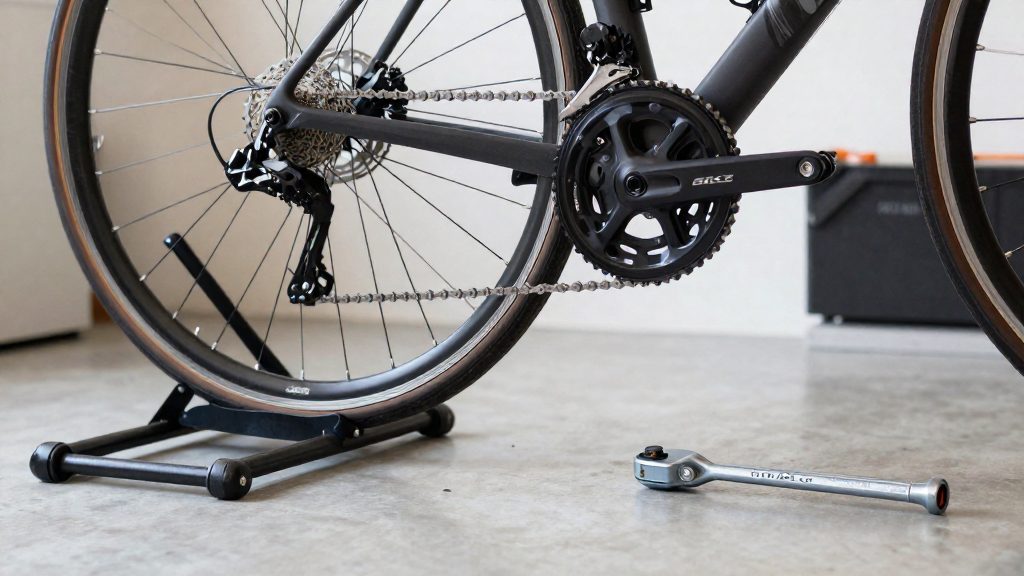
A home bike repair stand holds the bicycle off the floor at a fixed working height, so the drivetrain, brakes and wheels can be reached without crouching or kneeling beside the frame. Compared with floor work, it frees both hands for the task, gives a consistent view of the chain and derailleurs, and reduces the bending that makes long maintenance sessions tiring. These benefits come from the working position itself, so they apply to most stand designs.
Why use a home bike repair stand?
Working on the floor means repeated bending, kneeling and reaching under the frame. A stand changes the geometry of the job. The bike is raised so the parts you touch most sit at roughly waist-to-chest height, and you work from a standing position.
Drivetrain, brake and wheel access
On the floor, the rear cluster and derailleur are reached by working through the frame, and the calipers and wheel edges are hard to see. Raised on a stand, the wheels can be removed, refitted and checked for side-to-side wobble with the bike in view. Brake pads, cable anchors and rotor faces can be inspected without lying on the ground, and the cranks and rear wheel can be turned by hand with less effort.
Hands-free chain and derailleur adjustment
Derailleur limit screws and cable tension barrels are adjusted while shifting through the gears and watching the chain. A stand lets you turn the crank with one hand while the other operates the shifter or screwdriver, with the chain visible at eye level. This matters because derailleur work is a repeated cycle of turning the crank and making small corrections. Holding the bike steady on the floor while doing this usually needs a third hand.
Lower back strain in repeat sessions
The main gain is posture over time. A single tyre change or wipe-down can be done on the floor without trouble, but a full chain service, cassette cleaning and brake adjustment can run for an hour or more. Keeping the spine upright and the elbows at working height reduces the strain that builds up when the same bending is repeated. Fewer position changes and fewer pauses to stretch also make long sessions easier to sustain.
Choose the right stand type
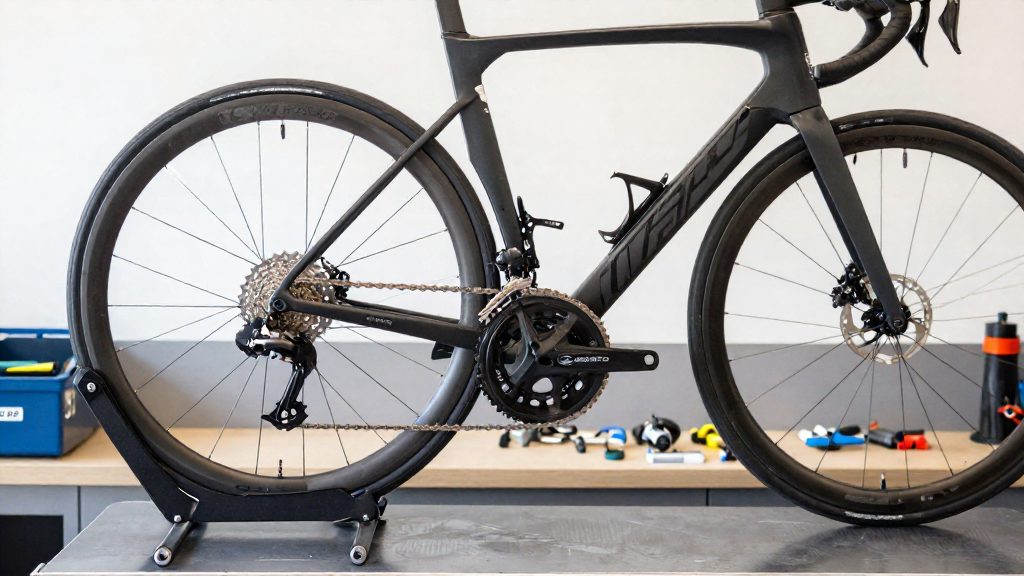
A repair stand holds the bicycle off the ground so both wheels turn freely and the drivetrain, brakes and bottom bracket are within reach. Home stands come in three mounting families: floor stands, wall-mounted arms and ceiling-mounted hoists. Within floor stands, the base and column design determines how easily the stand moves and how stable it feels under load. Choose by three factors: the weight of your heaviest bike, the height range the clamp can cover, and how often you need to move the stand.
Floor stands
Floor stands are the most common home option. They sit on the ground and need no fixing to a wall or ceiling, so they suit rented or shared spaces. Their stability depends on the base and column design, and the three common designs behave differently (unlike the other two, a fixed column stays installed in one place, so it suits only a dedicated spot and not a rented or shared space):
| Design | Portability | Stability under heavy bikes | Typical use |
|---|---|---|---|
| Tripod base | Moderate; usually lifted or dragged rather than folded | Good, with a wide footprint | Permanent or semi-permanent workshop spot |
| Folding base | High; the frame collapses for storage | Lower; the joints can flex under load | Small spaces where the stand is stored between jobs |
| Fixed column | Low; the stand stays where it is installed | Highest; the rigid column resists tipping | Heavy bikes and frequent, long sessions |
A folding base suits riders who store the stand in a closet, but check the locking mechanisms each time you set it up. A fixed column is the better choice for heavy e-bikes, since the added mass is supported without flex.
Wall-mounted and ceiling-mounted models
Wall-mounted arms free floor space and keep the bike at working height. They must be anchored to a structural wall, and the anchor, not the arm, carries the full weight of the bike plus the force applied during pedalling and wheel work. Confirm the anchor rating with the manufacturer before you drill.
Ceiling-mounted hoists lift the bike overhead. They are better for storage than for repair, because the bike is usually too high for comfortable work on the bottom bracket or brake calipers.
Where to set up your workspace
A bike stand works best on a hard, flat floor. Concrete in a garage, basement or shed is ideal, and a flat, stable floor beside your workbench is usually adequate. Avoid carpet, uneven paving and soft ground, because they let the stand base shift under load. Check the level with a spirit level on the stand’s base plate and on the floor where the bike will sit. A slight tilt makes the bike lean and the stand less stable, which makes it harder to judge adjustments by eye. If the floor slopes, add shims under the stand feet rather than tightening the clamp further to compensate.
Load capacity matters more than many owners expect. E-bikes are heavier than conventional bicycles because of their motor and battery, so an e-bike may sit close to or above the limit of a stand designed for lighter frames. If you are unsure, confirm the rating before you lift the bike.
Clearance determines how easily you can work. Leave enough room to walk fully around the bike, to rotate the handlebars without striking a wall, and to remove a wheel without hitting shelves or other bikes. Keep the area behind the rear wheel open, because the drivetrain is usually the part you reach most often. Place the stand so you can stand beside the drivetrain without leaning over the frame.
Lighting should come from above and from the side of the work area. Shadows fall into the gap between the chainring and the frame, where you need to see the derailleur pulleys and the chain. A fixed overhead lamp or a movable LED work light with an adjustable arm gives better coverage than a single bulb in the corner.
Ventilation and temperature become important when you use solvents, degreasers or sprays. Work in a space with fresh air moving through it, such as a garage with the door partly open or a room with an extractor fan. Keep solvents away from open flames, gas appliances, heaters and electrical sparks. Store cleaning products in their original containers, and keep the room at a temperature that is comfortable for your hands, since cold conditions make oils thicken and slow down your work.
| Factor | What to check | Why it matters |
|---|---|---|
| Floor | Hard, flat, level | Prevents the stand from shifting |
| Load rating | Stand label or manual | E-bikes weigh more than standard bikes |
| Clearance | Space to walk around and reach the drivetrain | Allows safe, controlled handling |
| Lighting | Overhead and side light | Makes derailleurs and chain visible |
| Ventilation | Fresh air during solvent use | Reduces exposure to fumes |
How do you clamp a bike safely?
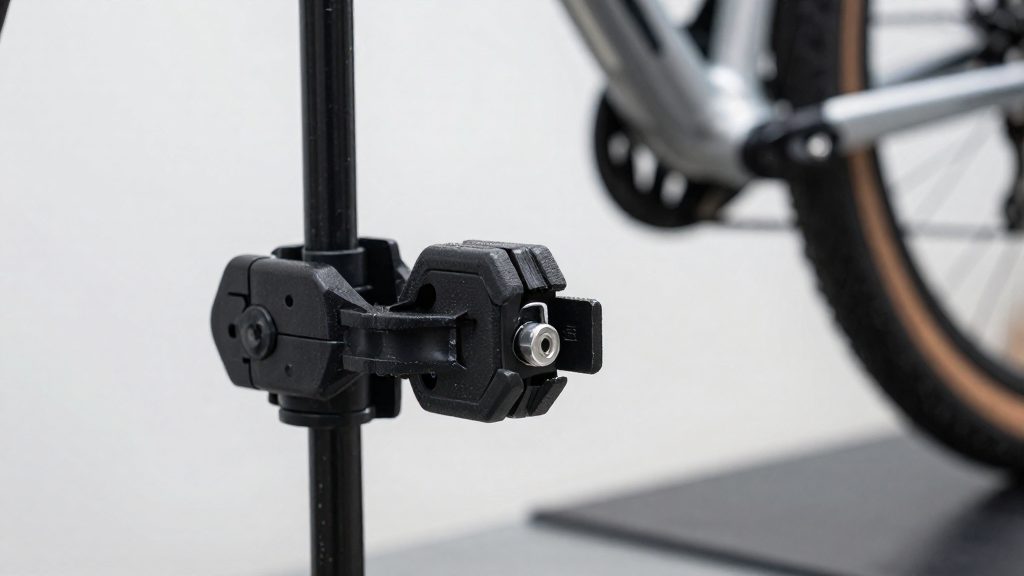
A safe clamp holds the bike by a rigid tube, sits firmly in the jaws, and cannot loosen while you work. On a Park Tool stand with a Micro-Adjust clamp, the jaws must start loose, so the handle is set before the bike goes in. Park Tool (2026) gives the sequence below.
Micro-Adjust clamp sequence
- Open the cam handle and flip it back so the jaws are fully loose.
- Seat the bike in the jaws on the chosen tube.
- Flip the handle forward to close the cam.
- Turn the clamp screw clockwise to set grip pressure.
To release the bike, loosen the handle about half a turn, then flip the cam lever back.
Seat tube or top tube
Where the stand allows it, many riders clamp the seat post (with enough post exposed for a full, even grip) rather than the frame tubes. Check the frame maker’s guidance first, especially on carbon and thin-walled frames, because a seat post clamp is not suitable for every frame. Some stands, such as those with the Park Tool 100-3D clamp, hold the bike by the top tube instead. On those, follow the manufacturer’s clamping instructions. The top tube is the alternative when the seat tube cannot be gripped, for example when a seat post or seat tube geometry prevents a secure hold. Choose the tube that gives the jaws full, even contact, and avoid clamping on a cable guide or a bottle boss.
Extension bolt on top tube clamps
When clamping on the top tube with the Park Tool 100-3D, fit the #1949 extension bolt. If the clamp works loose, this bolt stops it falling out of the top tube, so it should not be left out (Park Tool, 2026).
Protect carbon and thin-walled frames
Clamp pressure is the main risk to carbon and thin-walled tubing. A stand jaw concentrates force on a small contact area, so a tube that handles normal riding loads can still crack or crush where the jaw meets it. Carbon fibre does not deform like metal, so damage often appears as a fracture rather than a visible bend. Thin-walled aluminium and steel can dent under the same load. Protection depends on three things: padding the contact, choosing where the clamp grips, and controlling clamp pressure.
Padding the jaws
Keep the jaw covers intact and in place whenever the frame touches the stand. A worn cover loses its cushioning, and a bare metal or hard plastic edge is what scratches paint and marks fibres. Park Tool (2026) recommends replacing worn jaw covers as part of periodic clamp care. Do not substitute tape or cloth wraps for a proper cover, because they can slip and expose the frame to the same concentrated contact.
Choosing a clamping point
Grip a section of tube where the wall is strongest and the diameter is largest, and keep the jaw clear of welds, butted tube ends, and tapered transitions. Avoid tubes with cut-outs, internal cable guides, or visibly lighter paint, since these often mark thinner wall areas. A clamp that slides shifts its load onto a smaller area, which is why a secure fitting matters as much as the padding.
Controlling pressure
A Micro-Adjust clamp gives graduated control. Park Tool (2026) describes turning the clamp screw clockwise to adjust pressure once the bike is seated and the handle is flipped forward. Apply pressure in small steps, and stop once the bike is held steady. Clamp force beyond that point adds stress to the tube without adding support.
Signs of crushed or cracked carbon after clamping
Inspect the contact area after every session where the frame was held in the stand.
| Sign | Where it appears | Response |
|---|---|---|
| Fine line or crack in the paint or gloss | Under the jaw contact | Stop using the stand on that point and have the frame inspected before riding |
| Flattened or dented tube wall | Thin-walled aluminium or steel under the jaw | Remove the frame from service until a specialist assesses the wall |
| Paint crazing or ring-shaped flaking | Around the jaw contact line | Stop using the stand on that point and have the frame inspected for fibre damage before riding |
| Creaking or clicking when the frame is loaded | Clamp area | Remove the bike from the stand and inspect the tube and clamp |
Organize tools within reach
Arrange the stand area so that frequently used tools sit closest to the bike and rarely used tools sit farthest away. Keeping your hands on the work reduces time lost to searching through boxes. Group tools by the task they serve, not only by type, so that one reach covers most of a job.
Tool wall, tray and drawer arrangement by frequency
Assign each storage zone a role based on how often its contents are needed:
| Zone | Holds | Why it sits there |
|---|---|---|
| Wall rail or pegboard | Tools used on almost every job | Visible and in reach at arm’s height beside the stand |
| Work tray | Tools for the task in progress | Keeps the current job in one place and is cleared between jobs |
| Drawers | Specialist and occasional tools | Keeps the bench clear and the wall uncluttered |
Hang wall tools in the order you typically use them, starting with the first item in a standard service. Label each drawer by category so you can open the right one without scanning every compartment.
Storage for chain tools, hex keys and cable cutters
Chain tools, hex keys and cable cutters are often needed in the same session, so store them on adjacent hooks or in the same drawer section. Keep hex keys in a sorted holder where each size is visible, because a mixed pile makes it slow to find the right size. Hang cable cutters where they are easy to reach without moving other tools, and keep the chain tool with the chain-related items so that chain work does not require opening a second drawer.
Parts bins for bolts, cable ends and spacers
Sort small hardware into separate, clearly labelled bins. Store bolts by thread size and length, cable ends by type, and spacers by diameter. Matching a replacement part from a labelled bin is faster than measuring each piece again. Take parts out only for the job in hand, and return unused pieces to their labelled bin at the end of each session so the layout stays consistent.
Maintain your stand
Routine upkeep of a home bike stand comes down to three tasks: greasing the clamp’s threads and plates, lubricating the handle and clamp screw, and checking that the fasteners are tight. Park Tool (2026) recommends periodic clamp maintenance along these lines, and the same checks apply to the Park Tool 100-3D clamp.
| Task | Where | What to do |
|---|---|---|
| Grease the threads and plates | Clamp bolt threads and the plates under the handle | Apply grease to both surfaces so the handle and clamp move without binding |
| Lubricate the pivot | Handle and clamp screw interface | Add a drop of light lubricant |
| Check the handle bolt | Handle bolt | Confirm it is snug |
| Check the spinner knob bolt | Spinner knob bolt | Confirm it is snug |
| Check the extension bolt | #1949 extension bolt on the 100-3D clamp | Confirm it is fitted |
| Replace jaw covers | Clamp jaws | Replace any covers that are worn |
Do the greasing and lubrication with the clamp empty, so no bike is in the jaws and the threads and plates are fully reachable. Wipe away old grease and grit before adding fresh grease, because debris left in the threads will keep the clamp from turning smoothly.
Fastener checks are the step most often skipped. A handle bolt or spinner knob bolt that has loosened will change how the clamp grips the tube, so check both after you have lubricated the mechanism and before you clamp a bike.
Replace jaw covers when they show wear. Worn covers reduce the grip on the frame and allow the tube to shift in the jaws, which is why they belong in the same routine as the fastener checks.
Frequently asked questions
Is a home bike repair stand worth it for occasional maintenance?
It pays off most in long sessions. Quick jobs can be done on the floor, but a full chain service with cassette cleaning and brake adjustment is where a fixed working height makes the biggest difference.
Where should I clamp a carbon frame?
If the frame maker gives no clear clamping point, contact the frame maker or the stand manufacturer before tightening the jaws. Clamping points differ between frames, so a stand’s clamp that suits one frame may not suit another.
How do I open and close a Micro-Adjust clamp?
According to Park Tool (2026), start with the handle flipped back, seat the bike, then flip the handle forward and turn the clamp screw clockwise to set the pressure. To release, loosen the handle about half a turn and then flip the cam lever. On the 100-3D, keep the #1949 extension bolt fitted, because it stops the clamp from falling out of the top tube if it works loose.