Choosing a Wall Mount for Your Bike
Choosing a wall mount depends on three factors: the bike’s weight, its wheel profile, and the floor or wall space you can spare. Each mount type holds the frame differently, so start by checking what each one can carry and what it will fit.
Which wall mount suits your bike?
BikeTips (2026) lists six main methods for hanging a bike. Each one suits a different combination of bike, wheels and space:
- Hook clip: the bike hangs by its front wheel. Its load limit is roughly 15 to 20 kg (about 33 to 44 lb).
- Push-on clip: the bike rests on the floor and is held against the wall. Each tyre size needs its own clip size.
- Frame holder: cradles the top tube.
- Wall post: holds the saddle.
- Floor-to-ceiling stand: wedges between floor and ceiling.
- Ceiling hoist: lifts the bike from overhead.
Bike weight is the first filter. If a bike is heavier than the hook clip’s 15 to 20 kg range, a hook is the wrong choice, and a mount that supports the bike from below is more suitable.
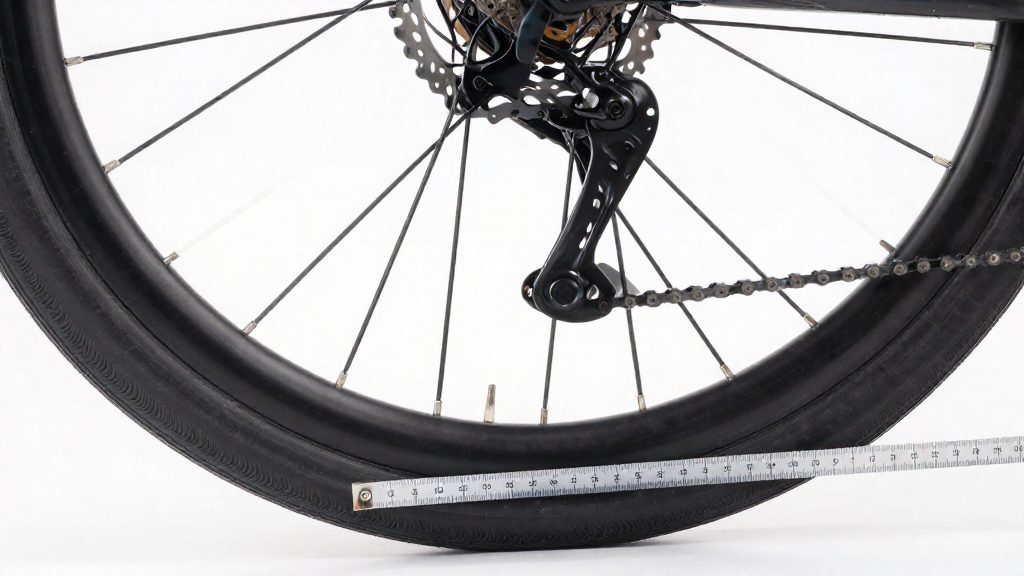
Wheel profile is the second filter. Hook clips may not fit deep-section wheels, the aero rims common on road bikes. Before buying push-on clips, measure your tyre size, because the clip is matched to it.
Available space determines the layout. Floor-to-ceiling stands need no drilling, which makes them practical for renters.
How do you find a stud for a bike hook?
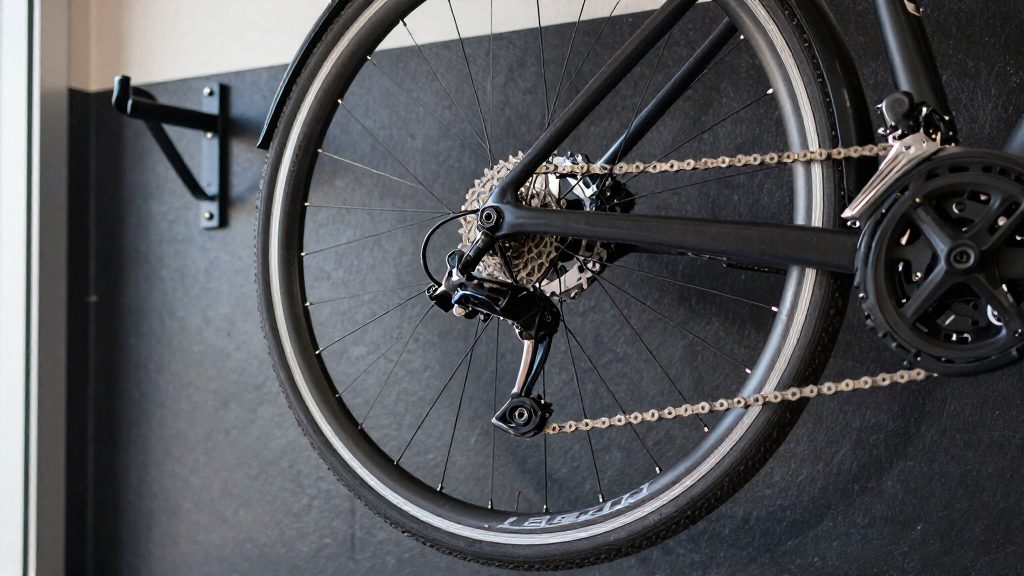
A stud is the vertical timber framing member inside a wall, and it is the most reliable fixing point in a drywall partition for carrying a bike’s load. Locating it takes two detection tools and one physical check.
| Tool or step | What it detects | Role in the method |
|---|---|---|
| Electronic stud finder | Changes in density behind the surface | Gives the first estimate of each stud’s edges |
| Magnetic stud finder | Metal fasteners holding the board to the framing | Confirms the stud’s line, since fasteners sit along it |
| Small test hole | Solid timber versus hollow cavity | Confirms the edges before the final fixing |
Step 1: Scan with the electronic finder. Move it slowly and steadily across the wall, and mark both edges of each stud it indicates. Repeat the pass in the same area to check that the readings are consistent, and treat any reading near an outlet, switch or pipe run as possible wiring or plumbing before you drill.
Step 2: Cross-check with the magnetic finder. Run it over the same area. Fasteners are driven into each stud, so a vertical line of them confirms the stud’s position. Where the two tools agree, mark the centre with a pencil.
Step 3: Confirm the edges. Drill a small test hole at each marked edge. Solid resistance and a timber feel indicate framing; a hollow drop indicates a cavity. If the test hole misses, adjust the mark and repeat.
Step 4: Position the hook centres. Measure the bike’s hanging points first, then allow the spacing between hooks, as Garaga (2026) advises. Set the hook centre over a marked stud centre so the fixing bites into framing rather than the edge of the board. If the required spacing cannot land both hooks on studs, move the mount rather than accept a fixing that sits between them.
Vertical hook or horizontal rack?
The choice between a vertical hook and a horizontal mount depends mainly on how many bikes you store. According to House Digest (2026), horizontal mounts lay the bike flat against the wall and suit a single bike, while wall hooks hold the bike facing out and suit several bikes. The layouts therefore trade capacity against footprint: a horizontal mount keeps the bike close to the wall, while a hooked bike extends into the room.
Swing-out hooks are the space-saving variant of the wall hook. House Digest (2026) states that they save more space than fixed hooks, which makes them the practical option when several bikes share a narrow garage wall.
Before choosing a position, measure each bike and allow spacing between them. Garaga (2026) recommends this step first. Measure the overall length, the handlebar width and the pedal extent, then mark the wall so that each bike can be lifted onto its hook without touching its neighbour. Take the minimum clearance figures from the mount’s own instructions, since they vary by product.
| Layout | Bikes suited | Wall clearance | Access to the bike |
|---|---|---|---|
| Horizontal mount | Single bike | Bike lies flat against the wall | One bike per mount, so no neighbour to move |
| Fixed wall hook | Several bikes | Bike faces outward from the wall | Each bike has its own hook |
| Swing-out hook | Several bikes | Saves more space than fixed hooks | Saves more space than fixed hooks; check the maker’s load rating |
What anchors hold a bike in drywall?
Drywall has no structural strength of its own, so a bike hung on a plain wall depends entirely on the anchor. BikeTips (2026) recommends either fixing into a stud or using heavy-duty toggle bolts. Stud fixing is covered elsewhere in this article, so this section addresses mounting points where no stud is available.
| Fixing | Requirement | Source |
|---|---|---|
| Toggle bolt | Rated 50 lb (about 23 kg) or more | BikeTips (2026) |
A toggle bolt works by passing through the board and opening behind it. Its spring-loaded wings spread inside the wall cavity and clamp against the back face of the drywall, so the load is distributed over a larger area than a plain screw can achieve. Because the wings must open fully behind the board, the anchor only works where there is a clear cavity. Check the rated capacity on the packaging rather than assuming it from the bolt’s diameter, since diameter alone does not indicate load capacity.
Pilot holes matter for any screw-in fixing. Garaga (2026) advises drilling pilot holes slightly smaller than the thread diameter, so the thread bites into the material rather than spinning freely. Drill straight into the wall and keep the hole perpendicular to the surface, because an angled hole reduces the contact area the thread relies on.
Anchor length must suit the wall build-up. Measure the drywall thickness at the drilling point before buying hardware, then select an anchor whose body and wings match that thickness. An anchor that is too short will not open behind the board, and one that is too long may protrude or fail to seat flush against the wall.
Repeat the check after the first few days, as drywall around a loaded anchor can shift slightly if the bracket was not fully tightened.
Hanging a bike in a garage or from the ceiling
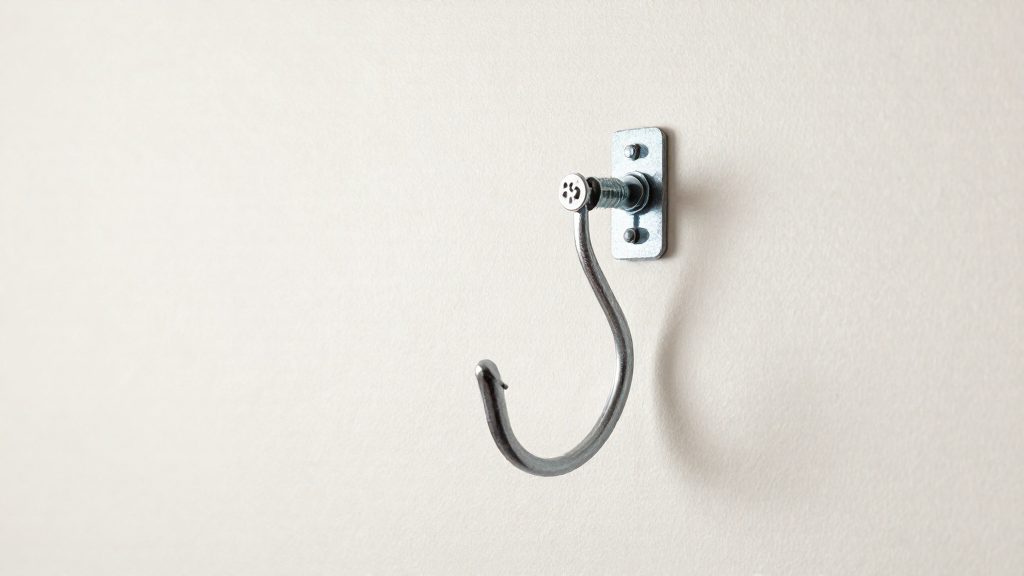
Garage wall hooks and ceiling-mounted systems keep a bike off the floor but place different loads on the structure. A wall hook carries the bike’s weight as a cantilever from one fixing point, while a ceiling hoist suspends the bike from above. Choose the hardware by checking what the surface behind it can carry.
Garage wall hooks
Hook material matters more than hook count. Use heavy-duty plastic-coated hooks so the hook does not scratch the bike where it makes contact, which matters most for a bike you will hang repeatedly. For a heavier bike, or a wheel that does not seat in the clip, choose a mount that supports the bike from below.
Ceiling hooks and hoists
Every ceiling hook must sit over a joist. A fixing set into the drywall between joists has no structural member behind it, so it can pull out under the bike’s weight. Locate the joists with a stud finder, mark each hook position, and confirm that every mark is directly over a joist before drilling.
A ceiling hoist needs enough headroom to lift the bike clear of the floor. BikeTips (2026) notes that these systems require high ceilings. Before buying, measure the ceiling and compare that height with the lifting range stated in the manufacturer’s dimensions.
Can you hang a bike without drilling?
Yes. A floor-to-ceiling stand needs no drilling, so it avoids the wall and ceiling fixings that the other methods require. According to BikeTips (2026), this is why such stands suit renters who cannot fix anything to the walls. The stand is positioned in the room and held between the floor and the ceiling, so the bike rests on the stand rather than on hardware fixed to the building.
Suitability for renters and temporary installations
A floor-to-ceiling stand fits situations where permanent fixings are not allowed, such as many rental properties. It also suits a temporary setup, because nothing is left in the structure when the stand is removed. This makes it practical for a bike you store only for a few months, or for a shared flat where walls must stay clear. Wall hooks and frame holders, which are covered elsewhere in this guide, need fixings, so they are only an option if your landlord allows drilling.
Checking the stand’s height range before buying
Each stand works only within a specific ceiling height range, so the range must match the room before you order. Measure the floor-to-ceiling height at the exact spot where the stand will go, not at the room’s centre, since ceilings can vary across a room. Then compare that figure with the minimum and maximum height printed on the manufacturer’s product page or packaging.
Also check the following before purchase:
- Floor footprint: confirm that the base fits the free floor space beside the bike, with enough room to lift the bike on and off.
- Clearance: make sure the bike’s widest point, usually the handlebars, does not touch the wall or other items.
- Ceiling type: confirm that the stand’s contact points suit a flat, finished ceiling in your room.
If the measured height falls outside the stated range, choose a different stand rather than adjusting the height beyond its limits.
How do you hang a bike safely and protect it?
Hanging a bike is only safe once the mount has been tested under real load. Install the mount first, then hang the bike to check that it is sturdy before you leave it there. Use the bike you actually plan to store, because a lighter test bike does not prove that the mount will hold the heavier one.
Run a load test after installation
- Hang the bike and check for movement. Grip the frame and push or pull it gently in several directions. The mount should not rock, twist, or lift from the wall.
- Inspect the fixings. Look for screws that have loosened or anchors that have pulled partly out of the surface.
- Repeat the check after the bike has been moved on and off the mount a few times, since that is when fixings most often loosen.
Place a child’s bike on a wall or stand
Garaga (2026) recommends hanging a child’s bike on a wall or stand rather than from the ceiling, so that the child can reach it. Choose a wall position at the child’s height, and keep the bike clear of walkways and doors so it cannot be knocked down.
Pad the contact points
Protect the frame finish wherever metal or hard plastic touches paint. The usual contact points are:
- Hook arms and the rim or tyre they grip
- Frame holder cradles under the top tube
- Wall post heads that take the saddle
- Floor contact on push-on clips, where the tyre and pedals rest
Wrap each point with a soft layer, such as rubber sleeving, foam pipe insulation, or a strip of cloth held in place with tape. Check the padding every few months and replace it when it compresses, tears, or traps grit, because worn padding can rub the finish as the bike moves.
Frequently asked questions
Can I hang a bike on drywall without finding a stud?
Yes. BikeTips (2026) recommends toggle bolts rated for 50 lb (about 23 kg) or more when no stud is available, though anchoring into a stud remains the more reliable option.
Will a hook clip hold my road bike if it has deep-section wheels?
Not always. Hook clips may not fit the deep aero rims common on road bikes, so check the clip’s fit against your rim before buying. Also confirm the load limit of roughly 15 to 20 kg (about 33 to 44 lb) for hook clips, per BikeTips (2026).
I rent my flat. Which mount avoids drilling into the walls?
A floor-to-ceiling stand wedges between the floor and ceiling, so it needs no drilling. A ceiling hoist is another option, but it requires high ceilings, according to BikeTips (2026).