A home fit check can show when a bike no longer suits you, using three riding signs: hip rocking, knee tracking, and pain after riding. Each sign is followed by one adjustment at a time, then a re-check.
Why check bike fit at home?
Home checks are useful because they test the bike’s result rather than only its numbers. Cycling UK describes a good fit as one where the hips don’t rock, the knees track in line with the pedals, and there is no knee, hip or lower-back pain afterwards (Cycling UK, 2026). These criteria can be judged on any ride without special equipment.
Symptoms that signal a possible fit problem
| Symptom | What the sources say | First step |
|---|---|---|
| Knee pain | Points to saddle height as the first thing to check (BikeTips, 2026) | Re-check saddle height |
| Hips rocking side to side | Listed as a sign the fit is not right (Cycling UK, 2026) | Work through the setup one change at a time and re-test |
| Knees not tracking in line with the pedals | Listed as a sign of poor fit (Cycling UK, 2026) | Review saddle position and pedal alignment |
| Lower-back pain after riding | Listed as a sign of poor fit (Cycling UK, 2026) | Re-check the complete setup, one change at a time |
Start with saddle height when the symptom is knee pain, since BikeTips names it first. Make one change at a time, then take a short ride to re-test, and stop riding if pain returns.
What self-measurement can and cannot establish
A tape measure gives one figure, the inseam, which is only a starting point (BikeTips, 2026). It captures leg length alone. Crank length, mobility, reach and stack also affect fit, and none of them can be read from a single home measurement. A saddle height that matches a formula can still feel wrong if the reach to the handlebars is poor or if limited flexibility changes the hip angle. Use home measurements to set a baseline, then rely on the riding symptoms to judge whether the baseline works.
Why repeat the check after equipment changes
Changing the saddle, seatpost, pedals or shoes alters the position the body rides in, even when the frame stays the same. Because the symptom criteria above need no measuring, they can be repeated after each change without new equipment. Recheck hip movement, knee tracking and pain after each ride following a change.
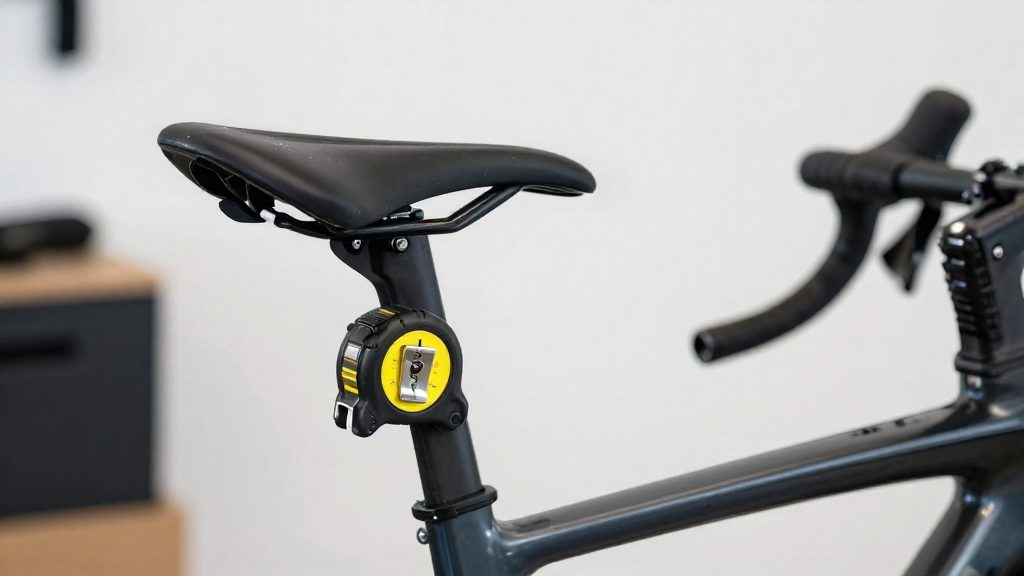
What you need: tape measure, book, wall
Home measurements are only comparable when the equipment and posture stay the same each time. You need a tape measure, a flat book, and a vertical wall with clear floor space in front of it. Your clothing and footwear also affect the reading, so they need to be controlled.
Tape measure and units
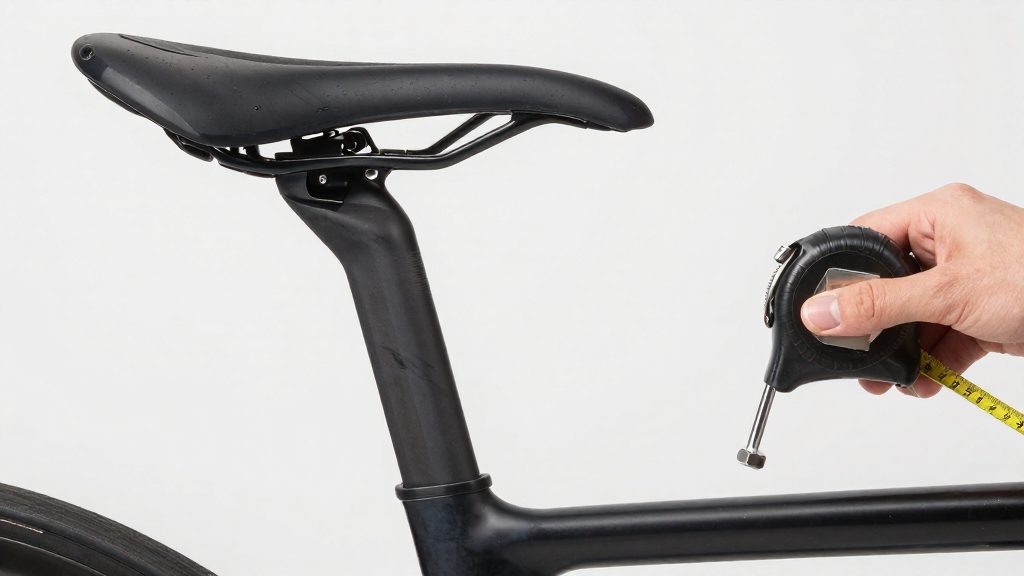
Use a flexible tape marked in centimetres. Cycling UK (2026) gives its figures in centimetres, so using the same unit avoids conversion errors. Work in one unit throughout the process. Before you start, check that the tape’s zero point is intact. A tape with a loose or damaged end tab shifts every reading by the same amount, which makes the results look consistent when they are not.
Read the mark straight on, with your eye level with the tape. Reading at an angle introduces parallax error, which can shift the apparent position of the mark by a noticeable amount.
Book and wall-contact posture
Cycling UK (2026) uses a book pressed between the legs, with the measurement taken from the floor to the top of the book. BikeTips (2026) adds that you mark the top of the book on the wall before measuring the distance from the floor to that mark. The wall is therefore a fixed reference, and the book is a simple spacer that you hold in the same position each time.
Stand with your back flat against the wall and your feet shoulder-width apart (BikeTips, 2026). If your shoulders or lower back lift away from the wall, the mark moves higher and the reading is inflated. Keep the same book, the same wall spot, and the same stance across sessions so that any change in the result reflects a change in your body rather than in your setup.
Clothing and footwear
BikeTips (2026) specifies measuring barefoot, in the cycling kit you usually ride in. Going barefoot removes the sole thickness of a shoe, which would otherwise add to the height of the reading. Thick trousers or heavy fabric also raise the book, so use the same thin layer every time.
How do you measure your inseam?
Cycling UK’s method uses a book as a height reference. Press the book up between your legs, mark its top edge on the wall, then measure from the floor to that mark. The reading you record here is the input for every later calculation, so each step needs to be done precisely.
| Step | Action | What to record |
|---|---|---|
| 1 | Press the book up between your legs until it sits snugly at the crotch | Nothing yet |
| 2 | Hold the book level and mark its top edge on the wall with a pencil | Mark position |
| 3 | Measure vertically from the floor to the pencil mark | First reading in cm |
| 4 | Lower the book, press it up again, and repeat steps 2 and 3 | Second reading in cm |
Marking the book top is where most errors occur. The pencil line must sit on the top edge of the book, not on its spine or its lower edge. Measure from the floor itself. Any gap between the floor and the tape’s zero point shifts the whole figure, and that error carries straight into the final result.
Repeating the measurement confirms the inseam reading. Two readings taken from fresh book placements should agree closely. If they differ noticeably, the book was probably tilted or the mark was misplaced, so repeat the full procedure before using the figure. A single reading is not enough to rely on.
How do you calculate saddle height?
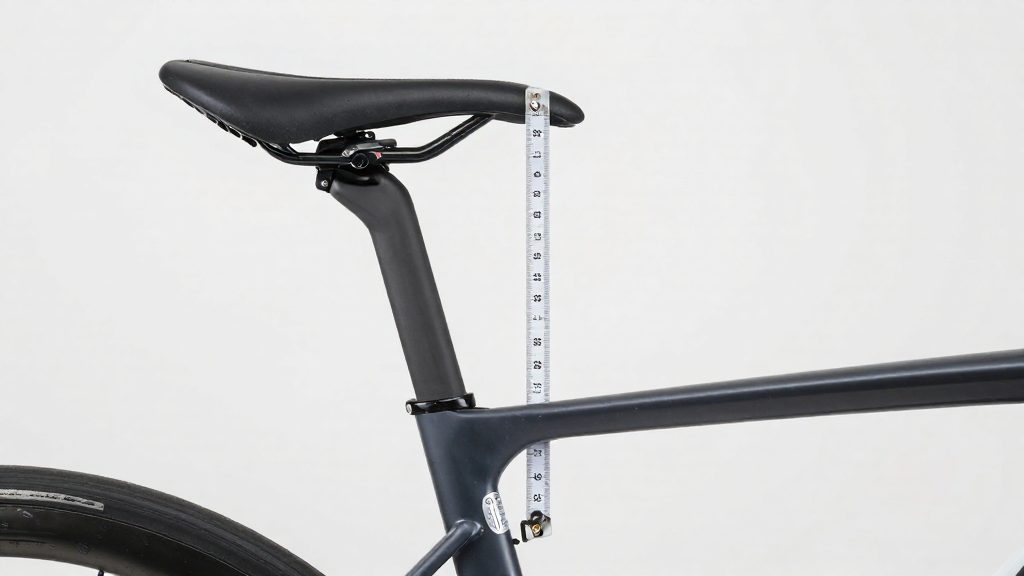
Multiply your recorded inseam by a fixed factor to get a starting saddle height. Cycling UK uses 0.883, and Triathlon Magazine Canada uses 0.885. Both measure the result from the centre of the bottom bracket to the top of the saddle. Triathlon Magazine Canada also offers a second formula, 109% of inseam, which uses a different reference point.
Cycling UK: inseam × 0.883
According to Cycling UK (2026), multiply the inseam by 0.883 and measure the result from the centre of the bottom bracket to the top of the saddle. For a 78 cm inseam:
78 cm × 0.883 = 68.87 cm, or about 68.9 cm
Triathlon Magazine Canada: two formulas
Triathlon Magazine Canada (2026) gives two methods:
- Inseam × 0.885, measured from the bottom-bracket centre to the saddle top.
- 109% of inseam, measured from the saddle top to the pedal spindle centre, with the crank at 6 o’clock.
The bottom bracket centre as reference
The bottom bracket centre is the axis around which the cranks rotate. Measure to this point, not to the lowest point of the frame or the pedal.
Comparing the outputs
| Formula | Source | Measured from / to | Result for 78 cm inseam |
|---|---|---|---|
| Inseam × 0.883 | Cycling UK (2026) | Bottom-bracket centre to saddle top | 68.9 cm |
| Inseam × 0.885 | Triathlon Magazine Canada (2026) | Bottom-bracket centre to saddle top | 69.0 cm |
| Inseam × 1.09 | Triathlon Magazine Canada (2026) | Saddle top to pedal spindle centre, crank at 6 o’clock | 85.0 cm |
The two bottom-bracket formulas differ by only 0.1 cm at this inseam, so the choice between them matters little. The 109% result is larger because it measures to the pedal spindle, which sits one crank length below the bottom-bracket centre at 6 o’clock. To compare it with the other two, subtract your crank length, which is printed on the crank arm or listed in the manufacturer’s specification.
Check knee bend with the heel method
The heel check tests whether the saddle is too low at the bottom of the pedal stroke. Cycling UK (2026) describes the method: with the heel on the pedal at 6 o’clock, the leg should be fully straight. Resting the heel on the pedal changes the foot’s position, so the test shows how far the knee extends at the lowest point of the crank rotation.
To run the check:
- Sit on the saddle in the cycling kit you usually ride in.
- Rotate the crank until the pedal you are testing sits at 6 o’clock, its lowest point.
- Place your heel on the pedal and keep the leg extended.
- Look at the knee. It should be straight.
- Repeat the check with the other leg.
The result is read as follows:
| Heel-on-pedal result | Interpretation (Cycling UK, 2026) |
|---|---|
| Leg fully straight | Saddle height is consistent with the heel check |
| Knee visibly bent | Saddle is too low |
The heel check is a diagnostic position, not your riding position. When you ride with the ball of the foot on the pedal, Cycling UK (2026) gives an expected knee bend of about 25–30° at the bottom of the stroke. A straight leg on the heel check therefore does not mean your knee should be straight while pedalling. Use the heel check to decide whether to raise the saddle, then confirm the result by riding with the ball of the foot on the pedal and checking that the knee bend falls within that range.
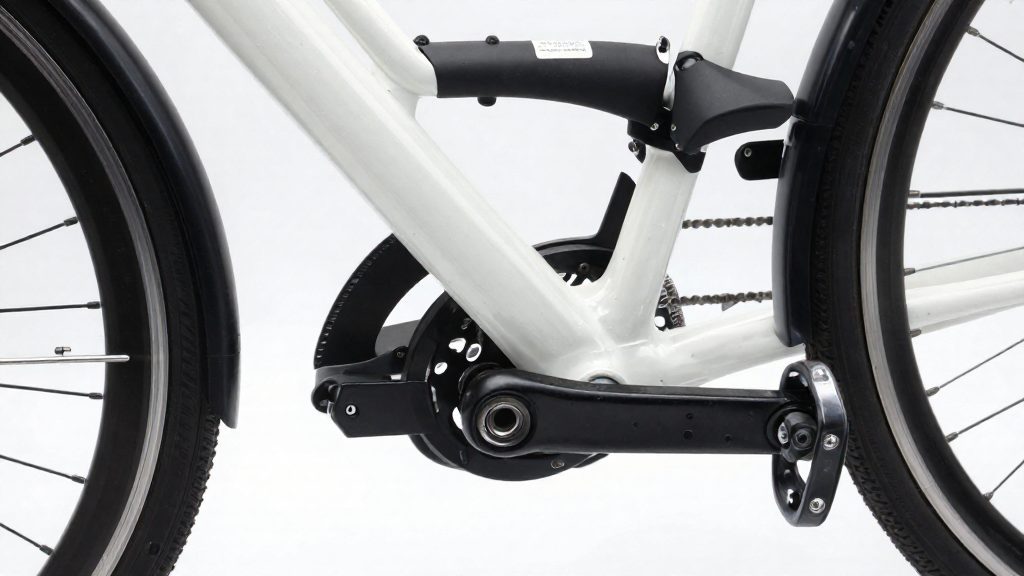
Fore/aft position and reach checks
Fore/aft position and reach are set after saddle height, because they change where the knee sits relative to the pedal and how far the torso reaches forward. Height formulas do not determine either measurement.
Knee over pedal spindle is the main fore/aft check. Clip in or set the pedals so the crank sits horizontal, then drop a plumb line from the front of the kneecap. Triathlon Magazine Canada (2026) describes the target as the knee sitting directly over the pedal spindle. Set cleat position first: cleats start centred on the shoe, about 0.5 cm behind the ball of the foot. Moving the cleat changes the knee position, so adjust the cleat before moving the saddle.
For the saddle, keep it level or tilt it very slightly down. A steep nose-down angle shifts pressure onto the hands and arms and makes fore/aft changes harder to judge.
Reach and stack describe how the handlebars relate to the saddle. Reach and stack are frame measurements: the horizontal and vertical distance from the bottom bracket to the top of the head tube. Together with stem and bar choice, they set how far and how high the handlebars sit relative to the saddle. Triathlon Magazine Canada (2026) recommends starting with the bars higher and lowering them gradually. Ride a short test loop after each change, and stop at the point where the back stays flat without strain in the neck, shoulders or hands.
Crank length and mobility limit how low and how far forward you can comfortably ride. If hip or hamstring flexibility restricts a low, long position, raise the stack or shorten the reach rather than forcing the posture. Crank length is usually printed on the crank arm, so confirm it there before changing components.
Adjust the saddle safely
Changing saddle height means loosening the seatpost clamp, moving the post, and locking it again. Cycling UK (2026) gives the sequence: loosen the seatpost clamp with a hex key, set the height, then tighten securely. The adjustment is only safe when the post is clamped firmly and inserted deep enough in the frame.
Loosening and setting the height
Use the hex key that fits the clamp bolt exactly. Loosen the bolt just enough for the post to slide. Over-loosening can strip the threads, so avoid backing the bolt out fully. Raise or lower the saddle in small steps, and measure the new height from the same reference point you used for the original setting so each change is traceable.
Tightening and the insertion mark
Most seatposts carry a minimum insertion mark, a line or “min” marking engraved on the post. After setting the height, confirm that the mark is hidden inside the frame. If any part of it shows, the post is not held securely enough to ride. Lower the post or fit a longer one.
Tighten the clamp to the torque value printed on the frame or seatpost. If you have no torque wrench, do not estimate the force. Use the manufacturer’s label as the reference. Once tightened, grip the saddle and try to rotate it and push it down. The post should not move.
Post-ride check
When should you see a professional fitter?
A home check helps with basic adjustments, but some signs show that it has reached its limit. If pain continues after you have corrected saddle height and reach, the cause probably lies in a factor you cannot measure with a tape.
Pain that does not ease after the adjustments is the clearest threshold. Stop riding through it and book a professional fitter. See a physiotherapist or doctor if the pain is sharp, severe or lasting.
Injury history or limited joint mobility is the second threshold. A previous injury or restricted range in the hip or knee means the standard measurements may not describe a position your body can hold comfortably. A fitter can observe your movement on the bike and adjust the setup to your actual range, rather than to a generic figure.
Cleat and pedal alignment is the third (see the cleat starting position above). Small rotational errors here can produce knee strain that looks like a saddle problem, so if the knee pain persists after the saddle is correct, check the cleats before changing anything else. A fitter can verify this with your own shoes and pedals, which a home check cannot reproduce.
Frequently asked questions
How can I tell if my saddle is too low without measuring anything?
Place your heel on the pedal with the crank at 6 o’clock. Your leg should be fully straight. If your knee stays bent, the saddle is too low and needs raising in small steps. Riding on the ball of the foot instead produces a knee bend of about 25–30° at the bottom of the stroke, which is normal and should not be confused with this test.
Which seat-height formula should I use at home?
Cycling UK uses inseam × 0.883, measured to the centre of the bottom bracket. Triathlon Magazine Canada (2026) gives inseam × 0.885 to the same point, and 109% of inseam measured from the saddle top to the pedal spindle with the crank at 6 o’clock. Because the 109% method uses a different reference point, its result will not match the bottom-bracket figures, so choose one method and measure the same way each time.
How do I set the fore/aft position of my knee?
Hang a plumb line from the front of your kneecap and adjust the saddle until the line passes through the pedal spindle. Cleats should start centred on the shoe, about 0.5 cm behind the ball of the foot. Set the saddle level or tilted very slightly nose-down, and start with the handlebars higher, lowering them gradually.