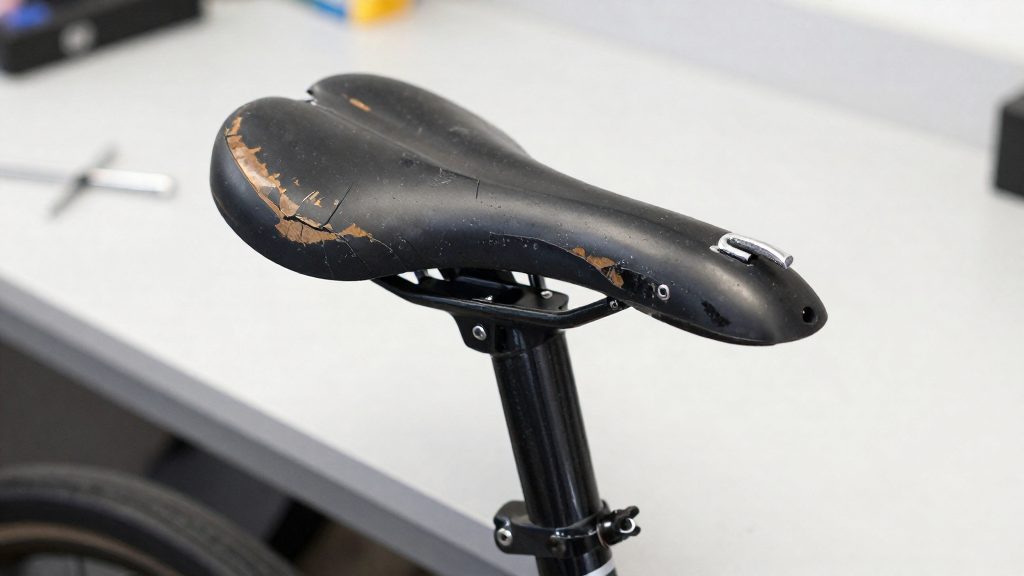
Saddle soreness is a group of related problems rather than one injury. Five mechanisms can cause it: pressure, friction, heat, moisture and hair-follicle irritation. Infection is the escalation that can follow when the skin is damaged. According to Roadman Cycling (2026), these causes can overlap in different ways, so the first step is working out which mechanism dominates before you change anything.
Why does my bike saddle hurt?
Pressure and friction
Pressure builds where the sit bones load the saddle. A firmer or narrower contact concentrates force on a small area of soft tissue. Singletracks (2026) notes that overly plush saddles can increase pressure on soft tissue. Friction is the rubbing of skin against the chamois or the saddle during pedalling. A loose chamois rubs the skin, according to Singletracks (2026), so the skin is rubbed wherever the fabric moves.
Heat and moisture
Heat accumulates inside the kit during long or hard efforts, while moisture from sweat softens the skin. Softened skin is more easily damaged by the same rubbing that a dry surface tolerates. The two mechanisms often act together, which is why they are hard to separate on a long ride.
Follicle irritation and infection
Hair follicles in the contact zone can become inflamed when friction and trapped moisture repeatedly disturb them. Singletracks (2026) identifies bacteria as a cause of folliculitis, an inflammation of the follicle. Infection is the escalation: once a follicle or abrasion is colonised, the mechanisms overlap and the problem shifts from irritation to spreading inflammation.
Reading symptoms with caution
The mechanisms above can combine, so no single symptom reliably points to one cause. A deep ache, numbness, burning, redness or a small bump may each arise from more than one mechanism, and the appearance of the skin does not settle the question. Record when each symptom appears, during the ride and after it, and use that log to decide which variable to test next.
Check saddle height and tilt first
Before changing anything else, record your current setup: saddle height, setback, tilt and saddle model. Roadman Cycling (2026) advises making one reasoned change at a time. If you change several variables at once, you cannot tell which adjustment helped or made things worse.
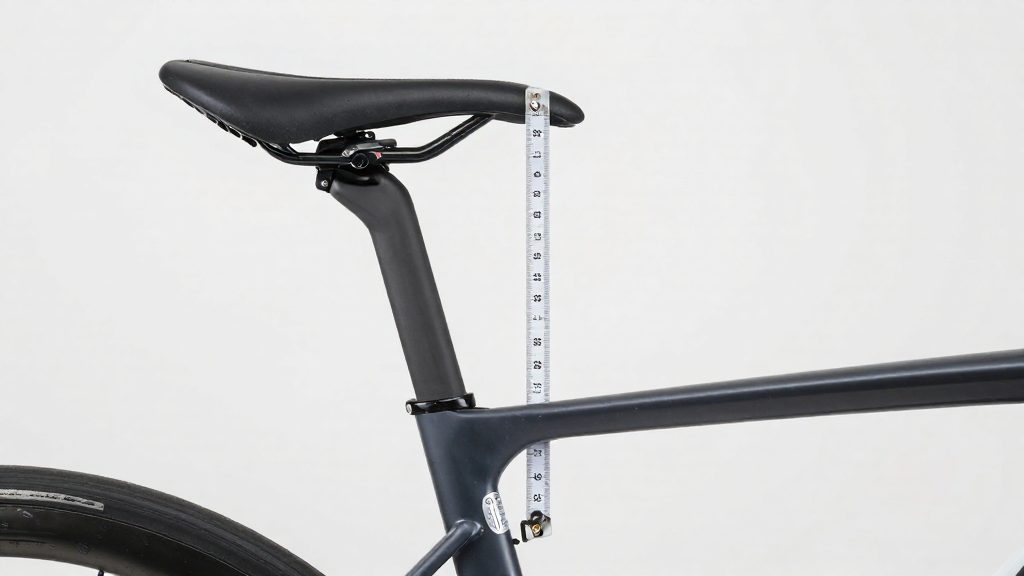
Saddle height is the first variable to check. According to Singletracks (2026-01-26), a saddle set too high causes you to over-reach and makes your pelvis rock as you pedal. A saddle set too low overloads the undercarriage. Both errors shift load onto soft tissue instead of the sit bones, so the position itself can produce the soreness you are trying to fix.
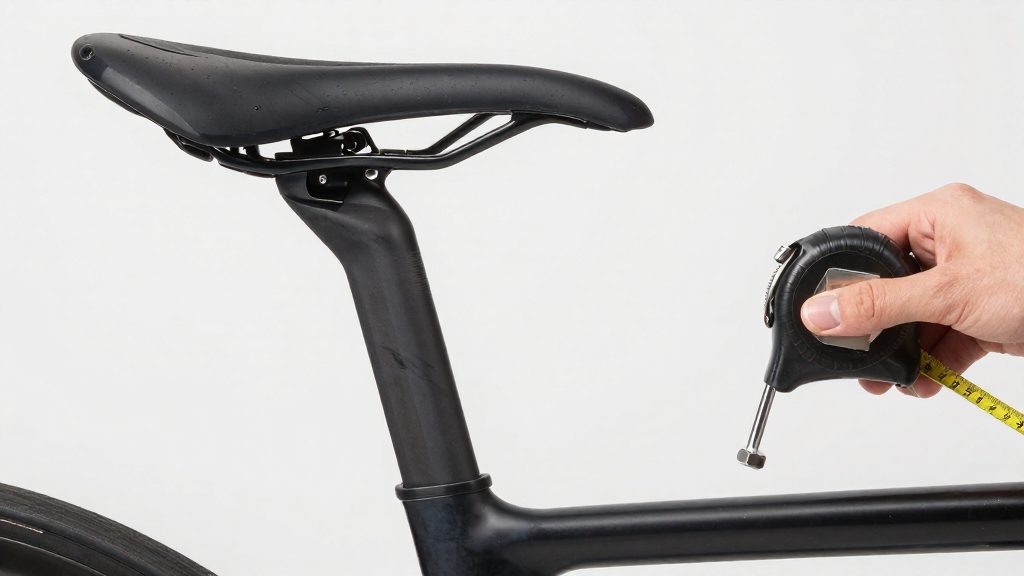
Setback is the horizontal distance from the saddle to the bottom bracket, adjusted by sliding the saddle along its rails. Measure it from a fixed reference point, such as the rail markings or a plumb line dropped from the saddle nose, and write it down with the height.
Tilt is the third check. Singletracks (2026-01-26) notes that a nose-down saddle makes you slide forward, while a nose-up saddle overloads the pubic area. The target is a saddle parallel to the ground. Check this with a spirit level on the top of the saddle while the bike stands on level ground, then adjust in small increments.
Once the baseline is recorded, use this method:
- Ride a familiar route at the current settings and note where discomfort appears and when.
- Change one variable, such as bringing the tilt to parallel.
- Ride the same route again under comparable conditions.
- Only after the first change has been assessed, move to the next variable.
How do you choose the right saddle width?
Your saddle width should match your sit-bone spacing, the distance between the two bony points of your pelvis that carry your weight on the saddle. According to Singletracks (2026-01-26), sit-bone spacing is typically 10–14 cm. You then add an allowance based on how you ride, which changes the width you need.
Measuring your sit-bone spacing
- Place a piece of stiff cardboard on a hard floor and sit on it upright, with your feet off the ground or resting lightly on the floor.
- Keep your weight evenly distributed and avoid leaning forward.
- Note the two indentations left by your sit bones and measure the distance between their centres with a ruler, in centimetres.
- Repeat the measurement once more to check it.
A measurement in the typical 10–14 cm range is consistent with the typical spacing; a result outside it is a reason to re-check the method. A result outside that range is a reason to double-check the method before buying.
Width allowances by riding position
Add the allowance for your riding position to your measured sit-bone spacing. For example, a sit-bone spacing of 12 cm with a moderate riding position gives 12 + 2 = 14 cm.
| Riding position | Allowance added to sit-bone spacing |
|---|---|
| Triathlon or time trial | +0 cm |
| XC racing | +1 cm |
| Moderate | +2 cm |
| Slightly bent | +3 cm |
| Upright | +4 cm |
The more upright your posture, the more width you need, because your weight shifts toward the rear of the saddle and spreads across a larger area.
When in doubt, choose wider
If your measurement falls between two saddle widths, or you cannot determine your riding position with confidence, choose the wider option. Singletracks (2026-01-26) recommends this rule of thumb. Before you buy, confirm that the saddle model you have chosen is available in the width you need, since manufacturers list widths in different ways and the label on the product is the reference for the exact measurement.
Do padded shorts and chamois cream help?
Padded shorts reduce friction only when the chamois fits well, and chamois cream can lower friction for some riders but does not guarantee prevention. According to Roadman Cycling (2026), it may reduce friction for some riders but does not guarantee prevention. The two aids address different parts of the problem, so use them alongside a correct fit rather than in place of one.
Fit of the chamois
A snug chamois matters more than the pad itself. Singletracks (2026-01-26) recommends choosing a snug fit because a loose chamois rubs the skin. Any movement inside the shorts becomes friction with every pedal stroke, so the pad needs to stay in place as you move.
| Chamois fit | What happens on the bike | What to do |
|---|---|---|
| Snug | Stays put through the pedal stroke | Keep this size |
| Loose | Shifts and rubs the skin | Try a smaller size or a different cut |
Check fit in your riding position, not while standing still. If the pad bunches or shifts when you pedal, the size or cut is wrong for your body, even if the label matches your waist measurement.
Chamois cream: what it does and where it stops
Chamois cream reduces friction at the contact point between skin and pad. Its effect is limited, and it cannot correct a poor-fitting garment or a saddle set in the wrong position. Apply it to the pad or skin before riding.
Pad thickness for road and gravel
Pad thickness is a trade-off between cushioning and fit. A thicker pad adds cushioning but can bunch and change how the shorts sit, which becomes more noticeable on longer rides. A thinner pad keeps the fit close but offers less padding. Choose the thickness by testing it on a ride of the length you normally do, then judge whether the pad stays flat and stable before committing to longer distances.
Adjust reach and handlebar position
Reach is the horizontal distance from the saddle to the handlebar, and it is set mostly by stem length and bar position. According to Singletracks (2026), an overly aggressive reach increases strain on the body, so reach is the first dimension to check when soreness appears after longer rides.
Why reach shifts load
A long reach flattens the torso and rotates the pelvis forward. The lower back then works in greater flexion for the whole ride, and more body weight passes through the arms and hands. Low bars amplify this effect, because the rider must reach further down and forward.
Raising the bars reduces forward lean. A more upright torso lowers lumbar flexion and moves some body weight back toward the saddle and pedals. The trade-off is that the sit bones take a larger share of the load, so a higher bar position does not automatically reduce pressure on the saddle.
Adjusting reach without changing saddle height
Singletracks (2026) recommends raising the bars or shortening the stem while keeping saddle height unchanged.
| Adjustment | Effect on reach and posture | Effect on load |
|---|---|---|
| Shorten the stem | Reduces horizontal reach | Less weight carried through the arms and lower back, more shifted to the saddle and pedals |
| Add headset spacers under the stem | Raises the bars, more upright torso | May move some weight back toward the saddle and pedals |
| Fit higher-rise handlebars | Raises the grip position with the stem unchanged | Reduces forward lean without altering stem length |
Balancing weight across the contact points
A bike rider rests weight on three contact points: the saddle, the handlebar and the pedals. Reducing reach or raising the bars moves weight off the bars and onto the saddle and pedals. The goal is a balance in which no single contact point carries the majority of the load for the whole ride.
After a change, ride a short route and check for a sore lower back or numb hands. If the lower back is sore, the reach is probably still too long. If the hands tingle or the saddle feels heavier, the bars may now be too high or the stem too short, and a smaller adjustment is needed.
How long does a new saddle take to break in?
Break-in is the period your body needs to adapt to a new saddle’s shape, padding and angle. No fixed duration applies to every rider, so judge progress by how each ride feels rather than by a calendar date. Ride length is the variable you control most directly.
Build ride length gradually
Start with rides shorter than your usual distance, and extend them only after a ride that left no lasting soreness. Plush saddles can increase pressure on soft tissue, so a softly padded model may feel comfortable on short rides and still cause problems on longer efforts. Keep a simple log of distance, duration and where discomfort appears. The log shows whether soreness is easing across successive rides or staying the same.
Adaptation soreness or a genuine mismatch?
Adaptation discomfort tends to ease from one ride to the next. Discomfort that stays constant, or that appears in the same place regardless of ride length, usually points to a setup problem. Check position before blaming your body.
| Symptom pattern | Likely setup cause | Adjustment to test |
|---|---|---|
| Sliding forward on the saddle | Nose-down tilt | Level the saddle toward parallel with the ground |
| Pressure in the pubic area | Nose-up tilt | Lower the nose slightly toward parallel |
| Pelvic rocking and over-reaching | Saddle too high | Lower the height in small steps |
| Pressure on the undercarriage | Saddle too low | Raise the height in small steps |
Allow several rides before judging the result. If soreness persists after tilt and height are corrected, the saddle’s shape or padding may not suit you, and an overly aggressive reach can add strain on its own. Raising the handlebars or shortening the stem reduces that strain without compromising saddle height, according to Singletracks (2026-01-26).
When to stop and return to the old saddle
Return to the previous saddle when soreness does not ease across rides after you have corrected tilt and height. Do not continue a longer ride on the new saddle to test it.
Hygiene and care for sore skin
Many skin problems after long rides start between rides, not during them. Sweat that stays trapped against the skin and fabric creates a warm, damp surface where irritation and bacteria can thrive. According to Singletracks (2026), trapped sweat dries into abrasive salt, and bacteria can cause folliculitis. Hygiene therefore means managing what happens to your kit after you stop pedalling, as well as during the ride.
How dried sweat damages the skin
Sweat leaves residue behind as it evaporates. The sweat salt crystals left in the fabric act like fine grit, rubbing the skin with every pedal stroke, and the moisture they hold keeps the area soft and vulnerable. Bacteria present on the skin and in the fabric then multiply on that damp surface, which can inflame the hair follicles. This inflammation is folliculitis, the condition Singletracks links to trapped moisture and bacteria.
After-ride routine
| Step | Action | Purpose |
|---|---|---|
| Change out of wet kit | Remove sweaty shorts and base layers as soon as you finish | Shortens the time skin stays in contact with sweat (Roadman Cycling, 2026) |
| Wash shorts | Launder the chamois shorts after every ride | Removes the salt and bacteria that dried into the fabric |
| Dry fully | Dry shorts completely before the next ride | Prevents damp fabric from returning to the skin |
The most important rule is simple: never ride twice in the same unwashed shorts. Wearing a pair again before it has been laundered reintroduces the salt residue and bacteria that cause the problem, even if the shorts look and smell clean.
Limiting damage on compromised skin
If the skin is already broken or very painful, reduce or stop riding on it, as Roadman Cycling (2026) advises. Continuing to ride on damaged skin adds friction to the area that is least able to tolerate it, so the hygiene routine above becomes even more important during recovery.
When should you see a doctor?
Most saddle soreness responds to changes in your riding setup, but some symptoms point to infection or to damage that needs examination. You cannot identify the cause from the skin alone, and the symptom patterns above are only a rough guide. According to Roadman Cycling (2026), the following signs mean you should seek clinical care rather than keep adjusting your bike:
- Redness that spreads beyond the original area
- Marked swelling
- Drainage from the skin
- Fever or feeling unwell
- Severe pain
- A lump that is getting larger
- Sores that keep returning
If any of these appear, stop riding until you have been assessed. Any one of these signs warrants prompt clinical assessment, and none of them should wait for a self-directed trial of a new saddle or cream.
Do not squeeze or drain a lesion at home. That step is a clinician’s decision, because they can judge whether the sore needs treatment beyond the skin.
Before the appointment, write down when the symptoms started, whether the area has changed in size or colour, and which saddle you were using.
Frequently asked questions
Does chamois cream stop saddle sores?
Chamois cream may reduce friction for some riders, but it does not guarantee prevention. Treat it as a supplement to a correct saddle fit rather than a fix on its own.
Is a more padded saddle always more comfortable?
No. According to Singletracks (2026-01-26), overly plush saddles can increase pressure on soft tissue. Padding alone does not determine how load is spread across the sit bones, so judge a cushioned model against your own riding position.
What should I record before changing my saddle?
Note your current saddle height, setback, tilt and saddle model before adjusting anything. Then make one change at a time, so you can tell which adjustment had an effect.