What is headset play and why does it matter?
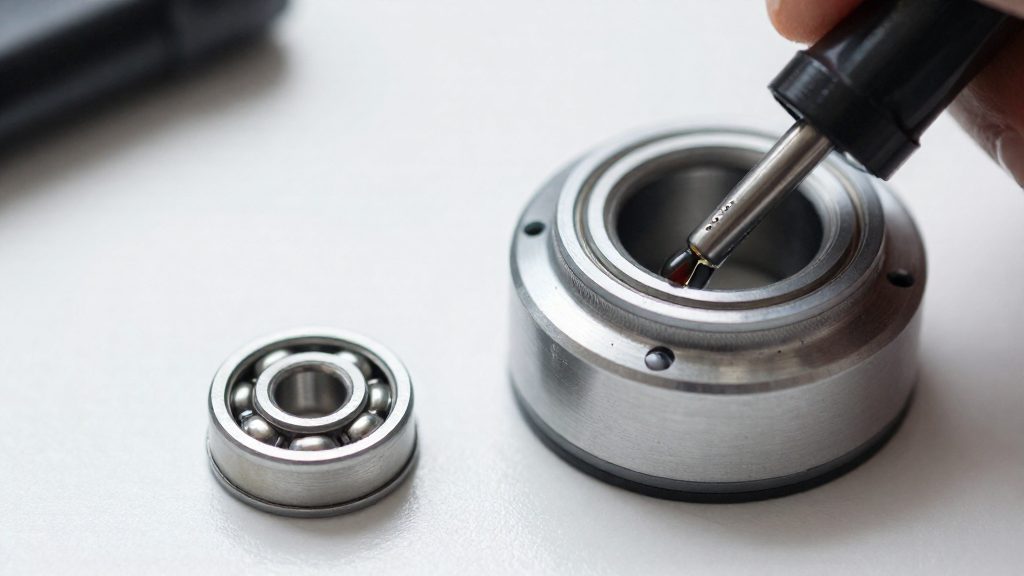
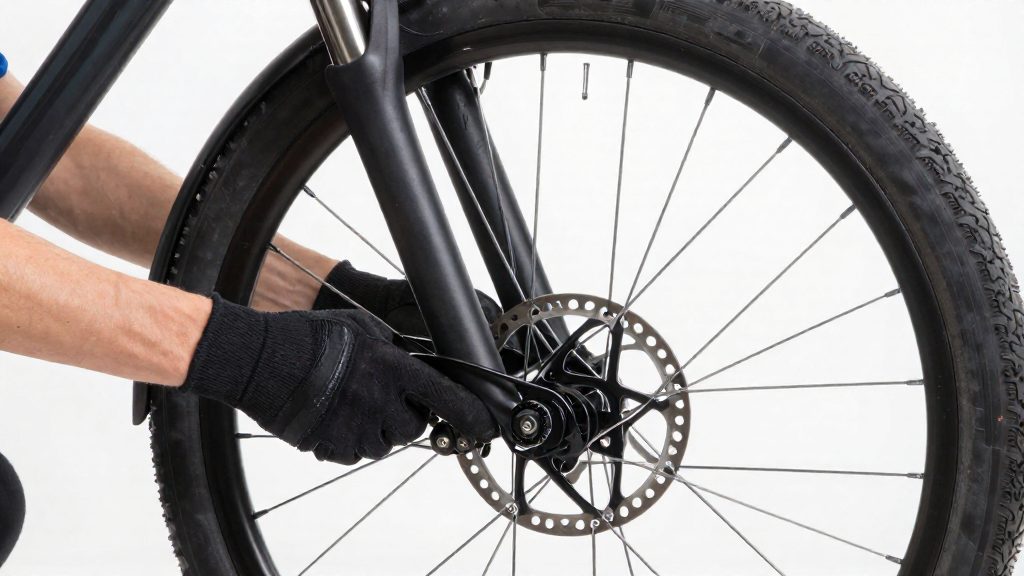
The headset is the set of bearings that lets the fork and front wheel rotate smoothly left and right while the frame stays fixed. Each bearing set runs between two bearing races: one pair sits at the top of the head tube and another at the bottom. Play means these races are no longer held tightly against the bearings, so the fork can shift slightly forward, backward or sideways relative to the frame. The bearings are designed to carry load evenly, and any slack lets the balls or rollers strike the races at changing points instead of rolling smoothly.
Looseness causes three practical problems:
- Bearing wear: Movement concentrates force on small contact points, which causes pitting and roughness in the races and shortens bearing life.
- Steering: A loose front end can feel vague, and the wheel may drift off line when the rider changes direction or rides over uneven surfaces.
- Brake judder: When the front brake is applied, the fork is pushed back against the headset. In a loose headset this produces a knocking or shuddering feel through the bars, which is often called brake judder. It can make braking feel inconsistent even when the brake pads and rotor are in good condition.
The adjustment method depends on how the headset is built. The three common types differ in how the bearings are seated and how preload is set:
| Headset type | Bearing construction | How the bearings are held |
|---|---|---|
| Threaded | Separate cups and cones, with the fork steerer threaded | Adjustable cone locked by a lock nut on the threaded steerer |
| Integrated | Bearings sit directly in the frame and fork without separate cups | Bearing seats are machined into the frame; preload is set through the top cap and stem |
| Tapered | Tapered bearing races on both the top and bottom, matching a tapered steerer and head tube | Bearings seat on angled surfaces that help keep the stack centred under load |
Knowing the type matters because the preload point differs. A threaded headset is preloaded at the cone and lock nut, while integrated and tapered designs are preloaded at the top of the stack. Check which type your bike uses before you attempt to remove play. The adjustment steps below apply to headsets preloaded by a top cap. A threaded headset is adjusted at the cone and lock nut, so take it to a shop if you are unsure.
How do you check headset play by hand?
Checking headset play by hand means feeling for movement between the fork steerer and the frame’s head tube without tools. Stand squarely in front of the bike, with the front wheel between your knees or held steady by a helper, so the front end is loaded and the bars can move freely. Keep your hands relaxed. Tension in the grip hides small movements.
Place one hand on the lower headset cup where it meets the fork crown, and rest the fingers of your other hand on the head tube. Squeeze and hold the front brake, then rock the bike gently back and forth. According to PNW Components (2026), knocking felt through your hand means the headset is loose. If you cannot locate the source, turn the bars 90° and repeat the check.
Movement can come from several places, so note where you feel it. The table below sorts the most common sensations.
| Sensation under your hand | Likely source |
|---|---|
| Sharp click or knock at the lower cup, repeating with each rock | Headset bearings or preload |
| Play felt only when you grab the wheel and move it sideways | Wheel bearing at the hub |
| Clunk that appears when the bars are turned, not when rocking | Stem bolts or stem clamp |
Record each sensation as a click, a clunk, or small movement, along with its location (cup, crown, or hub) and whether it appears on rocking, turning, or both. A written note makes it easier to tell a headset problem from a hub problem, and it gives you a clear record if the play returns after adjustment.
Front brake rock test step by step
The brake-applied rock test checks for headset looseness by holding the front wheel still, so any movement at the fork crown comes from the headset rather than from the wheel rolling. Work through the steps below on a bike standing upright, with the front wheel on the ground.
- Place your hand on the lower cup. Position one hand over the lower headset cup where it meets the fork crown. Your palm should rest on the cup so that movement at that junction reaches your hand.
- Hold the front brake. Squeeze the front brake lever and keep it held for the entire test. Releasing it mid-test removes the braking load the procedure depends on.
- Rock the bike. With the brake held, push and pull the bike front to back. The fork and frame move against the headset bearings, so any play shows up at the cup.
- Read the feedback. Knocking felt through your hand means the headset is loose.
- Compare bar positions. Turning the bars shifts the fork relative to the frame, so a knock that is hidden in one position can become audible in another.
Repeat the test at least once in each bar position, using the same hand placement and the same brake pressure, so the results are comparable. Note the position where the knock is strongest, since this narrows down which part of the headset to inspect.
How do you tell if a headset is too tight?
An overtight headset restricts the fork’s rotation, and the lift-and-shove test is the quickest hands-on check for it. It needs no tools: you only lift the front wheel and push the bars.
Lift-and-shove test
Lift the front of the bike by the top tube so the front wheel is about 2.5–5 cm (an inch or two) off the ground. Then give the handlebars a gentle shove. According to Canyon (2026), the front end should swing side to side under its own weight. Give only a light shove, so the way the front end swings reflects the bearing preload rather than your steering input.
Reading the wheel’s behaviour
| Wheel behaviour after the shove | Result |
|---|---|
| Swings side to side freely | Headset is not too tight |
| Holds its position | Headset is too tight |
| Slows down instead of flopping freely | Headset is too tight |
PNW Components (2026) describes the two overtight outcomes in the table. The slowing case is the easier one to dismiss, because the wheel still moves a little, so repeat the test if the response is unclear.
Releasing an overtight headset
If the wheel holds or slows, the preload is set too high. The headset is preloaded by the top cap screw, and Canyon (2026) states that turning it left, meaning anticlockwise when viewed from above, loosens a headset that is too tight. Canyon also notes that a quarter turn is often enough.
After each anticlockwise turn, repeat the lift-and-shove test. The wheel should now swing freely under its own weight. Stop turning once it does, since further loosening moves the headset toward excess play.
How to adjust a loose headset
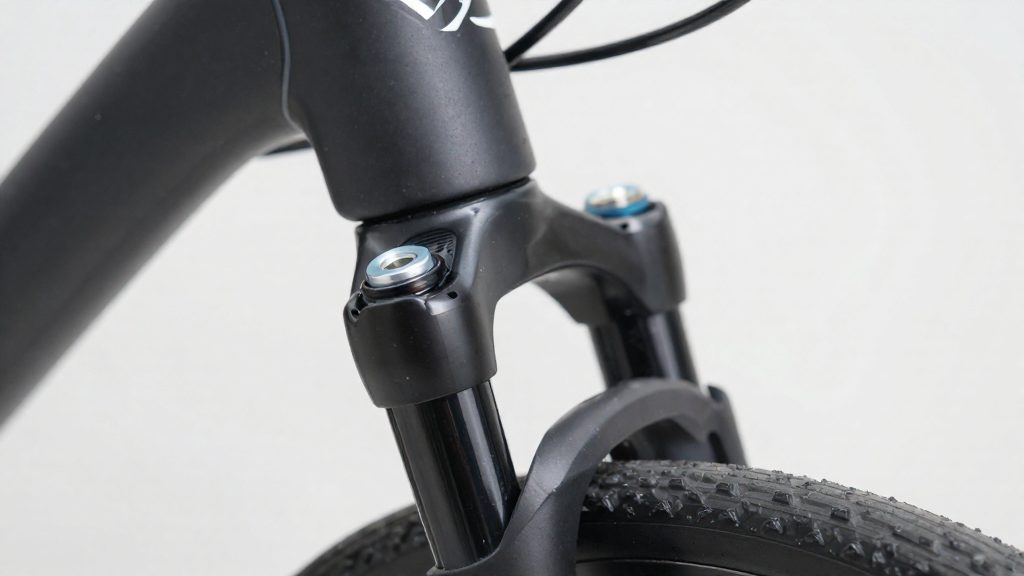
A loose headset is fixed by raising the preload on the top cap screw in small, controlled increments, with a rock test after each one. The sequence below starts with the stem clamp and ends with a rotation check before the stem is locked down. Work with the bike upright and the front wheel on the ground.
Step 1: Loosen the stem clamp bolts
Back off the stem clamp bolts by a few turns before touching the top cap. The top cap screw can only pre-load the bearings once the stem is no longer clamping the steerer tube. Keep the bolts engaged in their threads so the stem stays in position while you work.
Step 2: Turn the top cap bolt in half-turn steps
Turn the preload bolt clockwise. Clockwise tightens the bearings and removes play, and turning it the other way loosens a headset that is too tight. Make each adjustment a half turn, not a continuous turn, so the bearings do not take up more preload than needed.
Step 3: Rock the bike after each step
After every half turn, rock the bike forward and backward to check for remaining movement in the front end. Stop adjusting as soon as the knocking or movement disappears. Continuing past that point over-tightens the bearings.
| Step | Action | What to observe |
|---|---|---|
| 1 | Loosen stem clamp bolts a few turns | Stem can move on the steerer tube |
| 2 | Turn the top cap bolt clockwise half a turn | Preload increases |
| 3 | Rock the bike forward and back | Knocking or movement at the headset |
| 4 | Repeat steps 2 and 3 | Stop when the play is gone |
Step 4: Confirm free rotation before the final tightening
Once the play is gone, check free swing again. If the headset is still too tight, return to the last setting that allowed free movement. Only after the wheel swings freely should you tighten the stem clamp bolts.
When to see a shop for worn bearings
If play returns soon after you adjust the headset and re-torque the stem bolts to the marked value, preload is probably not the only cause, so check the bearings before adjusting again. Test each adjustment the same way so you can tell whether the result changed.
Next, inspect the bearings by hand. With the front wheel off the ground, turn the bars slowly from one stop to the other. Smooth movement through the full arc is a good sign, but one hand check cannot rule out wear. A shop can inspect the bearings if play keeps returning. Rough rotation, a notched feel, or catches at fixed points in the arc point to worn bearing surfaces or cups.
| Symptom | Likely cause | Next step |
|---|---|---|
| Play returns after adjusting and re-torquing | Worn bearings or cups | Inspect the bearings |
| Rough or notched rotation when turning the bars | Worn or pitted bearing surfaces | Take the bike to a shop |
| Play with smooth rotation | Preload too low, or wear not detectable by hand | Repeat the preload check; if play returns, have a shop inspect the headset |
Take the bike to a shop when rotation is rough or notched, or when play returns after careful adjustment. Ask the shop whether they replace cups and bearings together, and confirm the headset standard before buying parts. Your bike manual or the manufacturer’s documentation lists the headset type. Request an itemised quote that separates the labour for cup and bearing replacement from the parts cost, so you can compare shops on like-for-like terms.
Tools and torque tips
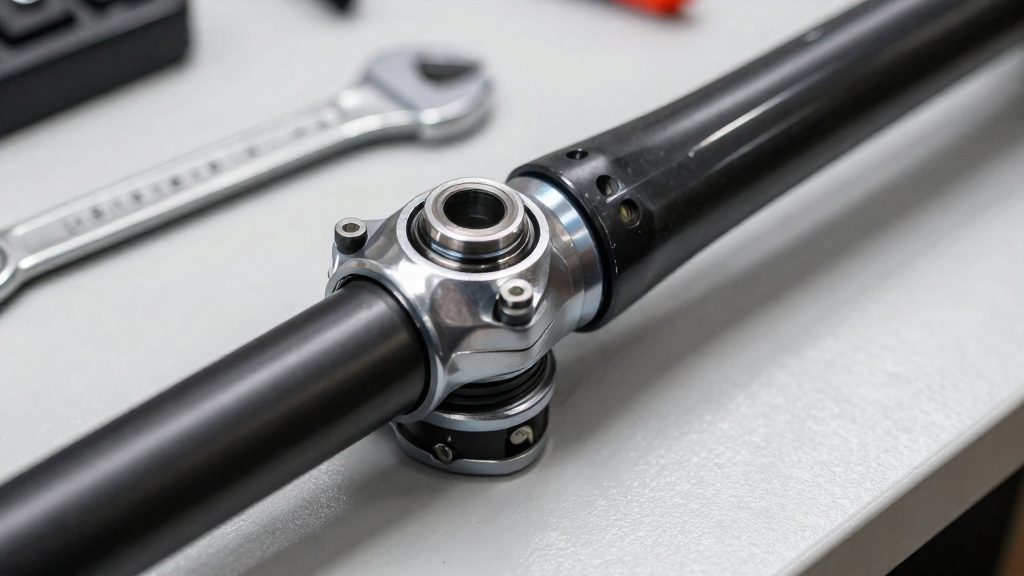
Headset and stem work needs two kinds of tool: 4, 5 and 6 mm Allen keys and a torque wrench, as listed by PNW Components (2026). The Allen keys serve both the stem clamp bolts and the top cap screw that sets headset preload. Choose the key that seats fully in each bolt head without play, because a worn key can round the head and make the bolt much harder to loosen later. Test the 4, 5 and 6 mm keys in the top cap head until one fits snugly.
| Item | Use in this job | Source |
|---|---|---|
| 4, 5 and 6 mm Allen keys | Stem clamp bolts and top cap screw | PNW Components (2026) |
| Torque wrench | Final tightening of the stem bolts | PNW Components (2026) |
Torque value is the reference for the stem bolts. Canyon (2026) states that the value is marked on the component and also printed in the bike manual. Read the figure from the stem face or the manual before tightening. Do not estimate it by feel. Use the torque wrench set to the marked value.
Stem alignment comes before the final tightening. Canyon (2026) specifies that the stem must be parallel to the top tube, or aligned with the front wheel, before the stem bolts are tightened. Set the bars straight with the wheel first, then tighten the bolts to the marked value. If the bars move after tightening, loosen the bolts and realign rather than forcing the stem.
Frequently asked questions
How can I check headset play by hand if I have never done it before?
Hold the front brake, place your hand on the lower headset cup where it meets the fork crown, and rock the bike front to back. Knocking you can feel through your hand means the headset is loose. If you cannot locate the source, turn the bars 90° and repeat the test.
How do I tell whether a headset is too tight rather than correctly set?
Lift the front wheel by the top tube and give the bars a gentle shove. A correctly set headset lets the front end swing side to side under its own weight, according to Canyon (2026). If the wheel holds its position or slows instead of swinging, the preload is too high. A PNW Components (2026) test uses a similar lift of one to two inches to check the same thing.
Does the top cap method also apply to threaded headsets?
No. Threaded headsets are adjusted from below the stem, using a lock nut that secures the adjustable cone on the steerer. The top cap above the stem is the adjustment point on integrated and tapered designs, so check which type your bike uses before turning anything.