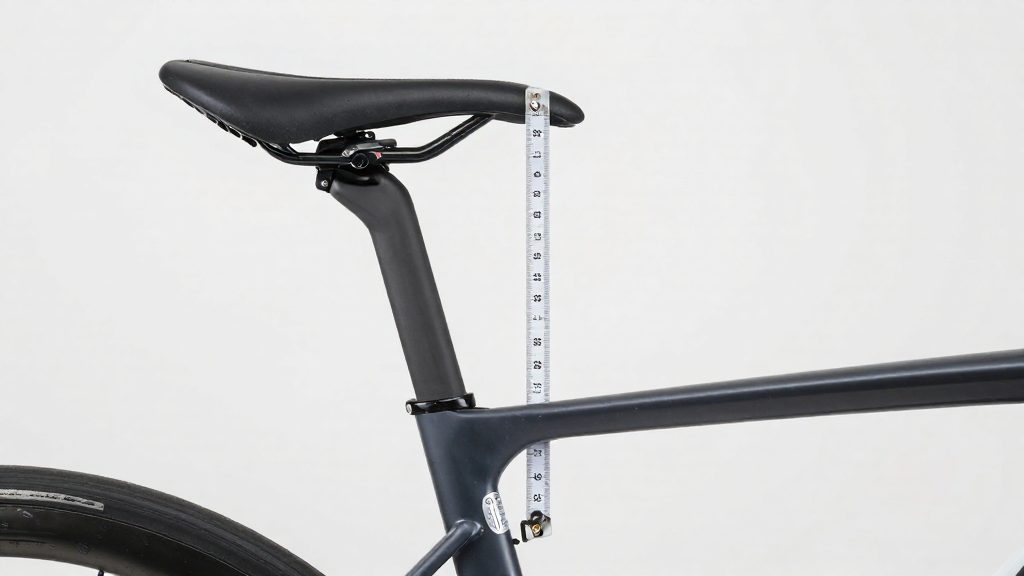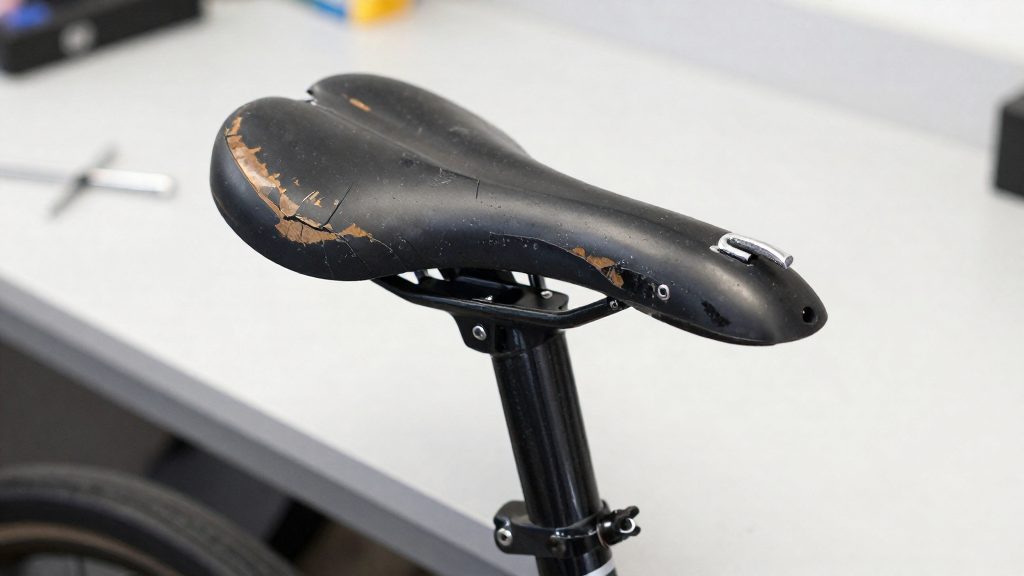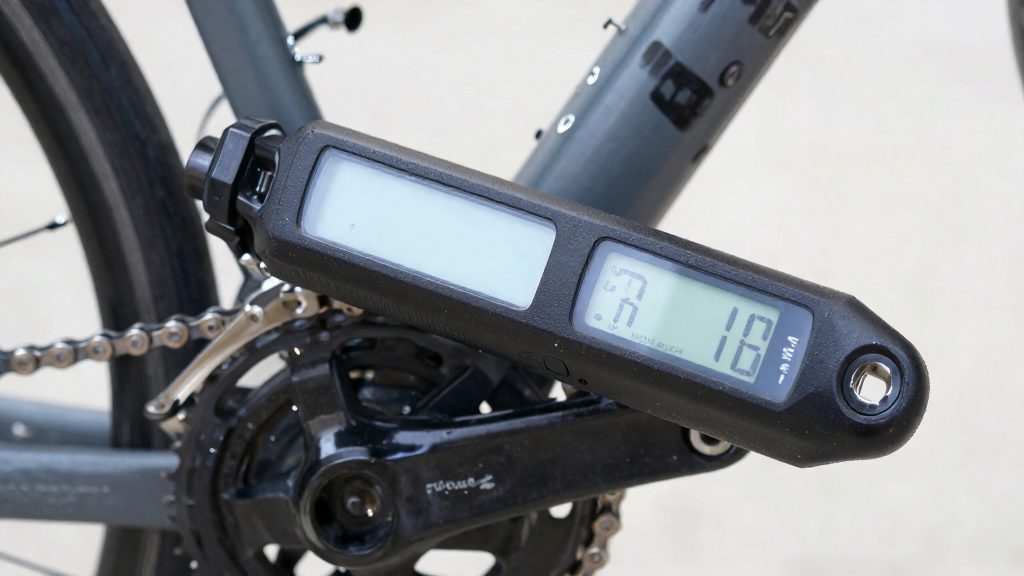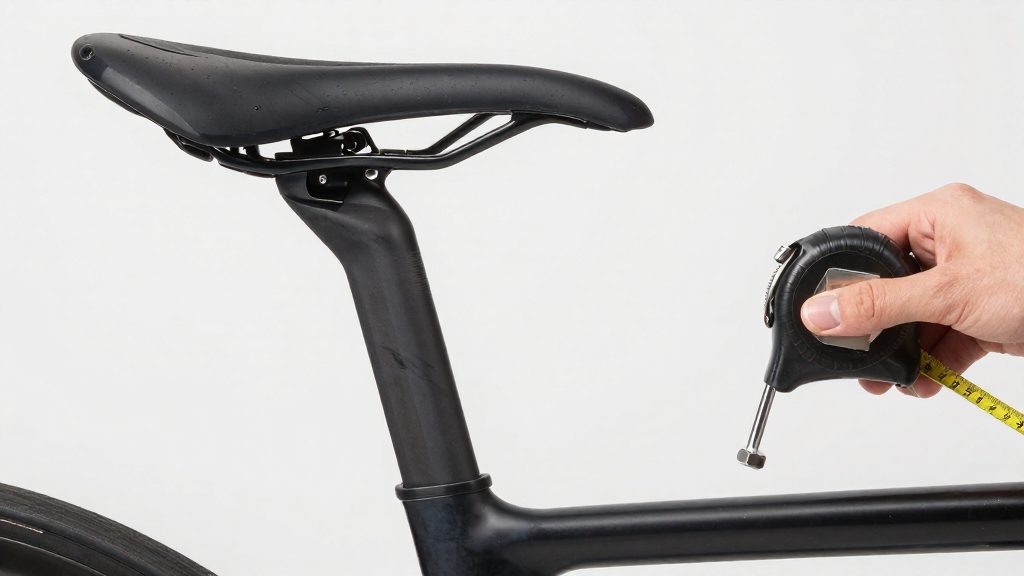
Saddle height sets how far your legs reach the pedals, which determines how efficiently force passes through the crank, how much load lands on the knee and hip joints, and how comfortable a long ride feels. A saddle that is too low or too high pushes the body out of its efficient pedalling range, and the effects accumulate over the length of a ride.
Why saddle height matters
Saddle height affects three things at once: the power you can deliver, the stress on your joints, and how long you can ride without discomfort. Because these effects overlap, a single wrong setting often shows up as several symptoms at the same time.
| Setting | Pedalling efficiency | Joint load | Comfort and stability |
|---|---|---|---|
| Too low | Leg works through a shorter range, so force is applied less effectively and the quadriceps do more of the work | Knee bends further at the top of each stroke, adding repeated compression to the front of the knee | Body weight shifts forward onto the hands, and the rider tends to shuffle position on the saddle |
| Too high | Hips rock side to side and the foot reaches for the pedal, so force is lost at the bottom of the stroke | Knee overextends at the bottom of the stroke, and the lower back and hip muscles compensate | Pelvis rotates with each revolution, and the rider must stretch to reach the ground when stopping |
Power transfer and pedalling efficiency
Power is produced in a circular motion, so the useful force is the part that pushes the pedal forward and around the bottom of the stroke. When the saddle is too low, the leg never reaches a comfortable extension, and the thigh muscles work from a shortened position. When the saddle is too high, the hips move to meet the pedal, and that lateral movement wastes energy that would otherwise drive the crank.
Knee and hip joint load
Joint stress comes from repetition. Each revolution loads the knee in the same position, so a small height error becomes a large cumulative load over a long ride. A low saddle keeps the knee in a deeper bend throughout the stroke. A high saddle can force the knee to overextend at the bottom, placing strain on the back of the joint, while the hip pivots to follow the pedal.
Comfort and stability on long rides
Saddle height also changes how your weight spreads across the saddle, handlebars and pedals. A setting that causes you to slide forward or back repeatedly increases pressure on the same contact points and leads to fatigue in the seat area and neck. A bike that feels right at one setup can feel wrong after a change to the cockpit or shoes.
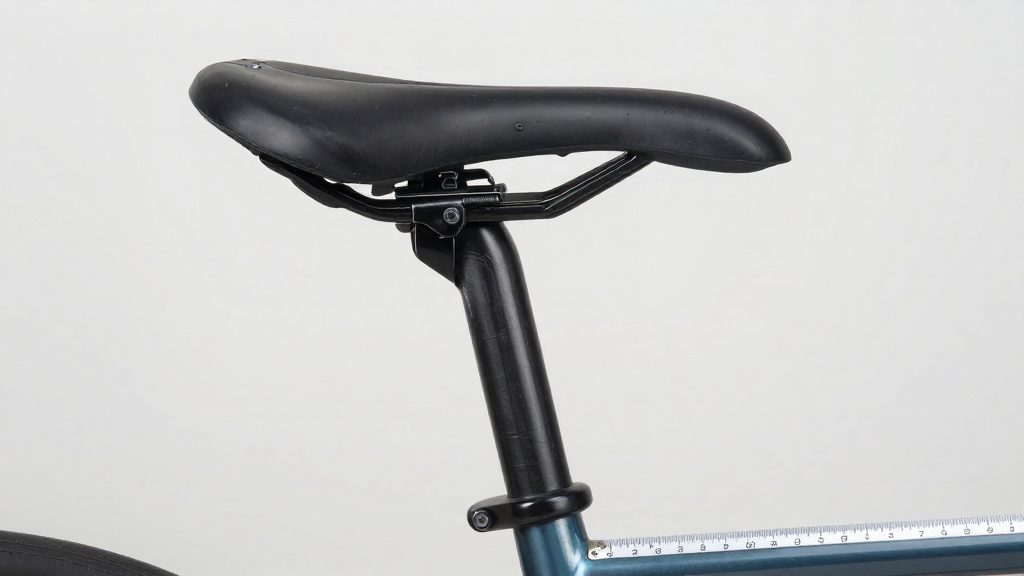
How do you measure your inseam correctly?
A wall, a hardcover book and a second person are enough to take a reliable inseam reading. Measuring against a fixed surface keeps your posture from changing the result, and a helper can mark the reference point while you hold still.
Setting up the reading
- Stand barefoot with your back and heels against the wall, feet slightly apart.
- Hold a hardcover book between your legs with its spine upward and press it firmly into your crotch.
- Keep the book level with the floor. A slack or tilted book under-reads the inseam.
- Ask your helper to rest a second flat book or a set square on top of the spine and mark the wall at its upper edge.
- Step away from the wall and measure from the floor to the mark with a tape measure, recording the result in centimetres or millimetres (inches are also commonly used in Canada, but stay consistent).
Checking the reading
Repeat the measurement two or three times, with the helper re-marking each time, and use the average. Readings that differ noticeably usually mean the book slipped or the stance shifted, so repeat the setup before recording a figure.
Keep the measurement separate from the saddle setting. The inseam is a body dimension only. Converting it into a saddle height depends on a formula, covered elsewhere in this article, and on how your shoes and pedals affect your position.
Heel method for a quick start
The heel method gives a fast first baseline for saddle height. BikeRadar (2025-04-27) describes it as a quick check suited to beginners. It requires no measurements, only a stationary bike and a few minutes of slow pedalling.
The test works by checking whether your pelvis stays stable at the bottom of the pedal stroke. When the saddle is too high, your hips rock side to side as your leg reaches full extension. Watching for that movement on a trainer or stationary bike tells you whether the saddle is too high.
| Step | Action | What to watch |
|---|---|---|
| 1 | Sit on the saddle and turn one crank until the pedal is at the bottom of its stroke (six o’clock). | Pedal position |
| 2 | Place your heel on the pedal with the leg fully straight. | Leg extension |
| 3 | Pedal slowly, keeping the heel on the pedal. | Hip movement |
| 4 | If the hips rock, lower the saddle 1–2 cm. | Saddle height |
| 5 | Repeat the test after each change until the hips stay steady. | Hip stability |
Stop lowering the saddle once your hips stay level through the full pedal movement. Because the heel is on the pedal in this test, the saddle will be set slightly high for riding with the ball of the foot over the pedal axle, so confirm the result with the knee-angle check below. This result is a starting point, not a final setting. The heel method identifies a saddle that is clearly too high, and it does not fine-tune the height. Use it to bring the saddle into a reasonable range, then ride the bike and refine the setting based on how your legs and hips feel over a longer ride.
Formulas: 109% and LeMond 0.883
Two common formulas estimate saddle height from your inseam, but they measure to different points on the bike. The 109% method, attributed to Hamley, multiplies your inseam by 1.09. The LeMond method multiplies your inseam in millimetres by 0.883. According to BikeRadar (2025-04-27), each result is a saddle-to-reference distance, and the reference point is what separates them.
| Method | Calculation | Measured from top of saddle to | Includes crank length |
|---|---|---|---|
| Hamley (109%) | Inseam × 1.09 | Pedal axle, crank at six o’clock | Yes |
| LeMond (0.883) | Inseam (mm) × 0.883 | Bottom bracket | No |
The Hamley endpoint is the pedal axle at six o’clock, so crank arm length is already part of the distance. The LeMond endpoint is the bottom bracket, the fixed centre of the crank, so its figure does not change with the crank fitted.
Neither formula gives a final setting. Use the result as a starting point, ride, and adjust the saddle afterward. Record which formula you used and the crank length on the bike, so later measurements stay comparable.
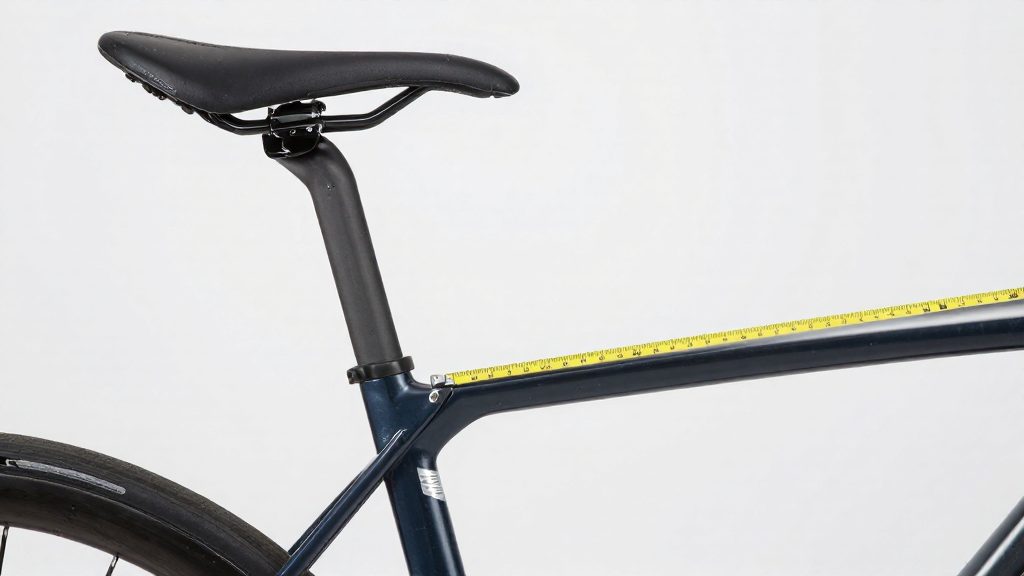
What knee angle is right?
The knee angle is a direct check of saddle height on the bike itself, because it measures the leg in the position it actually works in. Turn the crank until one pedal sits near the five o’clock position, which places that pedal close to the bottom of its arc with the leg at full extension. Sit on the saddle with the pedal under the ball of your foot, keep your upper body relaxed, and measure the angle formed at the knee between the thigh and the lower leg. According to BikeRadar (2025-04-27), the generally accepted range for this bend is 30 to 40 degrees.
| Knee bend at five o’clock | What it indicates |
|---|---|
| Under 30 degrees | Saddle likely too low |
| 30 to 40 degrees | Generally accepted range |
| Over 40 degrees | Saddle likely too high |
Take the reading from the side, ideally from a photograph taken by a helper, so that you do not have to hold your position while you measure. Use a protractor or an angle app on the image, and measure the same leg each time. Keep the bike steady, for example on a stand or against a wall, so the crank does not drift away from the five o’clock position while you read the angle.
A reading outside the range points to a height error in the direction shown above. A reading inside the range confirms the height only at the crank position you measured, so check it with the other side of the crank as well, since a small difference between legs is common and worth noting.
How do you know if your saddle is too high or too low?
Your hips are a useful signal of saddle height while you ride seated. Watch them as you pedal: if the pelvis rises or falls by more than about 2 cm, the height probably needs adjusting. According to road.cc (2015), hips should stay within that range while you pedal seated, so the check only works when you are seated and turning the cranks under load. Judge height in that position alone, because standing or coasting changes how your hips move.
Diagnosing under seated pedalling
Ride on a trainer or a quiet road, stay seated, and pedal at a steady cadence. Have a helper watch your hips from behind or the side, or film a short clip and review it. Note whether the pelvis rocks side to side or tilts at the top and bottom of each stroke.
| Observation while seated | What it indicates |
|---|---|
| Hips move by no more than about 2 cm | Height is within the acceptable range |
| Hips rise or fall by more than about 2 cm | Height needs adjusting |
Reading pedal stroke posture
Pedal posture gives a second signal. If you must reach for the bottom of the stroke with your heel dropping well below the pedal line, or if you rise onto your toes at the top, the saddle height is likely off in that direction.
Fine-tune and mark your seatpost
After the initial heel-method correction (1–2 cm steps), make fine adjustments in single-millimetre steps, and ride after each one before deciding whether to keep going. Loosen the seatpost clamp, move the saddle by 1 mm, retighten, and ride a route you know well, ideally with a hill or a flat section where you can pedal seated for several minutes. The check is how your hips behave. Stop after each ride and note whether the change improved or worsened the hip movement, so you do not repeat a step you have already tried.
Keep the adjustments small because the knee angle responds quickly to small shifts. Changing the height in large jumps makes it hard to tell which position was actually better. Once you have reached a height that keeps your hips steady and feels comfortable at the bottom of the pedal stroke, stop adjusting and move on to marking.
Marking the final height
Once the height is settled, mark the seatpost so you can return to it after removing the seatpost, cleaning the frame, or switching to a different bike with the same saddle. Use tape or a marker on the seatpost at the point where it meets the top of the frame’s seat tube. Do not scratch the seatpost. Scratches can weaken carbon and aluminium posts and make it harder to see the reference point later. Tape is easier to remove and replace if you later decide to change the height.
Also record the saddle height itself (for example, the distance from the bottom bracket to the top of the saddle) alongside the mark, rather than relying only on a mark on the post. Marks alone can shift if the post is moved.
Factors that change the result
Several variables affect where the saddle should sit, even when the body measurements are the same. road.cc (2015) lists these:
- Saddle shape: curved saddle shells can differ by about 1.5 cm between the nose or tail and the midpoint, so the reference point on the saddle matters.
- Stem reach and bar height: these change how far forward and how high your upper body sits, which alters the hip angle over the pedals.
- Pedal and shoe sole depth: a thicker sole raises your foot relative to the pedal axle.
- Sock thickness: thicker socks change the effective fit of the shoe and foot.