Do you need new fork seals?
A fork needs new seals when a diagnosable symptom points to a failed wiper or foam ring. Service hours, covered in the interval section, are a preventive reference rather than a diagnosis. The main signs are a persistent oil film on the stanchions after rides, stiction at the start of the stroke, and noises that appear as the legs move.
Oil residue on the stanchions after rides
A thin oil film on the stanchions is a sign of seal failure when it returns after you clean the tubes. Wipe each stanchion with a clean cloth, ride for a short distance, and check the area just above the lower leg. Oil that reappears there suggests the wiper is no longer sealing, or that bath oil is escaping past a worn lip. Oil that only appears after a wet or muddy ride is more likely dirt carried on the stanchion surface.
Inspect the stanchions for scratches before replacing seals.
Stiction and fork feel under compression
Stiction is the fork sticking at the start of its stroke, then releasing with a jump. Compress the fork slowly by hand and note whether travel is even from the top. A dry or hardened foam ring is a common cause, because it no longer supplies the lubricating oil film it is designed to hold.
Stiction that disappears after cleaning the stanchions and lower legs is usually dirt, not seal wear.
Separating seal wear from damper faults
Seal problems and damper problems can feel similar, so compare symptoms before deciding.
| Symptom | Likely seal cause | Likely damper or other cause |
|---|---|---|
| Oil above the lower leg, returning after cleaning | Worn wiper or lip | Overfilled oil bath |
| Sticky start of stroke, smooth later | Dry or hardened foam ring | Low-speed damping set too firm |
| Fork rebounds erratically or pumps down | Not typical of seal wear | Rebound damping fault |
| Tick or grit noise on compression | Dirt under worn wiper | Loose fasteners |
If the symptoms match the seal column and cleaning does not resolve them, replacing the wipers and foam rings is justified. If the fork rebounds erratically, investigate the damper before opening the seals.
What tools and parts do you need?
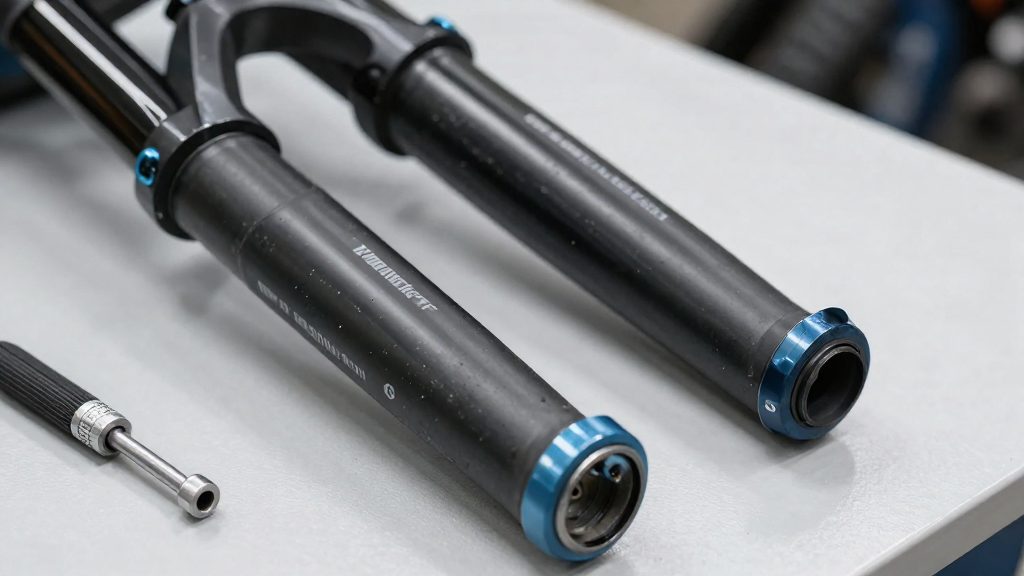
Before you start, gather the damper removal tools needed to loosen the damper shafts, a wooden or plastic dowel, a seal driver, new foam rings and wipers, 20wt FOX bath oil, and new crushwashers for the bottom nuts. FOX’s service guidance for 2016+ 32–40mm forks specifies the 20wt FOX bath oil (FOX (RideFox tech site), 2026).
| Item | Purpose in this job |
|---|---|
| Damper removal tools | Loosen the damper shafts so the lowers can be pulled off |
| Wooden or plastic dowel | Push out the old dust wiper and foam ring without scratching the magnesium lower leg (FOX (RideFox tech site), 2026) |
| Plastic or hooked pick tool, such as Park Tool UP-SET-3 | Lift seals that resist the dowel (Gearadar, 2025) |
| Seal driver or PVC pipe sized to the seal’s outer diameter | Seat the new seal evenly (Gearadar, 2025) |
| 20wt FOX bath oil | Refills the lower legs after the service |
| New crushwashers | Seal the bottom nuts once they are removed |
| Isopropyl alcohol and lint-free towels | Clean the stanchions and seal area (Gearadar, 2025) |
| Safety glasses and gloves | Protect against the fork’s pressurized air, nitrogen and oil (FOX (RideFox tech site), 2026) |
The dowel is the key choice here. A metal screwdriver or pick can dig into the soft magnesium lower leg, so reserve metal tools for cleaning only where the manufacturer allows. Match the seal driver or PVC pipe to the seal’s outer diameter; a pipe that is too small will tilt the seal, and one that is too large can damage the lip.
Lay out the parts before you start.
How do you prepare the fork safely?
Before any part of a FOX 2016+ 32–40 mm fork is removed, the internal air pressure must be released and the air cap and rebound knob taken off. FOX states that forks contain pressurised air, nitrogen and oil, so the work is done in a fixed order with eye and hand protection in place. This preparation applies to the dust wiper and foam ring service that follows.
Protective equipment
Wear safety glasses for the whole procedure, because the air cap and valve can release pressure and oil when they are loosened. Wear gloves to protect your hands from oil and from residue on the stanchions. FOX recommends both items for pressurised components.
Preparation sequence
| Step | Action | Purpose |
|---|---|---|
| 1 | Clean the area around the fork crown and air cap | Keeps dirt from entering the stanchion when the cap is opened |
| 2 | Release the air pressure through the valve on the air cap | Removes the internal pressure before any cap is loosened |
| 3 | Confirm the valve no longer releases air | Shows the fork is safe to open |
| 4 | Unscrew the air cap | Exposes the air spring assembly |
| 5 | Unscrew the rebound knob | Frees the top of the damper for later steps |
Releasing the air pressure
Depress the valve core on the air cap with a small pin or the tip of a tyre valve tool until the air stops escaping. Keep your face to the side of the valve, not above it. Only proceed once no air is audible, because a partly pressurised fork can push parts out when the cap is loosened.
Removing the air cap and rebound knob
Once pressure is gone, unscrew the air cap by hand or with the correct tool, then remove the rebound knob. Place both on a clean cloth so their small parts stay together and remain free of grit. Do not force a stuck cap while pressure may remain; recheck the valve first.
Removing the lowers and old seals
With the fork depressurised, the lowers can be separated from the stanchions once the bottom nuts are off and the bath oil has drained. Each step has a specific failure mode, mainly damage to the magnesium lower leg, so the order and the tools matter. According to FOX (RideFox tech site, 2026), this procedure applies to FOX 2016+ 32–40mm forks.
Removing the bottom nuts and crushwashers
Unscrew the bottom nut at the base of each leg and discard its crushwasher. FOX states that the crushwasher is not reusable, so it should be replaced with a new one at reassembly. Then loosen the damper shafts with the damper removal tools so the lowers can be pulled off.
Draining the bath oil and pulling the lowers
Drain the bath oil from each leg into a container, then slide the lower off the stanchion. Dispose of the used oil according to local rules. Keep the work area clean, because any grit that enters the stanchion bore will reach the new seals.
Extracting the old wipers and foam rings
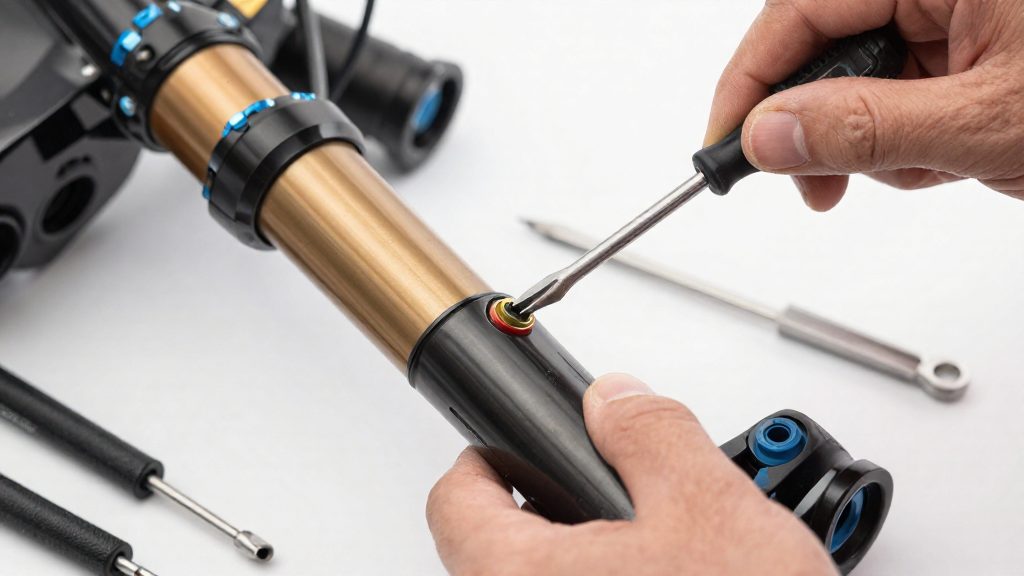
FOX states that old wipers and foam rings cannot be reused. Push them out of the lower with a wooden or plastic dowel, which FOX specifies to avoid scratching the magnesium lower leg. Gearadar (2025) also describes plastic or hooked pick tools, citing the Park Tool UP-SET-3 as an example, for lifting seals that are stuck.
| Tool | Recommended by | Stated purpose |
|---|---|---|
| Wooden or plastic dowel | FOX (2026) | Removing old wipers without scratching the magnesium lower leg |
| Plastic or hooked pick tool (e.g. Park Tool UP-SET-3) | Gearadar (2025) | Removing seals |
After removal, Gearadar (2025) suggests cleaning the seal seat with isopropyl alcohol and a lint-free towel before fitting new parts.
Installing new wipers and foam rings
Installing new wipers and foam rings comes down to three steps: saturate the foam rings in bath oil, grease the seal lips, and drive each wiper square and fully home.
| Step | Action | What to check |
|---|---|---|
| 1 | Soak the foam rings for 5–10 minutes | Rings are fully saturated |
| 2 | Grease the seal lips | A thin, even film with no clumps |
| 3 | Start the wiper square in the lower-leg bore | Seal is not cocked or tilted |
| 4 | Drive the wiper with a guided seal driver until it sits flush | Lip is not folded and the seal is level |
Soaking the foam rings
Foam rings must absorb oil before fitting. According to Gearadar (2025), soak them for 5–10 minutes. A saturated ring carries lubricant onto the stanchion from the first stroke, which a dry ring cannot do. Shake off the excess oil before fitting so the ring does not drip inside the lower leg.
Greasing the seal lips
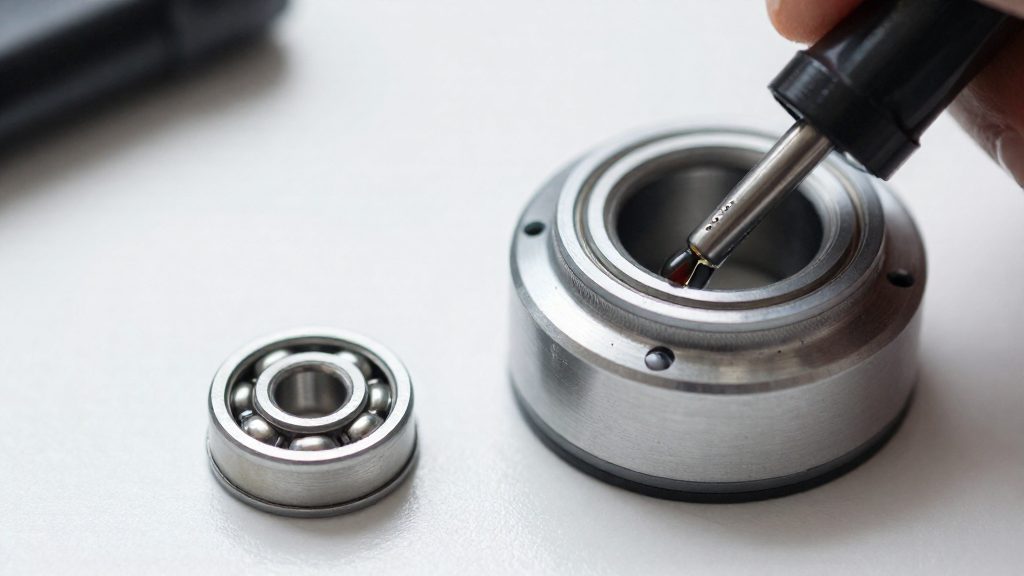
Grease the seal lips before the stanchion enters them. Gearadar (2025) recommends this step. Apply a thin film with a clean fingertip or brush, then wipe off any excess with a lint-free towel. Thick grease can collect grit and push debris past the lip.
Seating the wiper flush
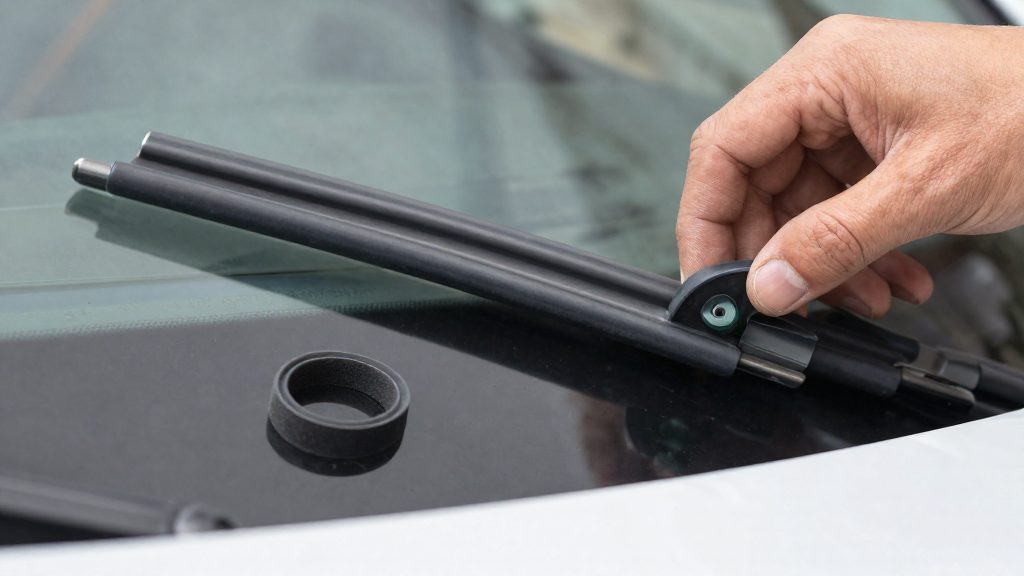
Use a guided seal driver to seat each wiper. FOX specifies a guided seal driver for this job, and Gearadar (2025) notes that a PVC pipe sized to the seal’s outer diameter works as an alternative. Start the seal square in the bore of the lower leg, then press evenly, keeping the driver square to the leg. Stop when the wiper sits flush with the lower leg. Forcing a tilted seal can distort the lip.
Follow the manufacturer’s documentation for your fork when fitting the foam rings and wipers.
Refilling bath oil and torquing the fork
With the new wipers seated, the lower legs go back onto the stanchions and the bath oil is injected. FOX specifies the oil volume per leg from a model-specific chart, so there is no single figure for all 32–40mm forks. Use the chart for your exact fork. The bath oil volume is the first value to confirm before you start. Gearadar (2025) gives 10–15 ml per leg as a typical range, which is useful only as a sanity check against the chart figure.
The sequence is:
- Reinstall the lower legs onto the stanchions.
- Inject the bath oil volume from the chart into each leg.
- Fit new crushwashers on both bottom nuts.
- Tighten the air-side nut to 50 in-lb (5.7 Nm).
- Tighten the damper-side nut to the value on the parts drawing for your fork.
The two bottom nuts are tightened to different standards. The air-side nut has a stated value, while the damper-side nut must be taken from the parts drawing for your model. Torque wrenches are the appropriate tool for both, because the air-side value is low and a feel-based tightening can easily overshoot it.
| Item | Specification | Source |
|---|---|---|
| Bath oil volume per leg | Model-specific chart value | FOX (2026) |
| Typical bath oil per leg | 10–15 ml | Gearadar (2025), general reference |
| Air-side bottom nut torque | 50 in-lb (5.7 Nm) | FOX (2026) |
| Damper-side nut torque | Value from parts drawing | FOX (2026) |
| Typical foot nut torque | 5–7 Nm | Gearadar (2025), general reference |
The Gearadar figures are general ranges and do not replace the FOX values. For a fork that is not a FOX model, the manufacturer’s documentation for that fork governs both the oil volume and the torque values.
How often should you service fork seals?
A home lower-leg service, also called a 50-hour service, replaces the bath oil and the dust and foam seals without opening the damper, according to Gearadar (2025). Use 50 hours as the reference point for a fork ridden mostly in dry conditions, then shorten it when the riding is harder on the seals. The interval counts ride time, not calendar months. A fork ridden twice a week and one ridden daily reach 50 hours at very different dates, so the hour count should drive the schedule.
Wet, muddy and sandy riding wears seals faster. Water and grit are pushed past the wiper and foam ring on every stroke, which abrades the seal lip and the stanchion surface. Forks that regularly run in these conditions should be serviced before 50 hours. After a wet or muddy ride, check the wiper for debris and dried mud, and clean it before it works its way into the seal.
Without records, the interval is guesswork. Keep a service log for each fork, and update it after every service and after every block of riding:
| Log field | What to record |
|---|---|
| Service date | Calendar date of the last bath oil and seal change |
| Hours since last service | Running total from a ride app or head unit |
| Riding conditions | Dry, wet, muddy or sandy, and roughly how much of each |
| Work done | Seals, foam rings, bath oil, or a visual check of the stanchions |
If you do not log hours with a head unit, estimate them from your ride records each month and round up. Rounding up keeps the fork on the safe side of the interval.
When to take the fork to a shop
Gearadar describes lower-leg work such as replacing dust wipers, foam rings and bath oil as a home service. FOX, however, says only trained technicians should service its forks, so home work is at your own risk, especially on a fork under warranty. Some faults fall outside that scope, and FOX states that only trained technicians should service its forks. Identifying these limits before you start the job tells you whether to proceed or send the fork to a workshop.
| Condition | Home service | Trained technician |
|---|---|---|
| Scratched or worn stanchion coating | Cannot be repaired by servicing | Assessment and stanchion replacement |
| Aftermarket parts or modifications | Can cause failure and void the warranty | Warranty-compliant repair using approved parts |
| Damage beyond routine wear | Not suitable for home repair | Inspection and repair |
Inspect the stanchions before you remove the lowers. If the surface is breached, the stanchion needs professional assessment rather than a service alone.
Aftermarket components deserve the same caution. Replacement stanchions, non-original seals and altered damper parts all fall into this category. Before fitting any non-original part, confirm the warranty terms with the manufacturer or your authorised dealer, and keep your purchase records in case a claim is needed.
Do not force a damper shaft or lower leg that resists removal. If the fork shows damage beyond routine wear, or if the damper cannot be released with the correct removal tools, take the fork to a trained technician instead of applying more force.
Frequently asked questions
Can I reuse the old wipers and foam rings to save money?
No. FOX (2026) states that old wipers and foam rings cannot be reused, so fit new parts. Soak the new foam rings in 20wt FOX bath oil before installing them.
What torque should I use for the bottom nuts, and do I need new crushwashers?
Yes, fit new crushwashers on reassembly. FOX (2026) specifies 50 in-lb (5.7 Nm) for the air-side bottom nut, and the damper-side nut torque is listed in the parts drawings. Gearadar (2025) gives about 5–7 Nm as a typical range for the foot nuts, but the manufacturer’s figure takes priority.
Can I do this service at home, or should a technician do it?
A home lower-leg service replaces the bath oil and dust and foam seals without opening the damper, as described by Gearadar (2025). FOX (2026) warns that its forks contain pressurized air, nitrogen and oil, recommends safety glasses and gloves, and says only trained technicians should service them. Aftermarket parts or modifications can void the warranty.