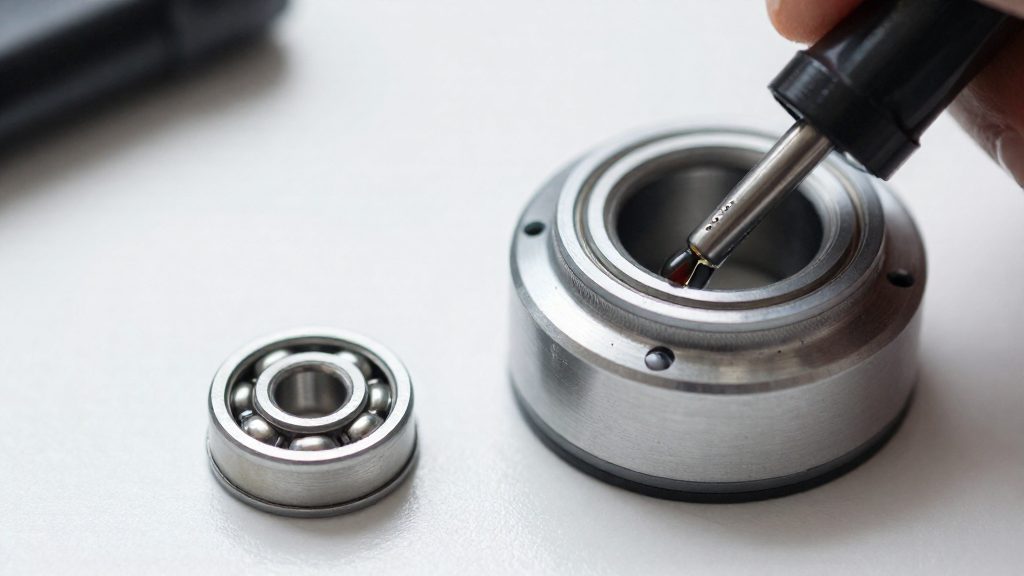
Home servicing suits a rider who is comfortable with basic mechanics and owns the right tools, provided the headset is a standard threadless design. A threaded headset or one with pressed-in cups is usually better left to a workshop, because the job depends on specialist tools and a higher risk of damage. Workshop prices and labour times vary by shop and region, so ask a local bike workshop for a quote before deciding.
Is it worth servicing your headset at home?
Skill level and misassembly risk
The main risk at home is damage during disassembly and reassembly rather than the service itself. According to BikeRadar (2023), a bearing prised out with a chisel will almost certainly be damaged, and a handlebar left hanging by its cables or hoses can strain or kink them, so the fork and bars need support during the job. Over-tightening the stem can damage it, while under-tightening lets the bar move under load, so the torque setting matters as much as the mechanical work (MTB Mag, 2015).
Threadless versus threaded suitability
The headset design determines how much equipment and experience the job requires:
| Headset type | Tools needed | Suitability for home servicing |
|---|---|---|
| Threadless | 4, 5 or 6 mm hex key or T25 Torx key, torque wrench | Suitable for a home mechanic with basic tools |
| Threaded | 32 mm or 36 mm headset wrenches | Usually better left to a workshop; attempt it at home only with the correct wrench sizes and experience |
| Pressed-in cups (either design) | Cup remover, press, dead blow hammer | Beyond a basic home kit |
Removing and refitting pressed-in cups requires a press, so these are the clearest case for a workshop. Press the cups one at a time and check the head tube and cups for cracks. On carbon frames, use carbon-safe grease, as Vital MTB (2016) advises.
Tools and grease you need
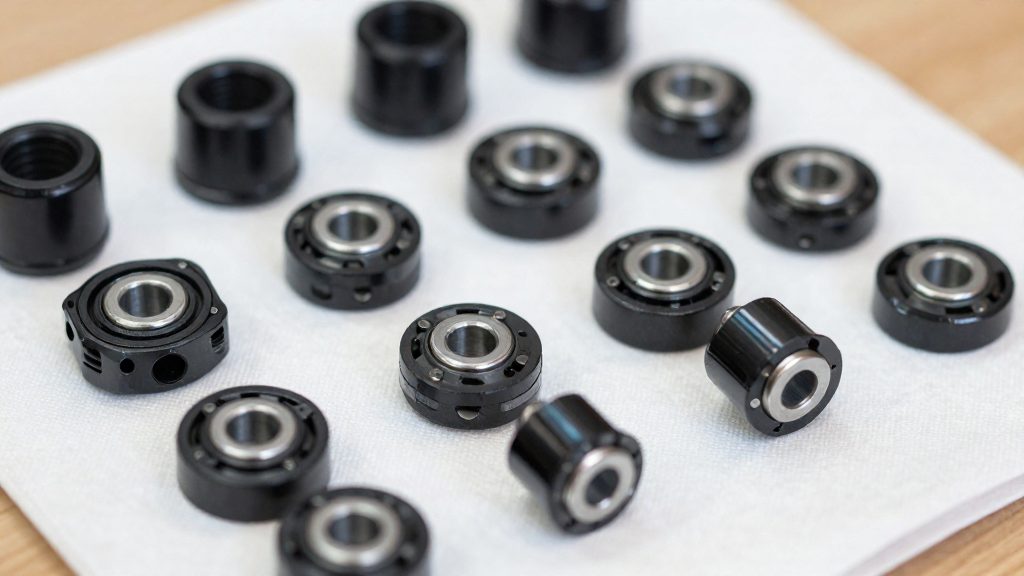
Headset tooling depends on the design, so identify whether the headset is threadless or threaded before buying anything. For a threadless service, BikeRadar (2023-03-06) lists a 4, 5 or 6 mm hex key, or a T25 Torx key, along with a torque wrench, degreaser, rag and grease. A threaded headset needs 32 mm or 36 mm headset wrenches, according to the same source.
The table separates the items needed for every service from those needed only in specific cases.
| Tool | Headset design | Needed when |
|---|---|---|
| 4, 5 or 6 mm hex key, or T25 Torx key | Threadless | Every threadless service |
| 32 mm or 36 mm headset wrench | Threaded | Every threaded service |
| Torque wrench | Threadless | Tightening the stem bolts |
| Degreaser and rag | Threadless | Cleaning the headset before service |
| Grease | Threadless | Applied as a thin layer on the bearing seats |
| Toe strap or helper | Any design | Supporting the fork and bars while the stem is off |
| Crown race remover and setter | Threadless | Only when replacing the crown race |
The crown race remover and setter is the main exception to the basic kit. Without it, a worn crown race cannot be replaced, so the job should wait until the tool is available or be handed to a workshop.
For most home workshops, the practical split is between a small set of hand tools used on every service and specialist equipment used only during bearing or cup replacement.
How do you check for a loose or worn headset?
You can test a headset by hand and by ear before removing anything. The method depends on the type of headset, so first identify whether your bike has a threadless or a threaded headset. Both tests take a few minutes and need no tools.
Threadless headsets: the brake rock test
Hold the front brake on firmly, then rock the bike back and forth. Keep your hand near the headset and feel for play or grittiness at the headset itself. Movement felt at the stem or the bars does not confirm a headset fault, so focus on the head tube area. According to BikeRadar (2023), play or grittiness at this point indicates that the headset needs attention.
Threaded headsets: the wheel bounce test
Lift the front end and let the front wheel bounce, as you would when checking a hub. Listen for a rattle. According to BikeRadar (2023), a rattle suggests the headset is loose.
Reading the rattle and centred-lock symptoms
| Observation | What it suggests |
|---|---|
| Play or grittiness at the headset during the brake rock test (threadless) | Headset needs attention: play suggests looseness, grittiness suggests wear or dry bearings |
| Rattle when the front wheel bounces (threaded) | Looseness |
| Bars lock centred and will not turn freely | Headset too tight, or bearings badly worn |
The rattle and the centred lock point in opposite directions. A rattle means the headset has too much freedom, while a centred lock means it has too little. Check both symptoms before deciding on an adjustment.
Grittiness during the rock test means the headset needs attention. It may come from wear or from dirty or dried-out grease, so inspect the bearings and races once the headset is apart. Do not clean bearings with degreaser or WD-40, because these products strip grease from the bearing cases.
Removing the stem and fork safely
Removing the stem and fork is where most avoidable damage happens. The fork stays held in the head tube by its bearings while the bars are free to swing or hang. The aim is to disconnect everything attached to the bars, keep the fork supported throughout, and lift the steerer out without dragging parts across it. According to BikeRadar (2023-03-06), the handlebar should never hang by its cables or hoses while the stem is off, because this can strain or kink them.
Support the bars and cables first. Set the bike on a stand, or lay it on a protected surface. Rest the handlebar on a bench or tie it up so the brake lines, gear cables, dropper hoses or e-bike display wiring carry no weight. Leave cables connected where possible and move the bars as one unit. Only separate them if you need clearance to reach the stem bolts.
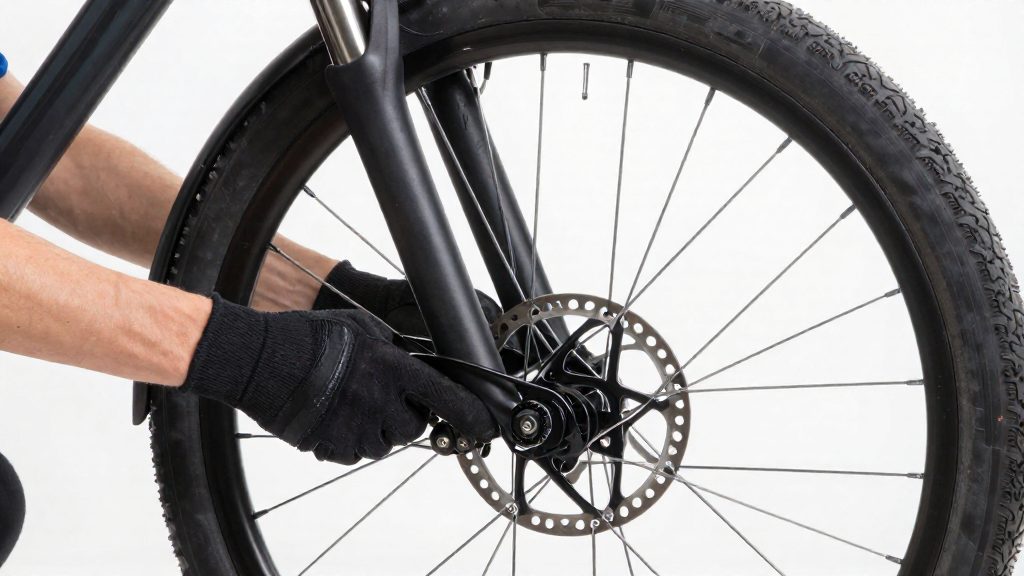
Support the fork. Once the stem is free, the fork can drop out of the head tube. Hold it with a toe strap looped around the lower leg above the front hub and anchored to the frame, or have a helper steady it by hand. Do not let the fork’s weight rest on the bearings during removal.
Sequence for the top cap, stem and spacers. Work in this order:
- Remove the top cap bolt and the top cap, which sit on top of the stem and spacers.
- Loosen the stem clamp bolts just enough to release the stem from the steerer.
- Lift the stem off with the bars still supported, and set it aside with any cable guides still attached.
- Remove the spacers one at a time. Note their order and orientation so they can be refitted in the same position.
- Guide the steerer down and out of the head tube from below, keeping it straight so it does not scrape the upper bearing seat.
Keeping the spacers in sequence on a clean rag makes reassembly faster and preserves the stack height you set originally.
Reassemble in the reverse order. Fit the greased bearings and seats, then guide the steerer up through the head tube while supporting the fork. Refit the spacers in their original order and orientation, then the stem, and finally the top cap. Leave the stem bolts loose until the preload is set, as described in the next section.
Cleaning, inspecting and regreasing the bearings
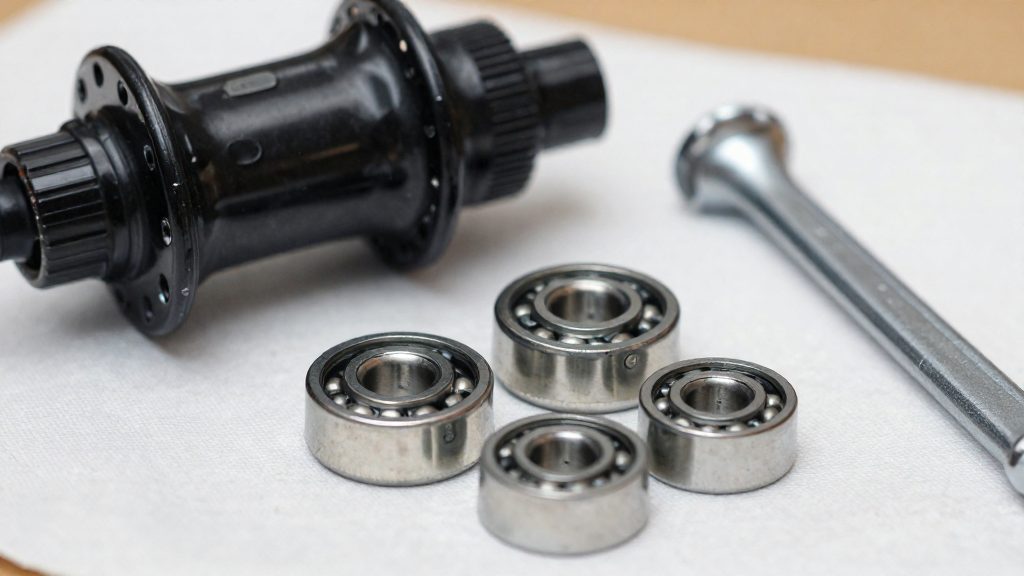
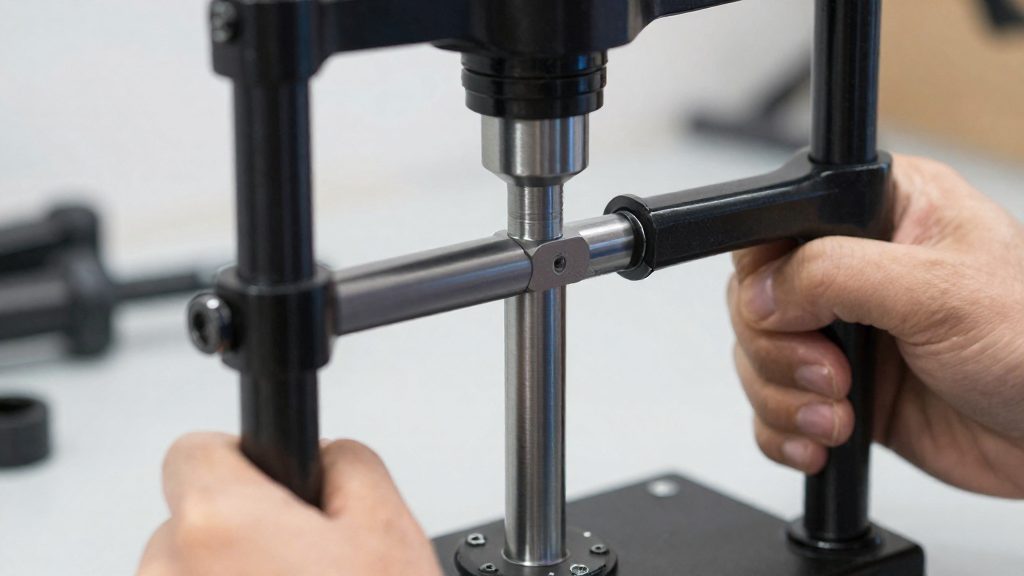
Once the headset is apart, the races (the bearing surfaces on the cups and crown race) and the bearings must be clean before new grease goes in. Old grease mixed with grit acts as an abrasive, so cleaning determines whether the new grease can protect the surfaces.
Degreasing and drying the races
Wipe each race with a clean rag until no old grease or grit remains. Grit tends to collect in one spot, so work the rag around the full circumference of every cup and the crown race. Let the surfaces dry fully before adding grease.
Clean the bearings with a rag only. Do not soak them in degreaser or spray them with WD-40 (see the callout below).
Inspecting for pitting, notching and cup wear
Inspect each race under good light, then spin each bearing by hand. Check for:
- Pitting: small pits or dark spots on the race or the bearing surface.
- Notching: small dents or grooves in the race, often where the bearings have run on one point.
- Cup wear: a polished or flattened track, or a visible step at the edge of the race.
Replace any bearing that feels rough when turned or looks dry (MTB Mag, 2015). Neither MTB Mag nor BikeRadar gives a measurable wear limit for pitting, notching or cup wear, so judge by feel and appearance. If a pressed-in cup is damaged, check the head tube and cup for cracks before refitting.
Grease type and quantity
Apply grease to the bearing seats and bearings according to the riding conditions below.
| Condition | Grease to use | Notes |
|---|---|---|
| Standard riding | Headset or high-performance grease | Apply a thin layer to the bearing seats (BikeRadar, 2023) |
| Very wet or dirty riding | Marine grease | Suited to water and grit exposure (BikeRadar, 2023) |
| Carbon frame | Carbon-safe grease | Use on carbon frames (Vital MTB, 2016) |
Keep the steerer dry unless the manufacturer specifies carbon or grip paste (BikeRadar, 2023). Spread a thin, even film across each race and bearing, and do not pack the cavity. Excess grease adds nothing to the bearing’s protection and can be pushed out when the bearings are reassembled. No per-bearing grease volume is given in the sources, so follow the headset manufacturer’s instructions for quantity.
Setting preload and torquing the stem
Preload is the compression that holds the bearings against their races without leaving play. On a threadless headset, the top cap sets it: turning the cap’s bolt drives a compression plug into the steerer, which squeezes the bearing stack. Set the preload before clamping the stem, because the stem bolts then lock the adjustment in place. Tightening the stem clamp can also change the preload slightly, so the final check is always made after the bolts are torqued.
Threadless headsets follow this order:
- Loosen the stem bolts so the stem can move on the steerer.
- Tighten the top cap until the play disappears, then back it off until the bars turn freely.
- Align the stem with the front wheel, with the bars straight.
- Torque the stem bolts to 5–8 Nm, tightening them evenly across the clamp.
- If play remains, loosen the stem bolts, nip up the top cap, and retest.
The two published references give different figures for the same job:
| Source (date) | Top cap | Stem clamp bolts |
|---|---|---|
| BikeRadar (2023-03-06) | No numeric value; tighten until no play while the bars still turn freely | 5–8 Nm |
| MTB Mag (2015-05-08) | About 4 Nm once the bars are straight | About 5 Nm once the bars are straight |
The two sources agree on the stem bolts, since MTB Mag’s 5 Nm falls within BikeRadar’s range. For the top cap, the feel-based method is the primary check, and 4 Nm is a reference torque. Use it as a cross-check on the torque wrench, not as a replacement for the play test.
Threaded headsets are adjusted differently. On a threaded headset, loosen the locknut and set the adjustment with the adjuster ring. Then hold the adjuster ring still with one headset wrench and tighten the locknut down against it with the other, following the manufacturer’s instructions. The 5–8 Nm figure applies only to threadless stem bolts. For threaded stems, check the torque marked on the stem or the manufacturer’s instructions for the steerer clamp.
When should you take it to a shop?
Stop home servicing and take the bike to a workshop when the fault involves the fork or head tube, or when a worn bearing is still present after you have adjusted the headset correctly. Structural damage is the clearest boundary: a steerer or fork crown that shows cracks or deformation should not be re-greased and ridden.
| Situation | Why it matters | Action |
|---|---|---|
| Cracks in the steerer or a damaged fork crown | Affects the fork’s structural integrity | Stop riding and have a workshop or the fork manufacturer assess it |
| Cracks in the head tube or cups found during removal | Pressed-in cups can hide frame damage | Stop and have a workshop inspect it |
| Play that returns after re-tightening | Points to worn bearings or a loose seat rather than a simple adjustment | Take it to a workshop |
| Crown race replacement without a remover and setter | A crown race needs specialist tools to seat correctly | Leave it to a workshop |
Play that comes back after the top cap and stem bolts have been set properly may point to worn bearings or a loose seat. Have a workshop assess it rather than re-tightening repeatedly. Replacing a crown race is the one job where BikeRadar (2023-03-06) specifies a dedicated tool; without it, the race cannot be removed and fitted reliably at home.
Frequently asked questions
How tight should the top cap be on a threadless headset?
Tighten the top cap until the play disappears while the bars still turn freely. MTB Mag (2015) gives about 4 Nm as a reference value. If play returns, loosen the stem bolts, nip up the top cap and retest rather than tightening the cap further.
When should bearings be replaced rather than regreased?
MTB Mag (2015) advises replacing bearings that feel rough when turned or that look dry. Fresh grease will not fix a bearing that has already lost its smooth feel, so replacement is the sensible option.
Which grease suits a bike ridden in wet or muddy conditions?
BikeRadar (2023) recommends marine grease for very wet or dirty riding, applied in a thin layer rather than packed in. Keep the steerer dry unless the manufacturer specifies carbon or grip paste.