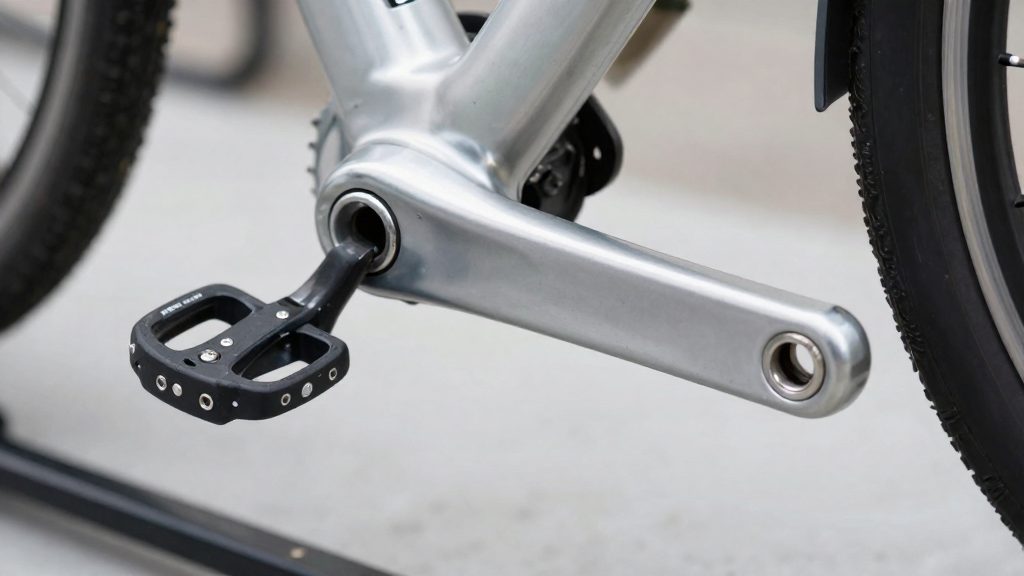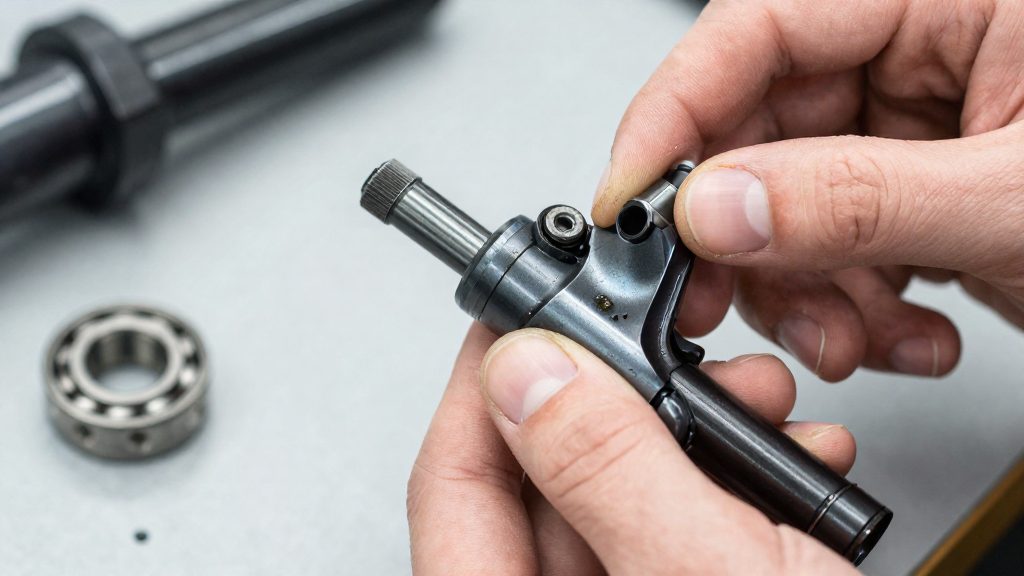
A bottom bracket that needs attention usually shows itself through noise, rough rotation, or a change in pedalling feel. The key diagnostic question is whether the roughness comes from contamination, which flushing can remove, or from wear, which it cannot. The checks below help you tell the two apart before you open the shell.
Does your bottom bracket need cleaning?
Noise and grinding under pedalling load
Stand on the pedals under load and listen for grinding or clicking from the bottom bracket area, then coast and compare. Noise that appears only under load can come from the bottom bracket, but also from the pedals, cranks or chainring bolts. Use the hand-spin test below to check whether the bearings are dirty or worn.
Hand-spin test: crunchy versus slightly rough
Remove the drivetrain load and spin each bearing by hand, feeling for resistance and roughness.
| Feel when spun by hand | Meaning (Singletracks, 2026-03-14) | Action |
|---|---|---|
| Very crunchy | Bearing should be replaced | Plan replacement |
| Slightly rough | May be savable | Clean and recheck |
| Rough or gritty after cleaning | Bearing is worn | Plan replacement |
Spin the bearing before cleaning and again after flushing. A change from rough to smooth indicates contamination.
Dirt contamination before wear appears
Contamination often produces roughness that disappears once the grit is removed. Chris King (2021-07-08) recommends servicing the bearings about once a year on a frequently ridden bike. Symptoms that appear well before that interval are worth checking for contamination first.
Which bottom bracket type do you have?
The bottom bracket standard determines whether cleaning is possible at all. Before you remove anything, identify whether the bearings sit in a removable cartridge or are pressed directly into the frame, and whether that cartridge has exposed side seals.
| Bottom bracket type | Serviceable status |
|---|---|
| External cartridge with exposed seals | Can be reconditioned, though Park Tool advises against repacking it (Singletracks, 2026) |
| One-piece sealed cartridge | Replace-only in most cases (Singletracks, 2026) |
| Threadless: PF30, BB30, BB86, BB92, BB95 | Replace-only in most cases (Singletracks, 2026) |
External cartridge bottom brackets are the only type in this list that can be opened and serviced. The cups thread into the frame, and their seals are visible from outside the shell. A sealed one-piece cartridge looks similar at first glance, but its seals are not designed to be removed for service, so treating it as serviceable is a common mistake.
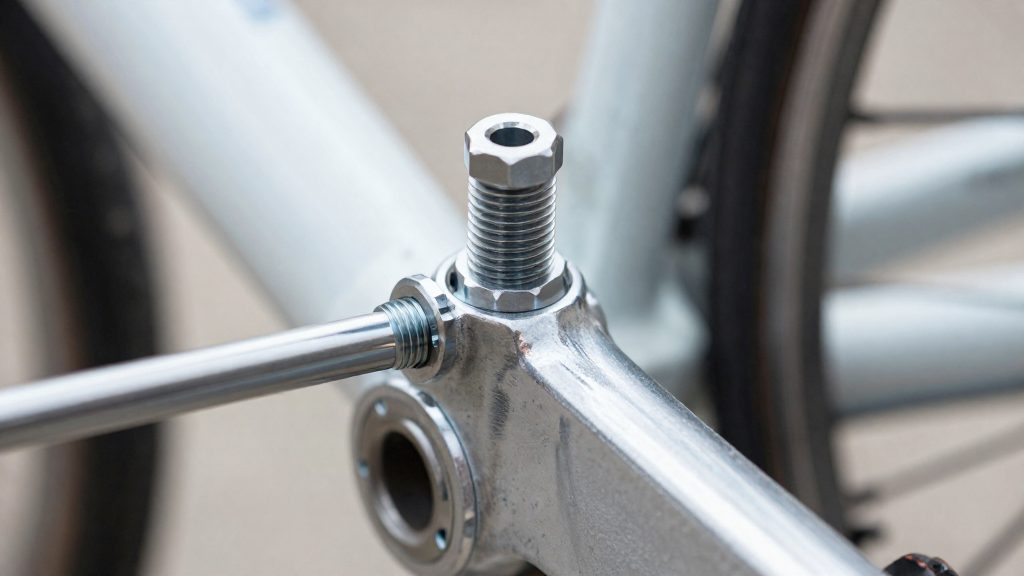
Threadless systems such as PF30, BB30, and BB86/92/95 have no threaded cups to unscrew. The bearings press into or sit directly in the frame shell.
Checking the frame shell
Identify your system from the frame itself rather than from the bearing alone:
- Look for threads. Open the shell and check whether it has internal threads for cups. Threads point to a threaded external system. A smooth bore points to a threadless design.
- Measure the shell width. Use calipers to measure the width of the shell across its opening. Shell width is the main way to tell apart systems that look alike.
- Confirm the standard. Match the thread type and the standard named in your frame documentation to the systems in the table above. If the frame or its documentation does not name the standard, check the manufacturer’s listing for your model before buying parts.
Once you know the system, you know whether cleaning is a realistic option or whether the job is a replacement.
Tools and supplies you need
Cleaning the bearings in an external bottom bracket needs only a few workshop items: a seal pick, a non-citrus degreaser or solvent, a toothbrush, clean rags and a way to dry the bearing. A bottom bracket tool is only needed if you remove the cups for a full overhaul. The reassembly steps below, which include torquing the cups, assume you have done so. Most of the cleaning is done with consumables you likely already have.
Seal removal pick
The side seals must be lifted off before the bearing can be scrubbed. According to Singletracks (2026-03-14), a pick does this job. Choose a thin, rigid tip, such as a small scribe or dental pick, that can slide under the seal lip. A wide screwdriver blade is more likely to bend the seal or dig into the cup. Keep the pick for seal work only, so you don’t mark the cup face.
Non-citrus degreaser or solvent
Chris King Precision Components (2021-07-08) recommends a non-citrus degreaser or solvent for cleaning bearings on the bike. Check the product label before buying, because some general-purpose degreasers use citrus-based solvents. For stripping old grease from the shell, cups and bearings, Vital MTB (2016-12-15) recommends denatured alcohol.
Toothbrush, rags and compressed air
A toothbrush loosens grit from the ball tracks and the spaces between the balls. Use a clean rag to wipe away loosened dirt and solvent residue. Chris King Precision Components (2021-07-08) lists compressed air or a clean rag as the drying options, so use whichever you have available.
| Item | Purpose in this job | Source |
|---|---|---|
| Seal pick | Lifts the side seal off an external bearing | Singletracks (2026-03-14) |
| Non-citrus degreaser or solvent | Flushes dirt and old grease from the bearing | Chris King Precision Components (2021-07-08) |
| Denatured alcohol | Removes old grease from the shell, cups and bearings | Vital MTB (2016-12-15) |
| Toothbrush | Scrubs the bearing and its tracks | Singletracks (2026-03-14) |
| Clean rags | Wipe away loosened dirt and solvent residue | Chris King Precision Components (2021-07-08) |
| Compressed air or clean rag | Dries the bearing before inspection | Chris King Precision Components (2021-07-08) |
How to clean bottom bracket bearings step by step
Cleaning an external bottom bracket bearing is a short, ordered job: remove the side seals, flush the bearing with solvent until the spray runs clean, then dry the bearing and check that it spins smoothly. You can do all of this with the cup left in the frame. According to Singletracks (2026), this applies only to external bearings with exposed seals. Confirm the seal design before you start, because cleaning will not restore a unit that cannot be serviced.
Pry off the side seals
Work a pick under the lip of each side seal and lever it out gently, moving around the circumference rather than prying at one point. Keep the left and right seals separate, so you do not mix them up when you come to reassemble.
Scrub with solvent until the spray runs clean
Spray solvent into the bearing, scrub the races and balls with a toothbrush, then spray again. Repeat until the liquid running out is clear rather than grey or black. Singletracks (2026) describes this as the standard external-bearing method. Old grease is harder to remove than loose grit, so expect several passes on a bearing that has not been cleaned for a long time.
| Cleaning agent | Source | Use in this procedure |
|---|---|---|
| Solvent or degreaser | Singletracks (2026) | Spray and scrub with a toothbrush until the spray runs clean |
Clean the bearings on the bike with the cup in place
You do not need to remove the cup to clean the bearings. Chris King Precision Components (2021) describes this approach.
Removing the cup is only needed for a full overhaul. Vital MTB (2016) lists that sequence as removing the chain from the chainring, then the crank arms, then the bottom bracket with the correct tool.
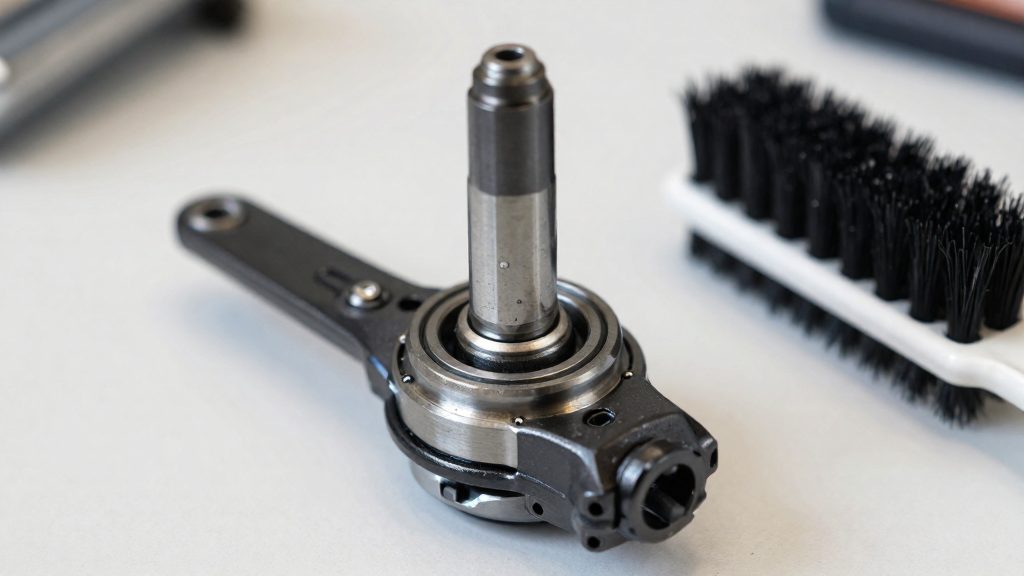
How to regrease and reassemble
Once the bearings are clean and dry, repacking restores the grease film that lets the balls or rollers turn freely. Work the grease into the bearing rather than just coating its outside. The table below lists the specifications for this stage.
| Item | Specification | Source |
|---|---|---|
| Grease type | Synthetic waterproof grease for repacking | Singletracks (14 March 2026) |
| External cup torque | About 40 Nm, with fresh grease on the threads | Singletracks (14 March 2026) |
Work through the reassembly in this order:
- Repack the bearings with the synthetic waterproof grease, pressing it between the balls or rollers and into the cage until the bearing is evenly filled.
- Refit the side seals in the seal orientation you noted when you removed them. A reversed seal causes noticeable bearing drag (Chris King Precision Components, 2021). Before refitting, inspect each seal for nicks, twists or tears, and replace any damaged seal and any warped clip.
- Reinstall the spacers and washers in their original positions. Changing their order or count alters the bearing preload and the crank alignment.
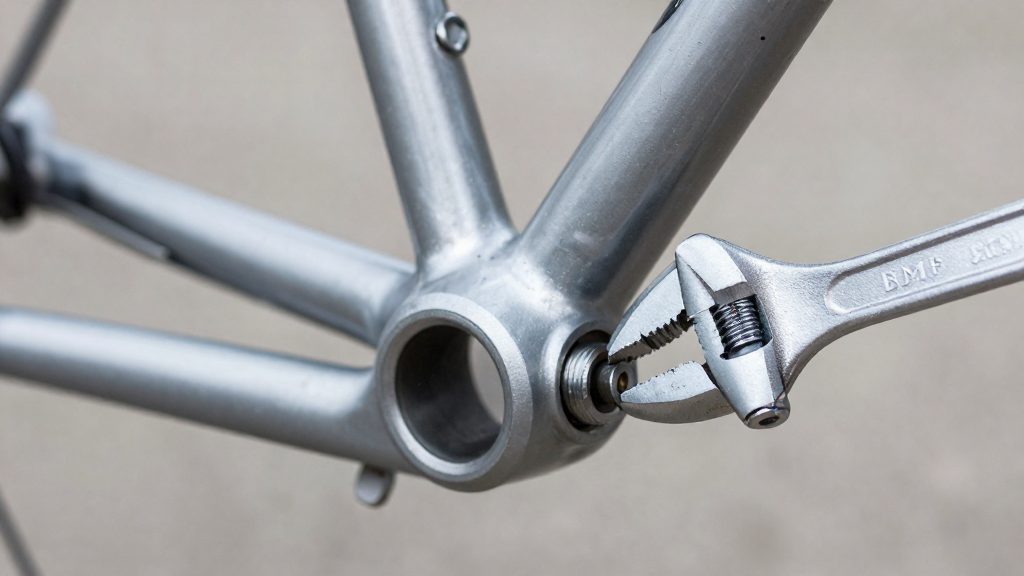
- Thread the external cups with fresh grease on the threads, then tighten them to the cup torque given in the table. Tighten both sides evenly so the shell is not stressed on one side.
- Check the cranks by gripping each arm and pushing it sideways. Any side-to-side play means the bearings or cups are not seated correctly, so loosen, re-check the spacers and retighten before riding. Chris King Precision Components (2021) states that any side-to-side looseness means do not ride.
Refitting the seals in the original direction and keeping the spacers in place are the two checks most often missed.
When should you replace instead of clean?
Cleaning restores a bottom bracket only when its bearings can be serviced. Most modern designs cannot. According to Singletracks (2026), most modern bottom brackets are replace-only. Threadless shells and one-piece sealed cartridges therefore make cleaning a diagnostic step, not a repair. The only exception is the external cartridge with exposed seals, which can be reconditioned, but Park Tool advises against repacking these cartridges (Singletracks, 2026). Park Tool advises against repacking these cartridges, so treat the repacking steps below as applying only to a serviceable external bearing. If you are unsure, replace the unit.
Replacement becomes the only sound option when the bearing shows damage that solvent cannot remove. Inspect the balls after cleaning. Chipped or discoloured balls indicate that the bearing is worn, whatever its design. Dirt that returns the bearing to a rough feel once it is clean means the races or balls have already lost their surface finish.
Notchy bearings also call for replacement. Vital MTB (2016) states that a notchy bearing should be replaced rather than cleaned further. If the bearing feels notchy before cleaning and still feels notchy afterwards, cleaning will not resolve the problem.
How often should you service it?
For a frequently ridden bike, the published interval is annual. Chris King Precision Components (2021) recommends servicing the bottom bracket bearings about once a year. Treat that as a baseline for a frequently ridden bike, and adjust it for how and when you ride. Tying the annual service to a fixed date, such as the start of the riding season, makes it less likely to be skipped.
Riding conditions change the schedule. Wet and muddy riding pushes water and grit past the seals faster than dry riding does, so the bearings can become rough before the annual service is due. Use inspection instead of the calendar for these conditions. After a muddy or very wet ride, check for grit or roughness. If you ride in wet conditions regularly, bring the inspection forward and treat the annual service as a minimum.
Seasonal checks bracket the winter riding period. Before the season starts, inspect the bottom bracket on a clean, dry bike and confirm the bearings turn smoothly. After winter riding, inspect again, because road salt, grit and standing water have had the most time to work into the bearings. Compare the two inspections to judge how quickly the bearings are degrading on your routes.
| Riding pattern | Schedule approach |
|---|---|
| Frequent dry riding | Service about once a year (Chris King Precision Components, 2021) |
| Regular wet or muddy riding | Inspect after each muddy ride; service earlier than annually if grit or roughness appears |
| Winter riding | Inspect before the season starts and again when it ends |
| Occasional riding | Inspect once a year; service only if the bearings feel rough |
Frequently asked questions
Can I clean bottom bracket bearings without removing the cups?
Yes, according to Chris King Precision Components (2021), you can clean the bearings on the bike. Use a toothbrush, a rag and a non-citrus degreaser or solvent, repeating until the flushed-out dirt runs clear, then dry with compressed air or a clean rag.
What does it mean if a bearing stays gritty after cleaning?
Grit or roughness that remains after a thorough flush points to wear rather than contamination. Look for chipped or discoloured balls, which Singletracks (2026) also identifies as signs that the bearing needs replacing.
Why does a bearing feel tight after I reinstall the seals?
The most common cause is a seal fitted the wrong way round, which creates noticeable bearing drag. Chris King Precision Components (2021) advises noting the seal orientation before removal, and replacing any seal that is nicked, twisted or torn.