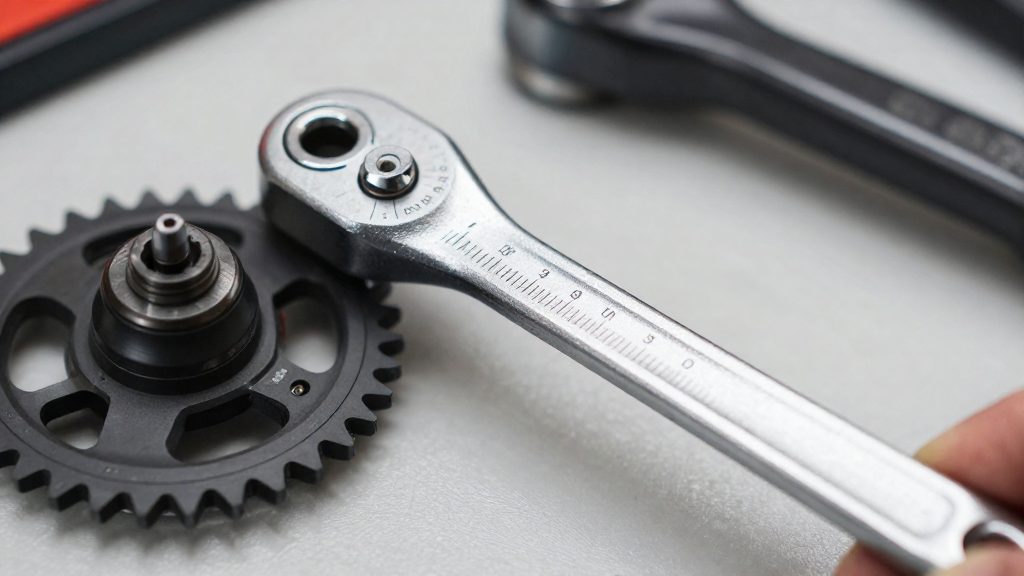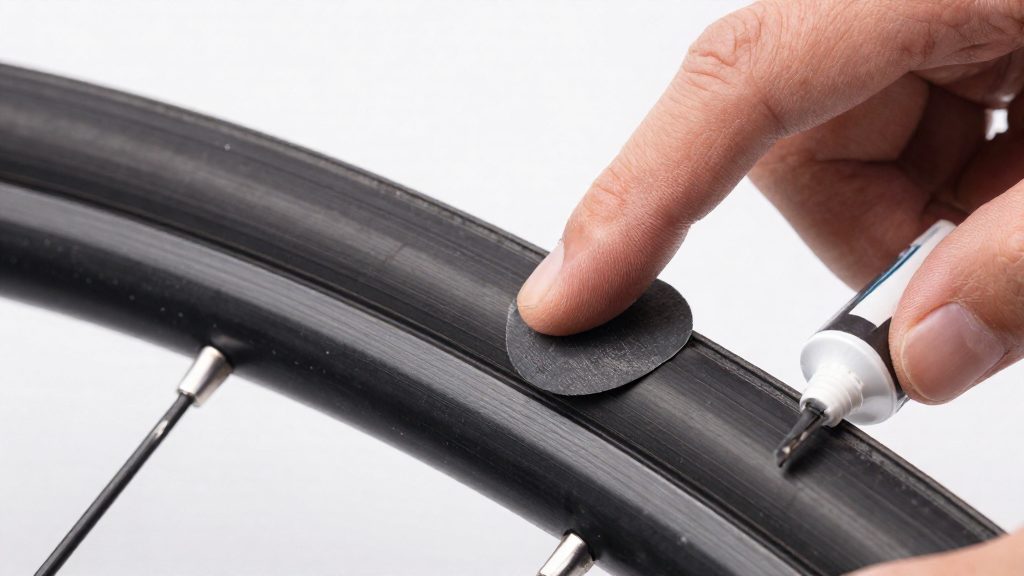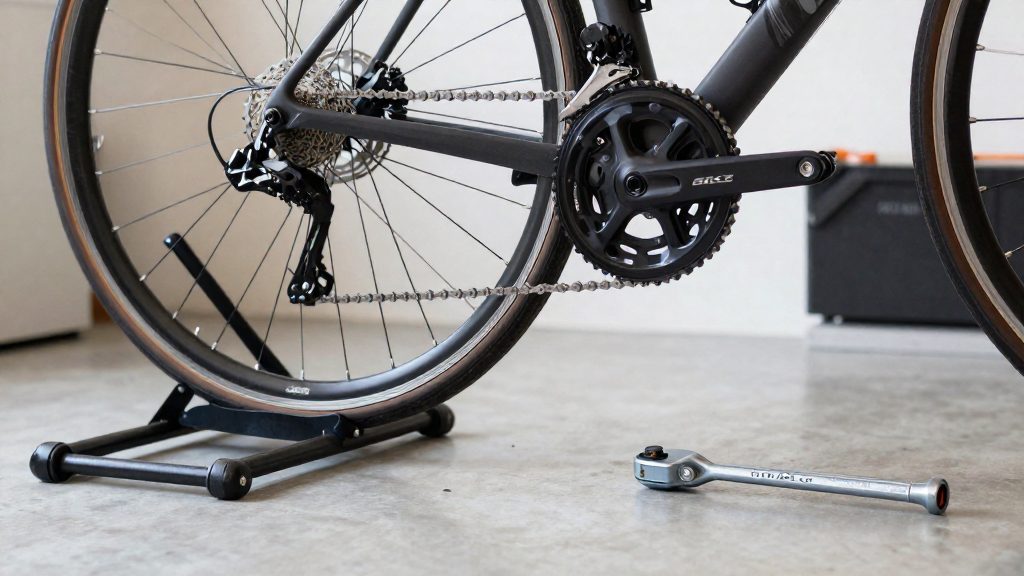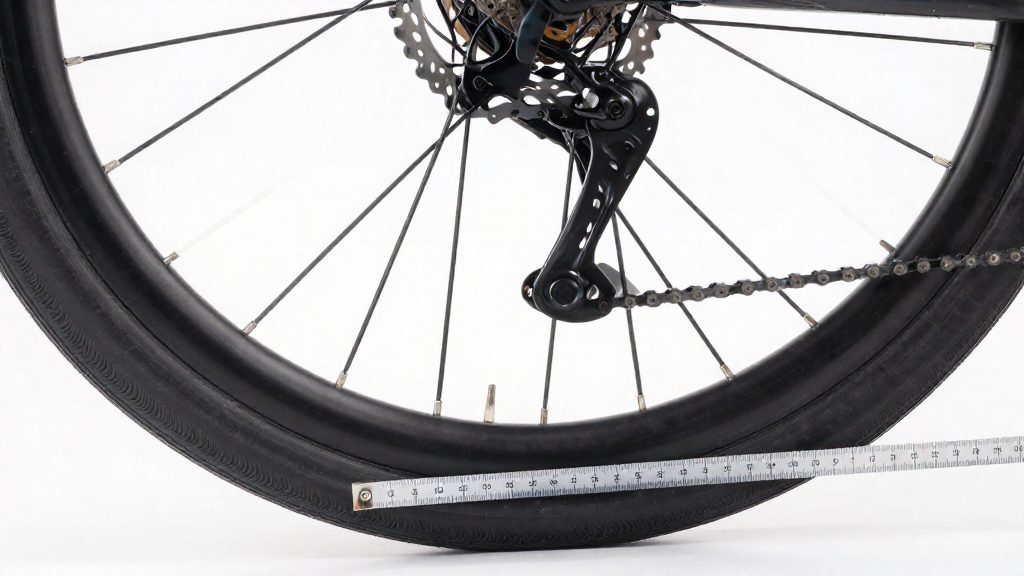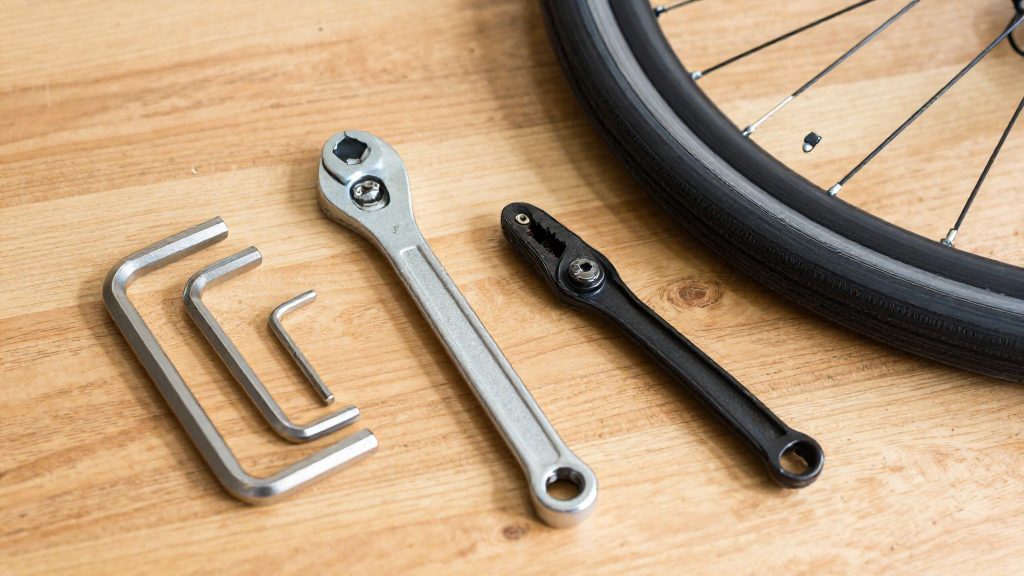
A basic bike repair kit is built from a short list of hand tools. Park Tool’s essentials list for a home mechanic names five items: a hex wrench/screwdriver multi-tool, tire levers, a patch kit, a floor pump head that fits both Presta and Schrader valves, and a drivetrain cleaning kit (Park Tool, 2015). Its longer novice list adds wrenches, screwdrivers, and specialist hub, wheel and drivetrain tools.
What tools do you need for basic bike repair?
Core tools and specialist equipment
The essentials list is the baseline because it covers jobs every owner meets, such as roadside puncture repair and drivetrain cleaning. Items that appear only on the novice list serve specific components. Cone wrenches work on hub bearings, the spoke wrench works on wheel spokes, and the chain tool works on chain length. You need these once you service those parts, not before.
Park Tool novice list by category
| Category | Tools on Park Tool’s novice list (Park Tool, 2015) |
|---|---|
| Metric wrenches | 8, 9, 10 and 11 mm |
| Hex keys | Fold-up hex set |
| Screwdrivers | Flat; Phillips #0 and #2 |
| Adjustable | 12-inch adjustable wrench |
| Gripping | Needle-nose pliers |
| Hub and bearing | Cone wrenches: 13–14 mm (front), 15–16 mm (rear) |
| Wheel | Spoke wrench |
| Pedal | Pedal wrench |
| Drivetrain | Chain tool |
| Cable | Cable cutters |
| Workstand | Repair stand |
Matching tool size to the fastener
Rounding occurs when a wrench that is too large or worn slips on the flats of a nut or bolt head, and the corners then deform. Before applying force, check that the wrench seats fully on the flats with no play. If it rocks or slides, change to the next size rather than pushing harder.
Spoke nipples have many sizes. Park Tool advises choosing the smallest spoke wrench that fits (Park Tool, 2015), because a wrench that is too big will round the nipple.
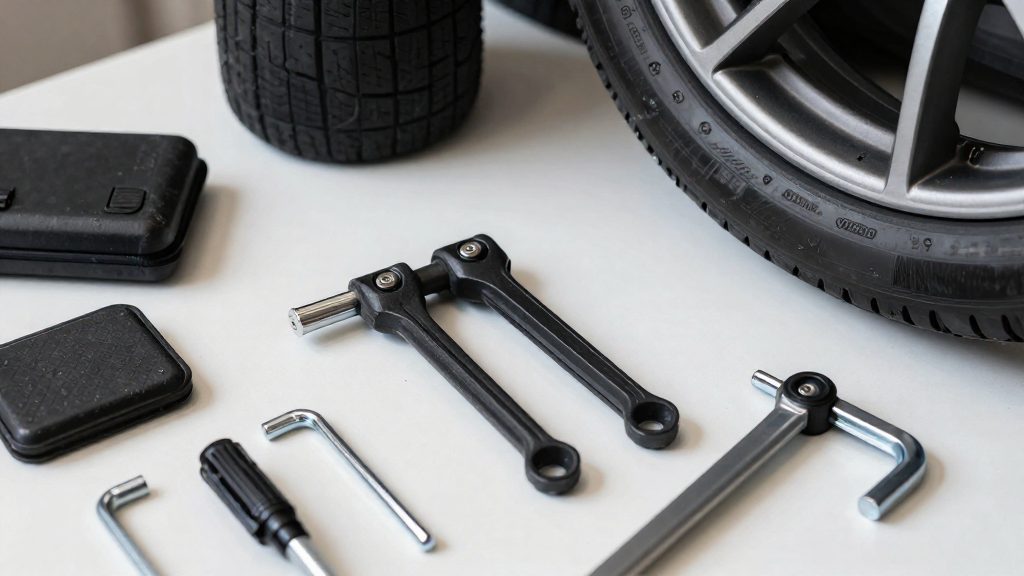
Essential starter tool kit
This section covers three of them: a hex wrench and screwdriver multi-tool set, a floor pump with a dual-fit head, and a drivetrain cleaning kit.
Hex wrench and screwdriver multi-tool set
A multi-tool puts hex (Allen) keys and screwdriver bits in one body, so you carry one item instead of several loose keys. Most bicycle bolts, including stem and caliper fasteners, use hex heads, which makes this the first tool to reach for when a bolt needs turning. Park Tool’s list also calls for flat and Phillips screwdrivers, which the multi-tool can cover for small fasteners on lights, bottle cages and accessories.
Floor pump with a dual-fit head
The pump head is the part most likely to cause problems, because it must match the valve on the tyre. Park Tool’s list specifies a head that fits both Presta and Schrader valves. Presta valves are narrow with a locking top nut, while Schrader valves look like car tyre valves and are wider. A pump that handles both lets you inflate any bike you service without swapping heads.
Seat the head fully on the valve before pumping. A partly seated head leaks air and gives a false reading on the gauge.
Drivetrain cleaning kit
A drivetrain cleaning kit is listed as an essential item, not an optional extra. Its job is to clean the whole drivetrain, meaning the chain, cassette and derailleur pulleys, rather than only the chain. Dedicated kits usually include a brush set and a chain-cleaning unit that holds the chain while you turn the cranks.
Clean the drivetrain before applying any lubricant. Grit trapped under fresh lube wears the chain and cassette faster.
Which tools fix a flat tire?
Fixing a flat at home needs three things: a way to lift the tire bead off the rim, a way to repair or replace the tube, and a way to reinflate. This section covers only those three items.
Tire levers and removal
Tire levers are the tools that get the tire off the rim. The bead, the edge of the tire that sits inside the rim, has to be pushed over the rim flange before the tube can be pulled out. Deflate the tube completely first. Then insert a lever under the bead at a point away from the valve, and pry a short section of bead over the rim edge. Work around the bead in short steps until one side is free, then slide the tube out through the gap. Keep the lever tips shallow so they do not pinch the tube, because a pinched tube can produce a puncture that looks like one from debris.
Patch types: GP-2 and VP-1
Park Tool’s patch kit options are pre-glued patches or glue-included patches, identified by model number:
| Patch type | Model | Adhesive supplied |
|---|---|---|
| Pre-glued patch | GP-2 | Adhesive already applied to the patch |
| Glue-included patch | VP-1 | Adhesive supplied with the patch |
The practical difference is the workflow. A GP-2 pre-glued patch removes the step of applying cement, so you clean the area, peel the backing and press the patch on. With a VP-1, the glue is a separate component you apply yourself, so it is worth reading the patch and glue instructions before you start.
Choosing a spare tube
Spare tubes must match two specifications: the tire size and the valve type. Valve type is either Presta or Schrader, and the tube’s valve has to match the wheel’s rim hole, and the tube size has to match the tire’s size markings. Check the tire sidewall for the size and check the existing tube’s valve before buying, so the replacement fits on the first attempt.
Cleaning and lubrication supplies
Park Tool’s list for a home mechanic names five cleaning and lubrication consumables: chain lube, degreaser, rags, hand cleaner and a shop apron (Park Tool, 2015). None of these repairs a component, but they determine how clean the drivetrain is when you adjust it and how much grime reaches your hands and clothing. Having them ready before you start a chain or gear job avoids stopping partway through to find a rag.
| Item | Role during work |
|---|---|
| Chain lube | Reduces friction at the rollers and pins once the chain is clean |
| Degreaser | Dissolves old oil and grit from the chain and drivetrain parts |
| Rags | Wipe off degreaser and excess lube |
| Hand cleaner | Removes oil from skin after handling the drivetrain |
| Shop apron | Keeps drips and splashes off your clothing |
Chain lubricants
Chain lube comes in two broad families, and the choice depends on local conditions. A wet lubricant is thicker and stays on the chain in rain and mud, but it collects more dirt, so it needs more frequent cleaning. A dry lubricant is thinner, dries to a film that attracts less grit, and suits dusty, dry roads, but it washes off faster in wet weather. Apply a small amount to each roller and let it soak in. Excess lube on the outer plates is what traps grime, so the aim is a thin coat inside the rollers.
Degreaser on the drivetrain
Degreaser comes before lubrication. New oil bonds to a clean surface, whereas oil applied over old grit mixes with it and forms an abrasive paste. Apply degreaser to the chain, cassette and chainring, then pull the chain through a rag held taut until the rag stays clean. Keep degreaser off tyres and brake surfaces, because residue there reduces grip.
Rags, hand cleaner and shop apron
Use one rag for degreasing and a separate clean rag for the final wipe, so solvent does not remain on the lubricated chain. Hand cleaner removes the oily film left after handling the chain and gears, which is less irritating to skin than repeated solvent wiping. Replace the shop apron if degreaser soaks through it.
Do you need a repair stand and torque wrench?
Park Tool’s novice tool list (Park Tool, 2015) includes a repair stand alongside a standard wrench set, but it does not treat a torque wrench as a starter item. For home servicing, the stand changes how every task feels, while the torque wrench protects parts from damage. Whether either justifies its cost depends on how often you work on the bike and which jobs you plan to do.
Repair stand stability and working height
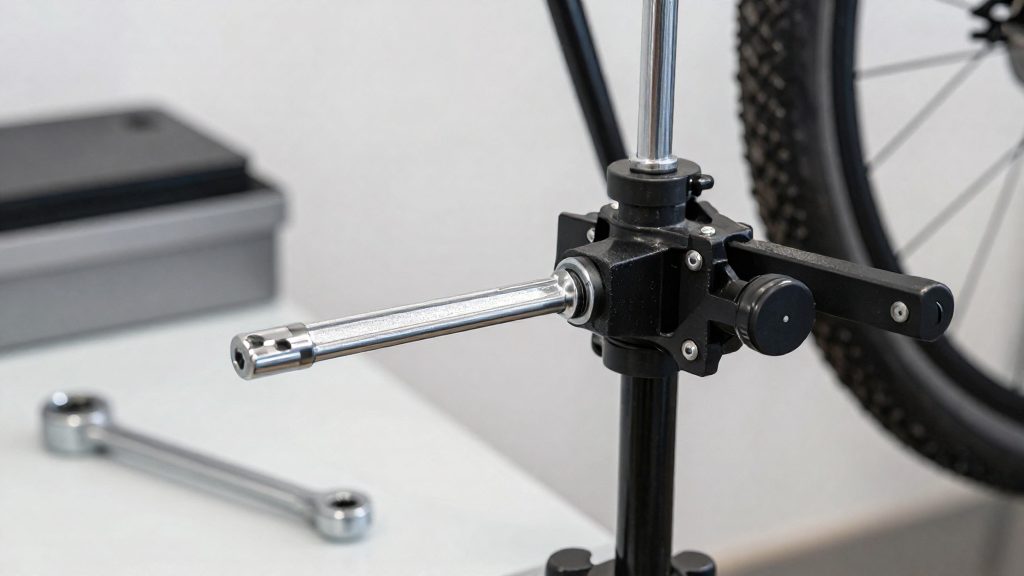
A repair stand holds the bike off the floor and clamps it, usually on the seat tube or seatpost, which leaves both hands free. A fixed working height means you spend less time bending over the chainring and rear cassette, where most drivetrain adjustment happens. A stable clamp also keeps the frame from shifting when you turn a crank or pull a brake lever, so you are not fighting the bike while you adjust a derailleur limit screw.
Clamp the bike on a sturdy metal seatpost, or on frame tubing only where the frame and stand manufacturers allow it. Never clamp a carbon seatpost or carbon tube unless the manufacturer says it is safe. Check that the bike sits level before you start work.
Torque wrench use when preventing over-tightening
Over-tightening is the main reason a torque wrench earns its place. Bolts on stems, seatposts, brake calipers and cranks can strip threads, crack carbon components or deform clamps when they are tightened by feel alone. A torque wrench lets you set the fastener to the value printed on the component or given in the manufacturer’s instructions, so the bolt matches the specification rather than your grip.
Use the wrench for a final, smooth pull. Stop when the wrench signals the set value, and do not add force beyond that point.
Torque wrench versus standard wrench sets
A standard wrench set handles loosening and general tightening, where the exact clamping force matters less. A torque wrench does one job: tightening a fastener to a specified value. It works alongside your wrenches rather than replacing them, with the correct socket or bit fitted.
| Task | Standard wrench set | Torque wrench |
|---|---|---|
| Removing or loosening bolts | Suitable | Not its purpose |
| Tyre and tube replacement | Sufficient, with a patch kit for punctures | Not needed |
| Setting stem, seatpost or caliper bolts | Risks over-tightening | Controls the value |
| Crank and other critical fasteners | Risks over-tightening | Controls the value |
For a home mechanic who mainly cleans, lubricates and changes tyres and tubes, a standard set and patch kit cover most work. A torque wrench becomes worth its cost once you regularly adjust stems, seatposts, disc brake calipers or crank bolts.
Tools for chains, gears and brakes
Four groups of tools from Park Tool’s novice list cover most adjustment and removal jobs on chains, derailleurs and cables: a chain tool, cable cutters, needle-nose pliers, and flat and Phillips (#0 and #2) screwdrivers (Park Tool, 2015).
| Tool (per Park Tool novice list) | Job it covers | Typical use |
|---|---|---|
| Chain tool | Chain removal and rejoining | Pushes a pin out to break the chain, then reseats the pin to rejoin it |
| Cable cutters | Housing and inner wire | Cuts gear and brake cable to length and trims the housing ends |
| Needle-nose pliers | Cable and adjuster handling | Grips small cable ends and turns barrel adjusters and clamp parts that are hard to reach by hand |
| Flat and #0 / #2 Phillips screwdrivers | Small adjusters | Turns limit screws and small fasteners on derailleurs and brake components |
Chain tool
The chain tool is the only item in this group that handles the drivetrain directly. You drive a pin out of a link to split the chain, which you need when replacing a worn chain or when a chain has to be shortened. To rejoin, follow the chain manufacturer’s instructions. Most chains need a quick link or a replacement connecting pin, and reusing the original pin is often not acceptable. Whichever you use, check that the link moves freely. Keep the pin aligned as you press it, because a pin pushed in crooked binds the link and stiffens the chain. The chain tool splits the chain and seats a pin, but rejoining should follow the chain manufacturer’s instructions. Many chains call for a quick link or a replacement connecting pin rather than reusing the original pin.
Cable cutters
Dedicated cable cutters cut both the inner wire and the outer housing. Using them keeps the cable end square, which matters for a clean crimp or a clean seat in the adjuster. Pliers or side cutters that flatten the housing make it hard for the inner wire to slide, so the shift or brake feel gets worse. Cut the housing to length before routing the inner wire and check that the cut face is square. Trim the inner wire only after it is set at the correct tension, then crimp an end cap.
Needle-nose pliers and small screwdrivers
Needle-nose pliers reach into tight spaces around derailleurs and brake calipers. They grip cable ends for threading and hold small parts while you turn an adjuster. The flat and #0 / #2 Phillips screwdrivers handle the small limit screws and adjusters on derailleurs.
Wheel and bearing tools worth adding later
Once you own the basics, three specialist tools cover the wheel and bearing jobs that a general kit cannot handle. These are the hub cone wrenches, a spoke wrench, and a pedal wrench. Park Tool’s novice list includes all three, and each addresses a different part of the wheel and crank assembly.
Hub cones are the adjustable bearing surfaces on each side of a hub. Their adjustment requires a thin, open-ended wrench, and front and rear hubs use different sizes. Park Tool’s novice list gives the following:
| Hub position | Cone wrench size (Park Tool, 2015-08-21) |
|---|---|
| Front hub | 13–14 mm |
| Rear hub | 15–16 mm |
Hold the axle still with one wrench while you turn the locknut or cone with the other, so the bearing preload changes only when you intend it to.
A spoke wrench tightens or loosens the nipples that set spoke tension and wheel true. Make small, equal turns on spokes on opposite sides of the wheel.
A pedal wrench removes and refits pedals, which is the first step before taking the crank off to service a bottom bracket. Removing the crank itself needs a separate crank-removal tool. Park Tool lists the pedal wrench in the novice set without giving a size, so check that it fits your pedals and the manufacturer’s documentation before buying.
How to build a home bike toolkit over time?
Build a home toolkit in the order your bike actually demands repairs, not all at once. Start with the items you will reach for most often, then add tools for less frequent jobs as your skill and your maintenance routine grow. Park Tool’s novice guidance also places a repair stand and a fold-up hex set on its longer list, which suggests a sensible second stage once the basics are covered.
Prioritising purchases by repair frequency is the most practical way to sequence spending. Punctures are the most common roadside interruption, so the puncture kit comes first. Drivetrain cleaning is a frequent routine task, so the cleaning kit, degreaser, chain lube and rags come next. The chain tool can wait until you replace or shorten a chain.
| Stage | Repair frequency | Tools to add |
|---|---|---|
| 1 | Essentials: punctures and tire changes | Hex wrench/screwdriver multi-tool, tire levers, patch kit (pre-glued GP-2 or glue-included VP-1), floor pump with a head that fits both Presta and Schrader valves |
| 2 | Drivetrain cleaning and lubrication | Drivetrain cleaning kit, degreaser, chain lube, rags |
| 3 | Adjustments and bolt tightening | Fold-up hex set, flat and Phillips screwdrivers (#0 and #2 Phillips), 8/9/10/11 mm metric wrenches |
| 4 | Cable and component work | Needle-nose pliers, cable cutters, 12-inch adjustable wrench, pedal wrench |
Buy the patch kit type deliberately. A pre-glued GP-2 patch and a glue-included VP-1 patch are different products, so check which one your kit contains before you need it on the road.
A seasonal servicing schedule for tool use keeps the tools working as the bike does. Before the riding season, check that the pump head seals on both valve types and that the chain tool and cable cutters move freely. After wet or muddy rides, clean the drivetrain cleaning kit and degreaser residue off the tools, then dry them before storing. Replace worn rags and check tyre levers for bends that could pinch a tube. Do this at the same point each season so the check becomes routine rather than an emergency task.
Storing tools to prevent corrosion protects the investment. Wipe every tool after use, especially after degreaser or wet-weather exposure, and store them in a dry location rather than an unheated shed or damp garage. Keep the chain tool and cable cutters dry and lightly oiled, because moisture on exposed steel is what starts rust. Store patch kits and spare tubes out of direct sun and away from solvents, which can degrade glue and rubber over time.
Frequently asked questions
Do I need a chain tool before cleaning my drivetrain?
No. Degreaser, rags and chain lube handle cleaning and lubrication without any special tool. Keep the chain tool for jobs where the chain has to be split apart.
Which patch kit should a beginner choose?
Start with the pre-glued patches (GP-2), since they skip the separate cement step. The glue-included VP-1 is the other option on Park Tool’s list and suits riders who already have a method for applying cement.
How do I choose the right inner tube?
Take the tube’s diameter and width from the size markings on the tire. Choose the valve type from the rim’s valve hole, because the size markings do not show whether you need Presta or Schrader.