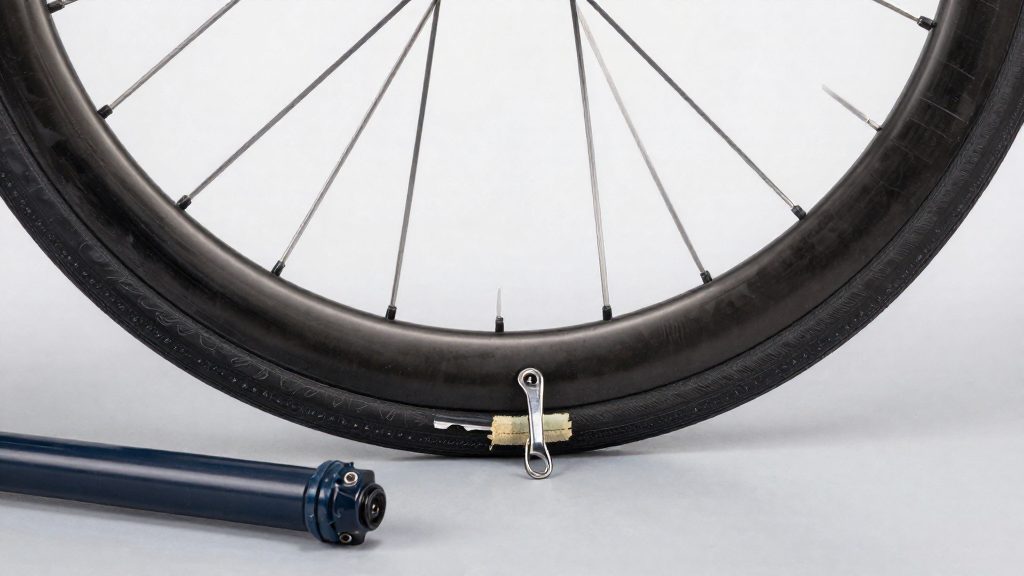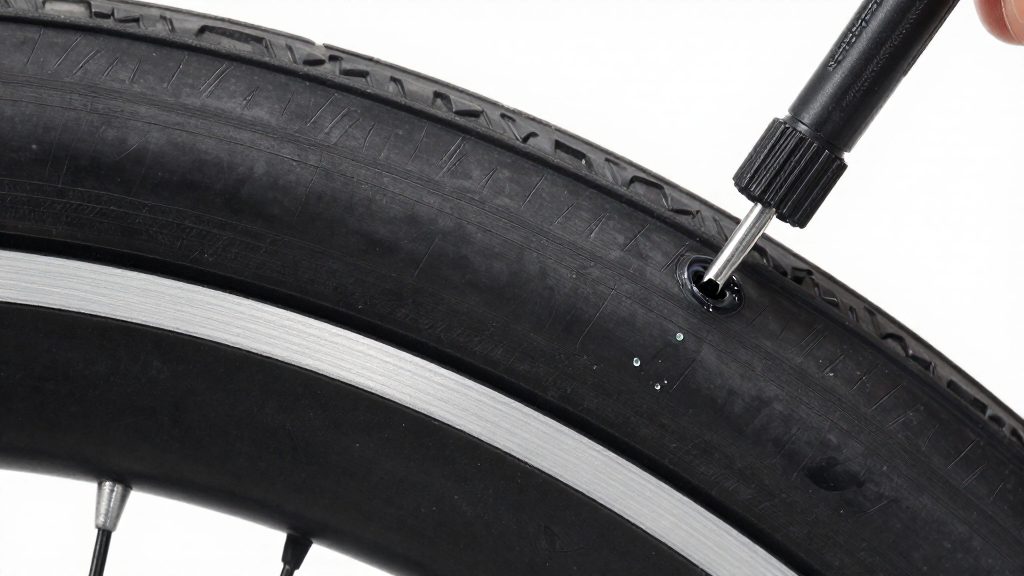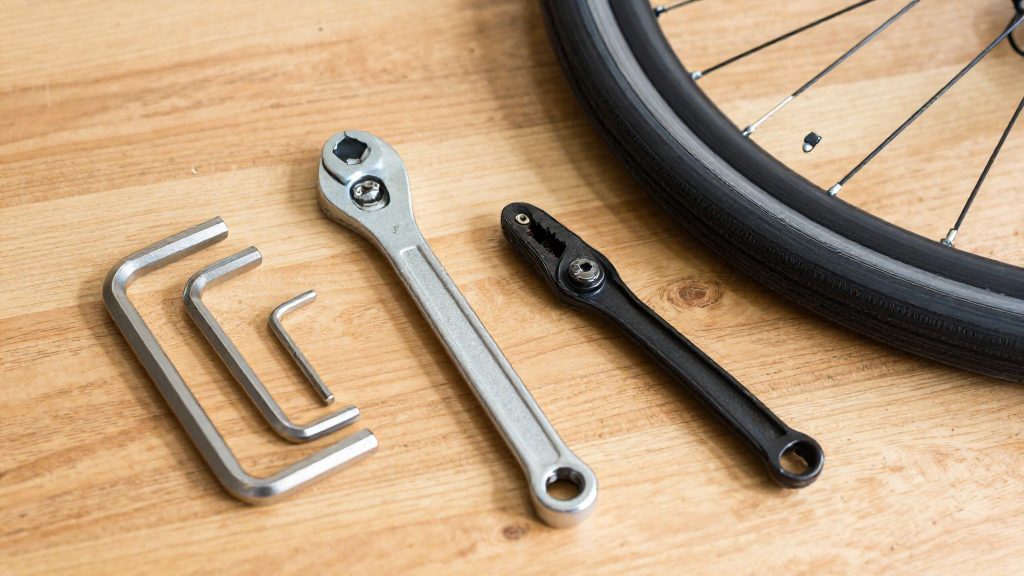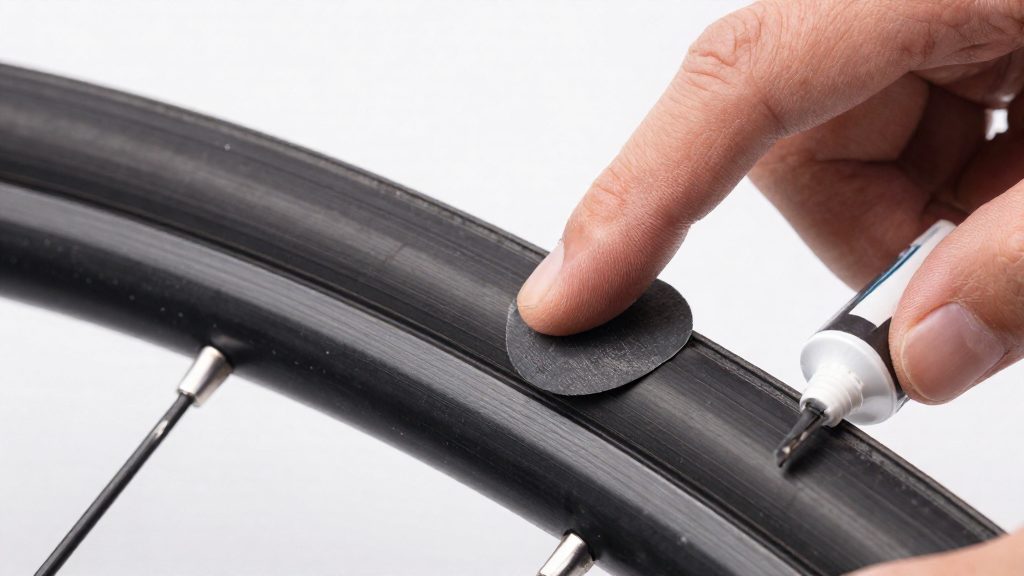
A tube repair needs three things: a patch kit, a pump to re-inflate the tube, and tyre levers to remove the tyre. Patch kits contain either vulcanizing patches, which bond through a layer of glue, or pre-glued patches, which come ready to use. Choose the type before you start, because the steps that follow differ between them.
What you need to patch a bike inner tube
Each item below serves a specific step, and none can be substituted without changing the repair.
| Item | Function | Source |
|---|---|---|
| Vulcanizing patch with clear plastic cover | Bonds to the tube after a glue layer dries | Park Tool (2015-08-19) |
| Tube glue | Spread over an area slightly larger than the patch, then left to dry | Park Tool (2015-08-19) |
| Talc or baby powder | Dusts the patch if the plastic cover is removed | Park Tool (2015-08-19) |
| Pre-glued patch, such as the GP-2 | Needs no glue | Park Tool (2015-08-19) |
| Tyre boot, such as the TB-2 | Covers a ripped tyre casing; must fully overlap the rip | Park Tool (2015-08-19) |
Keep the tyre boot separate from the tube patches. It repairs the tyre casing, not the tube.
Pump
A pump re-inflates the tube so you can check the patch and refit the tube. BikeRadar advises inflating to the correct pressure. Inflate to a pressure within the range printed on the tire sidewall (in psi), never above the maximum shown. A pump with a pressure gauge lets you reach that value precisely.
Tyre levers
Tyre levers lift the bead off the rim so the tube can be removed. Levers with smooth, rounded edges reduce the risk of damaging the tube during removal.
How do you find the hole in a tube?
Locating a puncture is a pressure test: the tube must hold enough air for the leak to show itself. According to Park Tool (2015), the starting point is to re-inflate the tube to about twice its normal width. A lightly inflated tube can hide a small hole because the escaping air is too weak to feel or hear. Raising the pressure makes the leak easier to detect and shows whether the tube is holding air at all.
The first method uses touch and hearing. Pass your lips, or the backs of your fingers, slowly around the outer circumference of the inflated tube. Air escaping from the hole is felt as a small movement against the skin and can often be heard as a faint hiss. Work around the entire circle rather than stopping at the first sensation, since the leak may be on the opposite side from where you started. Keep the tube turning at a steady pace so that each section gets the same attention.
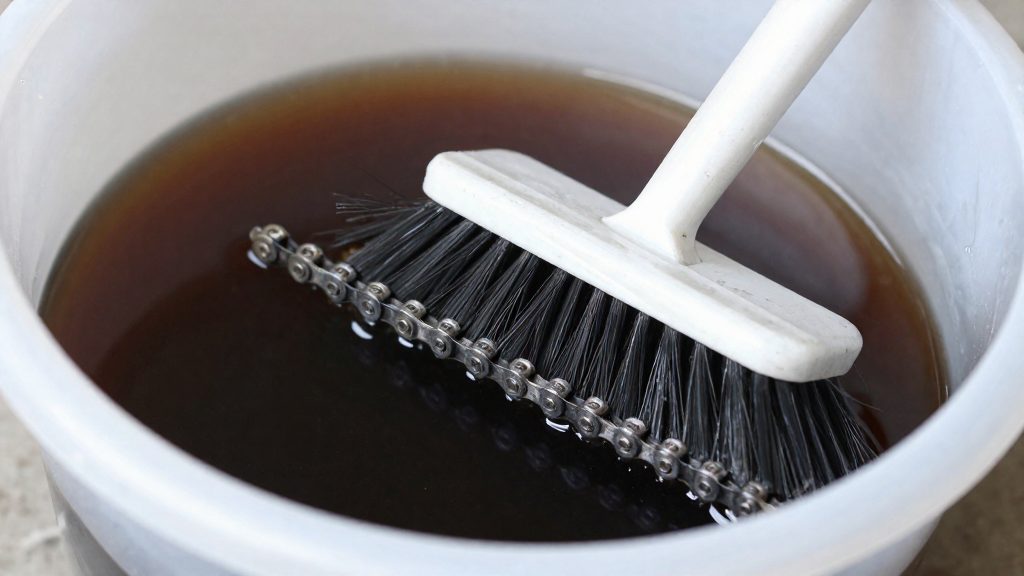
The second method is the water test, which Park Tool recommends when feeling and listening do not reveal the leak. Submerge the inflated tube in a container of water, then turn it section by section. Bubbles rising from one point identify the leak. Because the bubbles are visible, this method does not depend on feeling or hearing the air, which makes it useful for slow leaks that are hard to detect by hand.
| Method | Procedure | Sign of a leak |
|---|---|---|
| Feel and listen | Inflate to about twice normal width; pass lips or fingers around the circumference | Air felt against the skin, faint hiss |
| Water submersion | Submerge the inflated tube and turn it section by section | Bubbles rising from one point |
How to prep the tube for a patch
A patch bonds only to clean, lightly roughened rubber. Dust, oil, sanding residue and moisture on the surface weaken the bond, and the patch can lift under pressure. Park Tool (2015) describes a short sequence for this: mark the hole, abrade the area lightly, wipe it clean, and let it dry completely before any glue goes on.
Mark the hole before sanding
Draw four marks around the hole with a pen or marker, placing one on each side so the hole sits at the centre of a small box. Sanding removes the visible puncture outline, so the marks are your only reference for where the patch must go. Mark the tube first, then move on to sanding.
Abrade lightly
Work only inside the marked area, using the abrader or sandpaper from your patch kit. Use light abrasion, not heavy scrubbing. Park Tool (2015) warns that heavy pressure or too much sanding can groove the rubber and cause the patch to fail. A groove becomes a channel where the patch edge can lift, so stop as soon as the area is evenly roughened. Keep your strokes short and check the surface often instead of trying to remove material quickly.
Wipe with alcohol or a film-free solvent
Wipe the sanded area with a clean rag dampened with alcohol or a solvent that leaves no film, as Park Tool (2015) specifies. Use a fresh part of the rag for each pass so you do not spread sanding dust back over the surface. Keep the wipe inside the marked zone, and avoid wiping across the rest of the tube, where the cleaning fluid is not needed.
Allow full drying
Let the area dry completely before you continue. Any solvent or moisture still on the rubber sits between the glue and the tube, which prevents a clean bond. Park Tool (2015) recommends waiting for complete drying rather than starting the patch immediately after wiping. Once the area is dry and the sanding dust is gone, the tube is ready for the patch.
How do you apply a glue-on or pre-glued patch?
A vulcanizing patch needs a glue layer that bonds to the rubber, while a pre-glued patch already carries its adhesive. The two types follow different steps once the surface is ready.
For a vulcanizing patch, spread a thin, even coat of glue over an area slightly larger than the patch. BikeRadar (2023-08-05) advises a second, thinner layer over the first, and says to wait until the surface turns matte before applying the patch. Park Tool (2015-08-19) recommends letting the glue dry, which may take several minutes, and then testing only the outer perimeter of the glue. Once the perimeter is set, press the patch on, concentrating pressure on the edges, and hold it for over a minute if possible.
Leave the clear plastic cover on the vulcanizing patch. If you remove it, dust the patch with talc or baby powder before it goes onto the glue, so the surface does not pick up residue.
Pre-glued patches, such as the Park Tool GP-2, need no glue. Place the patch directly on the prepared area and press its edges firmly so the adhesive makes full contact. Because the adhesive is already on the patch, the glue-drying and perimeter-test steps above do not apply to it.
Check the tyre and rim tape before refitting
Before the tube goes back in, confirm that the tyre and rim protection are intact. A correctly patched tube will fail quickly if the tyre casing or the rim tape still has something that can puncture it. BikeRadar (2023) recommends these checks before refitting, and the table below sets out what to look for in each.
| Check | What to look for | Why it matters |
|---|---|---|
| Casing interior | Debris such as glass, thorns or stone fragments | Anything left inside can work through and pierce the new tube |
| Casing damage | Rips or cuts in the tyre | A ripped tyre may not hold a tube |
| Rim tape position | Tape covering every spoke hole | Exposed spoke ends can press into the tube and damage it |
Start by running your fingers around the inside of the tyre, feeling for sharp fragments and checking that the bead area is clean. Remove debris carefully with a dry cloth, taking care not to cut your fingers on sharp fragments. If you find a rip, fit a tyre boot before refitting the tube.
Next, check the rim tape. It should lie flat in the rim well with no gaps, bunching or displaced edges, and it must cover every spoke hole. If a spoke end is exposed, the tube can be pinched or punctured against it once the tyre is inflated. Reposition or replace the tape before going further.
To seat the bead, push the tyre onto the rim by hand first, starting at the valve and working round in both directions, finishing opposite the valve. Keep the tube inside the casing, and avoid trapping it under the bead as the tyre is pushed back on. BikeRadar (2023) advises seating the bead evenly and avoiding pinching the tube. Once the tyre is seated, squeeze it around its circumference to check that both beads sit evenly in the rim.
Is a patched tube safe to ride on?
Whether a patched tube suits ongoing riding depends on the type of repair, not only on whether it holds air. Park Tool (2015-08-19) classifies a pre-glued patch as a temporary trailside fix. A vulcanizing patch is glued and cured onto the tube, and that guidance does not describe it as temporary. A patch that holds pressure after a quick check can still be the weak point on a longer ride, so the repair type should set how far you rely on it.
| Repair | Park Tool status (2015-08-19) |
|---|---|
| Pre-glued patch (such as the GP-2) | Temporary trailside fix |
| Vulcanizing patch | Not described as temporary |
| Tyre boot (such as the TB-2) | Temporary; replace the tire as soon as possible |
The tyre matters as much as the tube. Before a patched tube goes back into service, check the casing for debris. A sharp object left in the casing can damage the tube again, so a patch on a clean, well-protected tube is a far better basis for continued riding than one fitted into a damaged tyre.
In practice, a pre-glued patch is best treated as a way to finish the ride or reach a repair stand. Continued riding is more reasonable with a vulcanizing patch, an intact and clean tire, and a tube that holds pressure after refitting.
When to replace the tube instead
A patch restores a tube only when the damage is a single puncture on intact rubber that the glue can fully bond to. When a tube shows any of the conditions below, a new tube is the more reliable repair.
| Condition | Recommended action |
|---|---|
| Pre-glued patch already fitted | Replace the tube as soon as possible |
| Hole close to the valve base or the edge of the tube | A patch may not bond well here; consider replacing the tube |
| Two or more holes | Consider replacing the tube, since this suggests debris or a pinch in the tire |
| Air leaks again after the patch has been applied | Replace the tube, because the repair has not sealed |
Whatever the patch type, recheck it for leaks after inflating the refitted tire, and replace the tube if it loses pressure.
Holes near the valve or an edge leave little usable rubber for a patch to bond to. A patch needs a flat, sound surface, and the valve base, the seam and the tube’s folded edges leave little usable rubber. A patch placed there may not bond reliably, so replacing the tube is the safer choice.
Multiple holes mean the tube has taken repeated damage, usually from debris or a pinch. If you find a second hole while searching for the first, swap the tube instead of patching both. A tube with several holes suggests a cause still in the tire, so a new tube is the safer choice.
A failed re-inflation check is the final signal. If the tube loses pressure again after the patch has cured and been refitted, the repair has not sealed, and a new tube is the only dependable fix.
Frequently asked questions
Is a pre-glued patch a permanent fix?
No. Park Tool treats a pre-glued patch, such as the GP-2, as a temporary trailside repair (Park Tool, 2015-08-19), so replace the tube as soon as you can.
Why does a patch sometimes fail to bond?
Park Tool does not rank the causes of failure, but it warns that heavy or excessive sanding can groove the rubber, which weakens the bond. Press the patch down firmly, especially at its edges, and hold pressure for over a minute if possible (Park Tool, 2015-08-19).
Can I keep riding after a patch repair?
Continued riding is reasonable only if the patch is vulcanizing, the tire is intact and clean, and the tube holds air pressure after refitting. Recheck the patch for leaks once the tire is inflated, and replace the tube if it loses pressure.