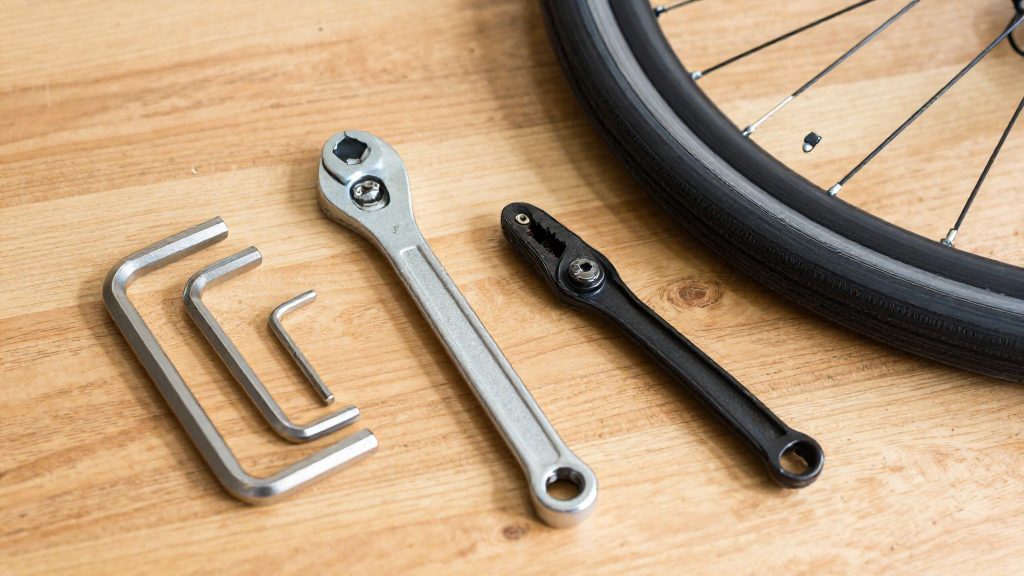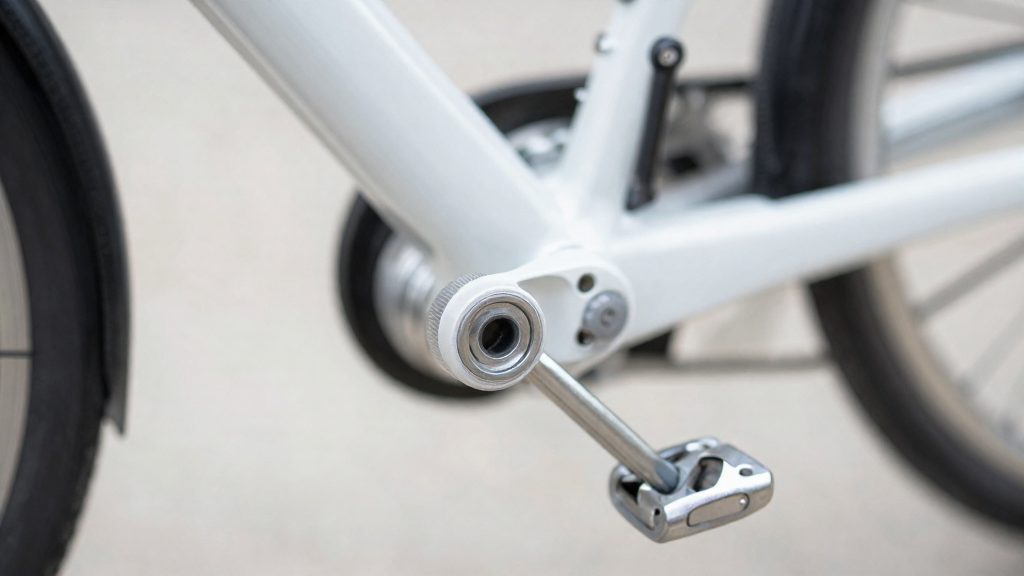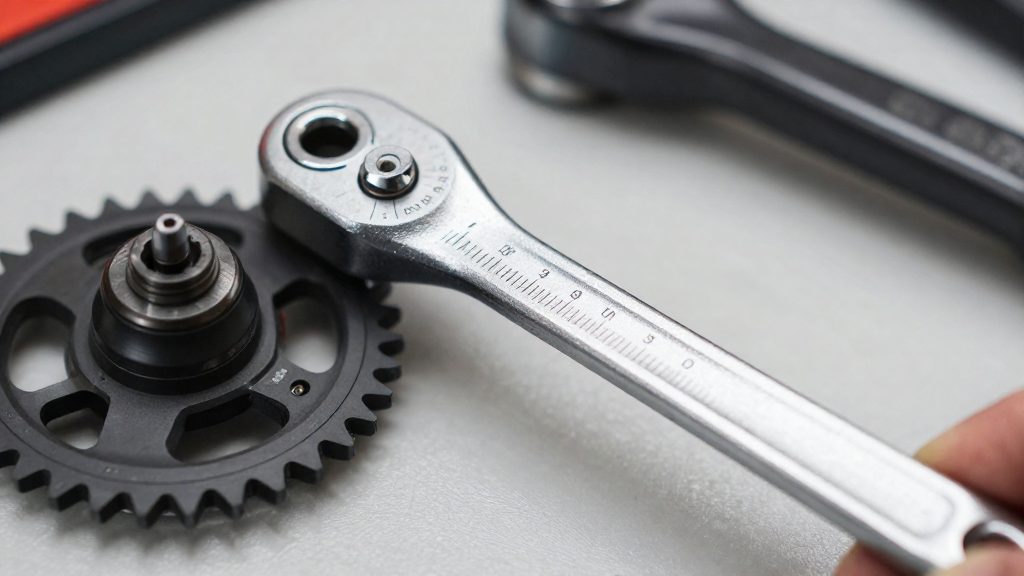
A torque wrench lets you tighten a bolt to a defined value instead of judging it by hand. Bicycle fasteners need specific tightness: too little and parts loosen, too much and carbon or threads can be damaged. Torque is given here in newton-metres (Nm). Some US tools and manuals use in-lb, so check which unit your wrench scale shows. Most bike bolts need under 10 Nm, and the highest typical value, around 60 Nm for parts such as cassette lockrings and crank bolts, is far beyond what hand feel can reliably judge.
Why use a torque wrench on a bike?
Overtightening crushes carbon parts
Carbon handlebars and seatposts are clamped by bolts that must be tightened to the value the manufacturer specifies. Exceeding that value can crush the carbon inside the clamp, weakening the part in a way that is often hard to see. Hand feel gives no reliable warning, so damage can occur before a rider notices anything.
Loose bolts lead to stem, wheel and brake failure
Stem, wheel and brake bolts that are under-tightened can work loose under vibration and braking loads. The consequences are concrete: a loose stem can allow the handlebar to shift, a loose axle can let the wheel move in the dropouts, and a loose brake mount can change pad alignment. Each of these is a safety issue that a torque wrench addresses directly.
Manufacturer values are printed on the component
Many components carry a maximum torque value, usually stamped or printed on the part, and the manufacturer’s documentation gives the matching figure. Use the figure on the component or in its documentation, not one remembered from another bike. If the figure is a maximum, BikeRadar suggests setting the wrench about 10 percent below it. If it is a range, aim for the middle.
Quality click wrenches are accurate to about ±4 percent, according to ROUVY (2026). That measurable tolerance is the reason to use an instrument rather than judging tightness by feel.
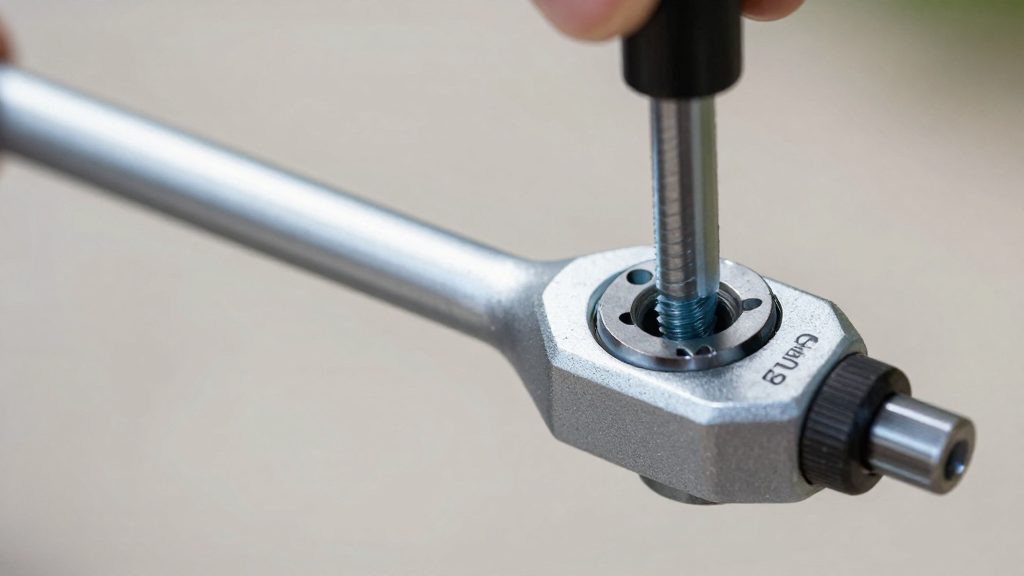
Which torque range do you need?
The range you use most often sits at the lower end of a torque wrench’s scale. For routine home maintenance, Rouvy recommends a 2–15 Nm click-type wrench (ROUVY, 2026). That range covers most of the routine bolts you will tighten on a bike. High-torque parts such as cassette lockrings and crank bolts need a second, higher-range wrench, such as the Park Tool TW-6.2 (10–60 Nm).
| Torque band | Coverage with a 2–15 Nm wrench |
|---|---|
| Below 2 Nm | Outside the scale |
| 2–10 Nm | Where most bike bolts fall (BikeRadar, 2024) |
| 10–15 Nm | Upper end of the routine range (ROUVY, 2026) |
The lower end of the scale matters more than it first appears. A click wrench is only reliable within its working range, and a wrench whose scale starts well above the specification of a small fastener cannot be set to that value at all. A scale that begins near 2 Nm lets you tighten small fixings to their specified value without guessing or overtightening, which is the main risk on lightweight components. Overtightening can strip threads or crack parts, while undertightening lets a fastener loosen under vibration.
When you choose a wrench, check that the scale reaches down to the low end of the bolts you work on, not only its maximum. A wrench that covers 2–15 Nm handles most of the bolts on a typical bicycle. Check the specification printed on the component or in the manufacturer’s instructions, and set the wrench from that figure (see the setting rules below), not to the midpoint of the wrench’s scale.
Click, beam, preset or digital: which type?
Bicycle torque wrenches differ in how they set, signal and hold a value. Click and preset wrenches are the most practical for routine home work, beam wrenches are the simplest, and digital wrenches replace the scale with a display. The table below compares how each type handles the setting.
| Type | How torque is set | How the target is shown | Example from the sources |
|---|---|---|---|
| Click | Adjustable scale on the grip | Audible click at the set value | Rouvy’s routine-maintenance pick: 2–15 Nm |
| Beam | No setting; pointer reads the load | Pointer on a scale, read by eye | Park Tool TW-1, scale in Nm and in-lb |
| Preset | Fixed at one value | Signal at that fixed value | Park Tool PTD-5: 4, 5 or 6 Nm |
| Digital | Set on the tool | Display readout | Topeak D-Torq: 1–20 Nm |
Click wrenches let you change the target value quickly. Because the release is audible, you can keep your attention on the bolt rather than on a scale. This makes them the usual choice when different bolts on the same bike need different values.
Beam wrenches have no setting mechanism, so the reading depends on watching the pointer as load builds. Park Tool specifies that a beam wrench is calibrated when its pointer rests at zero, and a bent pointer shaft can be bent back to zero. This type suits occasional checks, but it is slower for repeated work.
Preset wrenches hold one value. If you tighten the same bolt type on several bikes, a preset avoids resetting the scale. Their limitation is the lack of flexibility: a tool fixed at 5 Nm does not help with a 10 Nm bolt.
Digital wrenches give a numeric readout, as with the Topeak D-Torq (1–20 Nm). They are useful when you need to see the exact figure, but they depend on batteries or electronics that a simpler mechanical tool does not.
Best torque wrenches for home mechanics: overall, premium and budget picks
For a home workshop, ROUVY (2026-08-11) names the Park Tool TW-5.2 as its best overall pick and the Pedro’s Demi Torque Wrench II as its premium option, with the BBB TorqueSet as the budget choice. The two named models differ mainly in scale and drive size:
| Model | Role (per ROUVY, 2026-08-11) | Torque range | Drive |
|---|---|---|---|
| Park Tool TW-5.2 | Best overall | 2-14 Nm | 3/8in |
| Pedro’s Demi Torque Wrench II | Premium | 3-15 Nm | 1/4in |
The drive size determines which sockets fit the wrench. Before buying, confirm that your socket set matches the drive of the chosen model.
Both models cover most of the usual working range. The TW-5.2’s 2 Nm lower limit extends its use to lightly torqued fasteners, while the Demi II starts at 3 Nm and reaches a slightly higher upper limit of 15 Nm. For general bike maintenance, the TW-5.2 covers the most common jobs with its 2–14 Nm scale and 3/8in drive, and the Demi II suits buyers who want the higher upper limit or the 1/4in drive.
The BBB TorqueSet is ROUVY’s budget pick, but the source does not state its scale or drive size. Read those figures on the product label before purchasing, and confirm they match the fasteners on your bike.
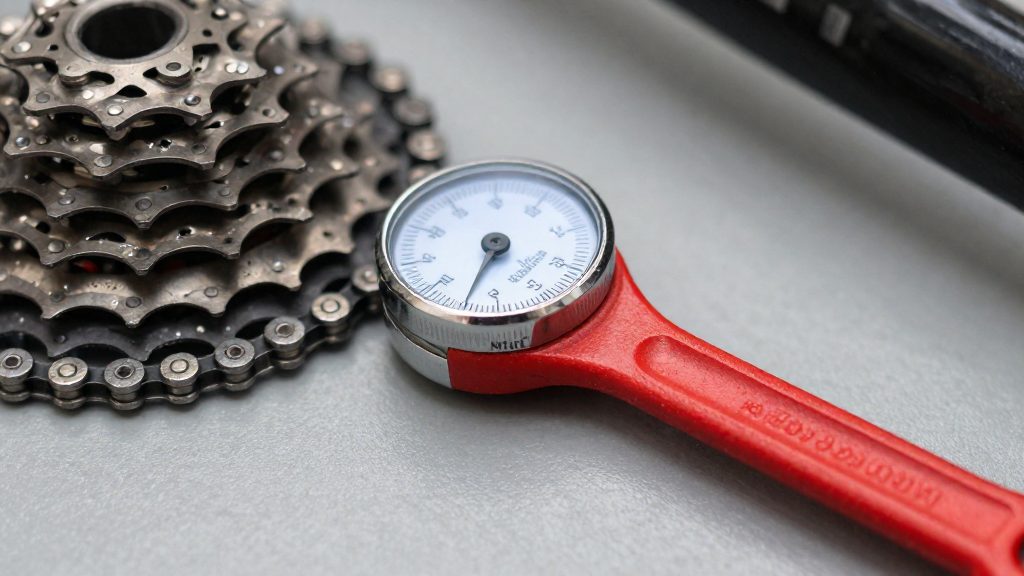
How accurate is a bike torque wrench?
Accuracy depends on the wrench’s mechanism, so the three main types need different checks. According to ROUVY (2026), quality click wrenches are accurate to about ±4 percent. On a 5 Nm setting, that means the actual torque can fall anywhere from about 4.8 Nm to 5.2 Nm.
Digital wrenches show the applied value directly, so their error can be measured. In BikeRadar’s tests (2024), the Topeak D-Torq was the most accurate adjustable wrench, and its readings and the other results from the same tests are below.
| Wrench | Setting (Nm) | Measured (Nm) | Deviation |
|---|---|---|---|
| Topeak D-Torq (digital) | 3 | 3.00 | 0.00 Nm (0 percent) |
| Topeak D-Torq (digital) | 5 | 5.06 | +0.06 Nm (+1.2 percent) |
| Topeak D-Torq (digital) | 8 | 8.03 | +0.03 Nm (+0.4 percent) |
| Park Tool PTD-5 (preset) | 5 | 5.18 (average) | +0.18 Nm (+3.6 percent) |
The deviations in the table are calculated from the measured values against the setting. A preset wrench gives no reading, so its offset cannot be seen on the tool. Treat it as approximate and reserve it for jobs where a small error is acceptable.
Checking a beam wrench
Beam wrenches have no mechanism to drift, so their accuracy depends on the pointer’s position. Park Tool states that a beam wrench is calibrated when its pointer rests at zero. Before each job, check the pointer at rest. If it sits off zero, bend the pointer shaft back to zero. Do this check before tightening, not after, because an uncorrected pointer makes every reading wrong by the same amount.
How do you use and store a torque wrench?
Pull the handle smoothly and stop at the first click. The click marks the set value, and the wrench is designed to release there. Continuing to pull applies more force than the setting, so the bolt is over-tightened and the reading no longer means anything. Rouvy (2026) gives this as its core usage rule for routine home maintenance.
Tightening parts with several bolts
On parts held by more than one bolt, such as a stem clamp or a brake caliper mount, don’t fully tighten one bolt before starting the next. Work across the part and alternate bolts so that each one is brought up gradually. This keeps the part seating evenly instead of being drawn down unevenly on one side. Rouvy (2026) recommends this alternating method for multi-bolt parts.
Work in a consistent order across the part, and apply the click-stop rule to each bolt in turn. Repeat the sequence until every bolt has clicked, so that no single fastener ends up carrying the load alone.
Storing the wrench
After each session, return the wrench to its lowest setting before putting it away. Rouvy (2026) advises this for click-type wrenches, which helps keep the internal spring from being held under tension during storage.
Store the wrench in a dry place, away from dust and direct knocks, and keep it in its case or on a rack where it won’t be dropped. A dropped wrench can shift its calibration, so check the manufacturer’s instructions if it has been struck or dropped.
Common torque values to check first
Most high-torque work on a bicycle comes down to a few fasteners. Check the specification for the highest-torque parts before you choose a wrench, because a tool with a lower maximum cannot reach the required value.
The specification format determines how you set the wrench:
| Specification type | Wrench setting |
|---|---|
| Single maximum torque in a component spec | About 10 percent below the maximum |
| Range, such as Shimano crank pinch bolts | Midpoint of the range |
Maximum specifications leave little room for error. BikeRadar recommends setting the wrench about 10 percent below the stated maximum, so the fastener is not pushed to its limit. Check the component documentation first, then set the wrench about 10 percent below the stated maximum.
Range specifications are handled differently. Shimano crank pinch bolts are specified as a range, and BikeRadar advises aiming for its middle value. Setting the wrench at the upper or lower edge of the range leaves less tolerance for variation in the tool and the thread.
When you work on a cassette lockring or crank bolt, use a tool that engages the fastener squarely, and apply force steadily rather than in jerks. If the component documentation does not give a torque figure, contact the manufacturer or a qualified bike service for the correct value rather than estimating it.