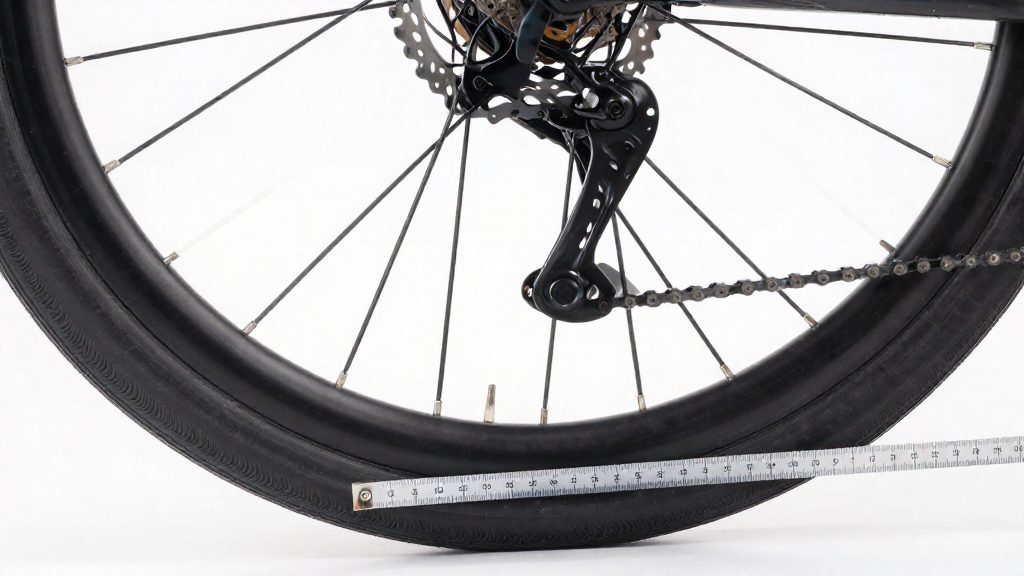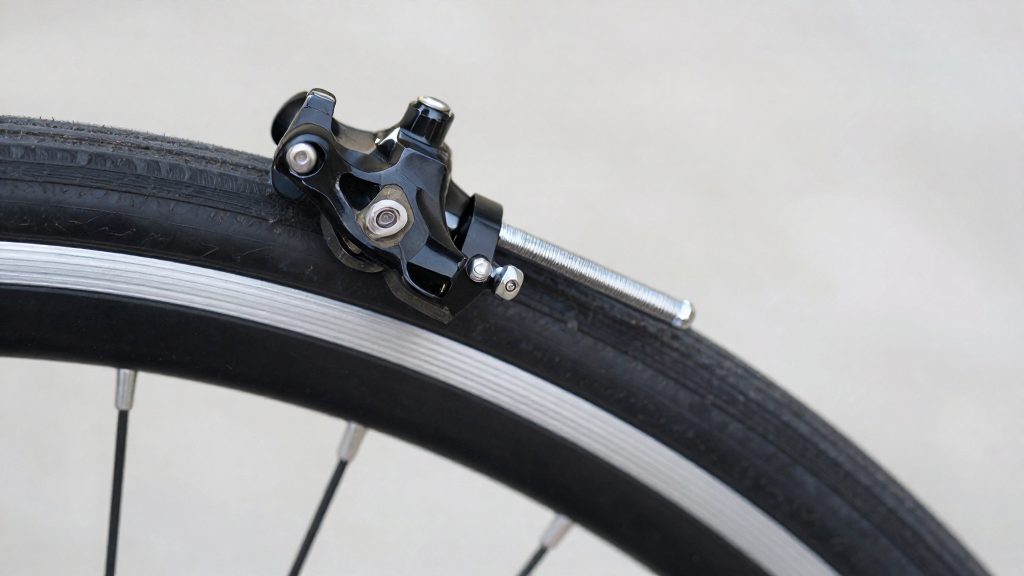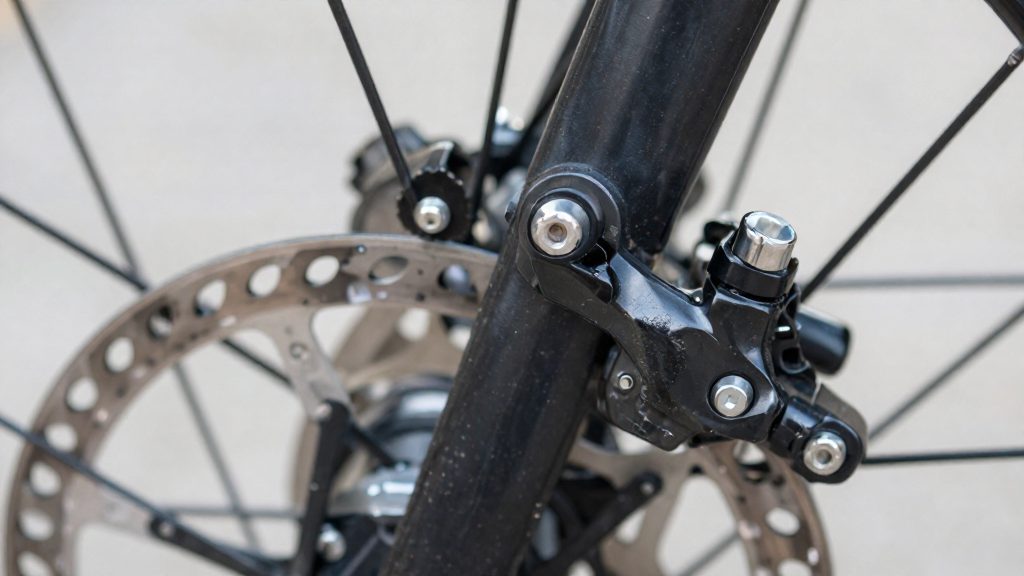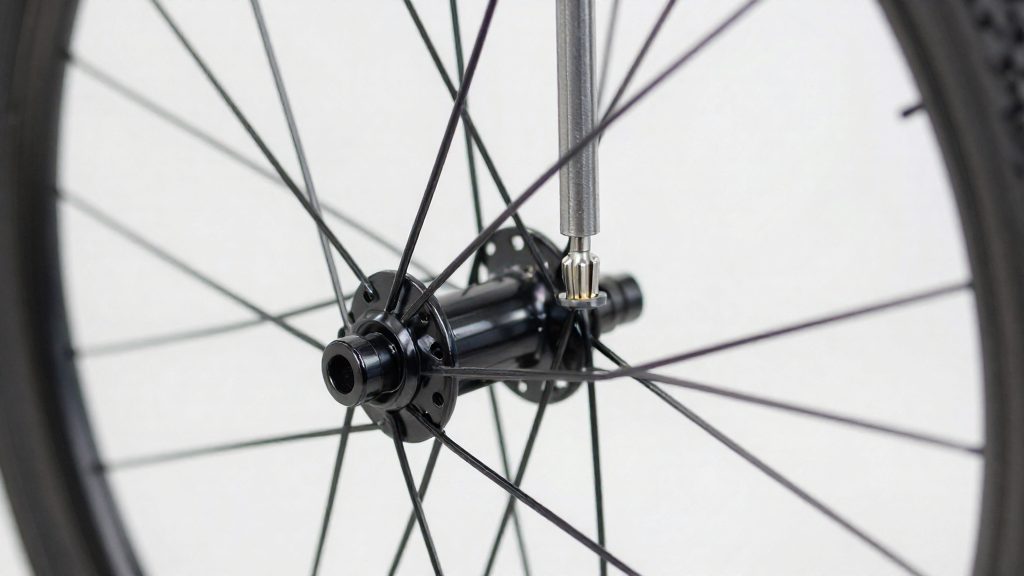
A loose spoke affects more than its own position in the wheel. Because each spoke shares the load of the rim and hub, one slack spoke shifts force onto the rest of the wheel, so the damage spreads from a single spoke to the spokes around it and to the rim.
Why do loose spokes matter?
Spokes work as a tensioned network, so the force a slack spoke no longer carries does not disappear. It moves to the spokes beside it. Singletracks (2026) describes this directly: the neighboring spokes take extra load, and that repeated stress is what causes them to fatigue. A wheel with one slack spoke therefore has several spokes working harder than their share.
Uneven tension distorts the rim
Spoke tension is only useful when it is balanced across the wheel. iFixit (2026) describes truing as a balancing exercise, where tightening spokes on one side is matched by loosening the opposite spokes so the rim is not over-tightened. A single loose spoke upsets that balance without anyone adjusting it, and uneven tension can leave the rim out of true.
Repeated overload bends and breaks spokes
A loose spoke overloads its neighboring spokes, which can bend and eventually snap. The sequence from a loose spoke to a damaged one follows a predictable path:
| Stage | What happens | Source |
|---|---|---|
| 1. One spoke goes slack | Its tension falls below that of the neighboring spokes | Singletracks (2026) |
| 2. Neighbors take the load | Adjacent spokes carry the extra force | Singletracks (2026) |
| 3. Tension becomes uneven | The rim is pulled away from its balanced position | iFixit (2026) |
| 4. Overload repeats | Overloaded neighbors bend and can eventually snap | Singletracks (2026) |
The practical consequence is that a spoke rarely fails on its own. Its failure is usually the final stage of a load pattern that began when a neighbor loosened, which is why a wheel with one slack spoke should be treated as a wheel with several stressed spokes.
Tools you need to tighten spokes
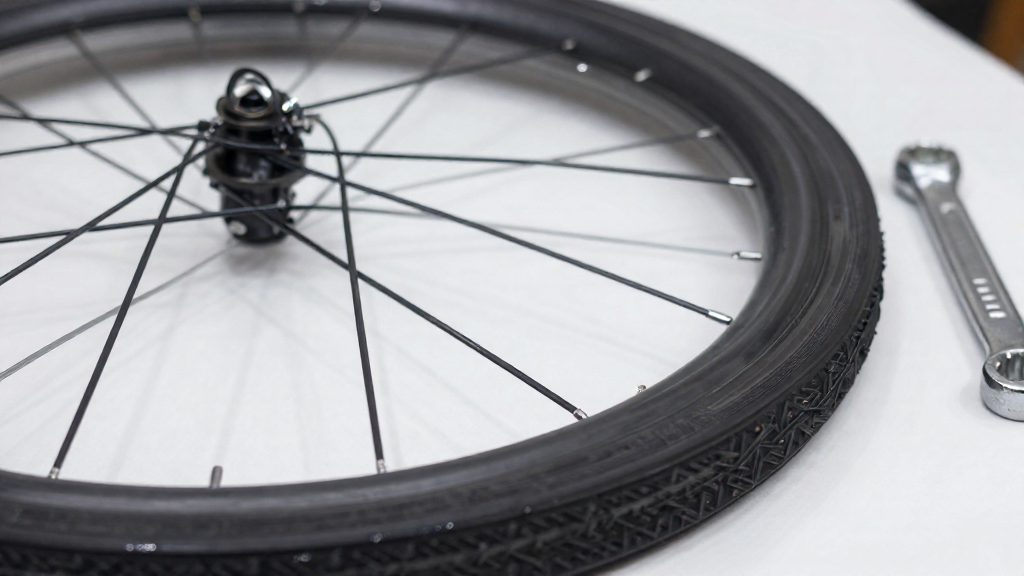
Before touching any nipple, you need a spoke wrench that matches the nipple head and a small amount of the right lubricant. Keep the wrench fully seated on the nipple so it does not slip and round the flats. A key that fits loosely can slip and round the nipple flats, so check the fit before applying force.
| Item | What to use | Source |
|---|---|---|
| Spoke key for square nipples | Size 0 (most common) | Singletracks (2026) |
| Nipple-rim contact point | Wet chain lube or thin oil, a small drop per nipple | Slowtwitch (2026) |
| Nipple seats | Avoid wax-based lubricants | Slowtwitch (2026) |
Work with the wheel secured in the frame or on a stand so both hands are free: one holds the wrench on the nipple, the other applies the lubricant at the point where the nipple meets the rim. Apply the drop before you turn the nipple, not after, so the lubricant reaches the seat rather than running off the nipple head. Wipe away any excess oil that reaches the rim surface or the brake track, since it can reduce braking grip.
Keep a clean rag and the wrench within reach. Lubricate and adjust one nipple at a time, then move on, so that you can track which spokes you have already touched.
How do you find a loose spoke?
Start with the spoke nearest the valve hole and work around the wheel in one consistent direction so that no spoke is skipped. For each spoke, squeeze or pluck it between your thumb and forefinger, then compare its firmness and response with the spokes on either side. According to Singletracks (2026), this method works well because completely loose spokes are easy to spot this way. A slack spoke feels noticeably floppy compared with its neighbors, so the check is relative. You are judging each spoke against the tension of the spokes around it, not against a fixed value.
The second method is to tap and listen. Tap each spoke lightly and listen for a guitar-like tone. Singletracks (2026) describes this as less accurate than squeezing or plucking, but better than nothing. Treat it as a backup to squeezing or plucking: less accurate, but better than nothing.
| Method | What you do | Reliability (Singletracks, 2026) |
|---|---|---|
| Squeeze or pluck | Compare each spoke’s firmness with its neighbors, starting at the valve | Easy to identify completely loose spokes |
| Tap and listen | Listen for a guitar-like tone | Less accurate, but better than nothing |
Check the whole wheel rather than stopping at the first slack spoke you find. Mark any spoke that feels or sounds different, then go around the wheel a second time to confirm your findings before you make any adjustments.
Which way do you turn the nipple?
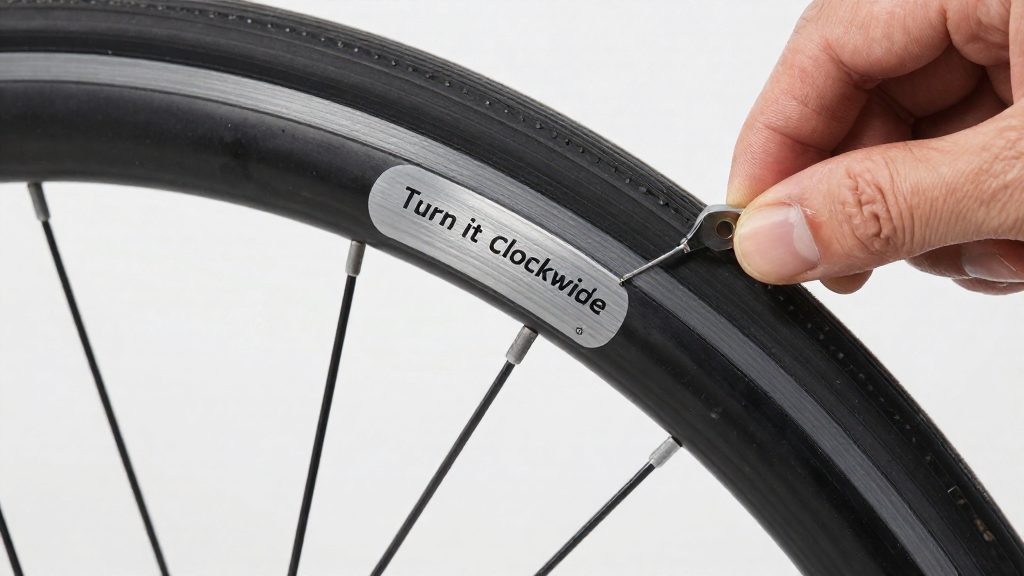
Check the thread direction before you adjust any nipple. The spoke threads into the nipple, and the handedness of that thread determines which rotation pulls the nipple along the spoke and increases tension. Standard spokes are right-hand threaded, so tightening turns the nipple clockwise when viewed from the outside of the rim, according to Slowtwitch (2026).
Some wheels reverse this. Slowtwitch (2026) reports that certain Shimano 29er wheels use left-hand threads, so the tightening direction is the opposite of the standard one. Turning a left-hand nipple clockwise loosens the spoke, which is why the direction must be confirmed on the wheel itself rather than assumed.
| Thread type | Tightens when viewed from outside the rim | Example |
|---|---|---|
| Right-hand (standard) | Clockwise | Standard spokes |
| Left-hand | Counterclockwise | Certain Shimano 29er wheels |
To test the direction:
- Choose one loose spoke and note the nipple’s position relative to the rim, so you can compare its change afterwards.
- Turn the nipple with a spoke wrench in the direction expected for a right-hand thread, moving it only slightly.
- Check the result. If the spoke firms up, as shown by the spoke’s pitch rising when you pluck it relative to its neighbours, the thread is right-hand. If the nipple loosens instead, the wheel uses left-hand threads.
- Once the direction is confirmed, apply the same rotation to the remaining nipples on that wheel.
Testing one spoke first costs little and prevents a wheel from being loosened across its whole set when you expected it to tighten.
Tighten in small steps
Adjust one spoke at a time in small, measured increments. Slowtwitch (2026) recommends quarter or eighth turns of the nipple, with a recheck of the wheel after each one. Singletracks (2026) sets the upper limit: change a spoke by no more than half a nipple turn at a time. Keeping each change well below that limit lets the rest of the wheel absorb it without the rim shifting noticeably.
| Adjustment size | Status in the source |
|---|---|
| Eighth turn | Recommended increment (Slowtwitch, 2026) |
| Quarter turn | Recommended increment (Slowtwitch, 2026) |
| Half turn | Maximum per adjustment (Singletracks, 2026) |
The target is not a fixed number of turns but a tension match with the neighboring spokes. Singletracks (2026) describes tightening until the spoke’s tension matches those around it.
Each adjustment changes the load on adjacent spokes, so a spoke that matched its neighbours before you started may no longer match after a nearby change.
Recheck the wheel after every individual adjustment, before touching the next spoke. Checking only once at the end of a sequence hides how each step affected the others, and makes it harder to tell which change caused a new imbalance.
Release wind-up and check the wheel
Wind-up is the torsional twist left in a spoke after its nipple has been turned. Before the final check, relieve it: according to Slowtwitch (2026), overtighten each nipple by about an eighth turn, then back it off. Make sure each nipple has the small drop of lubricant described earlier.
Squeezing spokes in groups of four also releases tension, per Slowtwitch (2026). Grip four adjacent spokes between thumb and fingers and squeeze them firmly, moving around the wheel until every spoke has been squeezed.
Once the wind-up is released, verify the wheel with two checks:
| Check | Method | Target |
|---|---|---|
| Tension match | Compare each spoke with its neighbours (Singletracks, 2026) | Tension matches the neighbouring spokes |
| Alignment | Spin the wheel with the brake calipers adjusted close to the rim (iFixit, 2026) | Calipers touch both sides of the rim evenly |
Alignment is the last confirmation. When a spoke is adjusted to correct a side-to-side wobble, its opposite spokes must be loosened by about the same amount, so the rim is not pulled out of true or over-tightened (iFixit, 2026). A truing stand makes this easier, but iFixit (2026) notes it is not required.
Spin the wheel after each correction and repeat the tone and caliper checks until the result is even on both sides.
When should you replace a spoke or rim?
Replace a single spoke when it breaks in isolation. Your decision depends on whether the failure is a one-off or a pattern.
Replacing one broken spoke
Before you remove the broken spoke, reduce the whole-wheel tension by about half, according to Slowtwitch (2026). Working on a fully tensioned wheel puts extra strain on the remaining spokes and makes the replacement harder to seat.
- Lower the tension on all spokes by about half.
- Remove the broken spoke and fit the replacement, threading the nipple onto it.
- Bring all spokes back up together, not one at a time.
Re-tensioning after installation
Tightening one spoke far ahead of its neighbours pulls the rim out of true, so raise the tension evenly across the wheel.
When the rim needs replacing
A single broken spoke is a spoke problem. Repeated failures point to the rim.
| Condition | Action |
|---|---|
| One spoke breaks | Lower tension by about half, replace the spoke, re-tension all spokes together |
| Spokes loosen again after being tightened | Rim replacement may be needed (Singletracks, 2026) |
| Spokes keep breaking | Rim replacement may be needed (Singletracks, 2026) |
If you have to re-tension the same wheel repeatedly within a short period, the rim is likely losing its ability to hold spoke tension. At that point, a new spoke will not solve the underlying problem. Check the rim’s condition and the wheel’s trueness after each service, and contact a local bike shop if the rim has visible damage or cannot hold a true line.