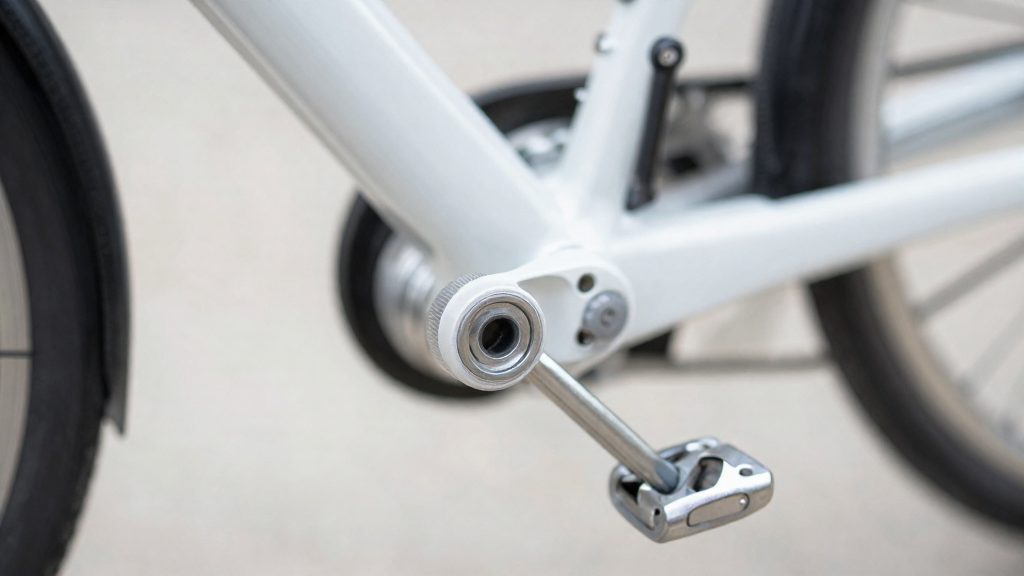
Why remove bike pedals?
Pedal removal is necessary when the pedal must come off the crank arm to reach the bearing or axle, or to fit the bike into a box or bag for transport. The usual triggers are worn pedal bearings, a bent pedal axle, a change from clipless to platform pedals, and packaging that cannot accommodate the pedals while they are still attached. If none of these applies, the pedals can usually stay on for cleaning the frame and drivetrain.
Removing the pedals is the first step before servicing pedal bearings or fitting a different pedal type.
Shipping or transporting bikes in boxes and bags
A bike packed in a box or bag is protected mainly by its frame and handlebars. Pedals projecting from the crank arms can puncture packaging, scratch the frame, or press against the derailleur. Removing them and wrapping each pedal separately keeps the crank arms compact. Store the removed pedals in a labelled bag, together with any washers or thread caps, so that no small parts are lost in transit.
Replacing worn bearings or a bent pedal axle
A pedal that feels rough, shows side-to-side play, or turns with a grinding feel usually has worn bearings. The bearings sit inside the pedal body, so the pedal must be removed from the crank to reach them. A bent pedal axle cannot be straightened reliably; the pedal must be removed and replaced. After removal, spin the pedal body by hand. Smooth rotation with no perceptible play is a good sign, but a hand spin alone does not prove the bearings are sound. Also check for grinding, roughness or dried-out grease, and service or replace the pedal if you have any doubt.
Swapping to clipless or platform pedal designs
Clipless and platform pedals differ in body shape, mounting and shoe interface, so switching between them means removing the existing pedal entirely. Clipless pedals require cleats fitted to the shoe, while platform pedals need no shoe-specific hardware. Before buying a replacement, confirm that its spindle matches the crank arm’s thread standard, because this determines whether the new pedal can be fitted at all.
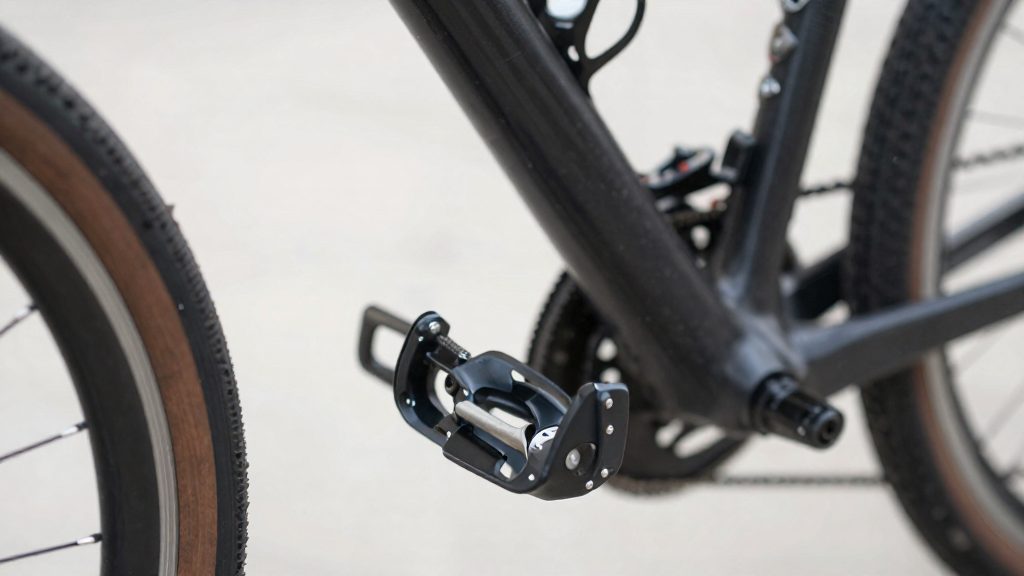
Tools you need for pedal removal
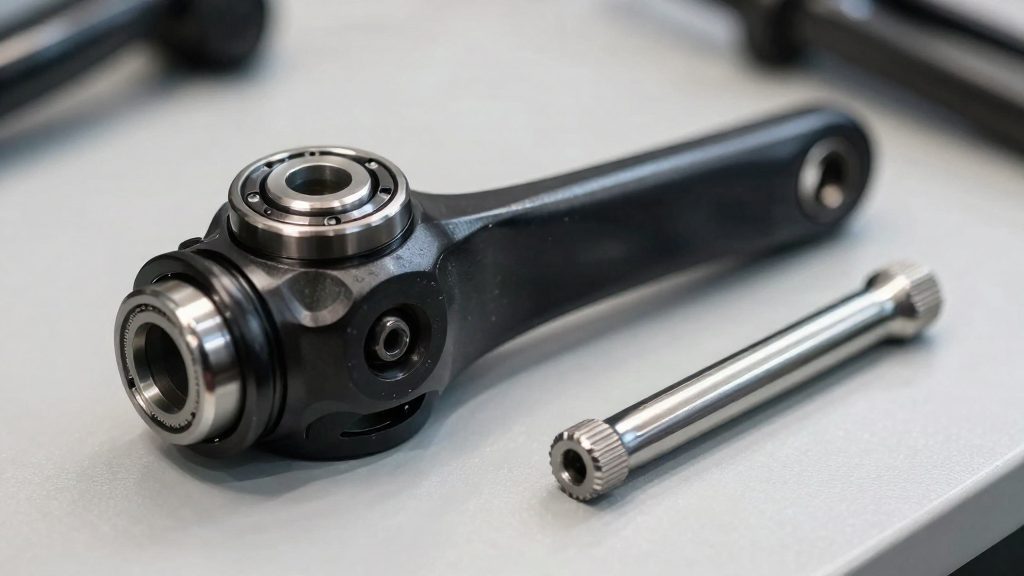
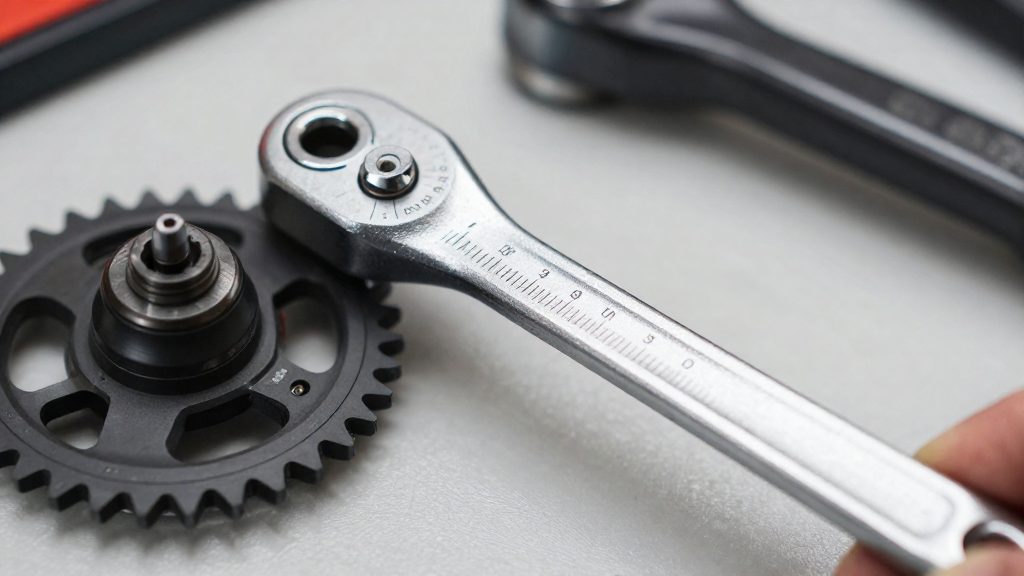
A pedal wrench is the tool built for this job. It is an open-end wrench with a thin head that engages the flats on the pedal axle, the section of the spindle between the pedal body and the crank arm. Because that gap is small, a thick wrench head often cannot seat fully, so the choice of head profile matters as much as the wrench size.
| Tool | Fit on pedal axle | Practical note |
|---|---|---|
| Thin-profile pedal spanner | Seats between pedal body and crank arm | Designed for the limited clearance; the first choice for most riders |
| Standard open-end spanner | Works only if the head clears the crank arm | Thicker jaws may not fit at all |
| Adjustable spanner | Can grip the flats | Jaws can slip and round the flats, making later removal harder |
| Extended-handle wrench | Used with a pedal spanner | Extra leverage helps with a stuck pedal |
Wrench size should match the flats on your pedal. Measure the flats with a caliper or check the size printed on the pedal before buying a tool, rather than guessing from the bike’s age or brand.
Which way do you turn each pedal?
Pedal threads are handed, so the two pedals unscrew in opposite directions. According to Sheldon Brown’s pedal reference, the right pedal has a normal right-hand thread and loosens counterclockwise, while the left pedal has a reverse left-hand thread and loosens clockwise. Both directions are judged from the pedal’s own side of the bike, so the rotation you see depends on which side the pedal is mounted on, not on where you stand at the front or rear of the frame.
| Pedal | Thread type | Loosens | Viewed from |
|---|---|---|---|
| Right (drive side) | Normal, right-hand | Counterclockwise | The bike’s right side |
| Left (non-drive side) | Reverse, left-hand | Clockwise | The bike’s left side |
Identifying the pedal: The right pedal is the one mounted on the right crank arm, the side a rider’s right foot uses when seated. The left pedal is on the opposite arm.
Physical markers: Many pedals carry an “R” or “L” marking on the spindle or the body near the crank arm. Where a marking is present, it tells you which thread applies. If a pedal has no marking, check the manufacturer’s instructions for that model before you turn it.
How to remove pedals with a wrench
Removing a pedal takes a few minutes and needs only a pedal wrench or an open-end wrench that fits the flats on the pedal spindle. The steps below apply to a standard pedal.
| Step | Action | Check before moving on |
|---|---|---|
| 1 | Rotate the crank so the pedal sits at the horizontal crank position, pointing toward the rear of the bike | The wrench can swing without hitting the frame or chainstay |
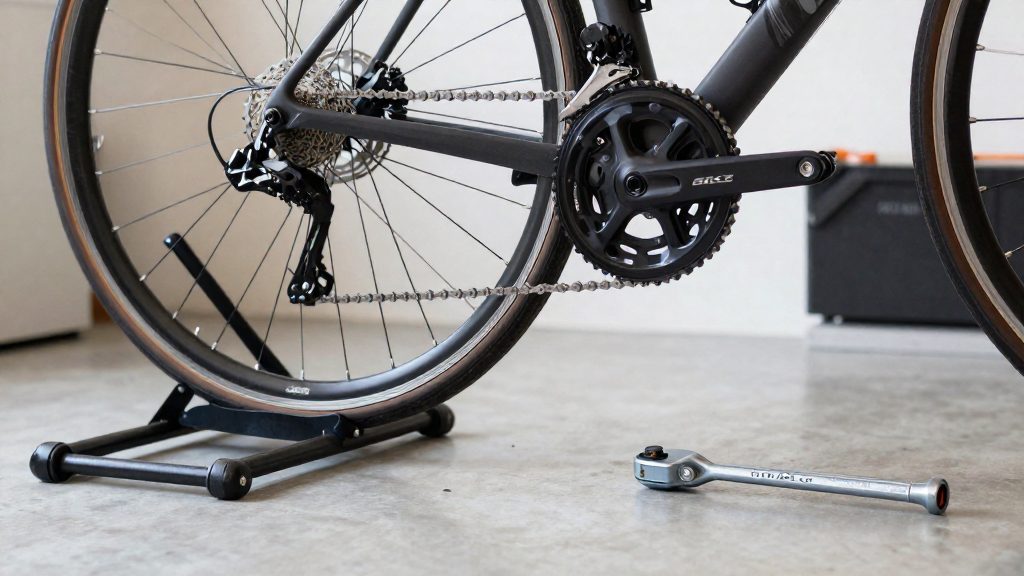
| 2 | Support the bike upright on a stand, or lean it against a wall, so it cannot tip when you apply force | The frame stays stable with no sideways load |
| 3 | Place the wrench on the pedal flats with the fully seated wrench so both jaws grip the flats squarely | The head sits flush against the flats, not on the edge of the spindle |
| 4 | Apply a steady force in the loosening direction for that pedal | The pedal turns smoothly through the first few degrees |
Once the pedal breaks free, continue turning by hand and unscrew it fully. Rotate the crank so the opposite arm points toward the rear of the bike, then repeat the process on that side.
Brace yourself as well as the bike. Pushing down through the wrench with your palm, rather than pulling with your fingers, lets you lean into the movement and reduces the chance of skinning your knuckles if the pedal releases suddenly. Avoid jerking the wrench, because sudden shock loads can strain the spindle and the threads in the crank arm. A slow, even push gives you more control and makes it easier to tell when the pedal is loosening.
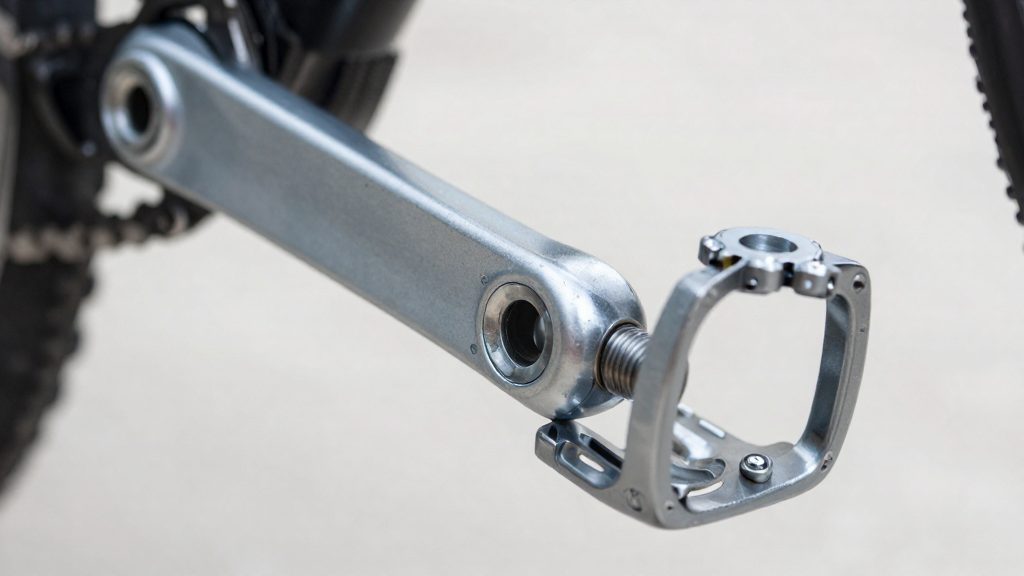
What if a pedal is stuck?
If a pedal does not move after the standard method, work through the options below in order of increasing risk. Each one aims to free the threaded joint between the pedal axle and the crank arm without damaging the crank, the bottom bracket or the pedal itself.
Penetrating oil and dwell time
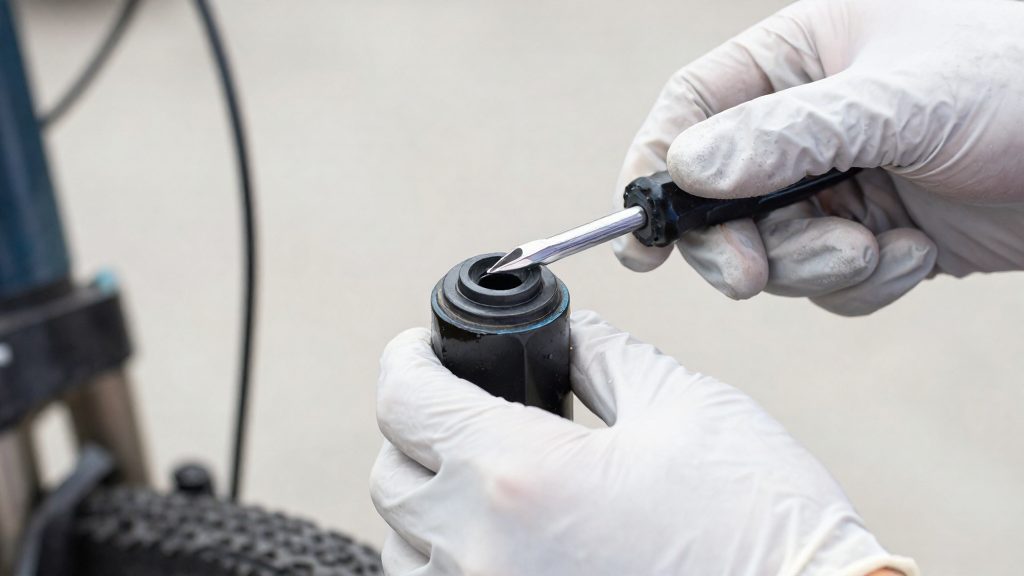
Apply penetrating oil to the joint between the pedal axle and the crank, then leave it to soak before trying again. Follow the dwell time printed on the product label. A short soak rarely frees a pedal that has been seized for a long period. Reapply if the surface dries before the soak is complete. Wipe away excess oil afterwards so it does not drip onto the chain or the tyres while you work.
Heat and its risks
Gentle heat can loosen a seized joint because the surrounding metal expands. It also carries two risks. Heat can degrade the grease and seals inside the crank and bottom bracket bearings, which shortens their life. It can also affect the surface finish of the crank arm. Use heat only after penetrating oil has failed, keep it brief and localised, and let the component cool before you handle it again. Keep open flames away from tyres, cables and plastic parts.
Cheater bar risks and crank arm damage
A cheater bar, a length of pipe slipped over the pedal wrench, multiplies the force you apply. That force can bend or crack the crank arm, particularly an aluminium one, and can strip the crank threads. If the crank visibly flexes or the wrench slips, stop immediately.
If the pedal still does not move after these options, take the bike to a workshop rather than increasing the force further.
Do Allen-key pedals work differently?
Allen-key pedals differ from wrench-flat pedals at the exposed end of the spindle. Instead of two parallel flats, the tool engages a recessed hexagonal opening. The removal principle stays the same: the tool turns the spindle while the crank arm stays fixed. What changes is which tool fits, how far it must seat, and how much wear the socket can take before the key slips. Identify the pedal type before applying force, because a hex key used on a flat-faced spindle, or a wrench used on a recessed socket, gives no usable grip.
Identifying the pedal type
Look at the end of the spindle on the inside of the crank arm. Once you know the design, the correct tool follows directly.
| Feature | Wrench-flat spindle | Allen-key (hex-socket) spindle |
|---|---|---|
| Exposed end | Two parallel flats | Recessed hexagonal opening |
| Tool | Open-end pedal wrench | Hex (Allen) key |
| Tool contact | Jaws grip the flats from outside | Key sits inside the socket |
| Common damage | Flats rounded by a poor-fitting wrench | Socket corners rounded or packed with debris |
Some pedals have a cap or dust cover over the socket. Remove it carefully before judging the design.
Hex socket size and engagement depth
A hex key must match the socket across its flats. A key that is slightly undersized engages only the top edge of the socket and rounds its corners. Test the fit by sliding the key in before you apply any turning force. It should seat without rocking.
Engagement depth matters as much as size. Push the key until it bottoms out in the socket, then keep it straight along the spindle axis. A tilted key concentrates load on one corner and is the usual cause of rounding. A short key that reaches only partway into the socket gives poor grip, so choose a key with a leg long enough to reach the base of the recess.
Checking spindle length and socket condition
Spindle length and socket depth determine how much of the key can engage. Before inserting the key, check the socket for debris, old grease, or paint. Clean it with a small brush or a cotton swab.
Inspect the socket walls for rounding or flared edges. A healthy socket shows sharp, uniform corners across all six faces. If the corners are worn, the key will slip. Stop at that point; a rounded socket is harder to recover than a clean one, and the pedal may need a different removal approach.
How to reinstall pedals correctly
A secure pedal depends on three things done in order: starting the thread by hand, applying the right lubricant, and tightening to the specified torque. Skipping any step is the usual cause of a pedal that loosens or seizes.
Hand-threading before using a wrench
Start each pedal by hand before any tool touches it. Turn the pedal slowly until it spins freely for several turns, which confirms the threads are aligned. If it resists or feels gritty from the first turn, stop and back it out, because forcing a cross-threaded pedal damages the threads in the crank arm. Only once the pedal runs smoothly by hand should you tighten it with the wrench.
Choosing a lubricant for pedal threads
Apply a light coat of grease or anti-seize compound to the pedal threads only. Keep lubricant off the pedal’s bearing surfaces and wipe it from anywhere other than the threads, since it can contaminate the bearings. Wipe away any excess that squeezes out so that grit does not stick to it. Carbon-fibre cranks need extra care: check the crank manufacturer’s instructions for the approved lubricant before applying anything.
Tightening and rechecking
Tighten each pedal to the torque value printed on the crank or pedal, or in the manufacturer’s manual, using a torque wrench for accuracy. Tighten the right pedal clockwise and the left pedal counterclockwise, the opposite of the loosening directions, and never use a pedal wrench extension to overtighten. Once the bike has been ridden for the first few sessions, check both pedals again, since the threads can settle after installation. Retighten to the specified value if either pedal has moved.
Frequently asked questions
Which direction do I turn each pedal to remove it?
The right pedal has a normal right-hand thread and loosens counterclockwise. The left pedal has a reverse thread and loosens clockwise. In both cases, the direction is judged from the pedal’s own side of the bike.
How do I avoid mixing up the left and right pedals?
Remove one pedal at a time and mark each with a piece of tape showing its side. Refitting a pedal on the wrong crank arm will cause it to tighten the wrong way and can damage the thread.
Why does the left pedal use a reverse thread?
Pedalling force pushes the left pedal in the direction that would loosen a normal thread, so the reverse thread stops it from unscrewing while you ride. According to Sheldon Brown, this is the reason the two pedals use opposite threads.