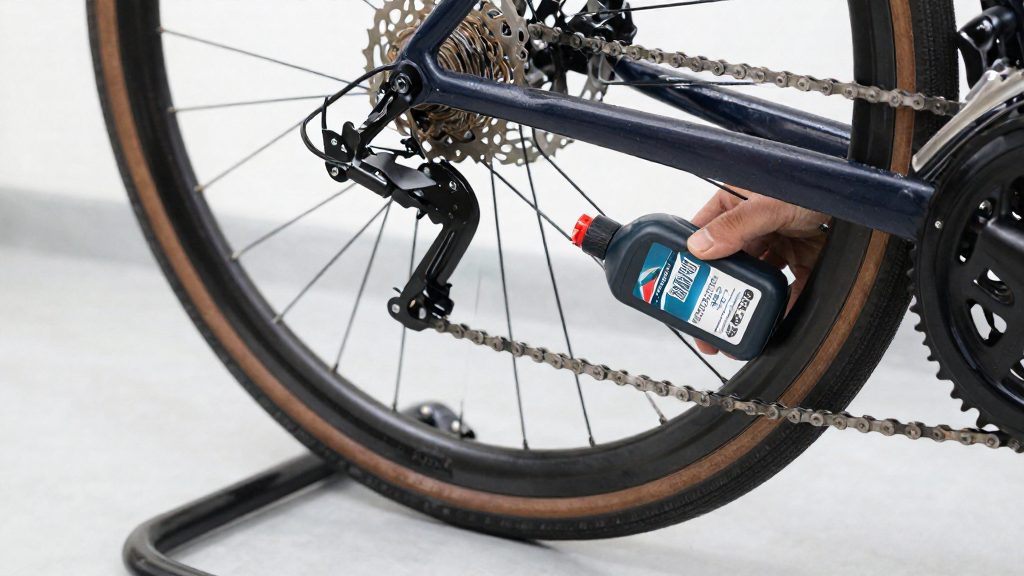
Giant recommends a professional service at least twice a year for a conventional bike, and Halfords recommends an interim service every six months plus a major service once a year for e-bikes. The minimum for a conventional bicycle is two professional visits a year, timed to the start of spring and the run-up to autumn. Riders who commute daily or ride in wet, muddy conditions may need servicing more often than this baseline.
How often should you service your bike in a year?
These intervals are baselines. The table lists the minimum frequency for each bike type and check.
| Bike type | Service or check | Interval | Source |
|---|---|---|---|
| Conventional bicycle | Professional service | At least twice a year, at the start of spring and heading into autumn | Giant Bicycles (UK site, 2026) |
| New conventional bicycle | Manufacturing defect check | About 3 months of ownership | Giant Bicycles (UK site, 2026) |
| E-bike | Interim service | Every six months | Halfords (UK retailer, 2026) |
| E-bike | Major service | Once a year | Halfords (UK retailer, 2026) |
The spring visit inspects the bike before the main riding season, and the autumn visit addresses wear that builds up over the wetter months. If you commute every day, treat the spring and autumn visits as the floor and schedule additional checks when the bike has been ridden through rain or mud.
The three-month check serves a different purpose. It is a first inspection for faults that come from manufacturing rather than wear. At this point, confirm that bolts are tight, the wheels run true, and the brakes engage evenly. Record anything unusual and bring it to the retailer while the bike is still early in its life.
E-bikes need the interim service because Halfords notes that worn parts add resistance and drain battery range. A rider who only books the annual major service may not notice this loss of range until it becomes significant, which is why the six-month interim visit exists.
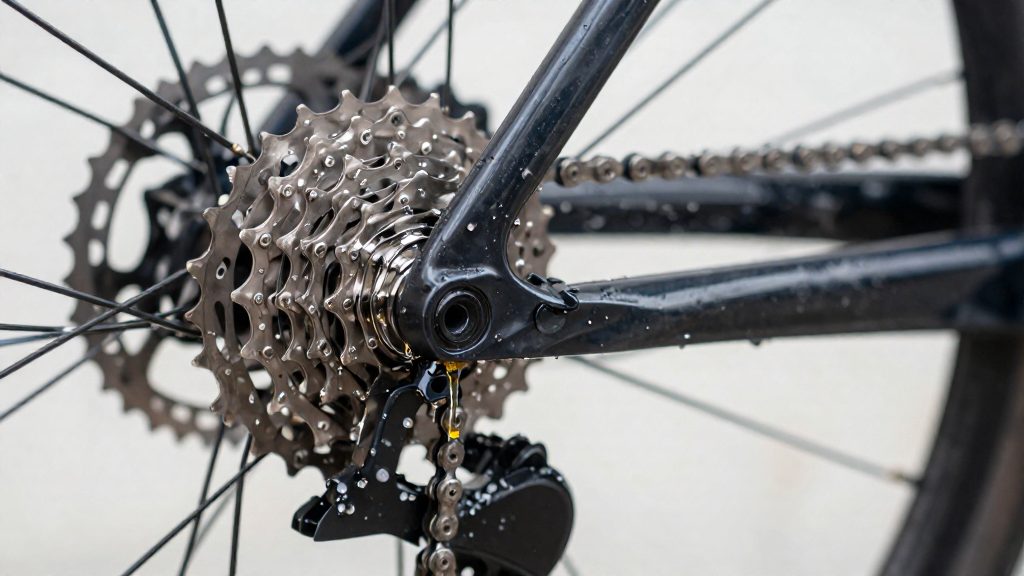
Annual minimum versus twice-yearly servicing
Choosing between one annual visit and two comes down to which wear is caught in each window, not simply to the number of workshop visits.
| Visit | Timing reference | Work to prioritise |
|---|---|---|
| Spring service | Start of spring, after winter storage or reduced riding | Drivetrain cleaning and lubrication, brake pad and cable condition, tyre wear and pressure, wheel alignment and bearing play |
| Autumn service | Heading into autumn, before wet weather | Chain and cassette wear, brake performance after riding in rain and mud, tyre tread and punctures, bearing contamination from grit |
| Single annual service | One visit at a time of the rider’s choosing | Whatever is inspected that day, so the season not covered is effectively unchecked |
A single annual visit leaves one riding season without a professional check. A rider who books only one appointment and schedules it in spring will not inspect the bike for the grit and water exposure of autumn and winter until the following year. Two visits split the work so that each season’s wear is addressed before it accumulates.
For an e-bike, the workload is different. The Halfords interim service covers the mid-year gap, and the major service covers the full annual overhaul. Worn parts add resistance and drain battery range, so a late interim service can reduce how far the bike travels per charge.
Downtime is the main cost of an additional visit. The sources available do not give workshop durations, so ask the service provider for an estimated turnaround when booking and plan the visit for a period when the bike is not needed for commuting. Note that the intervals above come from UK sources (Giant UK, Halfords UK); check your own bike’s owner’s manual or your brand’s US guidance for the schedule that applies to your warranty.
What changes with heavy or wet-weather riding?
Riding conditions change how fast a bike wears, so they change how often it needs professional attention. Giant does not give a fixed interval for heavy use, so the schedule has to follow the actual exposure: how often the bike runs through water and grit, and how many miles it covers each week.
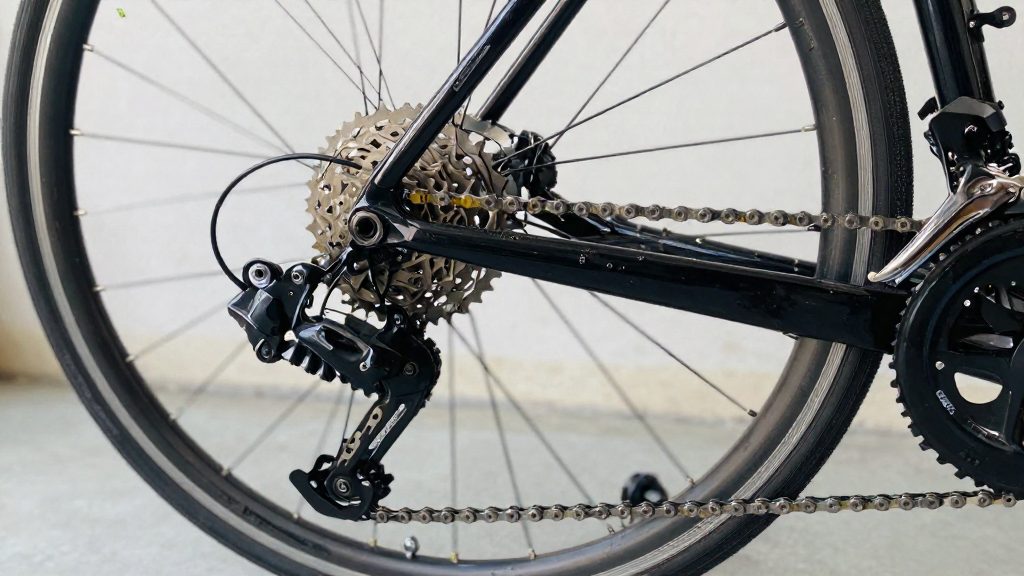
Grit and water are the main accelerators. Sand and road grit that enter the chain, cassette and derailleur pulleys mix with lubricant and form an abrasive paste that wears the chain’s plates and rollers and the teeth of the cassette and chainrings. Wet riding washes lubricant out of the chain, and contaminated oil protects less well than clean oil. Bearings in the headset, bottom bracket and hubs follow the same pattern: water and fine particles pass the seals and degrade the grease, so bearings often feel rough or develop play before any other symptom appears. Cleaning and re-lubricating the drivetrain after a muddy ride slows this process far more effectively than waiting for the next scheduled service.
Commuting mileage matters because it multiplies exposure. A bike ridden to work every weekday accumulates wear far faster than one ridden at weekends, even on the same routes. For that reason, a commuter should treat the twice-yearly baseline as a minimum and check the drivetrain and brakes more frequently.
Corrosion becomes a concern in winter, when road salt and wet grit remain on the frame for long periods. Steel inner cables and their housings corrode when moisture sits inside them, which causes stiff shifting and braking. Bearings corrode in the same way once water gets past the seals. Wiping the bike down after wet rides, drying the drivetrain and cables before storage, and inspecting the ends of cable housings for water ingress all reduce this risk.
How often should an e-bike be serviced?
The interval is set by the rate of wear, so a bike used daily, in wet weather, or on steep climbs reaches the same wear points sooner than a bike ridden occasionally on dry roads.
The reason for this schedule is worn parts. On an e-bike, the motor must overcome the extra friction from a dirty or stretched chain, a dry drivetrain, or brake pads that drag. It draws more current for the same ride, so each charge covers fewer miles. Components that commonly wear this way include the chain, the cassette and chainrings, the brake pads, the tyres, and the wheel bearings. A worn chain also accelerates wear on the sprockets, so replacing it early costs less than replacing the drivetrain later.
The annual visit is the natural point for a full inspection of these parts, because it covers the components that wear slowly and are hard to judge by eye. The interim visit is better suited to a check of the parts that wear fastest, such as the chain and brake pads.
Between visits, a rider can check the most common wear points without tools beyond a basic kit:
- Chain: clean and lubricate it, and check for visible stiffness or uneven links.
- Brake pads: look for pads worn down to the indicator groove, if your pads have one.
- Tyres: check pressure before each ride and inspect the tread and sidewalls.
- Wheel bearings: rotate each wheel by hand and feel for roughness or play.
What can you check yourself between services?
Most safety faults on a bicycle can be found by the owner between professional visits. The checks below take a few minutes each and focus on parts whose failure causes falls or wheel loss, rather than on cleaning or routine adjustment.
Basic safety check every 7–14 days
Run through these items with the bike stationary and upright:
| Item | What to look for |
|---|---|
| Quick-release skewers | Lever fully closed, sitting flat and pointing along the frame or fork, not sticking out |
| Wheel rotation | No rubbing on the brake pads or frame, and no side-to-side play |
| Brake action | Lever pulls to a firm stop, and pads sit evenly on the rim or disc |
| Tyre condition | Cuts, bulges, or embedded debris, and pressure checked with a gauge |
| Chain and drivetrain | Chain runs across the gears without skipping or stiff links |
| Handlebar and saddle | Clamp bolts tight, with no movement when pushed by hand |
The wheel and skewer items matter most because a loose wheel can leave the frame without warning, while brake and tyre faults show up quickly under load.
Pre-ride checks before a long journey
Before a long ride, repeat the full list above and then take a short test ride of a few blocks on a quiet road. Use the test ride to confirm three things: the brakes stop the bike smoothly, the gears shift cleanly under pedal pressure, and the steering feels neutral with no pull to one side. If any of these behave differently from the last ride, resolve the fault before setting off, since a problem that appears at low speed is far less dangerous than the same fault at full descent speed.
Carry a pump, a spare inner tube that matches your tyre size, and tyre levers, so that a puncture on the road is a repair rather than a stop.
Quick-release skewers and lever feel
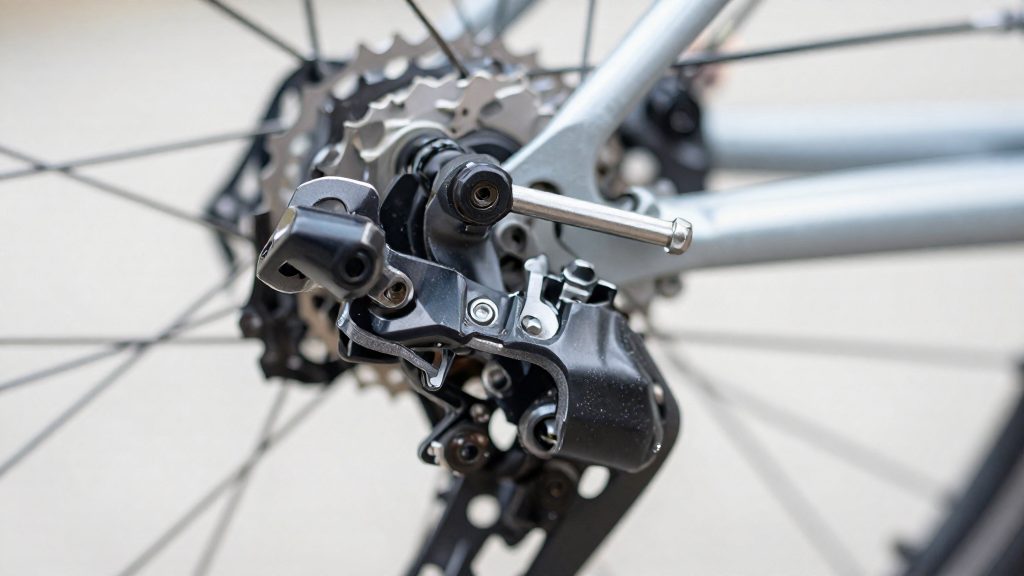
A quick-release skewer clamps the wheel axle in the dropouts through a cam lever, and its clamping force is set by the adjusting nut on the opposite side. The correct lever feel is firm resistance as the lever closes, with the lever finishing parallel to the frame or fork and leaving a clear mark in the palm of your hand. If the lever closes with little effort, the skewer is too loose. Open the lever, turn the adjusting nut a small amount clockwise, and close it again. Repeat until closing the lever takes firm effort. Never tighten the nut while the lever is closed. Then check that the wheel cannot be moved in the dropouts. If you are unsure, have a shop check it before riding. If the lever still moves freely after adjustment, or the nut is already at its limit, have a shop check the skewer and dropout before riding.
Which parts need attention first: brakes, chain or tires?
Brakes come first in urgency because a worn or misadjusted brake fails exactly when it is needed. A worn chain usually shows gradual symptoms, but a cut or bulging tire sidewall can fail suddenly, so a damaged sidewall overrides the order below: stop riding and replace the tire before anything else. Otherwise, work through the components in the order shown.
| Priority | Component | Act when you see |
|---|---|---|
| 1 | Brake pads and rotor | Pad wear reaches the wear groove or indicator, or the rotor is scored, glazed or bent |
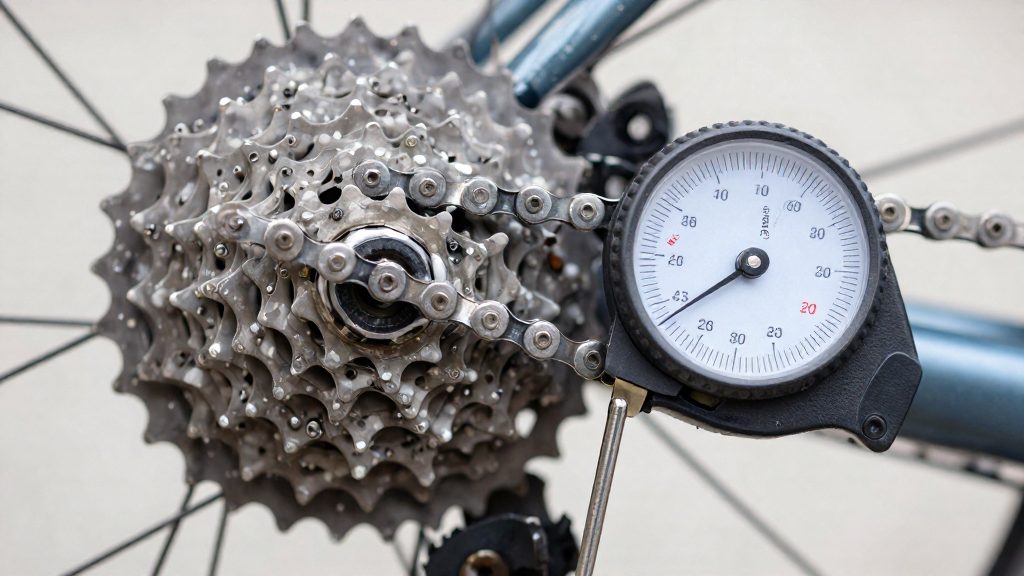
| 2 | Chain | A chain wear gauge shows elongation past its marked limit, or links bind |
| 3 | Tyres | Tread is smooth to the wear bars, or the sidewall shows cracks, cuts or bulges |
Brakes: pads and rotors
Look at each pad from the side and compare its remaining friction material with the wear groove or indicator built into the pad. Replace the pads when the wear groove or indicator is reached. Spin the wheel and watch the rotor for a bend, since a warped rotor rubs the pads at one point per revolution. Check the rotor surface for deep scoring and for shiny, glazed areas, which reduce friction. A rotor with cracks or a clear step at the braking track should be replaced.
Chain: elongation
Chain stretch is measured with a chain wear gauge, not by eye. Hook the gauge into several places along the chain, because wear is uneven. The chain is worn when the gauge reads past its marked limit. Replacing the chain at that point protects the cassette and chainrings, which wear faster when a stretched chain runs on them.
Tyres: tread depth and sidewall cracking
Check the tread for smooth patches and for the wear bars moulded into the tread grooves. When the tread is worn down to the bars, replace the tyre. Turn the wheel slowly and inspect the sidewall for cracks across the rubber, cuts that expose the casing, and bulges. Cracks that run across the sidewall are a sign of age and UV exposure, and a bulge means the casing is damaged. Either condition calls for replacement, not a patch.
When should you book a seasonal tune-up?
Booking should happen before the spring and autumn service points, not at them, because a workshop’s calendar fills before the service date arrives. For most riders, the pre-spring window is the period before the first regular rides, and the pre-winter service is the period before wet weather begins.
The spring booking covers the inspection of drivetrain, brakes and tyres after the riding months, when wear has built up unnoticed. Check the chain for stretch, the brake pads for remaining thickness and the tyres for cuts or sidewall damage before the first long ride. The autumn booking matters more for riders in wet conditions, because lubricant applied before the mud season lasts longer under grit and water than lubricant applied afterwards.
Shop capacity is the main constraint in peak months. Ask the workshop when it opens its booking calendar, whether it keeps a waiting list and how long the list is at that moment. Riders who commute daily should book the autumn slot first.
E-bike owners face a different scheduling problem. Scheduling the interim service on a fixed six-month cycle keeps it out of the busiest weeks and makes the annual major service easier to plan.
Is DIY or a shop service better?
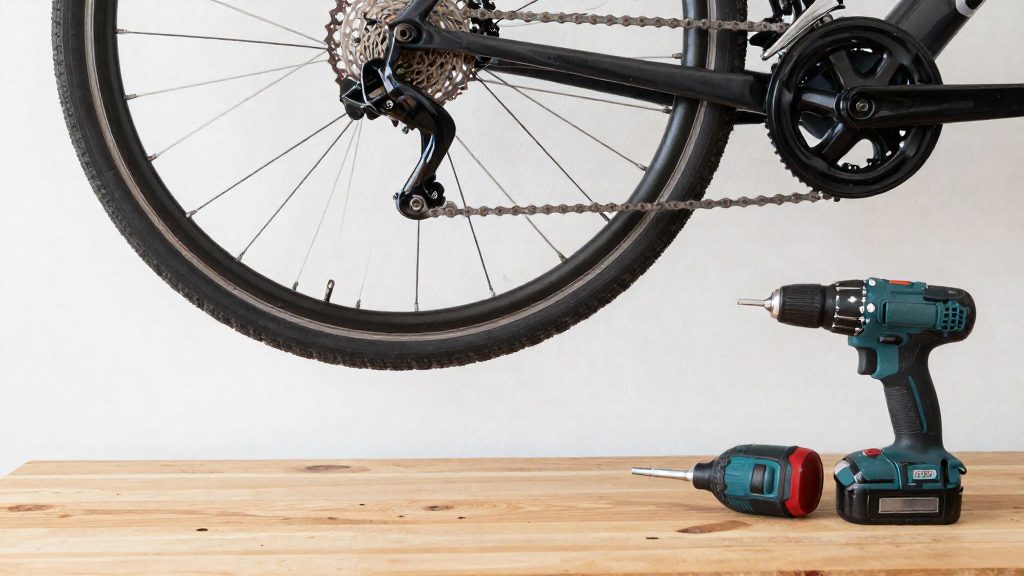
Home maintenance suits routine, low-risk tasks, while a shop is the better choice for jobs that need specialist equipment or where a mistake is costly. The deciding factors are tooling and the consequence of an error more than raw mechanical skill. Routine checks are the clearest case for doing it yourself, since they take only a few minutes with a rag, a flashlight and a quick look at the chain, brake pads and tires.
| Task | Complexity | Tooling needed | Better handled by |
|---|---|---|---|
| Chain cleaning and lubrication | Low | Degreaser, brush, chain lubricant, rag | Home |
| Chain wear check and replacement | Medium | Chain checker, chain tool, chain whip | Home if equipped, otherwise shop |
| Cassette removal | Medium | Chain whip, lockring tool | Home with correct tools |
| Wheel truing and spoke tension | High | Truing stand, spoke wrench, tension meter | Shop |
| Bolt tightening (stem, seatpost, cranks) | Medium | Calibrated torque wrench | Home with a torque wrench, otherwise shop |
| Hydraulic brake bleeding | High | Bleed kit, fluid specified for the system | Shop |
| Headset and bottom bracket bearings | High | Specific press and fitting tools | Shop |
Torque specifications are the main reason to buy a calibrated wrench. Over-tightening a stem or crank bolt can deform the component, and under-tightening lets it loosen under load. Use the value printed on the component or in the manufacturer’s manual, not an estimate.
Hydraulic brake bleeding is harder to do well at home. The aim is to remove every air bubble from the line so the lever feels firm, and this requires the correct fluid, a bleed kit and a method that avoids introducing new air. Wheel truing needs a stand and a spoke tension meter, so most riders are better served by a workshop for that job.
E-bikes add a further layer. Battery and drive diagnostics usually need the manufacturer’s software, which places them with a shop.
Warranty implications
Following a published schedule and keeping a dated record of each job is the simplest way to show that the bike was maintained to the manufacturer’s standard if a claim arises. Warranty terms differ between brands, so read the cover wording for your bike before carrying out major work yourself.
Frequently asked questions
Is one professional service a year enough for a conventional bike?
Giant’s baseline is two professional visits a year, so one visit falls below it. Riders who commute daily or ride through wet, muddy conditions are the group where that baseline is most likely to fall short.
Does the basic safety check replace a shop visit?
No. The basic safety check, which Giant suggests every 7 to 14 days or before any long ride, is a self-inspection you do at home. It fills the gaps between professional visits and does not replace them.
Do these intervals apply to bikes bought in the United States?
The intervals come from UK sources, Giant UK and Halfords UK, so your owner’s manual and the warranty terms from your US dealer or brand take precedence. Read the warranty conditions before assuming a given service schedule keeps your coverage valid.