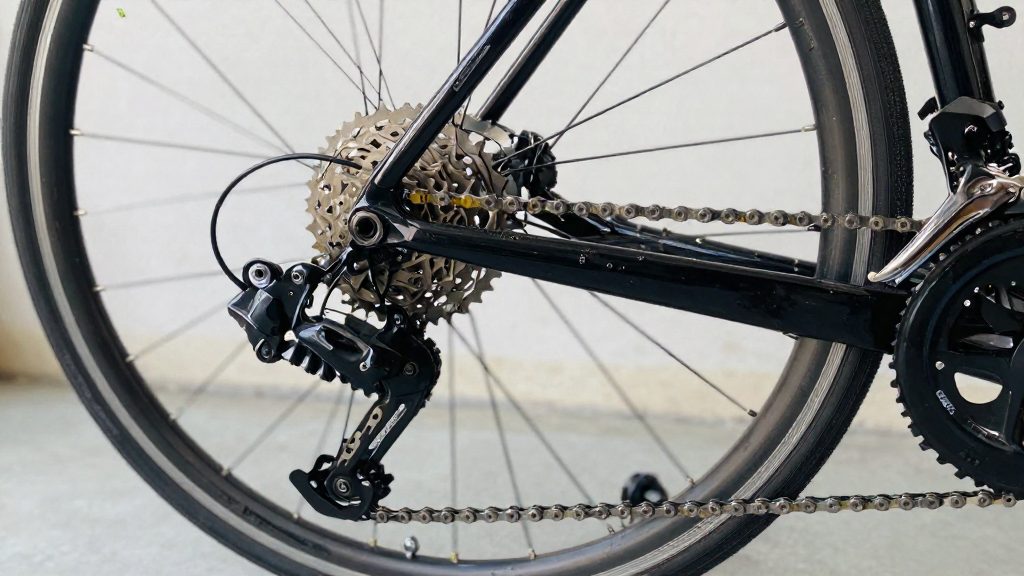
Bikes stored for a winter deteriorate because moisture, oxygen and residual dirt act on bare metal and rubber while nothing moves to clear them. Preparing the bike before storage removes these conditions, so the components don’t rust, crack or stick when you ride again in spring. The damage is mostly gradual and hidden. A chain can look fine on the surface while its pins have pitted, and a tyre can hold its shape while its rubber has hardened.
Why winterize a bike before storing it?
What corrodes and how
Steel parts are the most exposed. Once their protective lubricant has been washed off or displaced, water and oxygen reach the bare metal directly.
| Component | Storage deterioration | Cause |
|---|---|---|
| Steel chain | Surface rust on plates and pins | Water contact where lubricant has been removed |
| Steel brake and gear cables | Rust on inner wires, stiff actuation | Moisture entering through open cable ends |
| Bearing races (hubs, headset, bottom bracket) | Pitting, uneven rolling | Water and contaminants displacing grease |
Rust on a chain increases friction against the sprockets and makes the drivetrain run rough. Pitting in a bearing race is more serious: the balls then roll over damaged surfaces, which accelerates wear once the bike is ridden again.
Rubber tyres and inner tubes
Rubber compounds harden and lose flexibility over time, and the process is faster when a tyre is left sitting in one position under load. Heat, light and ozone further accelerate hardening.
Seizure from moisture and grit
Grit and road grime left on a bike mix with moisture and dry into an abrasive residue. This residue works into pivots and threaded connections, where it bonds metal parts together. The most common seizure points are derailleur pivots, brake pivots, pedal threads and the seatpost. A seized seatpost or pedal can be damaged when you attempt to free it, so preventing residue buildup matters more than removing it later.
E-bike batteries during storage
According to Stromer (2026), the battery is the component most sensitive to storage conditions. Keep it at a charge of 40% to 60% and check it every 4 to 8 weeks to prevent deep discharge. Store it at 10 to 25 °C (50 to 77 °F), never outside the permitted range of -20 to +60 °C (-4 to 140 °F).
Clean and dry the bike first
Grit left in the drivetrain and water trapped in joints speed up wear and corrosion over a winter, so the bike should be washed and dried before any lubricant goes on.
Start with a low-pressure water rinse. A garden hose or a bucket and sponge is safer than a pressure washer, because a high-pressure jet can force water past the seals of the bottom bracket, hubs and headset and into the bearings. Rinse from the top of the frame downward, then degrease the drivetrain afterwards to remove what has settled there, and keep the spray away from the headset and bottom bracket.
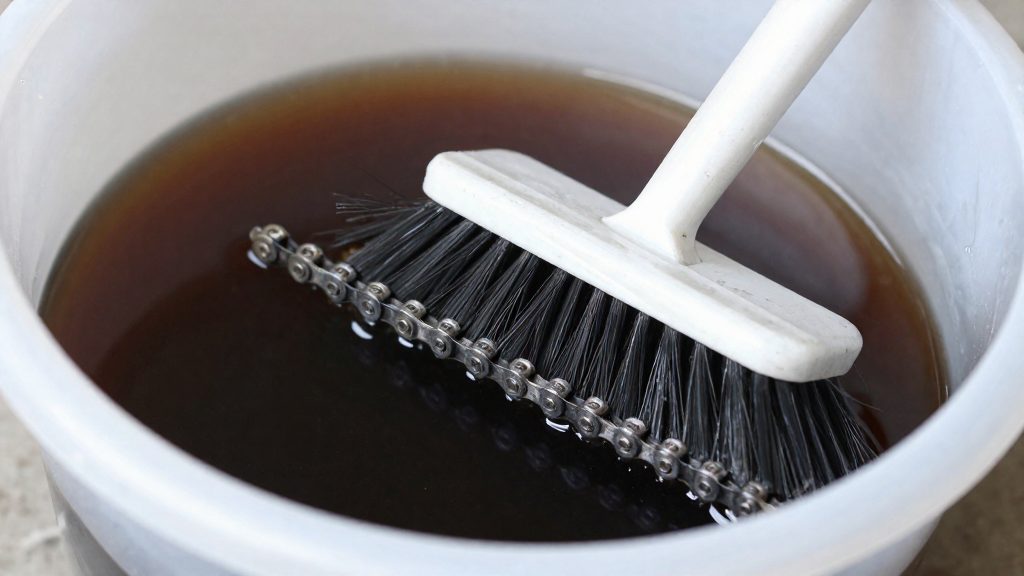
Next, degrease the drivetrain with a solvent made for bicycle chains. Apply it to the chain, cassette and chainrings, scrub with a stiff brush, and wipe the chain link by link until the cloth comes away clean. Check the product label for compatibility with the rubber seals and paint on your bike, and avoid general-purpose household solvents on rubber parts.
Finally, dry every surface. Wipe the frame, fork and components with a microfibre cloth, then tilt the bike so water drains out of the cassette, chainring bolts and pedal threads. Moisture tends to collect in these crevices, so check them by hand before storage. Keep the bike in a dry, ventilated space until no dampness remains.
How should you lubricate the chain and cables?
For winter storage, both the type of lubricant and the amount you apply matter. A wet lubricant is thicker and stays on the chain longer, which suits riding in rain and mud. In a stored bike, though, it tends to collect dust and grit that then grind into the rollers. A dry lubricant, usually wax-based, dries to a thin film that attracts far less dirt. A dry or wax-based lubricant is a reasonable choice for a stored bike, and you can switch to a wet product when you return to riding in wet conditions.
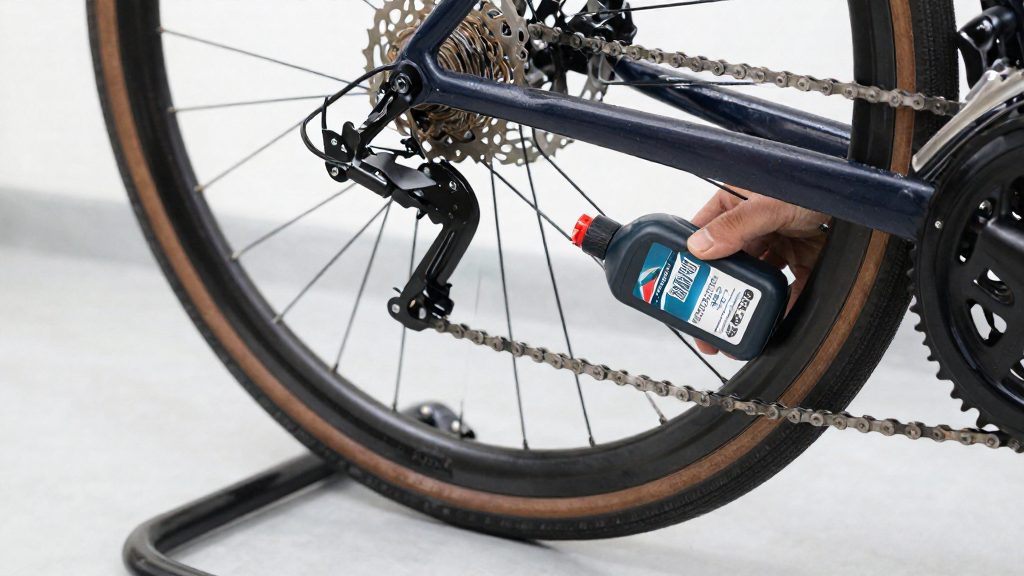
Apply lubricant to the chain rollers, not the outer link plates. Hold the bike upright, turn the cranks backwards by hand, and drip lubricant onto the inner side of each roller as it passes the top of the chain. Let the chain run for a few revolutions so the lubricant works into the rollers. The outer plates do not need lubricant, and lubricant left on them only collects grime, so wipe off any excess.
Cables need far less lubricant than the chain. For inner brake and gear cables, apply a small amount of lubricant where the cable enters its outer housing, then work the lever or shifter a few times so the lubricant travels down the cable. Pivot points are the other place to lubricate: the pivots of the derailleurs, brake levers and quick-release mechanisms need only a light touch. Keep lubricant away from the brake pads, rims and rotors, because oil on those surfaces reduces braking power.
Use only a small amount at each point. Excess lubricant runs down the chain and cables, collects dirt and then hardens over the storage period, which makes the bike harder to restart in spring. If you are unsure which product suits your bike, check the label on the lubricant bottle and follow the manufacturer’s application instructions.
Tyres, brakes and bolts: what to check
Inspect these three areas before the bike goes into storage, because problems that are easy to fix now often become failures after months of inactivity. Work through each item in order and note anything that needs replacing, since a worn part is much cheaper to fix before storage than after a ride.
| Area | What to look for | Action before storage |
|---|---|---|
| Tyre sidewalls | Fine cracks, bulges, or exposed casing threads | Replace any tyre with cracks or a bulge |
| Tyre pressure | Pressure at the level printed on the sidewall | Keep inflated within the range printed on the sidewall and top up if it has dropped |
| Brake pads | Remaining pad material, glazing, or uneven wear | Replace pads that are worn down to the wear indicator |
| Rotors or rims | Oil, grease, or lubricant residue on the braking surface | Clean with isopropyl alcohol and a lint-free cloth, and replace pads that are contaminated with oil |
| Bolts and axles | Looseness at stem, seatpost, handlebar, and axle nuts | Tighten to the torque value stamped on the component |
| Quick releases | Lever closed firmly and clamping force that holds the wheel | Adjust the cam tension until the lever leaves a clear mark on your palm |
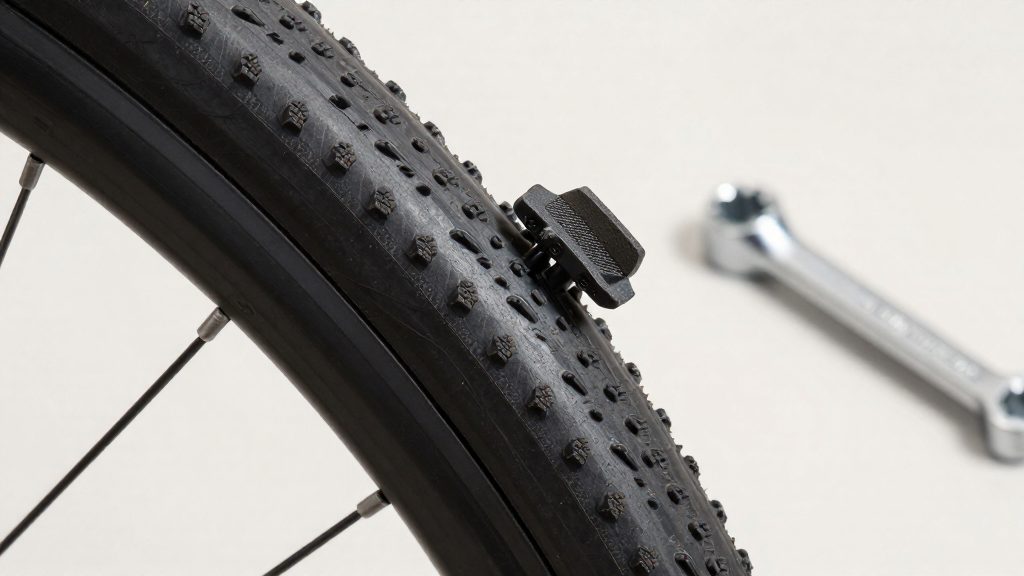
Tyres are the first item to check. Run your fingers along the sidewall and look at the bead area, where cracks usually start. A tyre that shows cracks is more likely to fail under pressure after storage, so replace it rather than storing it.
Brake pads should be checked for remaining material and surface glazing. Contaminated rotors, rims or pads cause squealing and weak braking, so wipe the braking surface clean before the bike is stored and replace any pads that are contaminated.
Fasteners need a torque wrench. Check the stem bolts, seatpost clamp, handlebar clamp, and thru-axle or axle nuts against the torque values marked on each component or given in the manufacturer’s instructions. Loose fasteners can shift during storage and create play when the bike is ridden again. Quick releases should be closed firmly: the lever should meet clear resistance through the second half of its swing, finish fully closed, and the wheel should not shift in the dropouts. If it closes with no resistance, adjust the tension a little and test again.
Where is the best place to store a bike?
The best indoor spot is dry, stable in temperature, and easy to reach, because every extra step to get the bike out discourages regular checks. Humidity and temperature swings do most of the damage in storage: moisture promotes corrosion on chains, cables and bearings, and repeated expansion and contraction stresses seals and rubber. The table below compares common options qualitatively, since the exact humidity and temperature ranges of a given garage or cellar depend on the building and climate.
| Location | Humidity risk | Temperature stability | Access |
|---|---|---|---|
| Heated indoor room | Low, if ventilated | High | Good |
| Garage (attached, insulated) | Moderate, varies with season | Moderate | Good |
| Garage (uninsulated) | High in damp months | Low, large swings | Good |
| Cellar or basement | High, often persistently damp | Moderate, quite stable | Fair |
| Shed | High, condensation-prone | Low | Fair |
A heated room or an insulated garage is the safest choice. Avoid cellars and sheds unless you can ventilate them and check for condensation, which forms on cold metal surfaces and then rusts them. If you use a cellar, lift the bike off the floor and inspect it at each service interval.
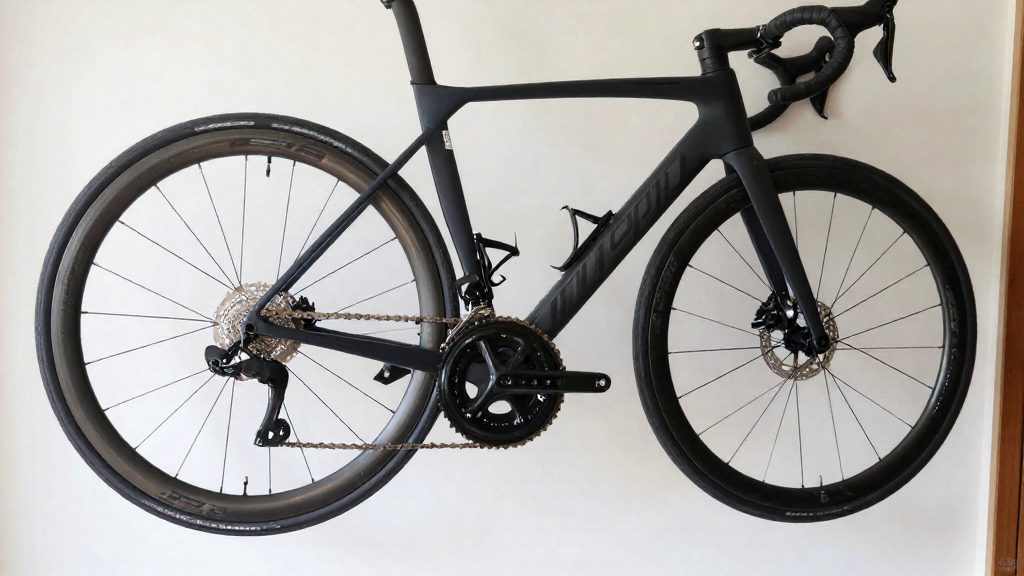
Wall hooks and vertical hanging keep the bike off the floor, where damp air and spills collect, and they save floor space. Hang the bike from hooks that support a wheel rim, or use a stand that holds the frame as the manufacturer allows. Do not clamp or hang a carbon or thin-walled tube unless the frame maker approves it. Floor stands hold the bike upright without tension on the wheels. Whichever method you use, do not leave the bike resting on one tyre for months, since this deforms the tyre.
For tyres, keep them away from direct sunlight and from electric motors, which produce ozone. Both accelerate cracking in rubber. Check the pressure range on the sidewall, which is printed in PSI as well as bar. Storing the bike in a dark, dry corner protects both the tyres and the drivetrain.
How do you store an e-bike battery over winter?
Stromer, the manufacturer, sets the storage rules for its e-bike batteries in the table below. The aim is to hold the battery at a partial charge during the off-season, so it neither sits full nor runs down to empty.
| Storage parameter | Stromer recommendation (2026) |
|---|---|
| Charge level during storage | 40% to 60% |
| Charge check interval | Every 4 to 8 weeks |
| Ideal storage temperature | 10 to 25 °C |
| Permitted temperature range | -20 to +60 °C |
| Storage location | Dry spot, out of direct sunlight, away from water and metal objects |
| Stacking | Do not stack batteries |
The check interval is the step that does the most work. At each check, read the charge indicator and, if the level has moved outside the 40% to 60% band, top it up or let it drain back before returning the battery to its storage spot. A battery that is left unchecked for the whole winter can drift toward deep discharge without any visible sign.
Temperature is the second variable. The 10 to 25 °C band is the target, while the -20 to +60 °C range is the outer limit. An unheated garage or shed can fall toward the lower limit in winter, so a basic thermometer in the storage area tells you whether you are inside the target band or only inside the permitted range.
For the storage routine itself, take the battery off the bike before storing it, so that it can be checked and moved easily. Keep it separate from other batteries rather than stacking them, and make sure it is in its designated spot before the next check. Note the date of each check so the 4 to 8 week schedule is easy to follow.
Spring recheck before the first ride
Run these checks in order. Tyres come first so the wheels roll freely, then the chain, gearing and cables, then brakes, which you test last before riding. Use a stand, or lift each wheel in turn, so you can spin the wheels and cranks by hand.
| Order | Check | What to look for |
|---|---|---|
| 1 | Tyre pressure | Inflate to the range printed on the sidewall. A tyre that loses pressure quickly points to a slow leak or a faulty valve. |
| 2 | Tyre flat spots | Spin each wheel slowly and watch for a bump at every revolution. |
| 3 | Cable tension | Shift through every gear. Slow or late shifts usually mean a stretched cable or housing. |
| 4 | Derailleur indexing | The chain should move onto each sprocket cleanly, without skipping or rubbing. |
| 5 | Brake function and lever feel | Each lever should bite firmly, close at a similar point, and release fully without dragging. |
Start with the tyres. Inflate each one to the printed range, then spin the wheel by hand and watch the tread at the contact point. A flat spot often eases once the tyre has been ridden, so note whether the bump persists after the tyre is fully inflated. If it does, check the tyre more closely before riding.
For the drivetrain, shift up and down through the whole cassette while turning the cranks. If the chain hesitates or rubs, turn the barrel adjuster on the shifter or derailleur in small steps. If the shifting does not settle, check that the derailleur hanger is straight by sighting along it from behind the bike, since a bent hanger prevents accurate indexing.
For the brakes, squeeze each lever and check that it stops firmly without travelling to the handlebar. Both brakes should engage at a similar point. Spin the wheel to confirm the pads are not dragging.
Frequently asked questions
Does an e-bike battery need special handling during winter storage?
Yes. Stromer recommends storing the battery at a state of charge of 40% to 60% and checking it every 4 to 8 weeks, which prevents a deep discharge that can damage the cells (Stromer, 2026). Keep it between 10 and 25 °C (50 to 77 °F), never outside -20 to +60 °C (-4 to 140 °F), in a dry place away from sunlight and metal objects.
Can I store the bike leaning against a wall on its tyres?
You can, but a fixed contact point under load is the main risk for the rubber. Hang the bike from its frame or lift the wheels off the ground, and move it occasionally so the same section of tyre does not carry the weight for the whole season.
Is cleaning enough, or should I lubricate before storage?
Cleaning removes grit but leaves bare metal exposed, so the lubricant should be reapplied. Put a light oil on the chain and a thin film of grease on the pivots, then wipe off the excess. Lubricating the cables also keeps moisture from reaching the inner wires.