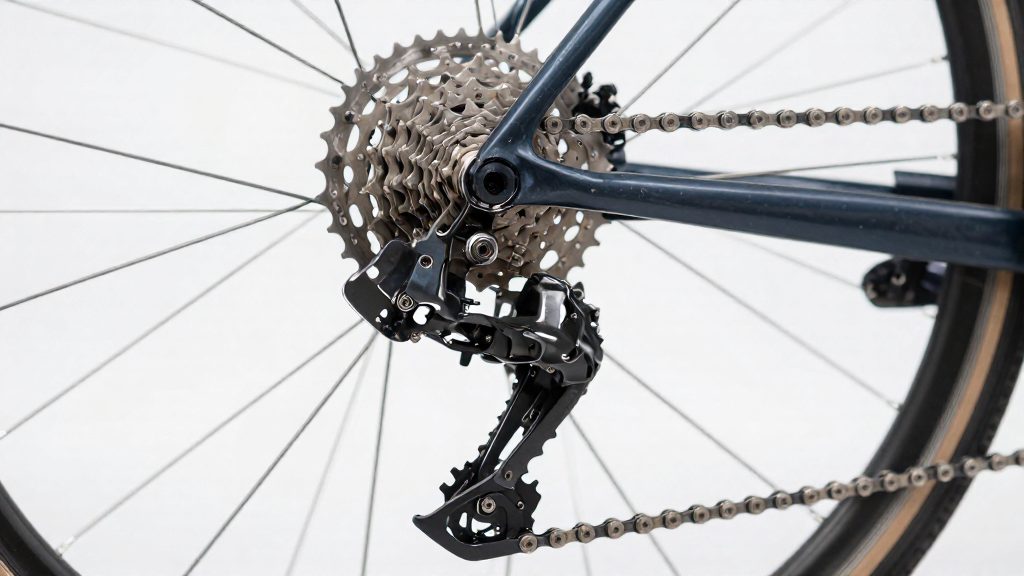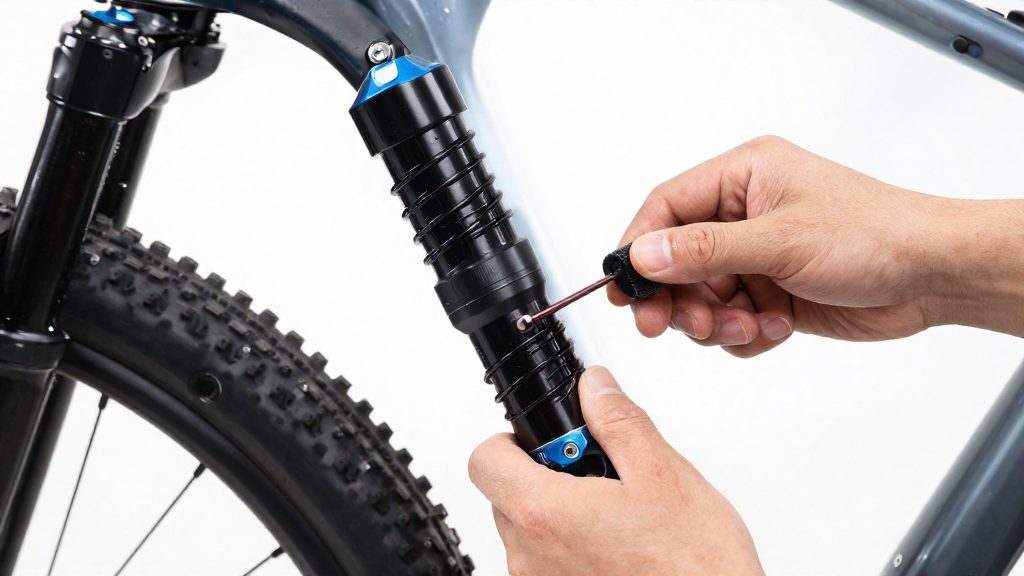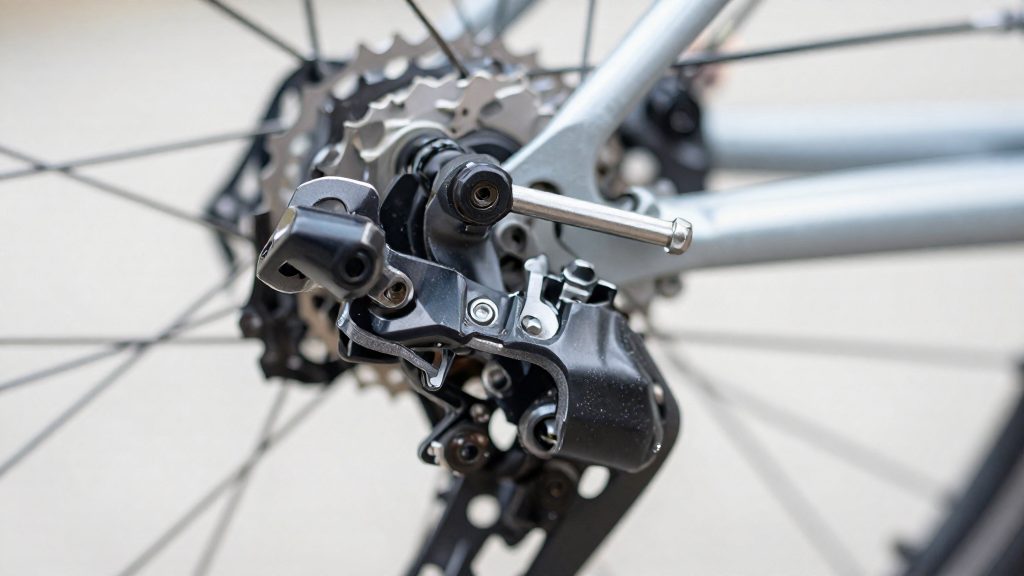
The two limit screws on a rear derailleur are marked H (high) and L (low). Each one sets the outer boundary of the derailleur’s travel: H governs the smallest cog on the cassette and L governs the largest, so together they control how far the derailleur can shift in each direction.
What do the H and L limit screws do?
Each limit screw is a mechanical stop. It physically blocks the derailleur body at the end of its travel, so the cage cannot move past that point, whatever the shifter or cable is doing.
| Screw | Marking | Cog it governs | Direction it limits |
|---|---|---|---|
| H | High | Smallest cog | Travel toward the smallest cog |
| L | Low | Largest cog | Travel toward the largest cog |
The smallest cog is the one with the fewest teeth and sits at the high-gear end of the cassette. The largest cog has the most teeth and sits at the low-gear end, closest to the wheel’s spokes. The two screws therefore act at opposite ends of the gear range, and the chain can only run between the positions they allow.
Why the L screw prevents overshoot into the spokes
Park Tool describes the L-limit screw as the protection against the chain shifting past the largest cog into the spokes. When the derailleur overshoots at this end, the chain has nowhere to go but toward the wheel, so the stop is what keeps the derailleur from carrying the chain into the spokes. Because the largest cog is the closest one to the spokes, this is the end where overshoot causes the most damage.
The H screw at the opposite end
The H screw performs the same stopping function at the smallest-cog end. BikeRadar notes that the H screw governs the smallest cog, so its job is to keep the derailleur from travelling past the position above that cog. Each screw works independently of the other, but both must be in place for the derailleur to stay within its intended range.
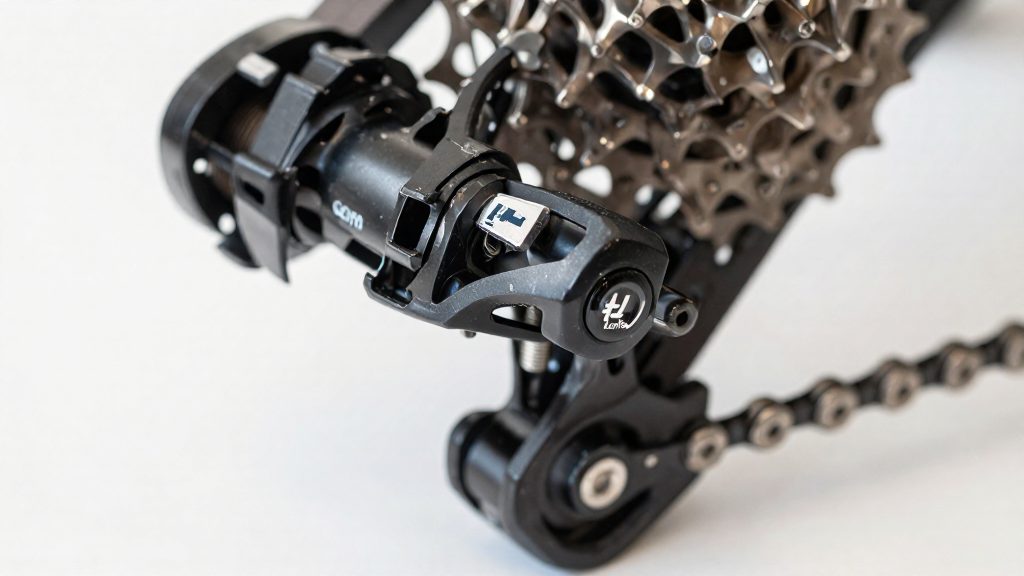
Tools and prep before you adjust
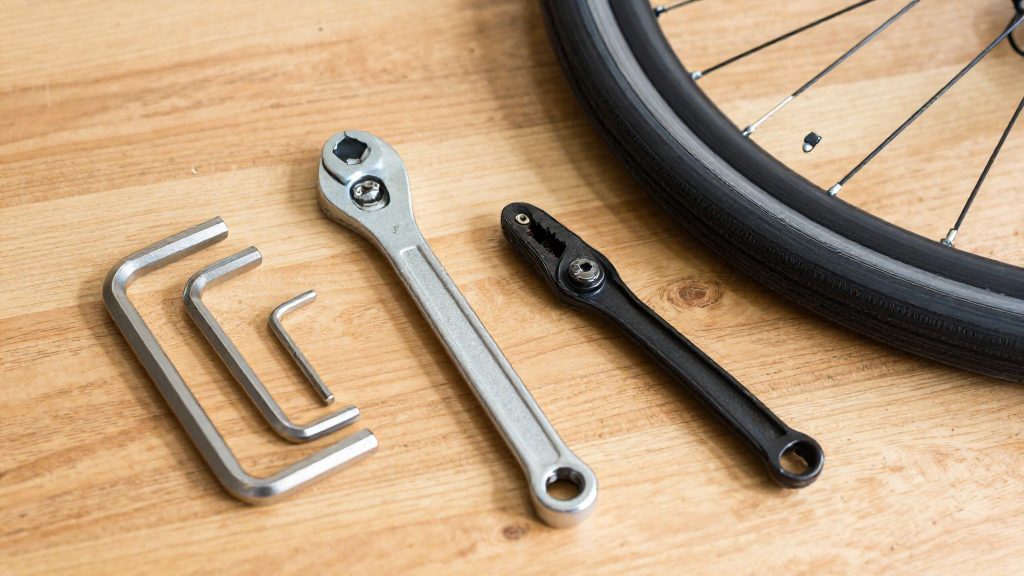
Before turning either limit screw, gather a few tools, mount the bike so the rear wheel turns freely, and clean the drivetrain. The two screws are labelled on the derailleur body, so confirm which screw you are working on before touching it.
Tools to have ready
| Item | Purpose |
|---|---|
| Screwdriver matching the limit screw head | A tip that fits the head fully prevents slipping and stripping. Check the head type before choosing a driver. |
| Bike stand | Lets you pedal by hand with the rear wheel off the ground, so you can shift and listen without the bike moving. |
| Clean rag and drivetrain degreaser | Removes grit that can cause noise and mask the sound you are trying to hear. |
Set up the bike for safe testing
Mount the bike on a stand so the rear wheel spins freely. Keep the bike steady while you turn the screws, and keep your hands clear of the chainring and cassette when you pedal by hand. Lifting the rear wheel also lets you watch how the derailleur responds to each turn of the screw.
For H-screw work, BikeRadar (2026) disconnects the derailleur cable before testing. Disconnecting the cable lets you move the derailleur directly, so you can judge the limit without the cable pulling the cage. Reconnect the cable before any ride-test.
Clean the drivetrain before listening
Listening for chain rubbing is only reliable on a clean drivetrain. Wipe the chain, cassette, and derailleur pulleys with a rag, then apply degreaser to remove dirt, and dry the parts before testing. Grit between the chain and cog can produce a rubbing sound that looks like a limit-screw problem, so clean first and confirm that the noise remains after cleaning.
How do you set the H limit screw?
The H screw is set before the chain is indexed. Two methods are described for setting it: Park Tool’s listen-and-tighten sequence and BikeRadar’s cable-disconnected push-and-release check. Both rely on small, measured turns of the screw rather than a single large adjustment.
Park Tool’s sequence
Park Tool (2026) begins with the screw wound in too tight, then backs it out until the guide pulley sits directly below the smallest cog. From that position:
- Tighten the screw half a turn.
- Pedal and listen for noise.
- If the drivetrain is quiet, keep tightening until the chain rubs the next cog.
- Back the screw out in quarter-turn steps until the rubbing stops.
Step 3 deliberately takes the chain into contact with the adjacent cog, which gives a clear reference point. Step 4 then returns the screw to the position where that contact ends.
BikeRadar’s push-and-release check
BikeRadar (2026) performs this check with the cable disconnected. Push the derailleur to the middle of the cassette and release it, then observe the chain:
| Chain behaviour on release | Screw action |
|---|---|
| Tries to shift to the second cog | Back the screw off counter-clockwise |
| Jumps off the bottom of the cassette | Wind the screw in clockwise |
Because the cable is disconnected, any movement on release comes from the screw setting alone, which makes the test a direct read of the H limit. Identify which symptom occurs before turning the screw, since the two symptoms call for opposite directions.
How do you set the L limit screw?
Park Tool sets the L screw after indexing and cable tension are already correct, using a test-and-adjust loop: shift onto the two largest cogs, tighten the screw in small steps until the drivetrain shows signs of over-tightening, then back it off. Park Tool (2026) describes the sequence below.
Test sequence
| Step | Action |
|---|---|
| 1 | Shift to the second-largest cog |
| 2 | Shift to the largest cog |
| 3 | Tighten the L screw one turn at a time, repeating the shift test after each turn |
| 4 | Stop when slow shifting or noise appears |
| 5 | Back the screw out a quarter turn and retest both cogs |
The tightening stage is where accuracy matters. Turning the screw one full turn at a time makes the point where symptoms begin easy to locate. Larger moves can carry the screw past that point, leaving the quarter-turn correction without a clear reference.
Slow shifting and noise are the two symptoms to watch. Either one means the screw has been tightened too far, so the adjustment is not complete until both cogs shift smoothly after the back-off. Testing only the second-largest cog does not confirm the setting.
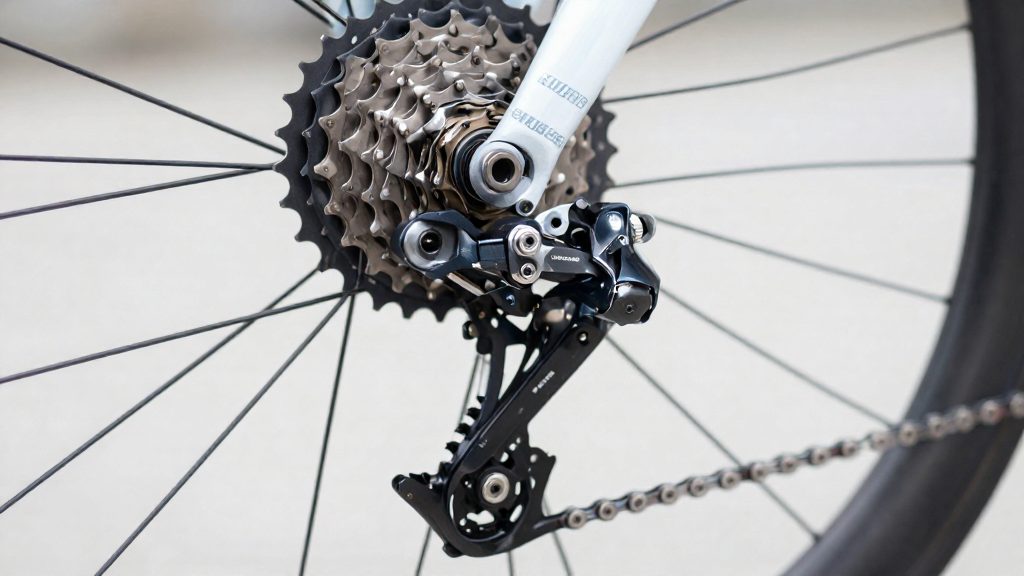
Check for a bent hanger and cable tension
Limit screws only work if the derailleur hangs true and the cable is set correctly. If the hanger alignment is off or the cable tension is wrong, the derailleur sits in the wrong position relative to the cassette, and no limit screw setting will give reliable shifting.
Visual and sight-line hanger alignment check
The derailleur hanger is the small tab that bolts the derailleur to the frame. Check it with the rear wheel installed and the chain on the largest cog:
- Stand behind the bike and look down the line of the rear wheel. The derailleur cage should sit parallel to the cassette, with the upper and lower pulleys in line with the cogs.
- Look from above and from behind. A cage that tilts inward or outward, or that sits visibly off the wheel’s centre line, points to a bent hanger.
- Compare the cage with the wheel plane while turning the cranks slowly. A hanger that is bent inward or outward will show the chain running against the cage plates or cogs on one side.
Cable tension effect on shifting position
Cable tension sets where the derailleur rests and how far it travels for each shift. Too much tension can keep the chain from returning to the smaller cogs, while too little makes the chain hesitate to climb onto the larger cogs, causing slow or ghost shifting. Correct the cable before judging the hanger. If shifting is poor in all gears, adjust the cable first. If the derailleur still looks misaligned after the cable is set, the fault is probably the hanger.
Signs that hanger replacement is required
Straightening a hanger is only appropriate when the bend is minor and the hanger is intact. Replace it when:
| Symptom | Likely cause | Action |
|---|---|---|
| Cage stays out of line with the cassette even after the cable tension is set | Bent hanger | Realign only if the bend is minor; replace the hanger if it will not hold alignment |
| Visible crack or deformation at the mounting bolt | Structural damage | Replace the hanger |
| Derailleur has moved after a crash | Bent or twisted hanger | Check alignment, then replace if needed |
| Hanger bends again after realignment | Metal fatigue | Replace the hanger |
Common limit screw mistakes
Most limit screw errors come from treating the two screws as general shifting controls. They are not. An error in reading or using them shows up as a specific fault at one end of the cassette.
Misreading the H and L markings
Confusing the two screws means you turn the screw that limits the opposite end from the one you meant to adjust. The chain then misbehaves at the end you did not touch. For example, if you adjust L while believing you are protecting the smallest-cog side, the chain can still drop off the small end.
Check the letter on the derailleur body before turning either screw, and confirm which cog the chain is on when you do.
Treating limit screws as cable tension adjusters
Limit screws do not change cable tension. If you turn a limit screw to fix a shift caused by slack or excess cable tension, the symptom persists: the derailleur still hesitates or overshoots. The stop has moved, but the cause has not, and the limit must be reset once the cable is corrected.
Assuming limit screws fix worn components
Limit screws cannot compensate for a stretched chain, worn cassette teeth, or a worn pulley. When these parts are worn, the drivetrain skips under load on certain cogs or shifts ghostly even though the derailleur is correctly positioned. Adjusting the screws does not correct this, because the fault sits in the parts that engage the chain.
When should you see a bike shop?
Home adjustment suits faults that are mechanical and confined to the limit screws and their setup. When the derailleur still misbehaves after a correct setup, or when the damage lies outside the derailleur itself, further screw turning rarely fixes the problem and can hide the real cause. Three conditions mark the point where a workshop should take over.
| Condition | Why home adjustment stops | What the workshop does |
|---|---|---|
| Persistent shifting faults after a completed adjustment | The screws are already in the correct sequence, so the cause lies elsewhere | Isolates the faulty component with a systematic check |
| Frame damage suspected after a crash or impact | Force on a deformed mount can cause further damage | Inspects the frame and mounting point and decides on replacement |
| Electronic shifting that needs diagnostic software | Limit screws do not address electronic faults | Reads fault data and updates the system with manufacturer tools |
Persistent shifting faults deserve particular attention. If the chain still skips, hesitates or refuses to land on a cog after you have set the H and L limit screws in the order described by Park Tool (2026) and BikeRadar (2026), repeated small tweaks are unlikely to succeed. A fault that survives a clean setup usually points to a worn part or a derailleur that no longer sits true.
Frame damage is the second condition. A fall can shift the derailleur or deform the mounting point. If the derailleur sits at an unusual angle, or the limit screws cannot bring shifting into range despite a correct setup, stop adjusting. Do not attempt to straighten a frame or mount yourself. A workshop can assess the damage and decide whether a part needs replacing.
Electronic shifting systems, such as Shimano Di2 and SRAM AXS groupsets, rely on manufacturer software for setup and fault checking. Mechanical limit screws do not correct battery, wiring or motor-position faults. A workshop holds the diagnostic tools needed to read fault data and update components.
Frequently asked questions
Which limit screw should I set first, H or L?
Set the H screw first, before indexing the shifter. Set the L screw afterwards, once the cable tension is already correct, because Park Tool’s sequence depends on that order (Park Tool, 2026).
What should I do if the chain jumps off the bottom of the cassette?
With the cable disconnected, push the derailleur to the middle of the cassette and release it. If the chain jumps off the bottom of the cassette, wind the H screw clockwise. If the chain instead tries to move to the second cog, back the screw off counter-clockwise (BikeRadar, 2026).
What does slow shifting or noise at the largest cog tell me?
It points to the L screw being set too tight. Park Tool’s method is to shift to the second-largest cog, then try the largest, and to adjust the screw in one-turn steps until those symptoms appear before backing it off a quarter turn (Park Tool, 2026).