Replace a bike chain when its measured wear reaches the limit set by the chain or drivetrain manufacturer, not when a fixed mileage or calendar date passes. Mileage is only a rough planning range. According to road.cc (2020), Campagnolo gives a typical chain life of 3,000–8,000 km (about 1,900–5,000 miles), while SRAM gives no fixed replacement distance.
How often should you replace a bike chain?
Why measured wear beats distance or calendar guesses
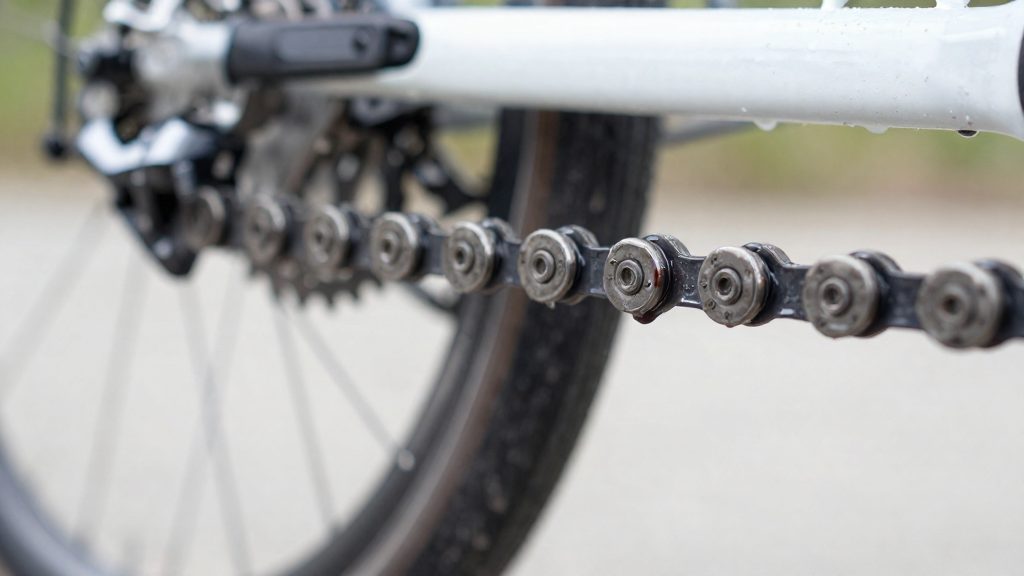
A chain’s life depends on how it is maintained, the conditions it runs in, the shifting habits of the rider, and the condition of the cassette and chainrings. Two chains with the same mileage can wear at very different rates, so distance alone cannot tell you when a chain is worn. Measuring chain elongation tells you how far the chain has actually stretched, which is the wear that affects shifting and accelerates wear on the cassette.
What the manufacturers say
| Source | Stated position |
|---|---|
| Campagnolo | Typical chain life of 3,000–8,000 km (about 1,900–5,000 miles) |
| SRAM | No fixed replacement distance; wear depends on maintenance, conditions, shifting habits, and the state of the cassette and chainrings |
| Park Tool | Replace at a measured wear limit; many drivetrain makers publish their own recommendations (Park Tool, 2026) |
Taken together, these positions show that distance is at most a rough guide. Park Tool ties replacement explicitly to measured wear, and road.cc also gives measured elongation limits, as the thresholds below show.
Using mileage as a planning range
Treat the lower end of a published range as the point to start checking wear, not as a replacement date. Once a chain approaches the range, measure it at regular intervals and note the results, so you can see how quickly your own chain stretches. Your own readings are more reliable than any general figure, because your riding conditions and maintenance routine are specific to you.
Measured wear, elongation, and planning range are the key concepts here.
Chain wear thresholds by speed count
The replacement point depends on how many sprockets are on the rear cassette. Wear is expressed as elongation threshold: the percentage by which a chain has stretched beyond its original pitch. The narrower the sprockets, the less stretch the drivetrain tolerates before shifting degrades.
| Drivetrain | Replacement threshold | Source |
|---|---|---|
| 5–10 speed | 0.75% | Park Tool (2026) |
| 11–13 speed | 0.5% | Park Tool (2026) |
| 10 speeds or fewer | 0.75% | road.cc (2020-05-16) |
| 11–12 speeds | 0.5% | road.cc (2020-05-16) |
| Single-speed and 2-speed | 1% | road.cc (2020-05-16) |
Park Tool advises replacing 5–10-speed chains at or just before 0.75% wear, and 11-, 12- and 13-speed chains at or just before 0.5%. The two publishers agree on the 0.75% and 0.5% values for common multi-speed groups. They differ in how they group speeds: They group speeds slightly differently: Park Tool puts 11-, 12- and 13-speed chains together at 0.5%, while road.cc gives the 0.5% figure for 11–12 speeds and does not mention 13-speed chains. Single-speed and 2-speed drivetrains have a larger tolerance, at 1% according to road.cc, as road.cc gives 1% for these drivetrains.
Manufacturer recommendation matters too. Where a manufacturer’s number exists, it takes precedence over a general threshold. Check the chain or drivetrain documentation before relying on the table alone.
How do you measure chain wear?
A ruler gives a direct reading of how far a chain has stretched. On a standard 1/2-inch pitch bicycle chain, 12 full links (24 pins) span exactly 12 inches when new. As the pins and rollers wear, the chain lengthens, so the same 24 links measure longer. According to road.cc (2020-05-16), this 12-inch span is the basis for a ruler check, and the extra length converts into a percentage of elongation that you can compare against replacement guidance.
Measuring the span
- Pull the chain taut. Hold the chain straight, with light tension in the direction it drives, so no slack remains between the links you are measuring. A slack chain reads short and hides the stretch.
- Set the ruler on a pin centre. Align the zero mark with the centre of a pin in one link. Pin centres are the reference points, not the outer edges of the plates.
- Count 12 links. Read the ruler at the centre of the pin 12 full links further along. Count carefully, because one miscounted full link shifts the result by about 1 inch.
- Repeat at several points. Wear is uneven across a chain, and the section that runs over the most-used cog or chainring wears fastest. Take readings at three or more separate points and record each one.
Converting length to percentage elongation
Use this formula:
elongation % = (measured span − nominal span) ÷ nominal span × 100
The nominal span is 12 inches, or 30.48 cm on a metric ruler.
| Measured span (in) | Elongation (%) |
|---|---|
| 12.03 | 0.25 |
| 12.06 | 0.50 |
| 12.12 | 1.00 |
For example, a reading of 12.06 inches gives (12.06 − 12) ÷ 12 × 100 = 0.5%. Expressing the result as a percentage lets you compare readings from different chain sizes on the same scale.
Mileage ranges and what changes them
Riding conditions and habits can move chain life above or below the typical range. Campagnolo states that rider weight, terrain and cleaning all affect how long a chain lasts (road.cc, 2020-05-16). Because the chain is only one part of the drivetrain, a chain that is worn in a particular way can also tell you how the rest of the system is being used.
Rider weight and power
A heavier rider, or one who puts high force through the pedals on climbs and sprints, loads each link more often. The chain runs under higher tension, and the pins and rollers wear faster.
Wet, gritty and muddy terrain
Grit is the main cause of accelerated wear on the chain. Sand, road grime and mud act as an abrasive between the pins and bushings, which grinds the components apart. The abrasive effect is greatest on unpaved, wet or sandy routes. After rides in these conditions:
- Wipe the chain and check it for debris before you ride again.
- Measure wear sooner than your usual interval.
Cross-chaining and rough shifting
Cross-chaining means running the chain on the largest chainring with the largest cassette sprocket, or on the smallest with the smallest. The chain then runs at a steep angle, which stresses the side plates and sprockets and increases wear. Rough shifting under load has a similar effect because it forces the chain onto sprockets before it has seated properly. Changing gears under load and avoiding extreme chain angles are the most direct ways to extend chain life.
Why replacing early protects your cassette
A chain does not wear alone. As it stretches through elongation, its rollers sit progressively deeper in the cassette and chainring teeth, and the teeth gradually take on the shape of the chain rather than their original design. Road.cc (2020) describes the result: a stretched chain hooks onto and deforms sprocket teeth. The tooth profile that the drivetrain was built around is then no longer the one it runs on.
Once teeth are hooked, the drivetrain is working with altered geometry. The cassette and chainrings are the parts that absorb this change, so the cost of a worn chain shows up in the more expensive components, not the chain itself.
| Component | Effect of a stretched chain | Replacement cost relative to a chain |
|---|---|---|
| Chain | Stretches with use | Lowest |
| Cassette | Teeth hook and deform | Higher |
| Chainrings | Tooth profile changes | Higher |
Replacing a cassette and chainrings costs more than replacing a chain. Prices vary by brand, speed count and model, so compare quotes from your local shop or parts supplier before deciding how long to run a chain.
Replacing the chain early limits drivetrain damage. Following the manufacturer’s guidance for your model keeps the cassette and chainrings in service for longer. The interval is best set by the bike’s actual condition rather than by mileage alone.
Can cleaning and lubing make a chain last longer?
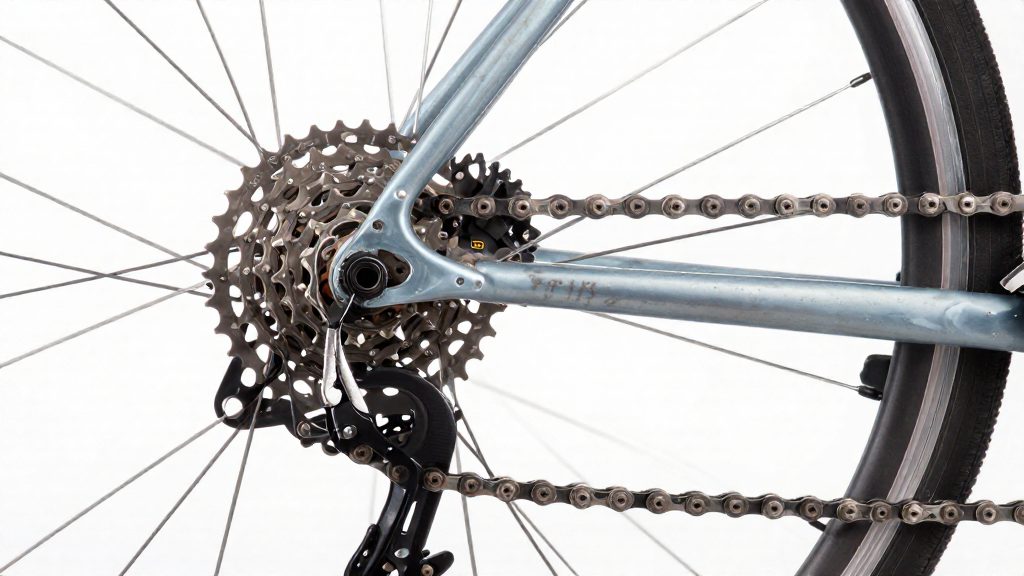
Cleaning and lubrication slow the rate of wear, but they cannot reverse elongation that has already happened. Once the pins and bushings have worn and the chain has stretched, no degreaser or lubricant restores the original pitch. Maintenance works by reducing the friction and abrasion that drive wear forward. The practical goal is to keep the chain clean and lubricated from the start, so its remaining service life is used at the slowest possible rate.
Degreasing removes grit that grinds the links
Grit, sand and metal particles are the main abrasives on a chain. When they lodge between the rollers and the inner plates, they grind the internal link surfaces each time the chain flexes around a sprocket. Degreasing removes that grit together with old, contaminated oil.
- Shift to the smallest rear sprocket so the chain is slack and easier to reach.
- Apply a degreaser and scrub the rollers and side plates with a brush.
- Wipe or rinse the chain, then let it dry completely before lubricating.
Matching the lubricant to the conditions
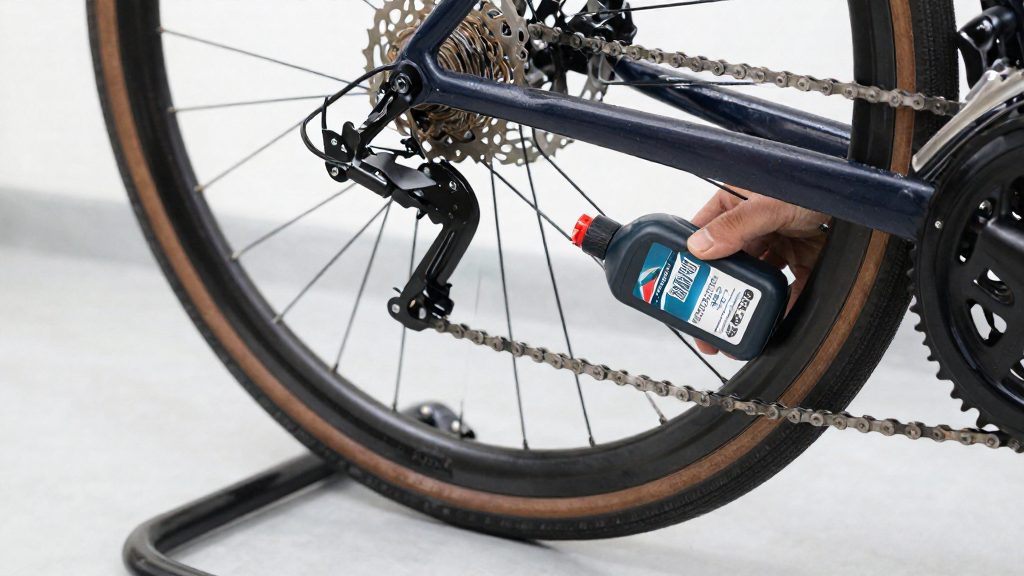
Lubricants are generally sold as wet or dry formulations. Choose the one whose label matches your riding conditions, and follow the manufacturer’s instructions for application.
| Riding condition | Lubricant type to look for |
|---|---|
| Wet, muddy or rainy riding | Wet lubricant, formulated to resist washout |
| Dry, dusty riding | Dry lubricant, which generally attracts less grit |
Wiping off excess lubricant
Excess lubricant on the outer plates collects dust and grit, which then works its way inward. Apply a small amount to each roller and let it penetrate, then wipe the outside of the chain with a clean rag until no residue transfers to the cloth.
Signs your chain is already worn out
A chain can show wear through how the drivetrain behaves before you measure it. Three groups of symptoms are worth checking during a ride or on a quick visual inspection: slipping under load, physical damage to the links, and changes in noise and shifting.
Skipping or slipping under pedalling load
Under hard pedalling, such as climbing or sprinting, a worn chain may fail to stay seated on the teeth. The pedals turn without moving the wheel, or the chain jumps a tooth and then catches again. Skipping can come from the sprockets as well as the chain, so inspect the cassette and chainrings at the same time.
Stiff links and visible kinks or cracked plates
Look along the chain and flex each link by hand. A link that does not move freely, or a plate that is visibly bent or kinked, indicates damage. Check both the inner and outer plates for cracks. According to road.cc (2020), a deformed or cracked chain should be replaced immediately.
Irregular noise and uneven shifting
A wearing chain can produce a noise that changes in pitch or rhythm, and shifting may feel uneven: hesitation when moving across the cassette, or the chain dropping to a different gear than selected. Note whether the problem appears under load, at certain gears, or across the whole range. Whatever the pattern, confirm the cause by measuring the chain and inspecting the cassette and chainrings.
| Symptom | What to check | Next step |
|---|---|---|
| Skipping under load | Cassette and chainring tooth condition | Measure chain wear and inspect the sprockets |
| Stiff or kinked link | Individual plates and link movement | Replace the chain if a plate is cracked or deformed |
| Uneven shifting | Whether the fault repeats in specific gears | Measure chain wear before deciding on replacement |
Which chain checker should you buy?
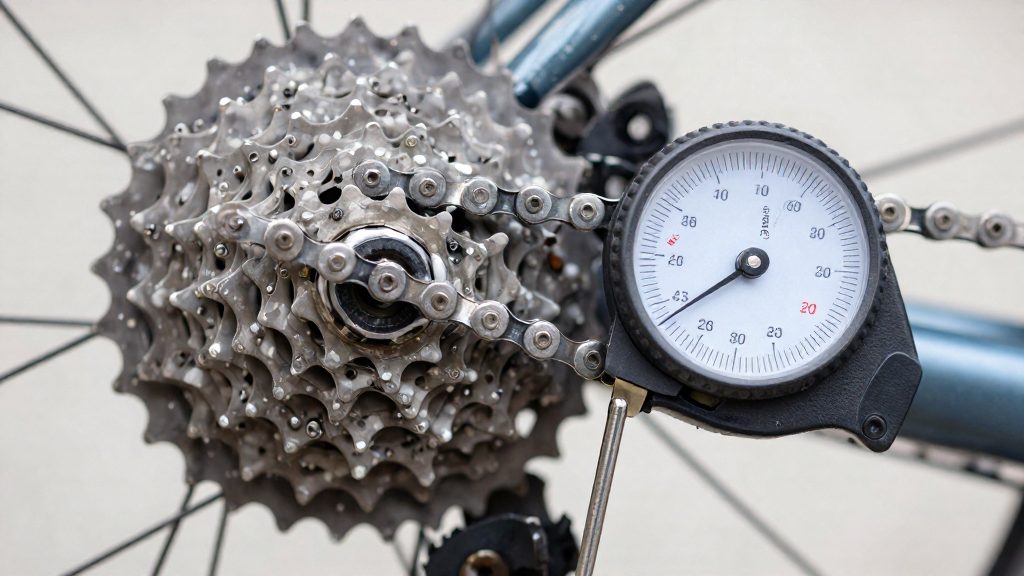
A chain checker is a small gauge that engages the rollers of a chain and reads how far the pitch has stretched. Each measuring end corresponds to a different replacement point, so the tool you need depends on the number of gears on your drivetrain. Buying a checker with the right ends matters more than the brand.
Matching the wear end to your chain speed
Park Tool sets different replacement points by drivetrain width, according to Park Tool (2026):
| Tool | Wear ends | Matching chain type |
|---|---|---|
| Park Tool CC-3.2 | 0.5% and 0.75% | 0.5% end for 11-, 12- and 13-speed chains; 0.75% end for 5- to 10-speed chains |
| Park Tool CC-2.2 | Older model in the same range | Confirm the measuring ends on its label or in the manufacturer’s instructions before use |
The CC-3.2 covers both thresholds on one body, so you can check a 10-speed chain and a 12-speed chain with the same tool. Use the end that matches your chain. Reading an 11- to 13-speed chain against the 0.75% end will show a lower wear figure than the chain actually has, so the chain can look fine when it is due for replacement.
Using the tip-drop test as a cross-check
Once the checker is seated on the chain, look at the tip. If it drops fully into a link, the chain should be replaced, according to road.cc (2020-05-16). Use the end that matches your chain’s speed count for this test as well. If the tip drops fully into a link, replace the chain.
Manufacturer limits
If your chain or cassette is from a specific manufacturer, check their wear limit before relying on a generic threshold.
Frequently asked questions
How do I check chain wear with just a ruler?
Lay a ruler along the chain under tension and measure 12 full links (24 pins), which spans 12 in on a new chain. Count carefully, because road.cc (2020) notes that one miscounted full link shifts the reading by about 1 in.
Which wear limit applies to my drivetrain?
The limit depends on the number of speeds. Park Tool (2026) gives 0.75% for 5–10-speed chains and 0.5% for 11-, 12- and 13-speed chains, while road.cc (2020) gives 0.75% for 10 speeds or fewer, 0.5% for 11–12 speeds, and 1% for single-speed and 2-speed drivetrains.
Which end of a chain checker should I use?
Use the end that matches your chain’s speed count, as road.cc (2020) advises. If the tip drops fully into a link at that end, the chain has reached its limit and should be replaced.