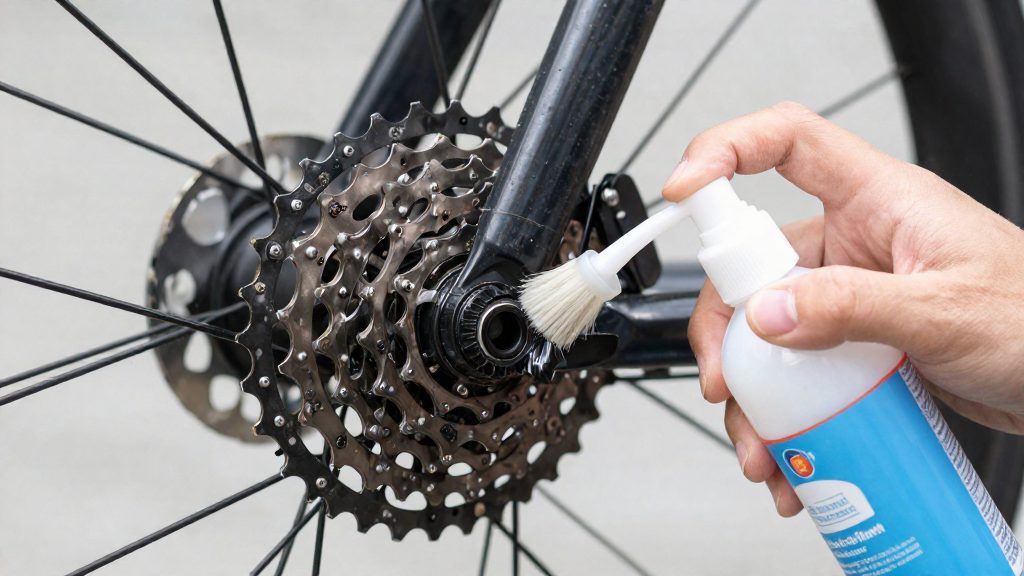
No, routine cleaning does not require removing the cassette. Removal becomes necessary only when grime has passed the cogs and reached the freehub body, the internal mechanism the cassette sits on. Whether to remove the cassette depends on where the grime has gone, not on how dirty the drivetrain looks overall.
Do you need to remove the cassette to clean it?
When to leave the cassette on the bike
Leave the cassette mounted when the dirt is a surface grime layer on the sprocket teeth and the freehub area is clean and dry.
| Observed condition | Decision |
|---|---|
| Dark, oily film on sprocket teeth only | Leave on the bike |
| Grit between the cogs, freehub area dry and clean | Leave on the bike and clean in place |
| Freehub area wet with degreaser or packed with grime | Remove the cassette |
| Grime visible on the freehub splines | Remove the cassette |
| Cassette still gritty or noisy after on-bike cleaning | Remove the cassette and inspect the freehub |
Signs that grime has reached the freehub body
Grime reaching the freehub usually shows up in the way the wheel behaves, not only in the cassette’s appearance. Spin the rear wheel backwards by hand: a gritty or uneven feel points to contamination inside the freehub mechanism. Irregular clicking from the hub, or drive that slips under pedalling load, can also point to freehub trouble, although a worn chain, worn cogs or damaged splines can cause the same symptom. Look at the gap where the cassette meets the hub body: dark deposits there mean the grime has crossed the spacers. In these cases, on-bike cleaning will not reach the internal parts, so off-bike work is the correct next step.
When on-bike cleaning is enough for routine maintenance
For ordinary upkeep, clean the cassette on the bike. This approach removes the surface grime that builds up between rides and stops it from working deeper into the cassette.
Tools and supplies for cleaning a cassette at home
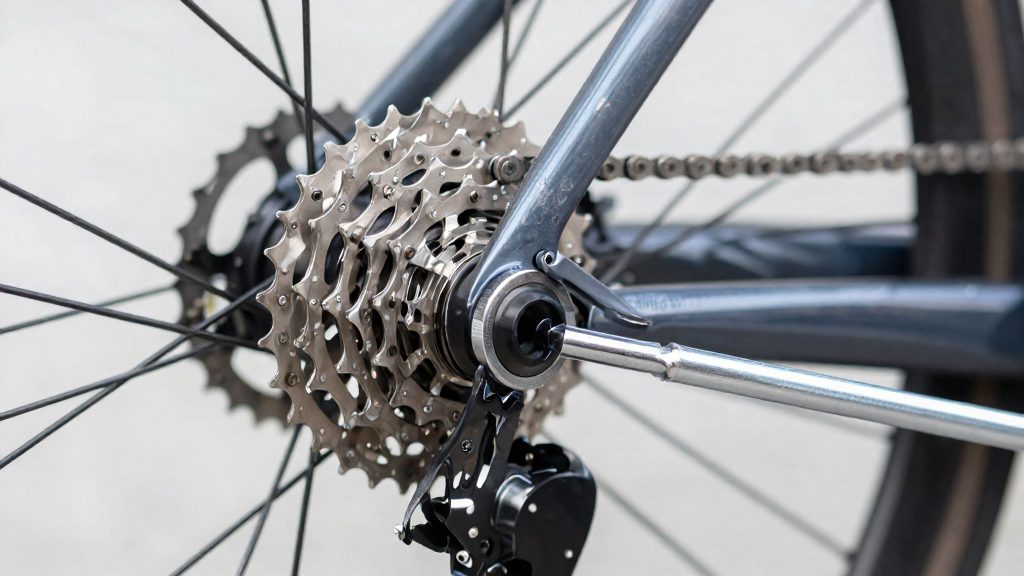
Cassette cleaning starts with the right lockring tool, because the lockring is what holds the cogs on the freehub body. The tool is specific to the cassette’s brand, so check the logo or part markings before buying.
| Drivetrain brand | Lockring tool required | Notes |
|---|---|---|
| Shimano | Shimano/SRAM-type lockring tool | Same tool fits both brands |
| SRAM | Shimano/SRAM-type lockring tool | Same tool fits both brands |
| Campagnolo | Campagnolo-specific lockring tool | Different tool; not interchangeable with Shimano/SRAM |
Park Tool is one example of a maker that sells lockring tools for these cassette types. Confirm the tool’s stated compatibility before use.
Chain whip and wrench
A chain whip holds the cassette still while you turn the lockring. Use it with a large wrench that engages the lockring tool squarely. Take the wrench size from the lockring tool’s packaging or the manufacturer’s documentation rather than estimating it. A wrench that slips or contacts the cogs can damage the tool and the cassette.
Cleaning the cogs
Once the cassette is off the bike, the cogs and spacers need degreasing:
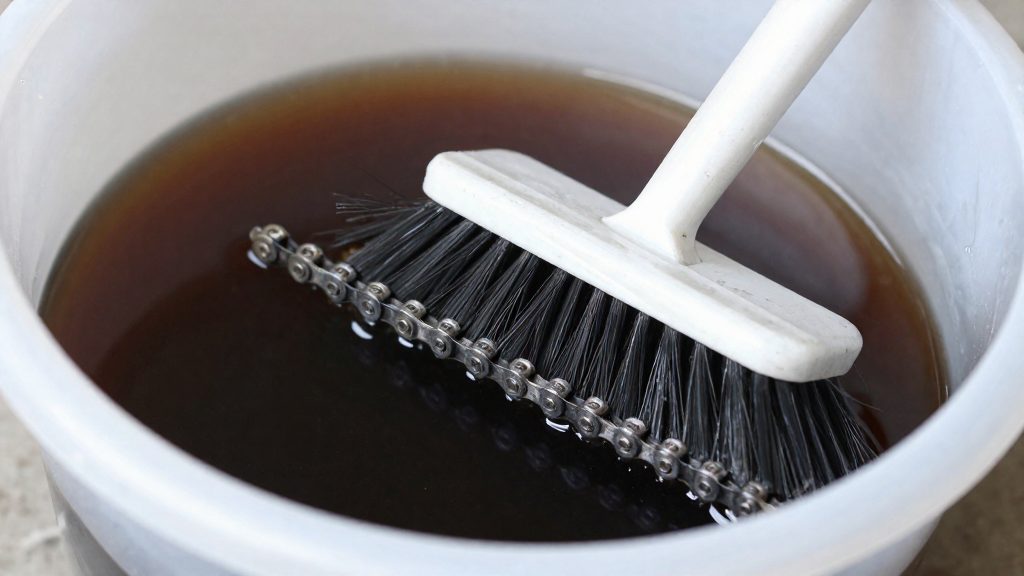
- Degreaser: a dedicated bicycle drivetrain degreaser, applied to the cogs and spacers.
- Brushes: a stiff-bristled brush removes grime from between the teeth. A soft brush or old toothbrush is better for the smaller gaps and the spline area.
- Rags: lint-free rags wipe the degreaser off and dry each cog. Use a fresh section of rag for each pass so dirt is not redeposited.
How to clean a cassette on the bike
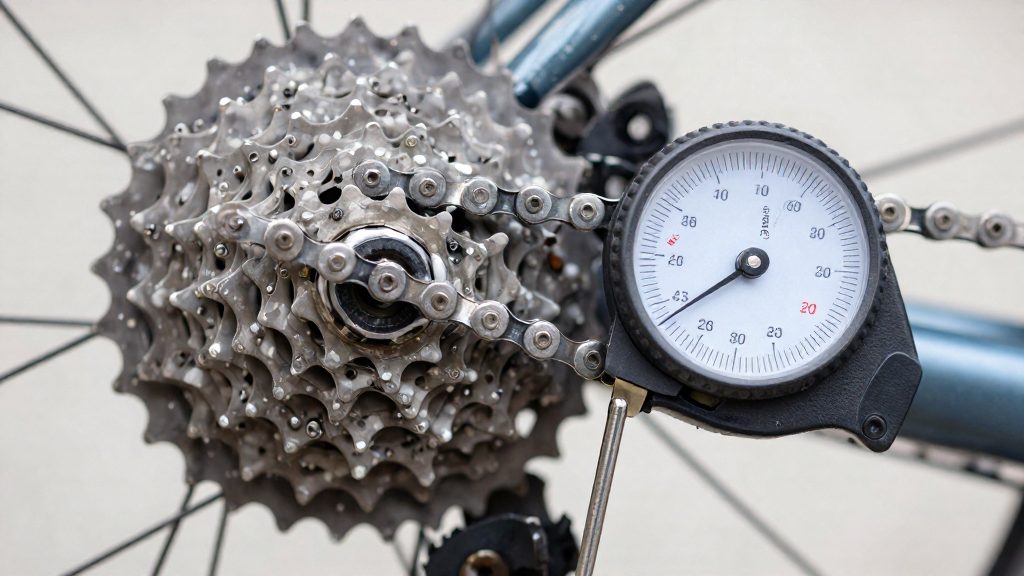
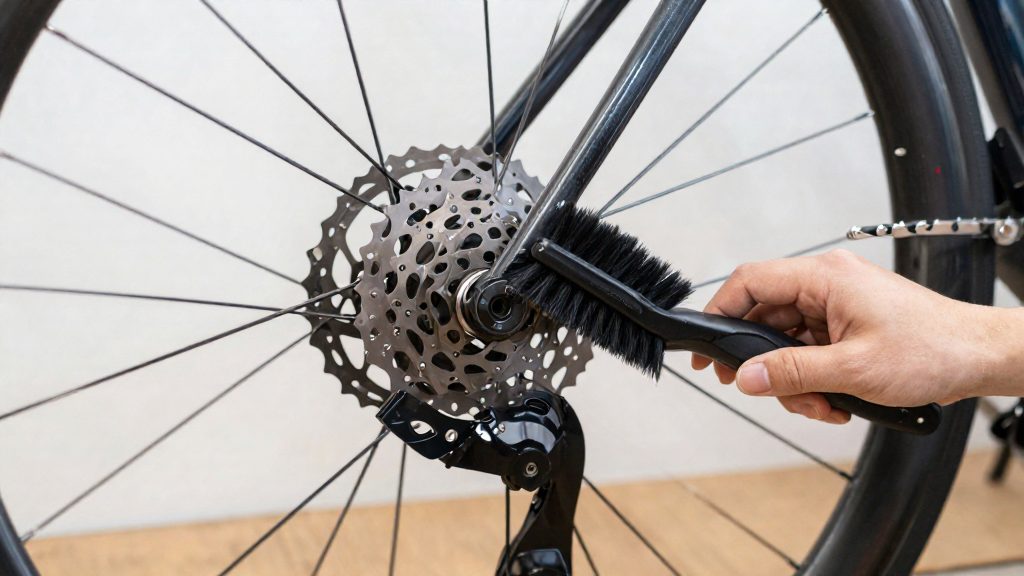
You can clean a cassette without taking the rear wheel off. Park Tool and Ride On Magazine both describe cleaning it on the bike, either with the chain in place or with the chain disconnected at a quick link. This method suits routine maintenance, when grime sits mostly on the outer faces of the cogs and in the gaps between the teeth.
Chain in place or quick link disconnected
- Chain in place: Leave the chain engaged and clean only the cogs you can reach. Turn the drivetrain by pedalling so that each cog passes the cleaning point. This is quicker, but the smaller cogs are harder to access.
- Quick link disconnected: Open the quick link so the chain lifts clear of the cassette. The whole sprocket set becomes accessible, including the smallest cogs, which are the hardest to reach with the chain on. Reconnect the link once cleaning is finished.
Choose the quick link option when the chain is heavily soiled or when the cogs are visibly black between the teeth.
Brushing between the cogs
Hold a brush against the teeth and work it into the gaps between the cogs, moving in the direction of rotation. Brush each tooth flank thoroughly and check that grime is lifted out of the gaps rather than pushed further in. Brush each cog on both faces, the outer face and the inner face facing the spokes, so the full tooth profile is cleaned.
Degreaser application and rinsing
The Ride On Magazine method uses a degreaser applied to the cogs and wiped with a rag. On the bike, apply degreaser sparingly to the cogs, allow it to act briefly, scrub with the brush, then wipe the dissolved grime away with a clean rag. Repeat with fresh rag sections until no black residue appears.
How do you remove and degrease a cassette?
Removing a cassette means taking the rear wheel off the bike, unscrewing the lockring that holds the cogs on the freehub body, and then degreasing each cog and spacer separately. Park Tool notes that removal needs significant force and produces a loud ratcheting sound, so expect both. Work with the wheel out of the frame, on a stable surface, so the cassette cannot slip while you apply force.
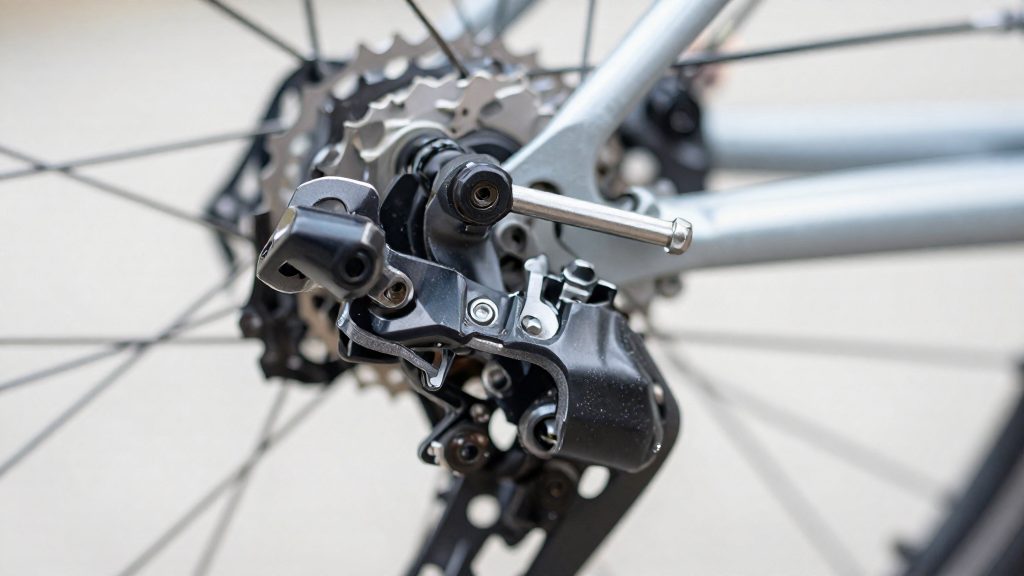
Remove the rear wheel and loosen the lockring
Take the rear wheel out of the frame first. Then engage the chain whip on the cogs to stop the cassette from turning, fit the lockring tool into the lockring, and turn the wrench counterclockwise to loosen it. Keep the chain whip pressed firmly against the cogs throughout, because the freehub will otherwise spin under the wrench.
| Step | Action | Purpose |
|---|---|---|
| 1 | Remove the rear wheel from the frame | Gives access to the freehub and cassette |
| 2 | Hold the cassette with a chain whip | Stops the cogs turning while the lockring is loosened |
| 3 | Turn the lockring tool counterclockwise | Unthreads the lockring from the freehub body |
| 4 | Lift off the lockring, then the cogs and spacers | Frees the cassette for cleaning |
Mark the cog and spacer order
Before separating anything, thread a cable tie through the cogs and spacers to keep them in their original sequence. Ride On Magazine recommends this method, which avoids guessing the order when you return to the assembly. Keep the cogs and spacers in this order, and lay them out in sequence when you separate them for cleaning.
Degrease each cog and spacer
Once the stack is off, clean each cog and spacer with degreaser and a rag. Wipe the teeth and both faces of every component, and check that no grime remains between the cogs. Leave the spacers separated from the cogs during cleaning so every surface can be reached. Dry each part fully before handling it again, since residual degreaser on the teeth attracts dirt.
How do you reinstall the cassette and torque the lockring?
Reinstalling the cassette depends on tightening the lockring to the correct torque. Park Tool gives the torque requirement and the pre-installation checks.
Seating the cogs and spacers
Slide each cog on so it sits fully against the one before it. Seat the stack by hand before using any tool, so that no cog is cocked or floating on a spacer.
Pre-installation checks
Before the lockring goes on, check the parts listed below.
| Component | Action before installing | Source |
|---|---|---|
| Freehub body splines | Inspect for wear or damage | Park Tool |
| Cog splines | Inspect for wear or damage | Park Tool |
| Lockring threads | Apply thread prep | Park Tool |
Damaged splines can let the cogs slip under pedalling load, so replace any worn freehub or cog before reassembly rather than tightening over a fault.
Torquing the lockring
Thread the lockring on by hand first, then tighten it with the lockring tool on a torque wrench. Park Tool specifies at least 40 Nm, or the manufacturer’s recommendation. If your torque wrench reads in ft-lb, convert the value before setting it. Set the wrench to the required value and tighten until it clicks. A loose lockring allows the cassette to shift under load, so tighten to at least 40 Nm (or the manufacturer’s value) and stop when the wrench clicks. Once the cassette is secured, reinstall the wheel and check that the cogs turn freely in the forward direction and do not move independently of each other.
Re-lubing the chain after cleaning
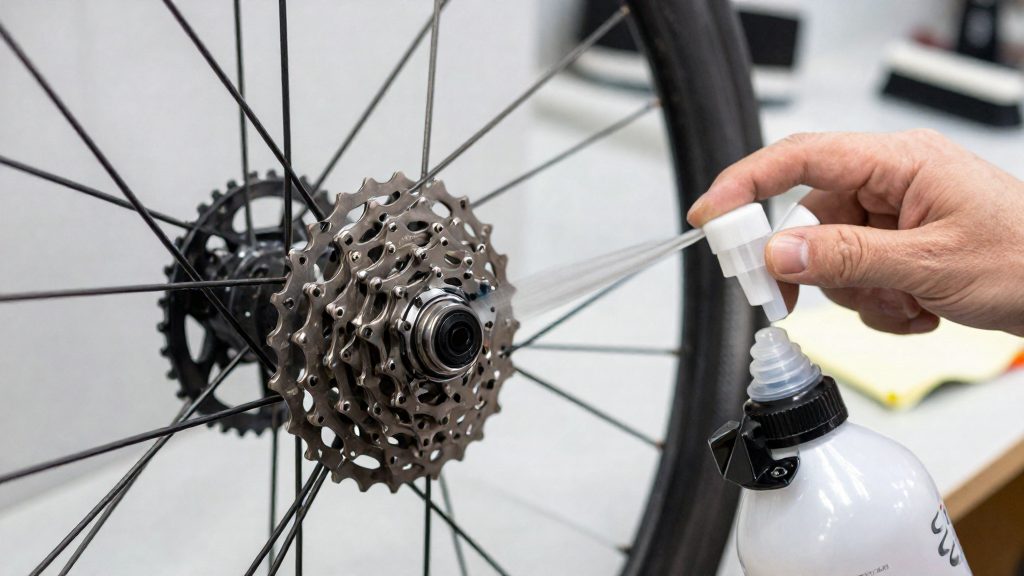
Once the chain and cassette are clean and dry, relubrication is a short, controlled sequence. According to Ride On Magazine (Australia), the sequence is set out below. Each step has a specific purpose, and skipping one tends to leave either a chain that is under-lubricated or a drivetrain that collects grit.
| Step | Action | Purpose |
|---|---|---|
| 1 | Apply one small drop to each link | Puts lubricant where the pins and rollers meet |
| 2 | Shift through the gears | Moves the lubricant across the whole cassette range |
| 3 | Wait about five minutes | Gives the lubricant time to work into the joints |
| 4 | Wipe off the excess | Removes surface lubricant that would hold dirt |
Drop sizing
The key principle is a small amount applied to each link rather than a heavy coating. A single drop per link is enough to reach the inner joints, and surplus lubricant on the outer plates has no lubricating function. Apply the drop to the rollers or the pin area of each link, and work through the chain in order so that no link is missed. Use a lubricant designed for chains, not a general-purpose oil that will thin out quickly under load.
Shifting and dwell time
Shifting through the gears after applying lubricant spreads it across the chain and cassette. Move the chain through the full range of sprockets, both up and down, so that the lubricant reaches the teeth and the chain contacts every cog. Then leave the drivetrain untouched for about five minutes. This dwell time lets the lubricant penetrate the joints before you remove any excess.
Wiping excess lubricant
After the dwell period, wipe the chain with a clean, lint-free rag, turning the chain as you go, to remove the surplus from its outer surfaces. Also wipe the cassette sprockets. Lubricant left on these surfaces collects dust and grit, which then acts as an abrasive on the chain and teeth. The aim is a chain that looks almost dry to the touch but still has lubricant inside the joints.
How often should you clean your drivetrain?
Cleaning frequency depends mainly on what the chain and cassette have been exposed to. Water, road grit, salt and mud remove lubricant and accelerate wear, while dry riding on paved roads adds much less contamination. Clean after the ride that caused the dirt, and use the seasonal table below as a guide rather than a fixed calendar.
Wet and muddy riding
Rain, puddles and mud wash lubricant out of the chain and pack abrasive particles between the cogs. After a wet or muddy ride, clean the drivetrain before the grime dries and hardens. Grit that stays in place acts on the chain pins and cassette teeth with every pedal stroke, so waiting several rides makes the job harder and increases wear.
Dry riding
On dry, paved roads, the drivetrain mostly collects dust and oil residue. Wipe the chain with a clean rag every few rides to keep the surface free of dust. Degrease fully only when the chain looks black, feels gritty between your fingers, or the drivetrain is noticeably noisy.
Mileage
Mileage alone is a weak trigger, because the same distance can produce very different wear depending on conditions. Use the state of the chain as the primary guide. A visible film of grit, a squeak under load or hesitant shifting are signs that a full clean is due, regardless of the odometer reading.
Seasonal schedule
| Season | Cleaning approach |
|---|---|
| Late autumn and winter | Clean after every wet or salted ride, since moisture and salt accelerate corrosion and wash lubricant away |
| Spring | Full degrease after the winter months, followed by fresh lubrication |
| Summer | Wipe down after dusty rides and degrease when the chain turns gritty |