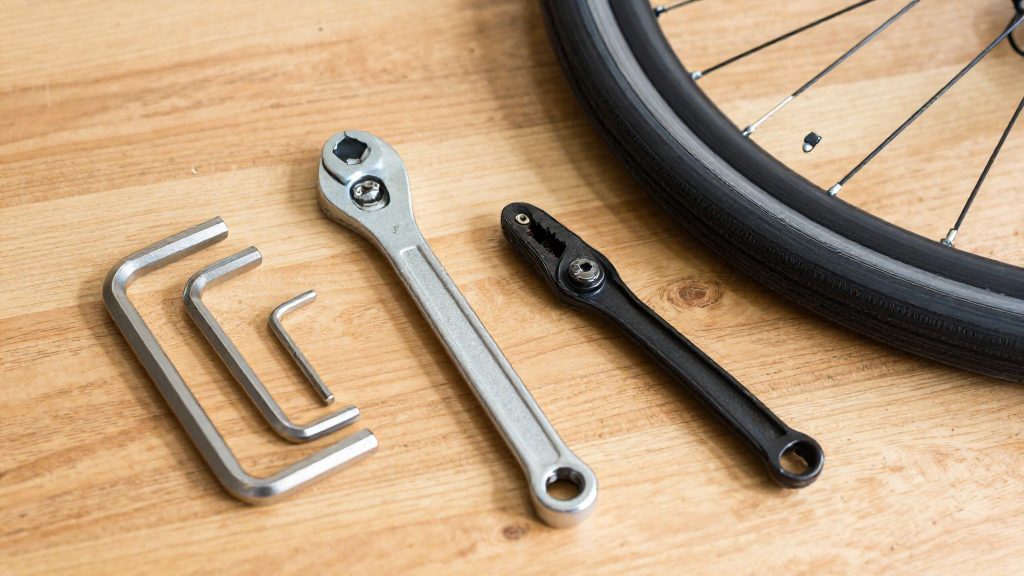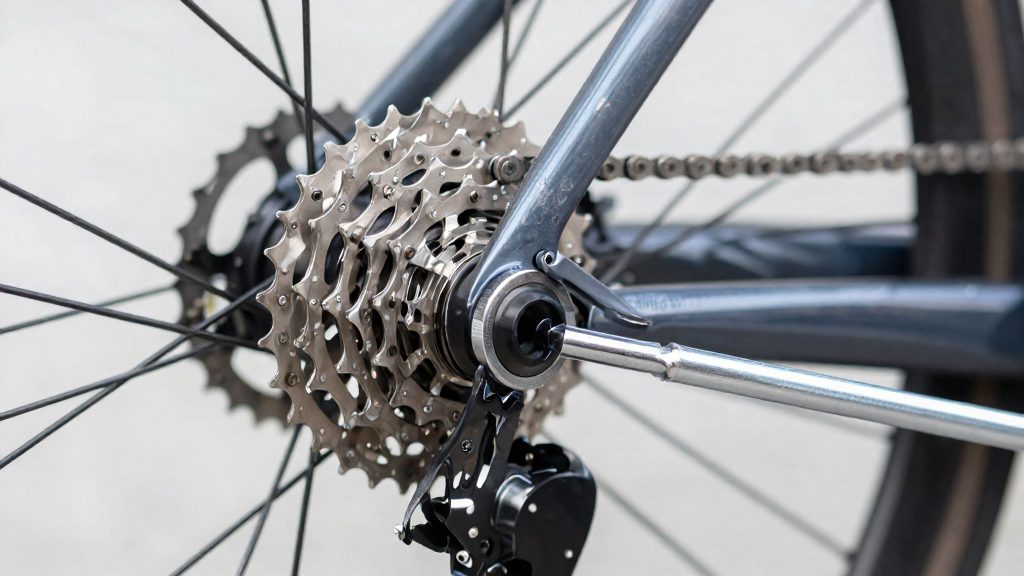
You cannot remove a cassette by hand or with improvised tools. A lockring tool and a chain whip are required, and an adjustable wrench or socket turns the lockring tool. The minimum kit is a lockring tool matched to your cassette’s standard, a chain whip to hold the cogs still, and a large adjustable wrench or a 1-inch socket to turn the lockring tool. Shimano and SRAM 12-spline cassettes use one tool family, while Campagnolo cassettes need a different lockring tool.
What Tools Do You Need to Remove a Cassette Without a Special Tool?
The table below lists each item, its role during removal, and which cassettes it fits.
| Tool | Role during removal | Cassette compatibility |
|---|---|---|
| Lockring tool (FR-5.2 family) | Engages the splines of the lockring | Shimano, SRAM and similar 12-spline lockrings (Park Tool, 2026) |
| Chain whip | Holds the cogs so the cassette cannot rotate | Required for cassette removal (Park Tool, 2026) |
| Large adjustable wrench or 1-inch socket | Turns the lockring tool | Any cassette using a lockring tool (Park Tool, 2026) |
| Campagnolo lockring tool | Engages the Campagnolo lockring | Campagnolo only |
The lockring tool is the only component that contacts the lockring directly, so it must match the cassette’s brand. A Shimano or SRAM tool will not engage a Campagnolo lockring, which is why Campagnolo owners need a separate tool before starting.
The chain whip and the wrench divide the work between them. The chain whip is the holding tool: you engage it with the cogs so the cassette stays fixed. The wrench is the turning tool: it sits on the lockring tool’s handle and applies the rotational force. Remove the lockring by turning the tool counterclockwise with firm force.
Campagnolo cassettes change only the lockring tool. The chain whip and the wrench are still needed, and the same holding and turning roles apply.
Can You Remove a Cassette by Hand Without a Lockring Tool?
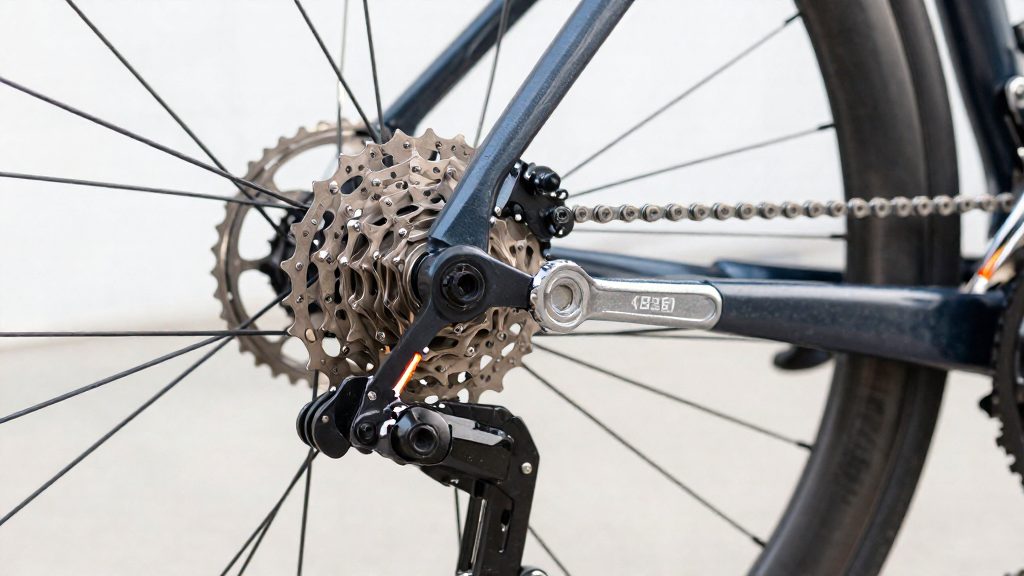
No. A cassette cannot be removed by hand, and no tool-free method exists.
The obstacle is the lockring itself. It threads onto the freehub body and clamps the cog stack in place, and the force that holds it is lockring thread friction, not a simple snug fit. A bare-hand grip cannot generate enough torque to turn a tightened lockring. Fingers slip on the ring’s outer surface, and the palm and knuckles lack the leverage that a long-handled tool provides.
The lockring tool solves this by engaging the ring’s notches, so the turning force is applied directly to the lockring rather than through the grip of a hand. Park Tool (2026) identifies the FR-5.2 family as the standard tool for Shimano, SRAM and similar 12-spline lockrings. Campagnolo cassettes use a different lockring tool, so confirm the cassette type before buying one.
Bare-hand grip is therefore not a workable substitute at any stage of removal. Any attempt to work the lockring without the correct tool risks rounding its edges and damaging the freehub threads.
Which Improvised Tools Work for Removing a Cassette?
No improvised tool can replace a lockring tool. The lockring tool is the only item in the standard setup that engages the lockring’s splines, so every other substitute transfers the loosening force to the wrong contact point.
Why an Adjustable Wrench and Allen Key Fall Short
In the standard method, the lockring tool is what engages the lockring. The wrench is attached to the lockring tool, not to the lockring itself. The wrench is a lever on the tool, a different role from gripping the cassette directly.
An adjustable wrench clamped onto the lockring has no matching engagement surface, and its jaws can slip off the lockring’s outer edge. An Allen key is a hex-drive tool with no function on a splined lockring.
Rounded Lockring Splines From Tool Slippage
A poorly seated or improvised grip is most likely to slip while the lockring is still being forced loose under high load. Each slip pushes force onto the edges of the splines instead of the full contact face, and repeated slips round the spline edges. Once rounded, the splines may no longer accept a proper lockring tool, so the cassette becomes harder to remove with the correct equipment.
Why Cassette Lockring Splines Strip
Stripping happens because the lockring is tightened to a high torque. An improvised tool that cannot hold a firm grip under that load will slip before the lockring moves.
| Improvised tool | Role in the correct method | Failure mode |
|---|---|---|
| Adjustable wrench on the lockring | None; the wrench belongs on the lockring tool | Jaws slip on the lockring edge and round the splines |
| Allen key on the lockring | None | Hex key does not engage the splines and slips |
| Large adjustable wrench on the lockring tool | Turns the tool, as specified by Park Tool (2026) | Valid when the tool is seated and the chain whip holds the cogs |
Why Does the Cassette Lockring Stick and How Do You Free It?
A cassette lockring can stick because of corrosion on the threads or because it was tightened firmly when last fitted. Both conditions lock the steel lockring to the freehub body, so the threads resist turning. Corrosion builds up slowly on bikes ridden in wet or salty conditions or stored damp, and it can bind the threads even when the lockring was tightened correctly. Overtightening wedges the threads more firmly, which makes the joint harder to break free later.
Freeing a stuck lockring is a matter of controlled leverage, not sudden force. Park Tool (2026) describes the method: set the wrench on the lockring tool, and turn the tool counterclockwise with firm force. The lockring tool needs to be seated squarely in the lockring splines before you apply pressure. A tool that slips or sits at an angle can round the splines, so check engagement before you push.
Release happens in stages, and each one produces a different sensation or sound:
| Stage | What you notice | Action |
|---|---|---|
| Initial resistance | No movement, the wrench feels solid | Keep steady counterclockwise pressure without jerking |
| Breakaway | A loud ratcheting sound, the tool jumps | Maintain steady pressure as the threads release |
| Released | The lockring spins freely | Stop applying leverage and unscrew it by hand |
The loud ratcheting is the signal that the lockring is breaking free from the freehub body. Park Tool (2026) notes that considerable force is expected before this point, so a stuck lockring should not be read as a sign of damage. If the lockring does not begin to ratchet after steady, firm pressure, stop and reassess the set-up rather than adding force.
How to Remove the Cassette Step by Step With the Right Tools
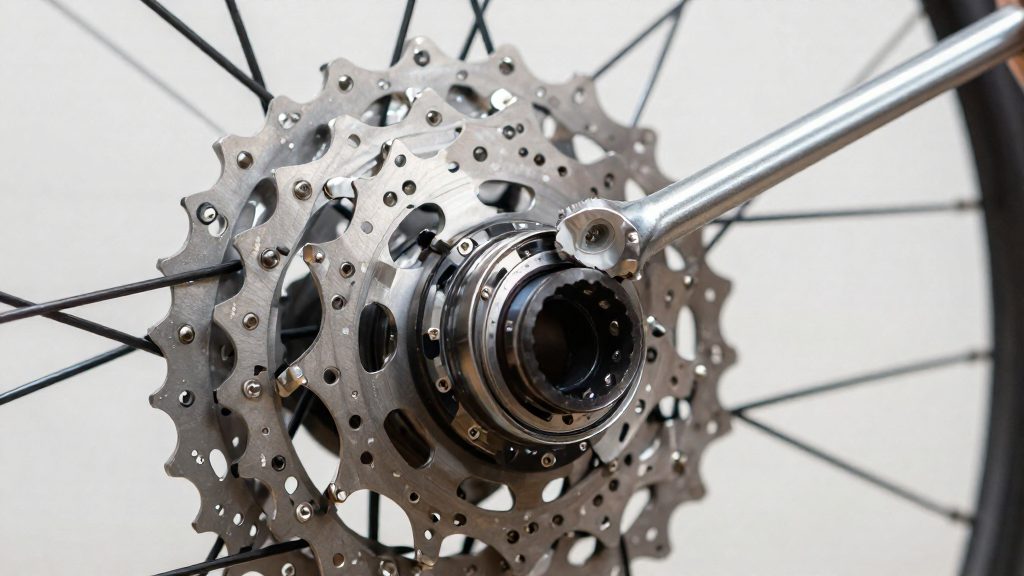
Removing a rear cassette cannot be done with an adjustable wrench and an Allen key alone. BikeTips (2026) states that the job requires a chain whip and a lockring tool compatible with the cassette brand. Park Tool (2026) describes the same set of tools, so the procedure below assumes you have them before you start.
| Tool | Role |
|---|---|
| Lockring tool, FR-5.2 family | Engages 12-spline lockrings on Shimano, SRAM and similar cassettes |
| Campagnolo lockring tool | Required for Campagnolo cassettes, in place of the FR-5.2 family |
| Chain whip | Holds the cogs still while the lockring is turned |
| Large adjustable wrench or 1-inch socket | Turns the lockring tool |
Removal sequence
- Remove the rear wheel from the frame so the cassette is accessible on the bench or stand.
- Fit the chain whip onto the cogs so the cassette cannot rotate.
- Seat the lockring tool fully onto the lockring, then attach the wrench or 1-inch socket to the tool.
- Release the lockring with the wrench, then unscrew it and lift it off.
- Slide the cogs off the freehub body as a single assembly, noting the order of any spacers.
Refitting checks
- Start the lockring by hand. Thread it on by hand first to avoid cross-threading, which can damage the threads on the freehub body (BikeTips, 2026).
- Tighten to specification. Lockrings should be tightened to at least 40 Nm (about 30 lb-ft), or the manufacturer’s value. SRAM XD cassettes are also about 40 Nm (Park Tool, 2026). A torque wrench fitted with the lockring tool is the practical way to reach this figure.
- Recheck the wheel seating after the lockring is tight, before returning the wheel to the frame.
Which Cassette Removal Methods Are Safe for Your Freehub?
The safe method keeps the removal force on the lockring and away from the freehub body. No documented method replaces the dedicated lockring tool.
Using the correct tool is the main protection for the freehub. A lockring tool that fully engages the lockring lets the load transfer through the lockring itself. An improvised tool that slips or seats partially concentrates force on the cassette and the freehub surfaces around it.
Inspecting the Freehub Body
Once the cassette is off, inspect the freehub body for wear or gouges. Check the area where the cogs seat and the spline surfaces, since any contact damage from the cassette shows there. Note the condition before you refit anything, because a damaged body changes how the new cassette will seat.
Preparing the Freehub for Refitting
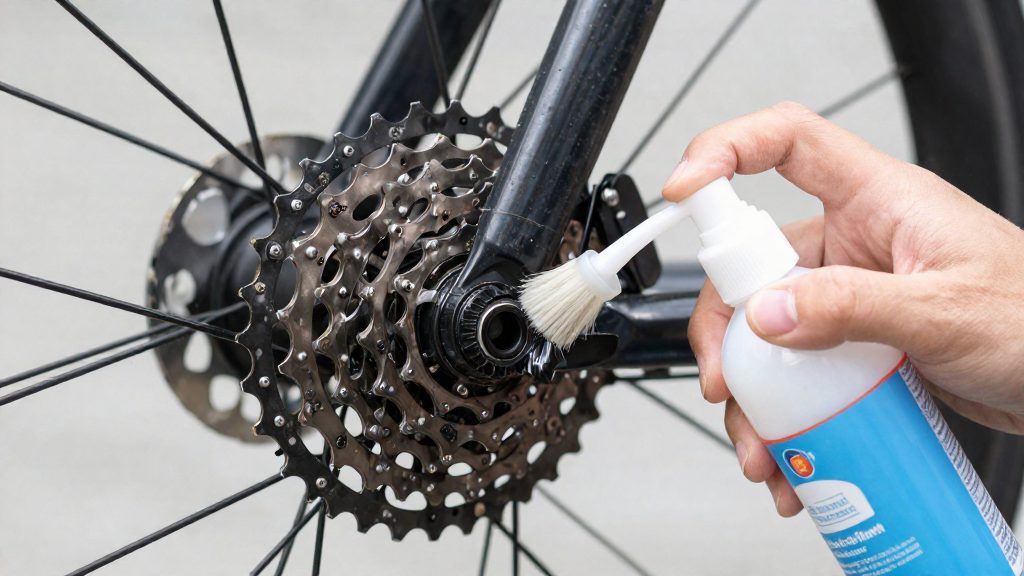
Apply a light coat of grease to the freehub body before refitting the cassette (BikeTips, 2026). Keep the coat thin so it does not collect dirt on the splines. When you refit the cassette, thread the lockring on by hand first to avoid cross-threading. Only after it runs freely by hand should you tighten it with the tool.
When Should You Stop and Take the Wheel to a Workshop?
Home removal works only while the parts cooperate. A lockring that stays fixed under firm, steady pressure, or damage to the metal that the tools grip, means the job should move to a workshop before more force is applied.
Lockring that does not release
If the lockring will not move after firm, controlled force on the wrench, stop. Continued leverage transfers load into the spokes, the hub and the threads that hold the cassette, and a sudden jerk is more likely to cause damage than to free the lockring. Check that the lockring tool is fully seated in the lockring and that the chain whip is gripping the cogs rather than slipping. If the fit is correct and the lockring still does not turn, a workshop can assess whether the lockring is seized or cross-threaded.
Stripped lockring splines or damaged cassette teeth
Rounded lockring splines mean the tool can no longer grip evenly, and each further attempt usually makes the damage worse. Bent or chipped cassette teeth on the cogs also signal that the cassette has been overloaded or that the chain whip has marked it. Continuing with a damaged lockring or cassette risks losing the lockring or deforming the cogs entirely.
Visible freehub body damage or uneven cassette rotation
The freehub body is the part the cassette slides onto and drives. Visible gouging or wear on it, or a cassette that rotates unevenly or wobbles once fitted, points to a problem with the freehub or the hub bearings. A cassette that does not run true will shift poorly and wear the chain faster, and these faults need a workshop’s assessment before the wheel goes back on a bike.
| Condition | Why it matters | Recommended action |
|---|---|---|
| Lockring stays fixed under firm, steady force | Extra force can damage spokes, hub or threads | Stop and take the wheel to a workshop |
| Rounded lockring splines | The tool can no longer grip evenly | Stop; a workshop can remove the lockring |
| Bent or chipped cassette teeth | Damage that affects chain engagement | Replace or have the cassette assessed |
| Visible freehub body gouging or wear | Cassette may not seat or drive correctly | Workshop assessment before reuse |
| Uneven cassette rotation after refitting | Possible freehub or bearing fault | Workshop inspection |
Frequently asked questions
Can I use a lockring tool without a chain whip?
No. The chain whip holds the cogs still, so without it the cassette turns with the lockring tool instead of loosening. Park Tool (2026) lists the chain whip as a required tool for cassette removal.
What torque should I use when refitting the lockring?
Park Tool (2026) recommends tightening the lockring to at least 40 Nm (about 30 lb-ft), or the manufacturer’s specified value. SRAM XD cassettes are also about 40 Nm, so check the lockring torque for your hub before you tighten it.
What should I check on the freehub before refitting the cassette?
Look for wear or gouges on the freehub body, since damage there can make the cassette sit unevenly. BikeTips (2026) advises a light coat of grease on the freehub body and threading the lockring on by hand first to avoid cross-threading.