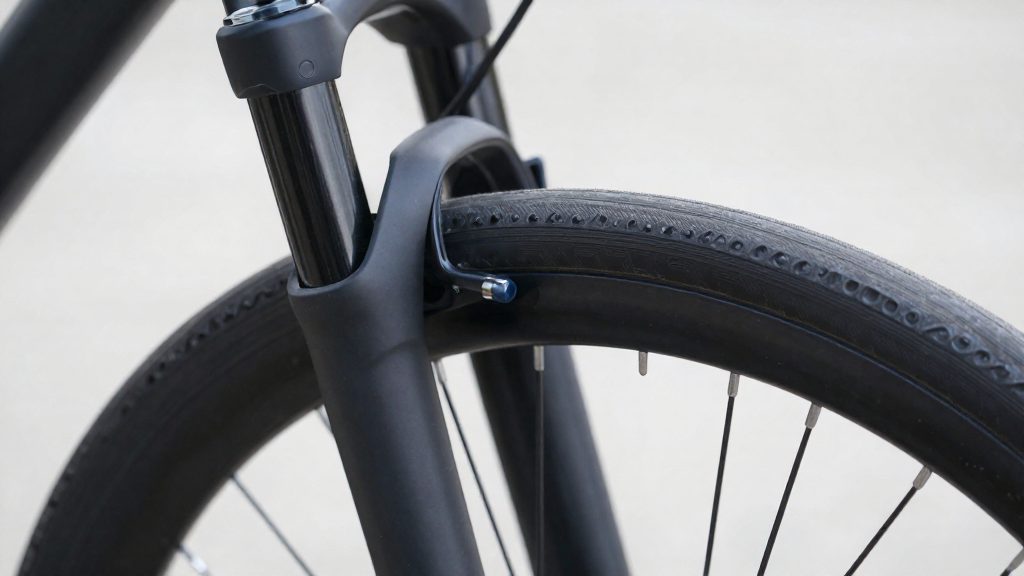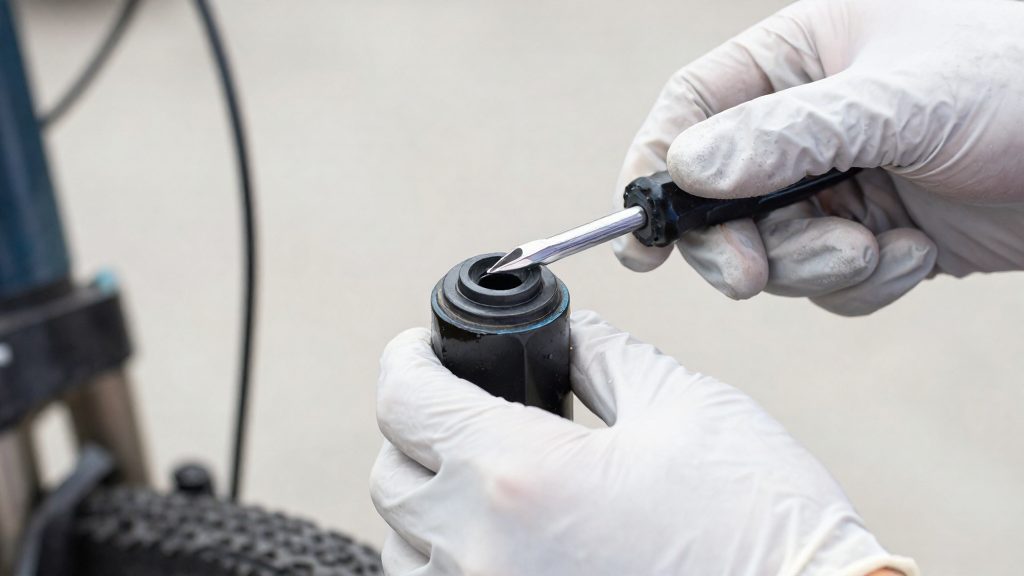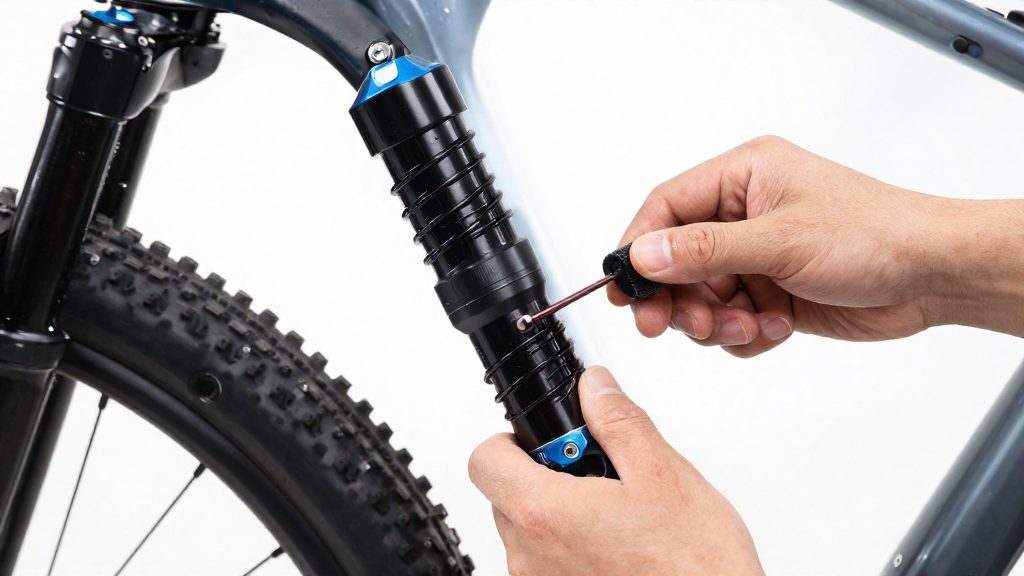
Suspension sag is the distance a mountain bike’s shock or fork compresses under the rider’s static weight, measured with the rider in a normal riding position and not moving. It is usually expressed as a percentage of total travel. According to Singletracks (2024), typical rear-shock sag is about 25% to 35% of shock travel. Sag is the baseline from which the suspension then works.
What is suspension sag on a mountain bike?
Static compression under rider weight
Sag is a static measurement. The rider’s weight compresses the spring or air chamber from its fully extended position, and sag is the distance of that compression. The load includes what the rider wears and carries.
Sag as a percentage of total travel
Sag is reported as a percentage so that bikes with different travel lengths can be compared. The calculation is:
Sag percentage = measured sag ÷ stroke length × 100
Stroke length is the total travel of the shock or fork. The published starting ranges differ slightly between sources:
| Source (date) | Stated range | Context given |
|---|---|---|
| Singletracks (2024-02-19) | 25%–35% | Typical rear shock |
| evo (2026) | 25%–30% | Suggested starting point |
| MTB-MAG.COM (2015-05-01) | 20%–30% | Ideal for most suspension systems and most riders |
The ranges overlap between 25% and 30%, so a setting in that band satisfies all three references. Readings outside it are not necessarily wrong, but they are further from the range most sources recommend as a starting point.
Why sag sets the starting point
Sag determines how much of the total travel remains available before the suspension bottoms out. Less travel remaining means less room to absorb large impacts, which raises the risk of bottoming out on landings or hard hits. More sag means the suspension is partly used up before riding begins.
Sag also influences how the bike behaves on the trail:
- Support: the suspension’s ability to resist pedalling movement and stay stable under power.
- Grip: how well the tire stays in contact with uneven ground over small bumps.
- Bottom-out risk: the amount of travel left for large impacts.
Changing sag shifts all three at once, so it is a trade-off rather than a figure to maximise.
Tools and prep before you measure
Repeatable sag readings depend on using the same equipment and the same rider setup every time. Gather everything below before you touch the suspension, and keep it together so each measurement starts from identical conditions.
| Item | What to check before measuring |
|---|---|
| Shock pump or fork pump with gauge | The gauge reads in psi, and the head seats fully on the valve |
| O-ring | Matches the diameter of your stanchion (fork) or shaft (shock) per the product label, with no visible wear |
| Riding kit | The same helmet, shoes, gloves and clothing you wear on the trail |
O-ring fit determines whether the reading is valid. The O-ring must grip the stanchion or shaft firmly enough that it stays where you place it, but it must still slide up to the seal when pushed by hand. A ring that is too loose moves on its own during the ride and gives a falsely low reading. A worn or flattened ring may not slide freely or hold its position reliably, so replace it if the reading is doubtful. Check the manufacturer’s instructions or contact your local bike shop if you are unsure which size matches your stanchion or shaft.
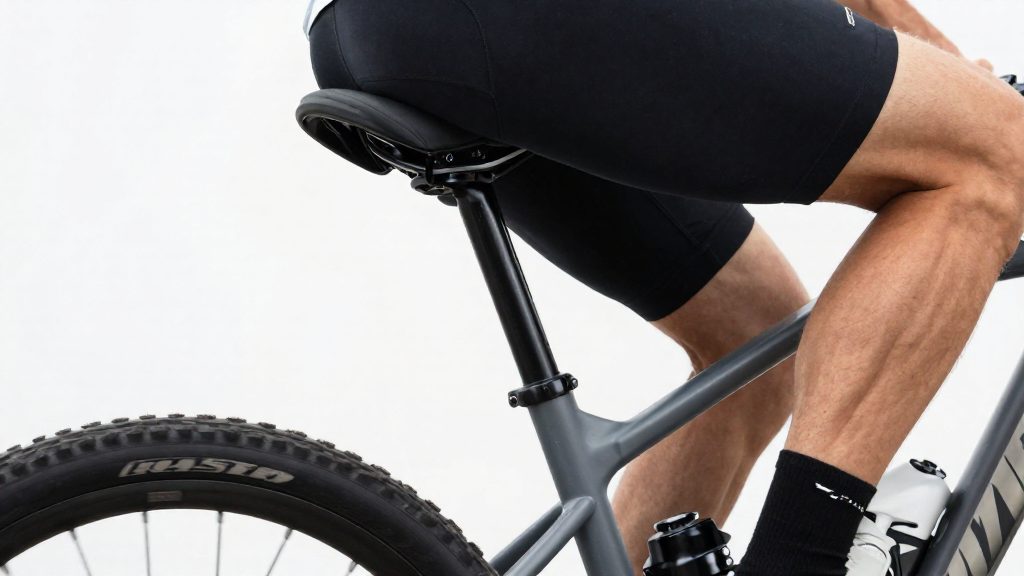
Riding kit matters because the measurement should reflect your actual weight on the bike. According to evo (2026), you should dress as you would to ride, including any pack. Wear the same clothing and footwear on each attempt so that your body weight stays consistent between readings.
How to set rear shock sag
Setting rear shock sag on an air shock takes five steps: start from the manufacturer’s pressure, open the compression switch, cycle the shock, measure the O-ring after dismounting, then adjust the air. Singletracks (2024-02-19) describes this as the standard air-shock procedure, and the steps below follow its order.
Start at the manufacturer’s pressure
Begin with the pressure the bike manufacturer’s manual recommends for your body weight. This starting pressure is a reference point only. The O-ring reading determines the final setting.
Open the compression switch and cycle the shock
Open the compression switch on the shock before cycling it, so the shock moves freely. Then compress and extend the shock about a dozen times by hand. This prepares the shock for an accurate measurement.
Measure the O-ring
Push the O-ring by hand along the shock shaft until it sits against the seal. Get on the bike in a normal riding position with your feet off the ground. Dismount gently so the ring does not move, then read where the O-ring sits relative to the seal. That distance is your sag measurement. Note it before changing anything.
Adjust the air in 5 psi steps
Add air to reduce sag, or release air to increase it. evo (2026) recommends changing the pressure in steps of about 5 psi. Make one adjustment at a time, then repeat the cycling and measuring steps until the reading matches your target.
| Measured sag | Air adjustment |
|---|---|
| Too much sag | Add about 5 psi |
| Too little sag | Release about 5 psi |
How do you set fork sag?
Set the fork only after the rear shock sag is final. Singletracks (2024) recommends this order because the fork setting is made on a bike whose rear end is already balanced.
Measuring fork sag on air and coil forks
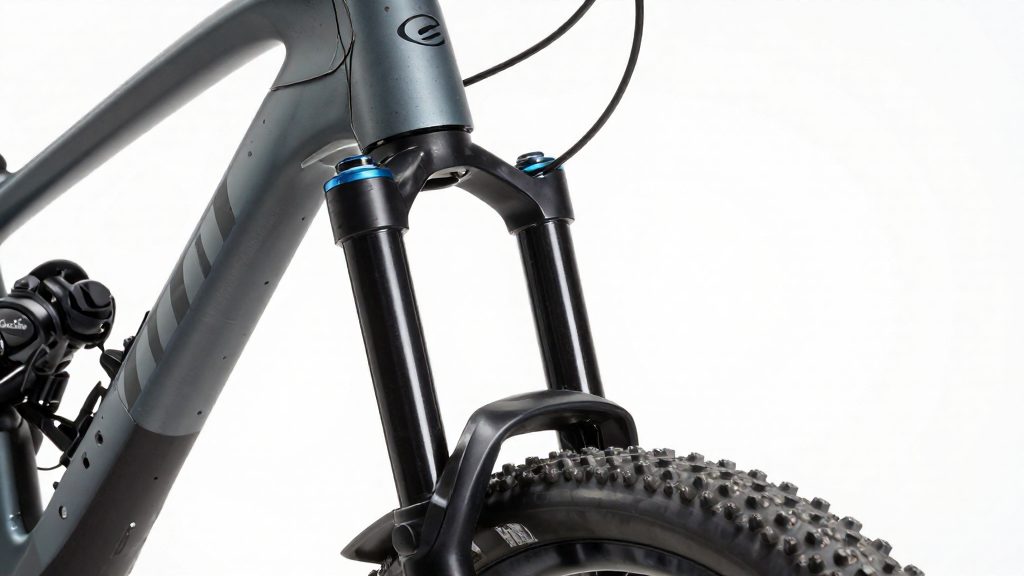
The O-ring is the rubber ring on the fork stanchion, and it is the reference for the measurement. MTB-MAG.COM (2015) describes this sequence:
- Unlock the fork.
- Push the rubber ring down until it sits against the top of the stanchion.
- Mount the bike carefully while holding the brakes.
- Dismount and read where the ring sits.
Adjusting the spring or air pressure
Fork adjustment depends on fork type. On a coil fork, evo (2026) recommends adjusting the coil lock ring in half-turn increments. On an air fork, change air pressure in small steps of about 5 psi (evo, 2026) and re-measure after each change. evo (2026) recommends adjusting the coil lock ring in half-turn increments.
| Fork type | Adjustment | Increment |
|---|---|---|
| Coil | Preload lock ring | Half-turn |
What sag percentage should you aim for?
Travel length changes the target. Singletracks notes that longer-travel bikes generally need more sag. Because sag is expressed as a percentage of stroke, the same percentage applies to a short-travel and a long-travel shock, but the absolute distance differs. A long-travel bike therefore moves further in millimetres at the same percentage, and its setup should be checked against the higher end of the range rather than assumed to match a shorter-travel bike.
The 25% to 30% band is the most useful starting point. Singletracks adds that the final figure depends on rider weight and riding style, so the right point within the range depends on your weight and riding style. Adjust in small steps and ride the result.
If the bike manufacturer’s manual states a sag target, use that figure as the first reference, then adjust within the published range for your weight and riding style.
Fine-tune with rebound and compression
Once sag is set, rebound and compression damping decide how the suspension moves. They do not change the static sag, so adjusting them leaves the rider’s sitting position as it was. Each control affects a different speed of movement.
Rebound controls how quickly the shock or fork extends after being compressed. Too little rebound damping lets the suspension return too fast, so the wheel bounces or kicks back. Too much rebound damping makes it return slowly, so it packs down over repeated bumps and cannot reset before the next impact. Start with rebound fully open, then close it gradually until the wheel returns to the ground promptly without bouncing.
Compression damping is split into two ranges. Low-speed compression controls slow movements such as pedalling, weight shifts and braking. Adding it reduces bob under pedalling, while removing it makes the bike feel more active but can let the rear sink under hard efforts. High-speed compression controls fast impacts from rocks and roots, and it governs how the suspension reacts near the end of its stroke. Opening it lets the suspension absorb sharp hits, while closing it resists bottoming out on drops and jumps.
| Control | Governs | Adjust toward more damping if | Adjust toward less damping if |
|---|---|---|---|
| Rebound | Speed of return after compression | The wheel bounces or skips over bumps | The suspension packs down or returns slowly |
| Low-speed compression | Pedalling bob, braking dive, cornering | The bike bobs under pedalling | The ride feels stiff over small bumps |
| High-speed compression | Fast impacts and bottom-out | The suspension bottoms out on drops | Rocks and roots feel harsh |
Count the clicks from the fully closed position so you can return to a known setting. The number of clicks and the direction of each adjustment vary by model, so check the damper’s label or the manufacturer’s manual before you start.
Common sag mistakes to avoid
Most sag errors come from how readings are taken and recorded, not from the bike itself. Treat each number as provisional until you have repeated it under the same conditions.
Not recording the final pressures
A sag reading is only useful if you can reproduce the setup that produced it. According to MTB-MAG.COM (2015-05-01), you should record the final pressures, because a change of 1–2 psi can alter the result. Note the figure for each shock and fork after every adjustment, rather than relying on memory.
Without a log, it is easy to overshoot the target and not know which setting produced the last result.
Judging sag from a single reading
One reading can mislead. Keep the procedure identical each time. Variations in how you mount or dismount change the ring’s position, so a reading taken differently cannot be compared with the previous one.
Calculation and reading errors
| Mistake | Effect on the result | Correction |
|---|---|---|
| Dividing by the wrong length | Percentage is wrong even when the measured sag is correct | Divide the measured sag by the stroke length, as evo (2026) specifies |
Frequently asked questions
Do I need to recheck sag if I start carrying a hydration pack?
Yes. Measure sag wearing the same clothing and carrying the same pack you ride with, because the added load changes the static compression reading, according to evo (2026). Keep your riding kit consistent between measurements so that readings stay comparable.
Should I set fork sag before or after shock sag?
Set the shock sag first, then the fork, as Singletracks (2024) recommends. The fork is adjusted once the rear is correct, so the two settings stay in balance.
How do I reach target sag on a coil-sprung shock?
Choose the spring by rider weight and bike leverage, then fine-tune with the preload collar to reach the target sag, according to Singletracks (2024). evo (2026) suggests turning the coil lock ring in half-turn increments so each change is small and easy to measure.