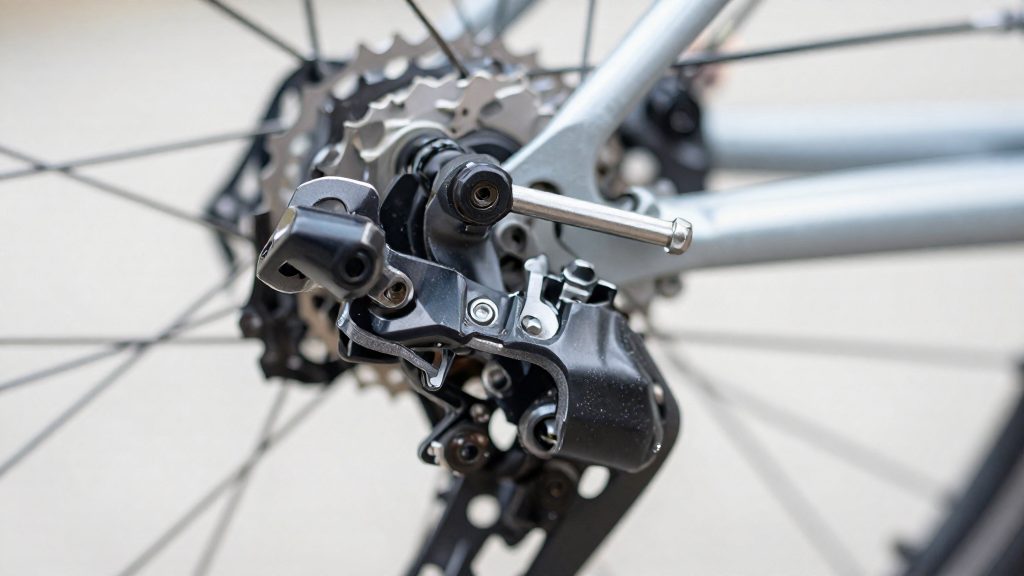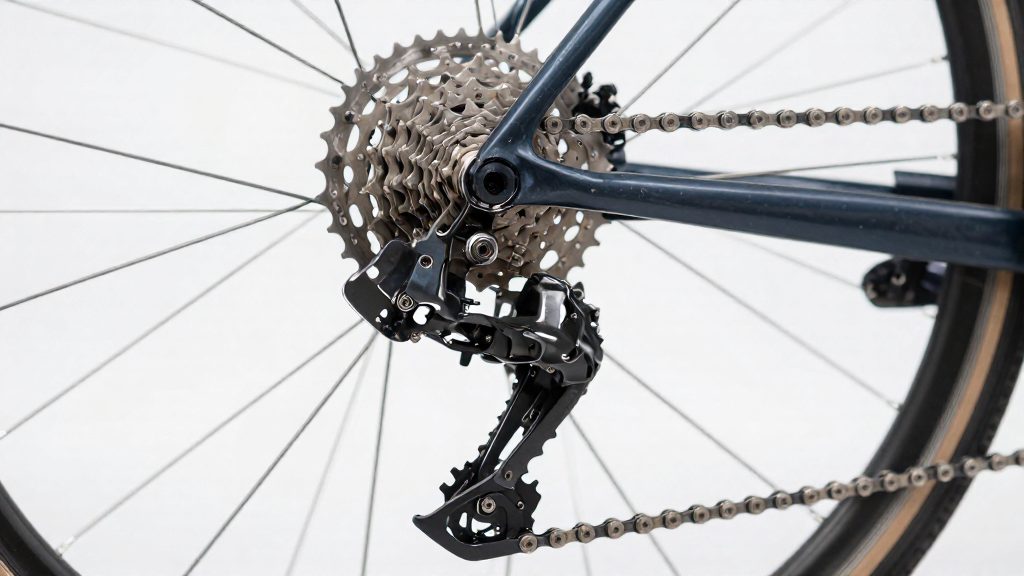
Skipping gears usually means the chain rides over the teeth of a cog or chainring instead of seating fully on them. Skipping usually means the chain rides over the teeth of a cog or chainring instead of seating fully on them. According to Outside, the main cause is cable stretch, most pronounced in the first few rides on a new bike. Other common causes include a worn or dirty drivetrain, a derailleur that needs indexing, a worn cable, a bent hanger and an incorrectly set B-tension screw. The symptom pattern and the position of the problem on the cassette help narrow down which cause applies, so work through the checks below in order.
Why does my bike skip gears?
Symptom patterns: skipping versus sticky shifting
Skipping and sticky shifting are different faults and point to different causes. Skipping is the chain jumping off the teeth under pedalling load, so the gear changes or drops unexpectedly while you are pushing hard. Sticky shifting is the shifter or derailleur failing to move the chain promptly, most often when changing back down to smaller sprockets.
Shifting that is random across all gears on a multi-speed bike points to derailleur adjustment, cable corrosion, or a bent hanger (iFixit).
Ranked common causes of poor shifting
The table lists the common causes with the first check for each. The order is not a ranking of frequency.
| Cause | Typical symptom | First check |
|---|---|---|
| Cable stretch | Skipping | Rear derailleur adjustment |
| Worn chain, cassette or chainrings | Chain skipping under load | Drivetrain wear |
| Incorrectly set B-tension screw | Poor shifting or skipping | B-tension screw setting |
| Dirty or dry drivetrain | Poor or hesitant shifting | Lubrication and dirt build-up |
| Derailleur needing indexing | Shifts that land between gears | Derailleur indexing |
| Worn or damaged cable | Sticky or unresponsive shifting to smaller sprockets | Cable and outer casing condition |
| Bent derailleur hanger | Good shifting at one end of the range only, or random shifting | Hanger alignment |
An incorrectly set B-tension screw is also among the common causes and belongs on the same diagnostic list as the derailleur itself.
Rare causes: stiff link, seized derailleur, loose cassette
Less common causes usually show up after the common ones have been ruled out. A stiff chain link can make a chain slip, and according to iFixit it may be fixed with oil or by replacing the link or the chain. A seized derailleur is another less common cause. If its pivots feel stiff when you move them by hand, have it inspected or serviced. A loose cassette is another less common cause, so check that the lockring is tight. Finally, check that the rear wheel is fully seated in the dropouts, because road.cc (2026) lists an improperly seated wheel among the less common causes.
Is it a worn chain or cassette?
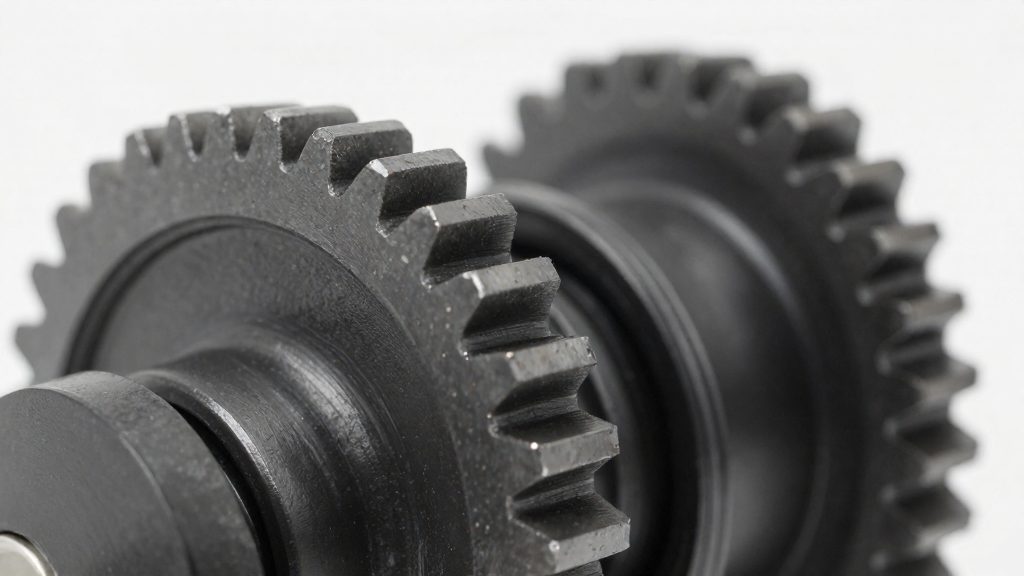
The symptom alone does not identify which part is at fault. Tooth shape is the most direct evidence. A worn sprocket or chainring changes the profile of its teeth, while a dirty drivetrain or a derailleur that needs indexing does not. Inspect the teeth and measure chain elongation together to separate wear from other faults.
Hooked tooth profiles on cassette sprockets
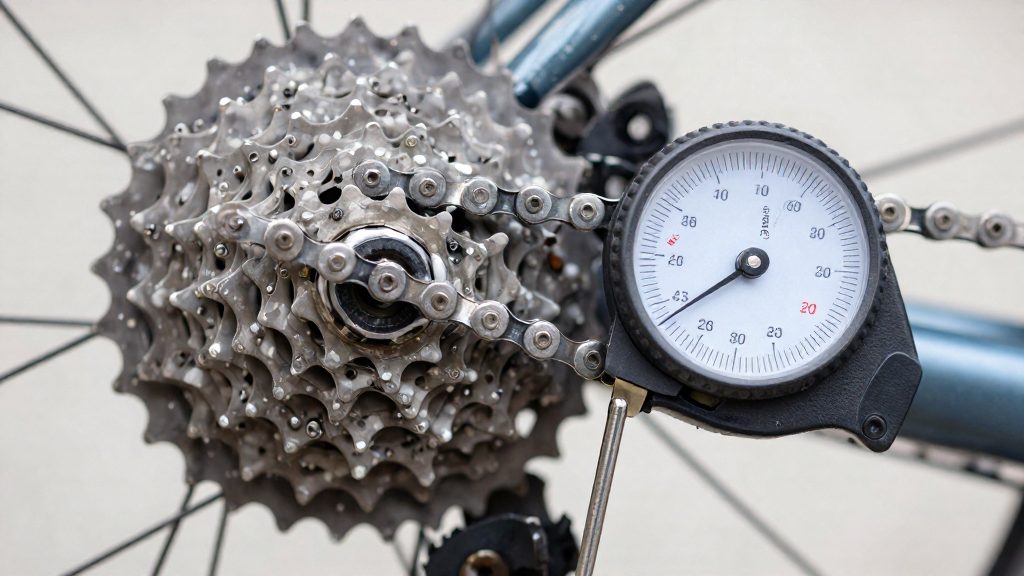
As a sprocket wears, material is lost from the tooth flanks and the tooth takes on a hooked profile, with the leading face pulled forward into a shark-fin shape. The chain roller can no longer seat fully in the tooth, so under pedalling force it climbs the tooth and skips.
To check, shift into each sprocket you use regularly and look at its teeth from the side with a light behind the cassette. Teeth with a clear hook or an asymmetric tip are worn. Skipping confined to one or two sprockets, while the rest of the cassette shifts cleanly, points to those specific sprockets.
Chainring tooth wear and shape
Chainring teeth wear in the same way, and the effect is most noticeable when pedalling hard. Check the chainring for teeth that look hooked or noticeably thinner than their neighbours. Skipping that occurs only in the large chainring under heavy load may point to the chainring, so inspect its teeth before concluding.
Chain and cassette wear pairing
A worn chain no longer matches the pitch of the sprocket teeth, which accelerates wear on the cassette. The chain and cassette pairing therefore matters: According to iFixit, a chain that slips and is worn out should be replaced with one sized to match the old one. If the new chain still skips, have the cassette inspected.
| Symptom | Most likely cause | Check |
|---|---|---|
| Skipping on one or two sprockets only | Hooked teeth on those sprockets | Inspect those teeth from the side |
| Skipping across most of the cassette | Worn cassette paired with a worn or new chain | Inspect the full cassette and chain condition |
| Skipping in the large chainring under load | Worn chainring teeth | Inspect the chainring teeth |
| Skipping with the cassette teeth intact | Non-wear causes listed by road.cc (2026-01-11) | Check cable, derailleur indexing and cleanliness |
How do I check chain wear at home?
Chain wear is measured by elongation: how far the chain has stretched between its pins. You can check this with an ordinary ruler. According to road.cc (2026-01-11), measure 12 full links. On a half-inch pitch chain, those 12 links should span 12 inches. Replace the chain if they span more than 1/16 inch longer than 12 inches.
Measuring 12 full links
- Lay the chain flat, with no slack and no kinks.
- Position the ruler’s zero mark at the centre of a pin in one link.
- Count 12 full links along the chain and read the ruler at the centre of the matching pin.
The 12-inch reference and the replacement limit
| Span measured over 12 full links | Result |
|---|---|
| 12 inches to 12 1/16 inches (12.0625 inches) | Chain acceptable |
| More than 12 1/16 inches | Replace the chain |
The limit is an excess over the 12-inch reference, not an absolute length. Read your ruler result as the amount the chain has stretched.
Checking the manufacturer’s specification
road.cc notes that some chains vary, so check the manufacturer’s specification for the chain you have fitted. If the documentation gives a different wear limit, use that figure instead of the 1/16-inch limit above. If you cannot find the specification, the manufacturer’s customer service or a local bike shop can confirm the correct limit for that model.
Could cable tension be the problem?
According to Outside, cable stretch is the main cause of skipping. When the gear cable lengthens, the rear derailleur travels less than the shifter commands, so the chain stops short of the target cog or drops back. According to Outside (2024-04-23), cable stretch is the main cause of skipping and is most pronounced in the first few rides on a new bike. Expect to re-adjust the rear derailleur during this break-in period.
Adjusting the barrel adjuster
The barrel adjuster is the threaded cable stop that fine-tunes cable length. Outside (2024-04-23) gives this sequence:
| Step | Action |
|---|---|
| 1 | Shift the rear derailleur to the smallest rear cog. |
| 2 | Press the shifter once. |
| 3 | If the chain does not move up, turn the barrel adjuster half a turn. |
| 4 | Shift again and check whether the chain engages cleanly. |
Make adjustments in small steps and retest after each one, because overcorrecting moves the chain past the intended cog. If the barrel adjuster can no longer bring the chain up, adjustment is not the fix. Outside (2024-04-23) notes that the derailleur or its hanger may be bent.
Worn cable, outer casing and the B-tension screw
A worn gear cable typically causes sticky or unresponsive shifting back down to smaller sprockets, according to road.cc (2026-01-11). A frayed or corroded inner cable cannot hold a setting, so replace it rather than repeatedly adjusting the barrel.
Outer casing also matters. Road.cc (2026-01-11) states that full-length outer casing helps keep water out and extends cable life. Check that the casing runs unbroken from the shifter to the derailleur stop.
The B-tension screw sets the gap between the derailleur’s jockey wheel and the cassette. An incorrectly set B-tension screw is listed by road.cc (2026-01-11) as a common cause of skipping. Adjust it according to the derailleur manufacturer’s instructions, and make sure the jockey wheel sits close to the cassette without touching it.
Check for a bent derailleur hanger
The derailleur hanger is the small tab at the rear dropout that carries the rear derailleur. Its bend changes how the derailleur sits relative to the cassette, which in turn changes how the gears shift. Road.cc (2026-01-11) notes that a bent hanger can show as gears that shift well at one end of the range but not the other. This pattern can indicate a hanger problem rather than a cable or chain problem, because the mechanism works in one part of its travel and fails in the other.
Drive-side falls as the usual trigger
The drive side is the chainring side of the bike, where the derailleur sits. A fall onto this side can bend the hanger. Road.cc (2026-01-11) notes that this problem shows up especially after the bike has fallen on its drive side. If the symptoms began after a crash or a drop onto the drive side, inspect the hanger before adjusting cables or indexing.
Visual check
- Stand behind the bike, with the rear wheel in place, and look along the derailleur from the rear.
- The derailleur cage should hang parallel to the cassette, not tilted toward the spokes or the frame.
- Compare the hanger with the non-drive side of the frame. A visible bend or kink at the hanger means the alignment is off.
If the bike shifts unpredictably across the whole cassette, treat the hanger as a possible cause rather than assuming the adjustment is at fault.
Options for correction
| Option | Applies when | Source |
|---|---|---|
| Hanger alignment tool | The hanger is bent but can be straightened | Road.cc (2026-01-11) |
| Bike shop | You cannot confirm or correct the alignment yourself | Road.cc (2026-01-11) |
| Replacement hanger | The frame uses a replaceable hanger | Road.cc (2026-01-11) |
If the frame has a fixed (non-replaceable) hanger, take it to a bike shop rather than bending it yourself. After any realignment, recheck the shifting across the full range before riding.
Clean and lubricate the drivetrain
Cleaning removes the abrasive grit that wears teeth and pins, and lubrication lets the chain and derailleur move freely. Work in this order so that old grime is not pushed back into the parts you have just cleaned.
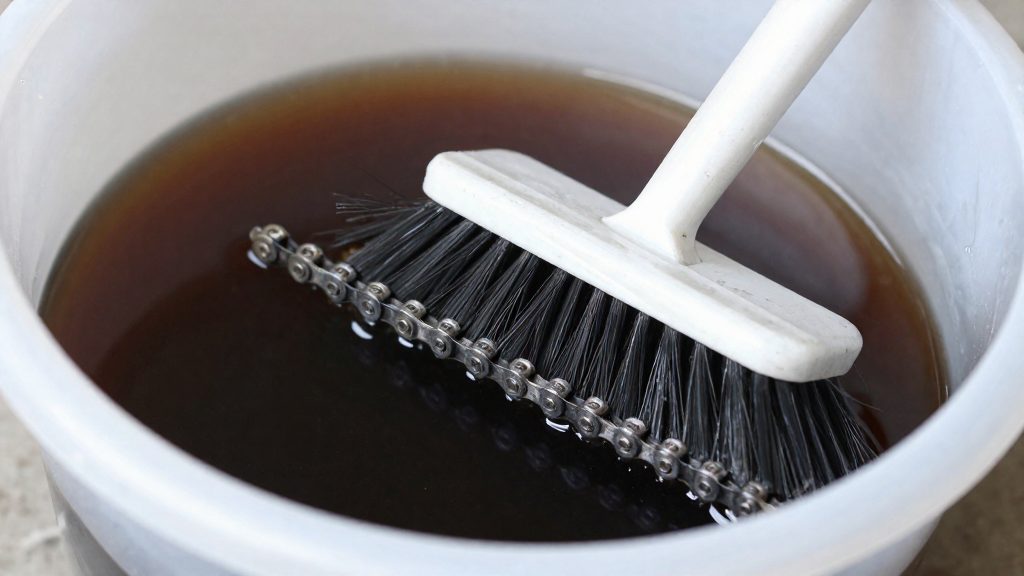
Start by setting the bike on a stand or turning it upside down, and placing a rag or drip tray under the chain. Apply a degreaser to the chain, cassette and chainrings, then scrub with a stiff brush. Work the chain through the derailleur cage and pulleys as well, because grit collects there. Wipe each part with a clean cloth until no black residue transfers, repeat with a fresh cloth if needed, and let the drivetrain dry fully before lubricating.
Once the drivetrain is dry, apply chain lubricant to the rollers of the chain while you slowly pedal backwards. Lubricant should reach the inside of each roller, not only the outer plates. Then wipe off the excess lubricant with a clean rag. A chain that is coated in lube attracts dust and grit, which undoes the cleaning.
Next, lubricate the derailleur. Apply a small amount of lubricant to the pivot points of the rear derailleur and to the pulley bearings, then move the cage by hand to spread it. Wipe away any surplus. Front derailleur pivots can be treated the same way, but keep lubricant away from the brake pads and the rims.
| Component | Cleaning method | Lubrication point |
|---|---|---|
| Chain | Degreaser and brush, then dry cloth | Inside of rollers, excess wiped off |
| Cassette | Degreaser and brush on each cog | None, unless the manufacturer specifies it |
| Chainrings | Degreaser and brush, both faces | None |
| Derailleur | Brush out the cage and pulleys | Pivot points and pulley bearings, light coat |
Degreasing before lubrication and lubricating the derailleur pivots and pulleys both help the gears engage smoothly. Check the cable and hanger separately if shifting stays rough after this routine.
When should I see a bike shop?
Many shifting faults can be handled at home, but some causes need a workshop. Take the bike in when skipping continues after you have checked the cable and its outer casing, when the fault only appears at one end of the gear range, or when the problem points to a part you cannot correct with hand tools. Until the fault is fixed, avoid hard efforts, sprinting and standing climbs in the affected gear, because a chain that jumps under load can cause a sudden loss of pedal resistance and a fall. Skipping has several common causes, and several less common ones, so the symptom pattern determines whether the fault is a home adjustment or a workshop repair.
Frame hanger repair is the first trigger, and it needs tools most owners do not have. Correcting it requires a hanger alignment tool. If the frame uses a replaceable hanger, the shop can fit a new one instead.
| Symptom after home checks | Likely cause | Workshop action |
|---|---|---|
| Skipping persists after cleaning, adjustment and hanger checks | Stiff chain link, seized derailleur, loose cassette, or rear wheel not seated | Have the shop inspect the drivetrain and wheel seating |
Seasonal servicing is the second point at which a shop visit pays off. Book a drivetrain inspection at the start of the riding season, alongside the hanger and cable check, so that a fault found early does not compound over the season. When the shop inspects cables, ask them to confirm the outer casing is full length.
Frequently asked questions
Can a stiff chain link be freed instead of replaced?
According to iFixit, a stiff link can sometimes be freed with oil. A bent link or a worn chain needs a replacement link or a new chain sized to match the old one.
Does a loose cassette cause skipping in every gear?
A loose cassette is a less common cause of skipping, so check that the lockring is fully tightened. The sources do not describe a symptom that is specific to a loose cassette, so the lockring check is the practical test.
How do I know if my derailleur hanger is replaceable?
Look at whether the hanger is a separate part that bolts onto the frame. road.cc (2026-01-11) recommends a replacement hanger only where the frame uses one. On a frame with a fixed hanger, take the bike to a bike shop.