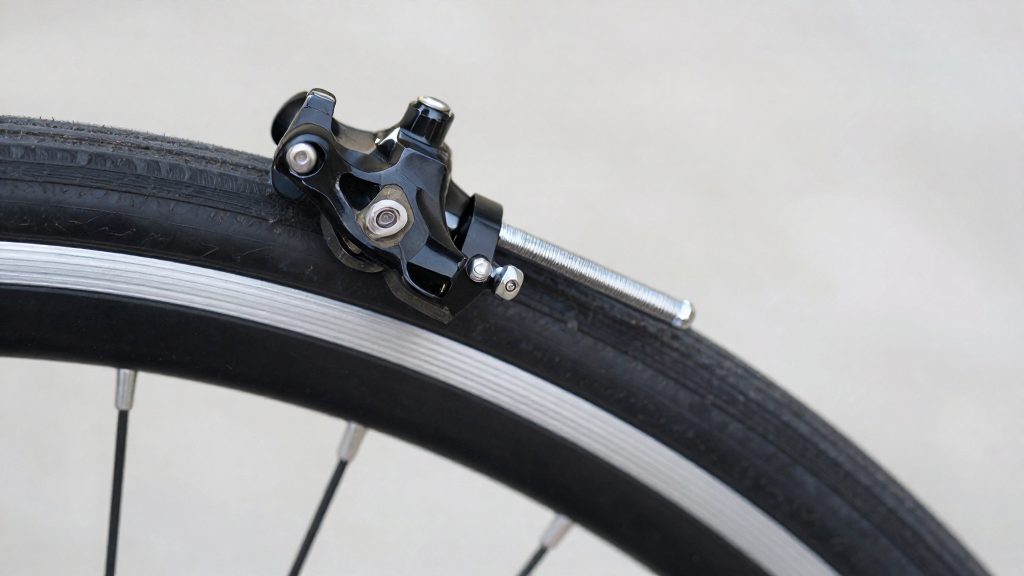
Signs your rim brakes need adjusting
Rim brakes usually show a problem before they fail. The three most common signs are a pad rubbing the tyre or squealing during braking, lever travel that grows gradually over several weeks, and stopping power that differs between the left and right sides. Each sign often points to a change in pad position or cable tension, though worn, glazed or contaminated pads can cause similar symptoms, and each can be checked without tools beyond your eyes and hands.
Pad rubbing the tyre or squealing
A pad that touches the tyre, or makes a squeal or scraping noise when you brake, is the clearest sign that it has moved off the rim surface. When a pad drifts, its contact point shifts onto the tyre or onto an uneven part of the rim, which produces the noise. Check the pad face while the wheel spins: if the rubber sits on the tyre sidewall or the pad touches only one edge of the braking surface, the pad is out of alignment.
Lever travel increasing over several weeks
Lever travel is the distance the lever moves before the pads grip the rim. If that distance lengthens gradually, the cable has usually lost tension or the pads have moved further from the rim. Because the change is slow, riders often adapt to it without noticing. Compare the current lever pull with how the brake felt when the bike was last serviced. A lever that pulls much further before braking is a reason to check the setting, and Cycling UK (2026) advises against riding if the lever cannot be set to a correct position.
Uneven stopping between left and right
Uneven stopping means one side of the bike brakes noticeably harder or softer than the other, or the bike pulls to one side during braking. This usually means the pads sit at different distances from the rim. Spin the wheel slowly and look at the gap on each side: if one pad sits close and the other sits well back, the caliper is no longer centred on the wheel. Cycling UK (2026) describes this pattern as one pad rubbing while the other sits too far off, which is the clearest sign that the two sides have drifted apart.
| Symptom | Where the drift is | Quick check |
|---|---|---|
| Pad rubs tyre or squeals | Pad position or angle | Spin the wheel and watch the pad face |
| Lever travel grows over weeks | Cable tension or pad distance | Compare lever pull with when the brake was new |
| One side stops harder | Unequal pad distance | Compare each pad’s gap to the rim |
If you see any of these signs, the brake needs adjustment before the next ride, and replacing the pads will not correct a positioning fault.
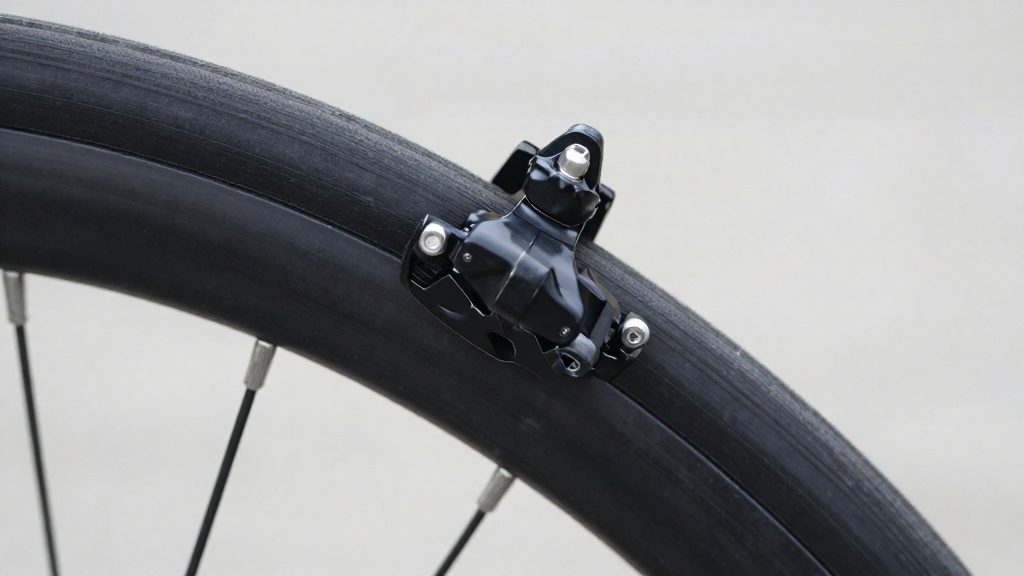
Tools you need
Adjusting rim brake pads needs only a few hand tools, a rag, and a stable place to work. Three items cover the mechanical side:
| Tool | Used for | Source |
|---|---|---|
| Allen key (hex key) | Loosening and retightening the Allen bolt that holds each pad | BikeRadar (2018) |
| Wrench | Holding the bolt that fixes the caliper to the brake bridge or fork | BikeRadar (2018) |
| Small tool for the caliper screw | Turning the small caliper screw on the side where one pad rubs | Cycling UK (2026) |
Choose a hex key that sits fully in the bolt head. A key that slips or is too small rounds the socket, which makes the pad harder to lock in position. Use a spanner that fits the caliper bolt squarely, and hold it steady while you work, because the caliper bolt controls the position of the whole caliper rather than the pad alone.
Degreaser and lubricant need careful handling near the braking surface. Apply any cleaning product to a rag rather than spraying it onto the wheel, and wipe the rim until no residue remains. Keep a separate rag for braking surfaces so that oil from the chain or drivetrain does not transfer onto the rim.
A clean, dry rag is the simplest way to wipe pad faces and the rim before adjusting. A stable workstand, or a bike held upright against a wall, keeps the frame from moving when you pull the brake lever and lets you rotate the wheel freely to reach the rim. If the bike shifts while you work, you risk dropping a bolt or scratching the rim.
How do you align rim brake pads?
Each pad should sit centred on the rim and follow its curve. Pad position is set at the pad holder, where an Allen bolt clamps the pad. Loosen this bolt only enough to let the pad move. Do not remove it, because a fully loose pad can drop out of position during adjustment. According to BikeRadar (2018), the pad should then be set flush with the rim and the bolt retightened while the pad is held in place, since tightening can shift it.
Pad curve is the first thing to check. The braking face of the pad should match the curve of the rim wall, so that the whole face meets the rim evenly rather than one edge. Hold the pad against the rim surface with a finger, look at it from the side, and confirm that it lies flush along its length before you tighten.
The sequence for each pad is:
- Loosen the pad Allen bolt just enough for the pad to move by hand.
- Press the pad against the rim surface so its face follows the rim curve, and bring it flush.
- Keep the pad held in that position while you tighten the bolt fully.
- Spin the wheel by hand and watch the pad face along the rim. It should stay flush through the rotation.
- Repeat the process for the other pad.
Work on one pad at a time. Adjusting the second pad before the first is locked can change the position of the first, so finish each pad completely before moving on.
Keep the pad face clean while you work. Cleaner or lubricant on the braking surface reduces grip and can contaminate the pad material.
How do you center the caliper?
Caliper centring means positioning the whole brake unit so the wheel sits evenly between the two pads. Do this before any fine adjustment, because the small screw can only correct a small offset.
- Loosen the bolt that fixes the caliper to the brake bridge or fork, using a spanner that fits it. Loosen it only enough for the caliper to move.
- Position the caliper so the wheel centred between both pads, with equal clearance on each side.
- Hold the caliper in that position and retighten the bolt. According to BikeRadar (2018), the spanner is used on this bolt, not on the pad fixing, so the caliper body is what gets moved.
- Spin the wheel and watch for rubbing on either side.
If one pad still rubs while the other sits too far away, the caliper is not the only cause. The small caliper screw on the affected side moves that pad alone. According to Cycling UK (2026), the direction works as follows:
| Situation | Screw turn on affected side | Effect on pad |
|---|---|---|
| Pad rubs against the rim | Clockwise | Moves away from the rim |
| Pad sits too far from the rim | Counterclockwise | Moves closer to the rim |
Make one small turn at a time and spin the wheel after each. Because the screw adjusts only one side, recheck the opposite pad once the rubbing stops.
Fine-tuning with the barrel adjuster
Once the caliper is centred, the barrel adjuster provides the fine control over pad distance. It is the threaded collar on the brake cable housing, and it changes cable tension without moving the caliper. Cycling UK (2026) states that turning it counterclockwise tightens the cable and brings the pads closer to the rim, while turning it clockwise helps when the pads rub.
| Barrel adjuster turn | Effect on cable | Effect on pads | Use when |
|---|---|---|---|
| Counterclockwise | Tightens | Pads move closer to the rim | Centred pads sit more than a few millimetres from the rim |
| Clockwise | Loosens | Pads move away from the rim | Pads rub the rim |
Make small adjustments and test after each one. Spin the wheel and squeeze the lever to check for rubbing and for the pad position. Muc-Off recommends leaving about 1.5 mm between each pad and the rim, so use that gap as the target when judging the result.
The counterclockwise tightening step is most useful when the caliper is already centred but the pads still sit well away from the rim. BikeRadar (2018-03-09) advises tightening the cable in this case. The barrel adjuster corrects cable tension only. If the pads are off-centre relative to the wheel, it cannot fix that, so the caliper must be realigned first.
After any adjustment, retighten the lock nut that secures the barrel adjuster. Cycling UK (2026) specifies this step, because the adjuster can turn slightly under the load of the lever and change the setting once the nut is loosened.
How much gap should rim brake pads have?
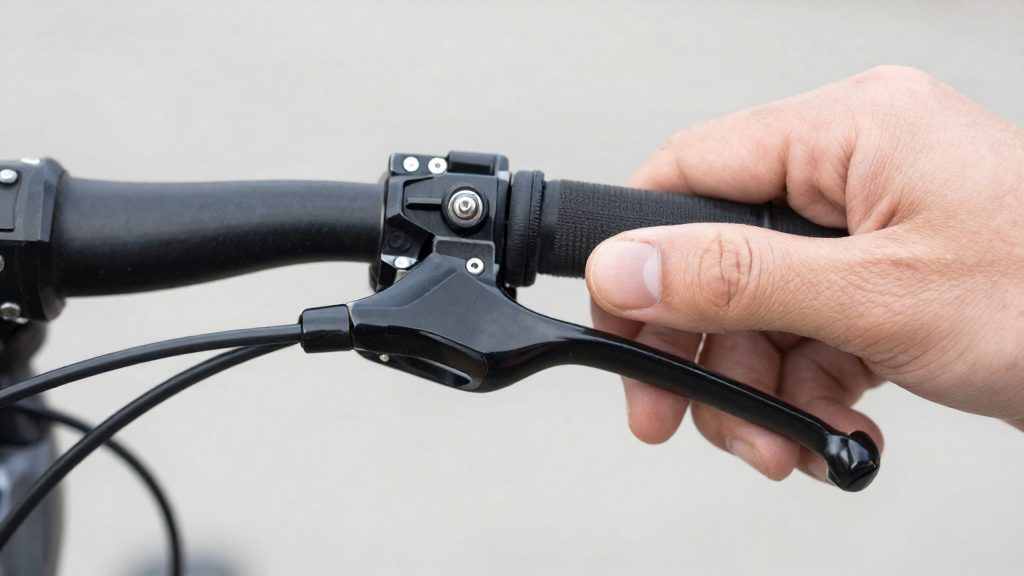
With the lever released, each pad should sit close to the rim without touching it. Muc-Off recommends about 1.5 mm between each pad and the rim, and about two finger widths (3–4 cm) between the fully squeezed lever and the handlebar. The first figure measures clearance at the pad, and the second measures the travel left in the lever.
| Reference | Target value | Source |
|---|---|---|
| Clearance between each pad and the rim | About 1.5 mm | Muc-Off |
| Lever-to-bar gap, lever fully squeezed | Two finger widths, about 3–4 cm | Muc-Off |
Symmetric clearance matters as much as the absolute number. The caliper moves both pads, so each pad should show the same clearance from its side of the rim. Measure the left and right gaps from the same reference point on the wheel. A pad that sits flush against one side of the rim while the other is 1.5 mm away gives a false reading if you only check one side.
The pad face should also sit flush with the rim surface rather than hanging over its edge. Check the alignment at the same time as the clearance.
Lever-to-bar gap is the second check. With the lever fully squeezed, two finger widths of space between lever and bar means the lever has not reached its limit. If the lever closes almost onto the bar, there is little margin left for any further movement in the system, and the setup should be reviewed before riding.
When should you replace rim brake pads?
Adjustment can realign a pad against the rim, but it cannot restore rubber that has worn away or changed texture. If braking stays weak after the pad is correctly aligned, the pad itself is usually the cause. According to Cycling UK (2026), the pads must be replaced once the wear line is no longer visible.
| Condition | Action |
|---|---|
| Wear line no longer visible on the pad | Replace the pad |
| Pad surface glazed or cracked, with correct alignment | Replace the pad |
| One pad of a pair is worn | Replace both pads of that caliper |
Checking the wear line
Look at the side of each pad, where the manufacturer moulds a groove or mark. While the mark is visible, the pad still has usable material. Once the mark disappears, the pad has worn down to its limit, and the caliper can no longer grip the rim as designed. Inspect both pads on every caliper, because wear is rarely identical on each side.
Glazing and cracking
Glazing is a hardened, smooth, shiny layer that forms on the pad surface, usually after heat from prolonged braking or contamination from oil and grease. A glazed pad grips poorly even when it is perfectly aligned, and no adjustment will restore its friction. Cracks in the pad face or body have the same effect, because the braking surface is no longer continuous. In both cases, replace the pad rather than attempting to sand or reshape it, since removing the glazed layer does not guarantee an even contact surface.
Replacing pads in matched sets
Rim brake calipers hold two pads that must press the rim with equal force. If you fit a new pad on one side and keep a worn pad on the other, the new pad grips more strongly and the braking becomes uneven, which can pull the wheel to one side during a stop. For this reason, replace both pads of a caliper at the same time, Replace both pads of a caliper at the same time so the braking response stays even.
Test before you ride
Run a short go/no-go check after any brake adjustment and before every ride. It confirms three things: the lever has usable lever travel, the wheel turns without touching the pads, and the wheel sits centred between them. Ride only when all three pass.
Check the lever first. Squeeze it fully and watch whether it stops short of the handlebar or grip. Muc-Off advises leaving about two finger widths (3–4 cm) between the fully squeezed lever and the bar. If the lever reaches the bar before the pads are firmly on the rim, the setting is wrong and must be corrected before you ride.
Next, perform the rub check. Lift the wheel off the ground, release the brake, and spin it by hand. It should turn freely with no scraping or intermittent contact. Also look at centring: the caliper should be centred so that both pads sit evenly around the rim. Rim centring is not a substitute for the rub check, so do both.
Once both checks pass, test the brakes at walking pace on a clear, flat surface before riding normally. Confirm that the lever pulls progressively and that the bike slows without the wheel locking or dragging.
| Check | Pass condition | If it fails |
|---|---|---|
| Lever travel | Fully squeezed lever stops about 3–4 cm short of the bar (Muc-Off) | Lever reaches the bar: tighten the cable by turning the barrel adjuster counterclockwise, then retighten the lock nut (Cycling UK, 2026) |
| Rub check | Wheel spins freely with no contact | One pad rubs: turn the small caliper screw on that side (Cycling UK, 2026) |
| Centring | Caliper centred, pads evenly placed around the rim | Caliper centred but pads more than a few millimetres from the rim: tighten the cable |
Frequently asked questions
How far should a rim brake pad sit from the rim?
Muc-Off recommends leaving about 1.5 mm between each pad and the rim when the brake is released (Muc-Off). The pad should also sit flush and follow the curve of the rim, so it contacts the full braking surface.
What do I do if only one pad rubs?
Turn the small caliper screw on the rubbing side. Turning it clockwise moves that pad away from the rim, and turning it counterclockwise moves the pad closer (Cycling UK, 2026). Adjust in small steps and spin the wheel after each one to check the clearance.
When should I replace the pads instead of adjusting them?
Replace the pads once the wear line on the pad is no longer visible (Cycling UK, 2026). Worn or glazed pads can cause weak braking even when their position and cable tension are correct, so check the pad surface before making further adjustments.