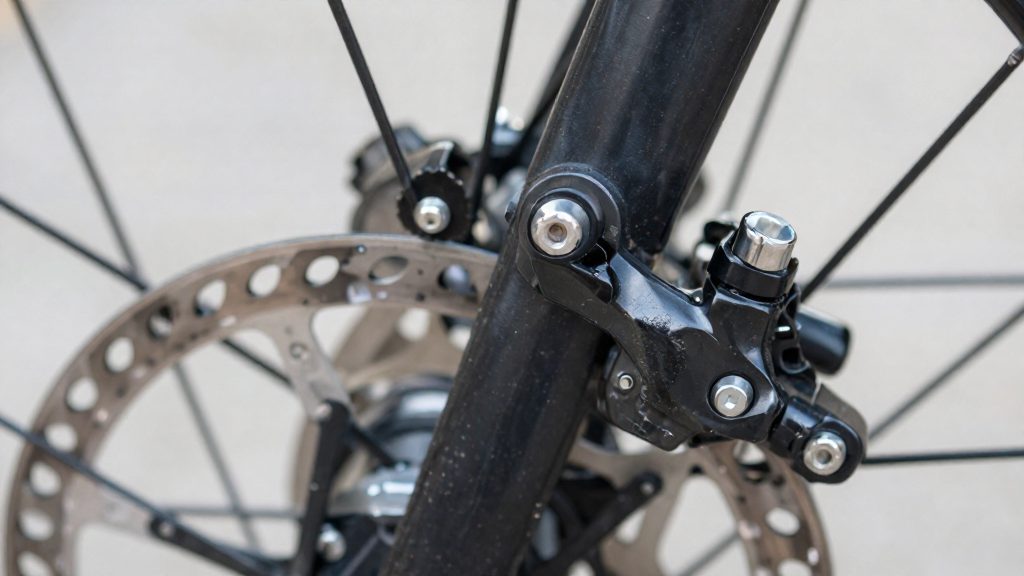
Brake squeal is a high-pitched noise caused by vibration between the brake pad and the surface it grinds against, either the rim or the disc. Common causes include contamination, glazed or worn pads, misalignment, and loose caliper hardware. Before adjusting anything, identify the sound and when it occurs, because the symptom usually points to the cause.
Why do my bike brakes squeal?
How squeal is produced
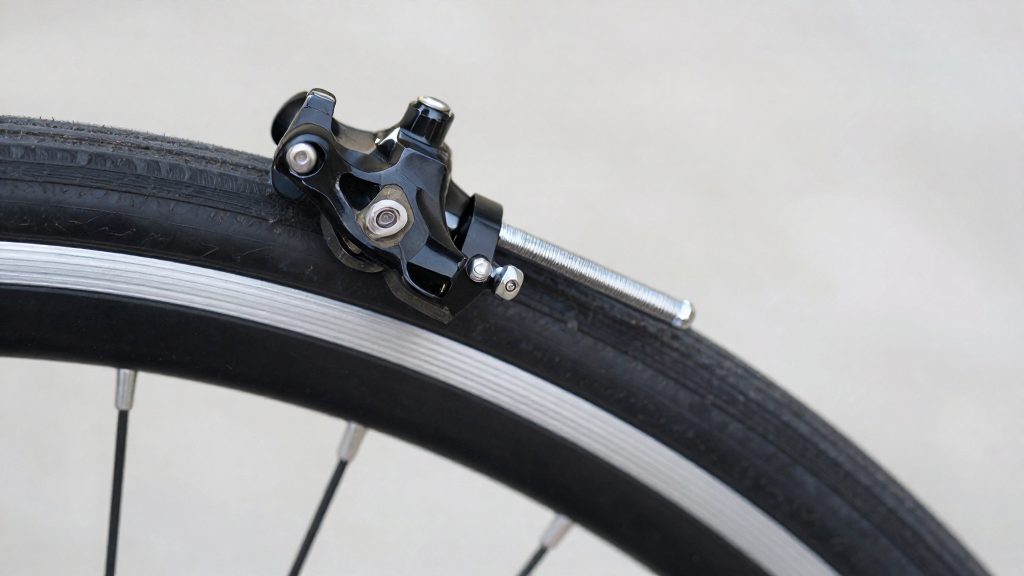
Squeal is a stick-slip vibration. The pad alternately grips and slips against the braking surface at high frequency, and the resulting resonance is audible. Anything that makes the contact uneven or the pad surface hard and smooth increases the effect. Rim-brake pads that touch the tyre, or only part of the rim, can squeak, squeal or chatter. The pads should contact only the smooth, flat part of the rim. Toe-in, where the leading edge of each pad touches the rim slightly before the trailing edge, reduces vibration (iFixit, 2026).
Disc brakes produce squeal from five common causes, according to Finish Line USA (2026): contamination, glazed pads, misalignment, loose hardware, and worn pads or rotors. Glazing is a hardened, shiny pad surface that forms from heat and reduces friction unevenly. Light sanding with fine-grit sandpaper restores it, followed by cleaning.
Telling squeal from grinding, rubbing and chatter
| Symptom | Sound and behaviour | Likely cause |
|---|---|---|
| Squeal | Steady, high-pitched; often during light braking | Glazed pads, misalignment, loose hardware |
| Chatter | Rapid stuttering or buzzing | Pad touching the tyre or only part of the rim |
| Rubbing | Continuous scraping, even without the lever pulled | Pad dragging on the tyre or rim edge |
| Grinding | Harsh and metallic, worsening with use | Worn pads; metal-on-metal contact |
Grinding is the most serious of these. On rim brakes, metal-on-metal contact can damage the rim and seriously reduce braking performance. If the noise is grinding, stop riding until the pads have been inspected.
Timing clues
- Squeal that begins after new pads are fitted and fades after several stops points to pads that are not yet bedded in. Make a series of moderate stops to bed them in.
- Squeal that appears gradually over weeks usually indicates pad glazing or wear. Check the pad thickness first.
- Squeal at every stop from the first ride after reassembly suggests misalignment or an uneven caliper.
- Squeal that returns only after a wheel is removed and refitted points to a shifted wheel position or disturbed hardware. Recheck the caliper or pad position.
Rim brakes or disc brakes: which one do you have?
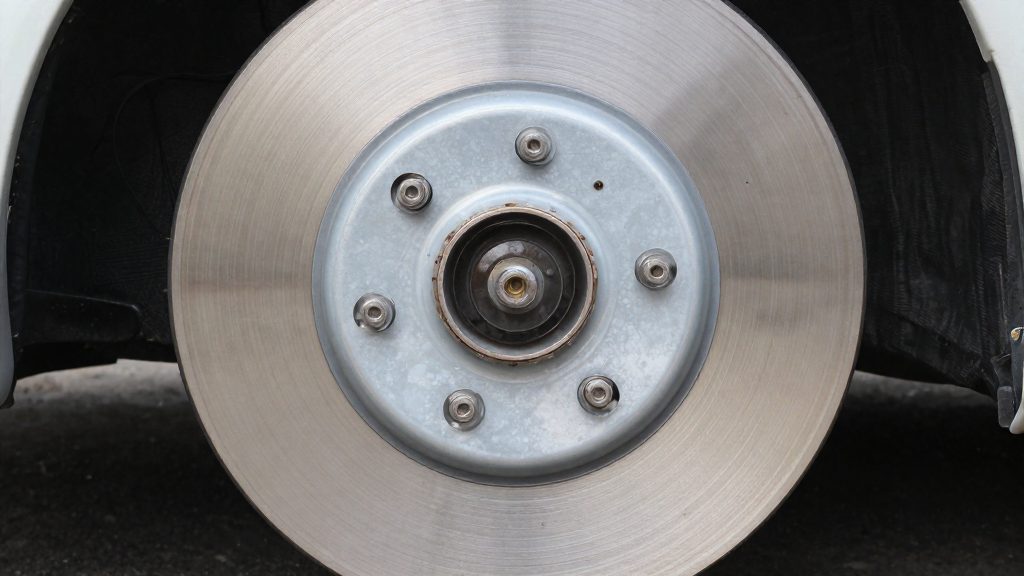
Rim brakes and disc brakes make squeal for different reasons, so identifying the system comes first. Rim brakes clamp brake pads onto the wheel rim sidewall, which is the braking surface. Disc brakes use a separate metal rotor bolted to the hub, and the caliper squeezes that rotor instead of the rim.
Start by looking at the wheel near the hub, then at the brake arms above the tyre. The table below lists what to check.
| Feature | Rim brakes | Disc brakes |
|---|---|---|
| Braking surface | Sidewall of the wheel rim | Flat metal rotor bolted to the hub |
| Brake hardware | Caliper arms above the tyre, pads at the rim | Caliper straddling a rotor near the hub |
| Visible from the hub | No rotor; spokes and rim only | Thin metal disc on one side of the hub |
Spin the wheel by hand with the brake lever released. On rim brakes, the rim passes between the pads. On disc brakes, the rotor passes through the caliper. If you find no rotor and the rim sits between the pads, you have rim brakes.
The system you identify determines which squeal causes to check.
Contamination: oil, debris and spray residue on the braking surface
Contamination reaches the braking surface through three routes: lubricant migrating from the drivetrain or hub, debris trapped in the pad, and residue from degreasers and sprays. Each route can cause squeal on both rim and disc brakes.
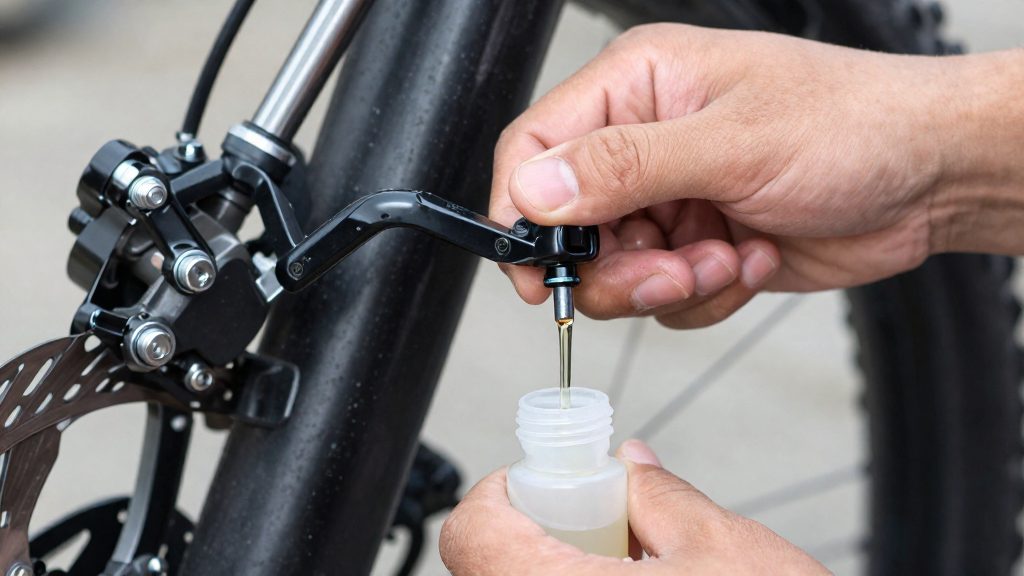
Lubricant migration is the most direct route. Chain lube that drips or sprays onto the braking surface, or hub grease that works past the bearing seals, leaves a film that changes how the pad grips. On rim brakes, iFixit (2026) lists oil and lube on the rim or pads as a cause of squeaking. Lubricant often reaches the brake through hand contact during drivetrain maintenance, so the brake surfaces should be checked after any chain or hub work.
Debris in the pad grooves is the second route. Grit and small particles from the road can lodge in the grooves of rim-brake pads and hold dirt against the rim, which iFixit (2026) lists among the causes of squeaking. Debris trapped in the pad material acts as a constant source of vibration, so the sound persists until the material is removed or the pad is replaced.
Degreaser and spray residue is the third route. Sprays used to clean the drivetrain or frame can drift onto pads when applied nearby, and residue left on the pad face produces the same squeal as oil. Keep aerosol products away from the brakes, and wipe any spray that lands on a pad or rotor before riding.
Contaminated pads are not always recoverable. In a Park Tool (2026) case study of a squealing disc brake, the pads were contaminated with oil, and the article reports that no product could restore them to normal function. Oil-soaked pads should be replaced, and the source of the contamination should be identified before fitting new pads, or the new pads will be contaminated in the same way.
Is squeal in wet weather normal?
Yes. A squeal that appears in rain or after riding through mud is usually harmless and temporary. On rim brakes, rain, mud, and debris lodged in the pad grooves can all make the brakes squeak. According to iFixit (2026), this wet-weather squeaking often stops once the brakes dry, so no fix is needed. On rim brakes, moisture and grit on the braking surface can cause squeaking in wet weather, and it often stops once the brakes dry. Wet rims also reduce braking power, so allow extra stopping distance until the brakes are dry.
The useful test is timing. Ride the bike after the brakes have dried fully, then check whether the noise has gone. The table below sorts the common outcomes.
| Observation | Likely cause | Action |
|---|---|---|
| Squeal only when wet, silent after drying | Water, mud, or debris on the rim or pads | None needed; wipe off visible grit |
| Squeal persists after drying (rim brakes) | Pads misaligned, touching the tyre, or worn | Inspect pad position and pad wear |
| Squeal persists after drying (disc brakes) | Contamination, glazed pads, misalignment, loose hardware, or worn pads or rotors (Finish Line USA, 2026) | Work through the checks below |
If a noise continues once the brakes are dry, treat it as a fault. On rim brakes, pads that have worn down can squeal as well. On disc brakes, loose hardware is the cause most easily checked without special tools. Tighten the caliper bolts and other fasteners to the torque specified by the manufacturer, which is printed on the component or in the product documentation.
Wear is the other common fault. Measure pad material with a ruler or caliper through the pad’s wear indicator or against the backing plate.
How do I fix squealing rim brakes?
Rim brake squeal is usually a contact problem, so start with pad position rather than the lever.
Setting the contact zone
- With the brake released, check that the pad’s face sits fully on the flat track, clear of the tyre and of any bulge near the rim’s edge.
- Loosen the pad’s mounting bolt just enough to move the pad, then slide or rotate it until the face covers the flat section.
- Retighten the bolt, squeeze the lever firmly, and watch whether the pad shifts or the rim wobbles against it.
Setting toe-in
The toe-in position makes the leading edge of each pad touch the rim before the trailing edge, which reduces vibration. Angle the pad so its front edge sits slightly closer to the rim than its rear edge. Many pads have a small adjuster for this. Make one small change at a time and retest, because a large angle can cause the pad to contact the rim in an uneven way.
Cleaning the pad faces and braking track
Work through these steps:
- Pick embedded grit out of the pad grooves with a small tool, such as a wooden skewer.
- Wipe the pad face with a clean, dry cloth to remove loose dirt.
- Dampen a clean rag with an alcohol-based cleaner and wipe the rim’s braking track. Keep the rag away from the tyre tread.
- Repeat with a fresh rag until it comes away clean.
Clean the pad faces and braking track in the same session, then re-check contact and toe-in, since cleaning can shift the pad slightly.
How do I fix squealing disc brakes?
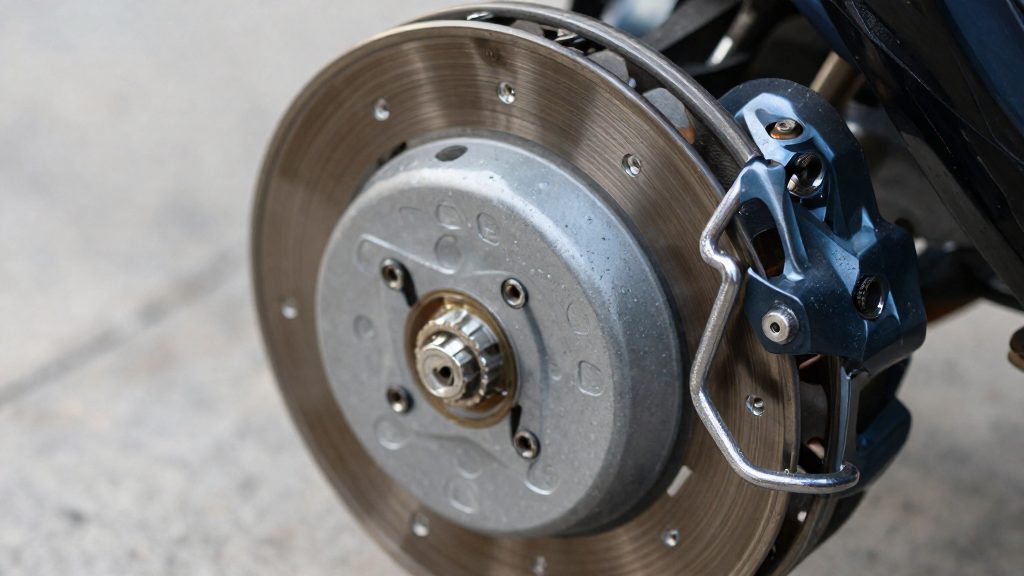
Disc brake squeal has a small set of mechanical causes, and each has a fix you can carry out with basic tools. The fixes follow the same order, so work through them in sequence rather than skipping ahead to the caliper.
| Step | Action | Method |
|---|---|---|
| 1 | Clean the pads and rotor | Wipe both with disc brake cleaner on a lint-free cloth. |
| 2 | Sand glazed pads | Lightly sand the pad friction surface with fine-grit sandpaper, then clean again. |
| 3 | Center the caliper | Loosen the caliper bolts, then retighten them evenly so the caliper sits centred over the rotor. |
| 4 | Torque fasteners | Tighten the caliper bolts to the value in the brake manufacturer’s documentation, using a torque wrench. |
| 5 | Bed in new pads | Make a series of moderate stops so the pad and rotor surfaces transfer material evenly. |
Cleaning comes first because contamination changes the friction behaviour of both surfaces. Sanding comes next because a glazed pad has a hardened, smooth surface that will keep squealing even after it is clean. Use light pressure and fine-grit paper, since the goal is to remove the glaze rather than reshape the pad. After sanding, clean again to remove grit before reassembly.
Caliper alignment is the step most often missed. Loosening the bolts lets the caliper move freely and self-centre on the rotor. Retightening the bolts evenly prevents the caliper from being pulled off-centre, which would reintroduce the rubbing that causes squeal. Torque the bolts after alignment, not before, so the setting holds.
Bedding in new pads should use moderate stops rather than hard, locked-wheel braking. This gradually deposits an even layer of pad material on the rotor, which helps the pair run quietly. If squeal persists after all five steps, the cause is more likely to be contamination you did not remove or a loose component, so recheck those first.
When to replace pads or rotors
Wear limits determine when a brake component must be replaced, and the limits differ between disc and rim systems. Squeal caused by contamination or misalignment can often be fixed without new parts, but a worn component that keeps squealing needs replacing. Check the limits below before assuming a cleaning or adjustment will solve the problem.
| Component | Replace when | Source |
|---|---|---|
| Disc brake pads | Less than 1.5 mm of material remains | Finish Line USA (2026) |
| Disc rotors | Thickness is below the manufacturer’s minimum | Finish Line USA (2026) |
| Rim-brake pads | Worn out, before any metal contacts the rim | iFixit (2026) |
Disc brake pads should be measured or inspected with the wheel removed. Pad material is the friction layer bonded to the backing plate, so the measurement is the thickness of that layer alone. Replace both pads in the caliper as a pair, because uneven wear on one side can shift the caliper’s centring and reintroduce squeal.
Rotors wear more slowly than pads, but a rotor that has reached its minimum thickness can no longer dissipate heat or hold a flat braking surface. Look up the minimum thickness in the manufacturer’s specification for your model. Because worn pads and worn rotors are both listed as squeal causes, inspect the rotor whenever you replace pads.
The practical rule is to replace them before the worn pad reaches the rim.
Preventing brake squeal
Oil, grit and moisture on the braking surface are among the causes of brake squeal, and a few routine habits keep them away from the brakes. Between seasonal services, a few routine habits keep these contaminants away from the braking surfaces.
Apply chain lube sparingly and wipe off excess
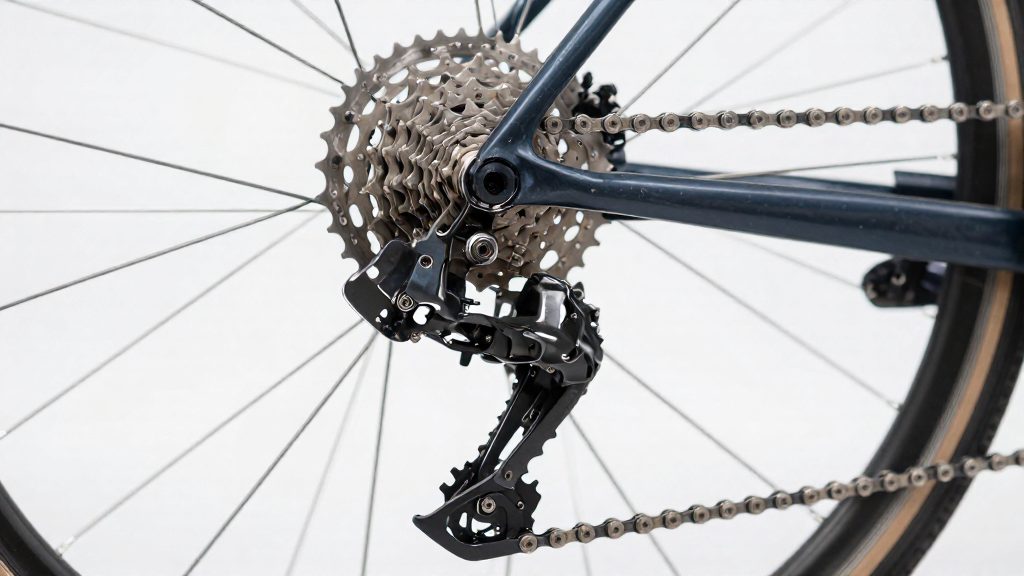
Chain lubricant is one possible source of oil reaching the braking surfaces during routine maintenance. Excess lube drips and spreads onto the rim, and on disc brakes it can reach the rotor and pads. Apply a thin line of lube to the chain, let it soak in, and wipe the links with a clean cloth so no residue is left. When lubricating the drivetrain, keep the spray and the cloth away from the rim and pads.
Store bicycles dry and clean
Moisture and grit are the two conditions behind dirty and wet brakes. iFixit (2026) names rain, mud, and debris in the pad grooves as causes of squeaking on rim brakes. Storing the bicycle indoors and out of damp conditions limits how much grit and moisture settles on the braking surfaces between rides. After a muddy ride, wipe the rim and the pad grooves with a dry cloth before the bike goes into storage, so grit does not sit against the pad for weeks.
Schedule seasonal brake inspections before riding season
Routine habits reduce contamination but do not show what has already built up. A brake inspection before the riding season checks pads and rotors for oil, glazing, and misalignment. Finish Line USA (2026) identifies glazed pads and misalignment as separate causes of disc brake squeal, so an inspection should check both the surface of the pad and the position of the caliper.
Early detection matters because contamination can be hard to reverse. Spotting oily pads before the first ride of the season is the most direct safeguard.
Frequently asked questions
How much pad material is left before disc pads need replacing?
Finish Line USA (2026) advises replacing disc pads when less than 1.5 mm of friction material remains. Rotors should also be replaced once they are below their minimum thickness, which is stamped on the rotor or listed by the manufacturer.
My new disc pads squeal. What should I check?
Bed in new pads with a series of moderate stops, as Finish Line USA (2026) recommends, before judging the noise. If the squeal continues, loosen the caliper bolts, let the caliper float to centre on the rotor, and retighten the bolts evenly to the torque value given by the caliper or brake manufacturer.
Can oil-contaminated disc pads be restored?
Park Tool (2026) describes a squealing disc brake whose pads were contaminated with oil, and reports that no product could restore them to normal function. Contaminated pads of this kind should be replaced, and the rotor should be cleaned with disc brake cleaner before the new pads are fitted.