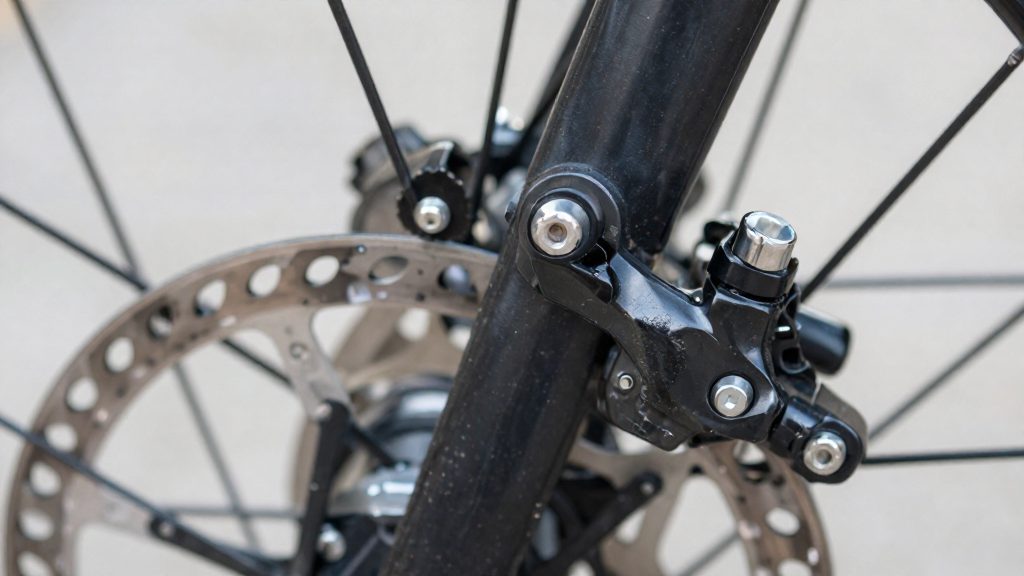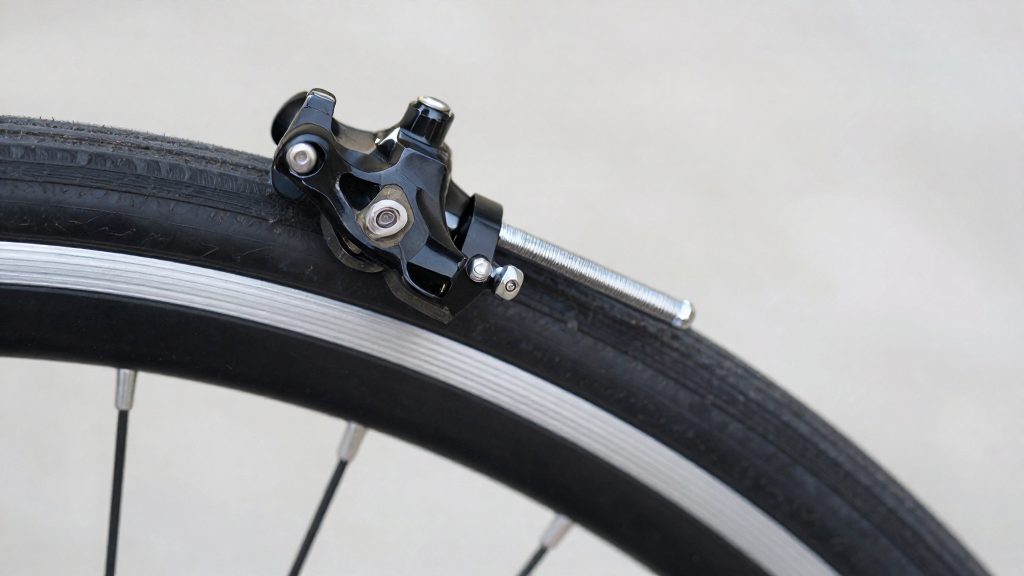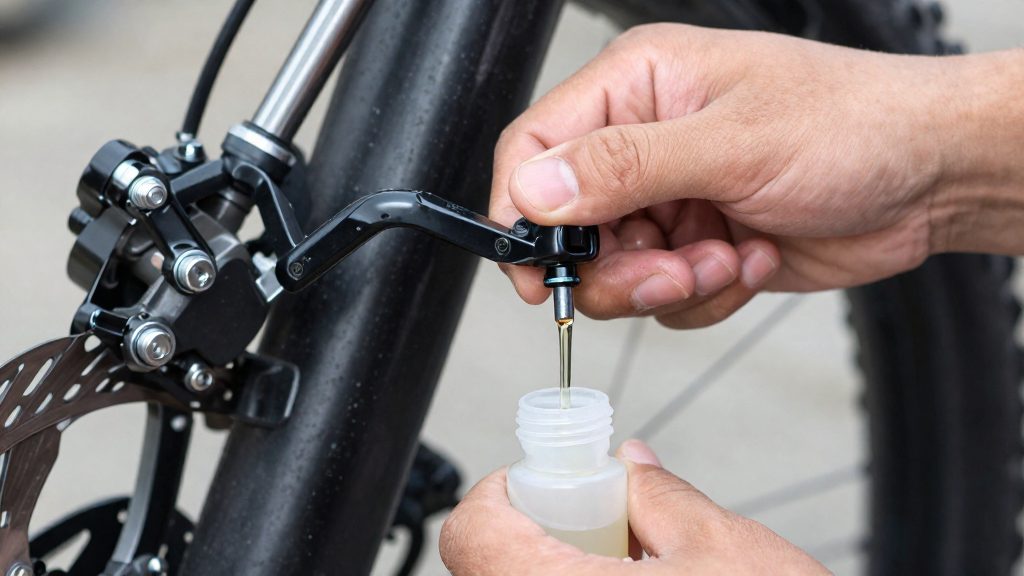
Hydraulic disc brakes need bleeding when the lever feels spongy or has lost power, and as routine maintenance at least once a year, even when the brakes seem normal. Air in the hydraulic line and fluid that has aged both reduce the lever’s firmness and response. The lever’s feel is the main signal to act, so a bleed is rarely driven by mileage alone.
Why and when do hydraulic disc brakes need bleeding?
The three triggers differ in urgency and in what they show about the system:
| Trigger | Signal | Action |
|---|---|---|
| Lever feel | Spongy, soft, or lacking power | Bleed promptly, before further riding |
| Annual interval | Brakes feel fine | Bleed to renew the fluid |
| Fluid age | Firmness fades after long or steep descents | Bleed and renew the fluid |
A spongy lever usually means air or vapour has entered the line, and it can make braking unpredictable. BikeRadar (2023) names this symptom as the main cue for a bleed, and it also advises bleeding at least once a year to keep the fluid fresh, even when the brakes feel fine.
DOT brake fluid, such as DOT 5.1, is hygroscopic: it absorbs moisture from the surrounding air through hoses and seals over time. Mineral oil does not absorb water in the same way, so the boiling-point effect described below mainly concerns DOT systems. Water in the fluid lowers its boiling point. Under sustained braking, especially on descents, the fluid can reach that lower boiling point and form vapour bubbles. Vapour compresses like air, so the lever can go soft even though no air has been introduced. This is why the annual interval matters even on bikes that are ridden lightly. The fluid can degrade through absorbed moisture alone, without any visible sign.
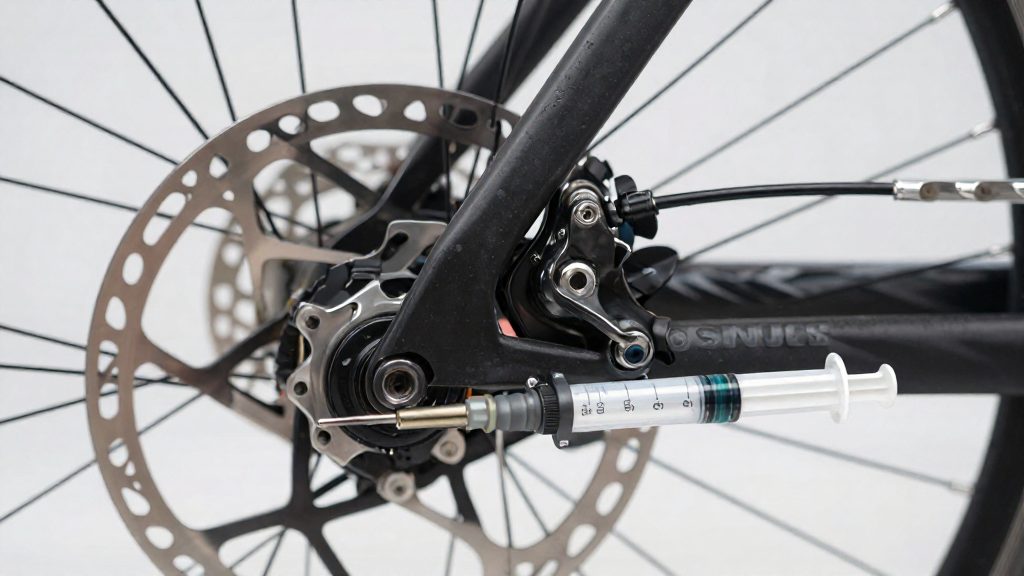
Which brake fluid does your brake use?
Hydraulic disc brakes are not interchangeable across manufacturers, because each system is designed for one specific fluid. The brand printed on the lever and caliper tells you which fluid to use. Shimano systems use mineral oil, while SRAM systems use DOT 5.1.
| Brake brand | Required fluid | Source |
|---|---|---|
| Shimano | Genuine Shimano mineral oil | BikeRadar (2023-04-03); Singletracks (2024-10-02) |
| Magura | Mineral oil | Singletracks (2024-10-02) |
| SRAM | DOT 5.1 | evo |
| Avid | DOT 5.1 | Singletracks (2024-10-02) |
| Formula | DOT 5.1 | Singletracks (2024-10-02) |
| Hayes | DOT 5.1 | Singletracks (2024-10-02) |
| Hope | DOT 5.1 | Singletracks (2024-10-02) |
Shimano: mineral oil only
BikeRadar (2023-04-03) states that Shimano hydraulic disc brakes should be filled with genuine Shimano mineral oil and that DOT fluid must never be used in them. Mineral oil and DOT fluids are not chemically interchangeable, so a Shimano system should never receive DOT fluid, even as a top-up.
SRAM: DOT 5.1
SRAM brakes use DOT 5.1 fluid, according to evo. Singletracks (2024-10-02) recommends the same DOT 5.1 specification for Avid, Formula, Hayes and Hope brakes. Matching the specification on the bottle to the brake brand is the only way to confirm compatibility.
Why the wrong fluid damages seals
The seals inside a caliper and lever are made to tolerate only their specified fluid. BikeRadar (2023-04-03) warns that the wrong fluid can destroy these seals and lead to brake failure. A seal that has swelled, softened or split may leak or let the lever feel spongy, so a brake that worked after a fluid change should still be inspected for leaks.
Tools and supplies for a home bleed
A home bleed on a hydraulic disc brake needs two syringes, a bleed block, isopropyl alcohol, a T10 Torx key, 2.5 mm and 5 mm Allen keys, safety glasses and gloves. The evo guide lists the first six items for SRAM brakes, and BikeRadar’s Shimano procedure also uses a bleed block and calls for safety glasses and gloves. The two lists come from different sources, so check which one matches your brake brand before you start.
| Item | Role in the bleed | Source |
|---|---|---|
| Two syringes | One is filled with oil and used to push fluid through the caliper. The other is used on the lever side. | evo |
| Bleed block | Fitted between the caliper pistons during a Shimano bleed. | BikeRadar (2023-04-03) |
| Isopropyl alcohol | Listed in the evo SRAM tool list as a supply to have on hand. | evo |
| T10 Torx key | Listed in the evo SRAM tool list for the fasteners the job requires. | evo |
| 2.5 mm Allen key | Listed in the evo SRAM tool list. | evo |
| 5 mm Allen key | Listed in the evo SRAM tool list. | evo |
| Safety glasses | Worn throughout a Shimano bleed. | BikeRadar (2023-04-03) |
| Gloves | Worn throughout a Shimano bleed. | BikeRadar (2023-04-03) |
The bleed block is the tool that keeps the pistons in place while fluid is pushed through, so it should be fitted before any oil is added. The Shimano method starts with removing the wheel and pads, so have the wheel-removal tools ready before you begin. Keep the syringes and bleed kit for this job only, and lay out the Torx and Allen keys before you open the brake. The SRAM method flushes fluid between the caliper syringe and the lever syringe with the lever held above the caliper, so both syringes must be ready at the same time.
How to bleed Shimano mineral-oil brakes
A Shimano bleed is a sequence of separate steps, and the order matters. The pads are removed first because oil that reaches them is hard to clean out, and the pads sit where you will be working.
Next, fit the bleed block in the space the pads normally occupy.
Fill the bleed syringe with mineral oil. Before you connect it, tap the syringe barrel and push the plunger slowly to expel any air trapped inside. Air in the syringe would simply travel into the brake, so this step has to be complete before the syringe is attached to the caliper.
Connect the syringe to the caliper’s bleed port and open the bleed screw. Push the plunger slowly so that oil flows from the caliper toward the lever. Throughout this stage, leave the lever untouched. If the lever is pressed while oil is draining, pressure can push fluid back and reintroduce air. Keep working the syringe until the oil runs clear and no bubbles appear at the outlet. According to BikeRadar (2023-04-03), the full procedure involves pushing oil through from the caliper until no bubbles appear, and it is the bubble-free outflow that tells you the line is clear.
When the flow is clean, close the bleed screw while the syringe is still connected so that no air is drawn back in. Disconnect the syringe, then refit the pads and the wheel. Wear safety glasses and gloves for the whole procedure, since mineral oil spills easily during syringe changes.
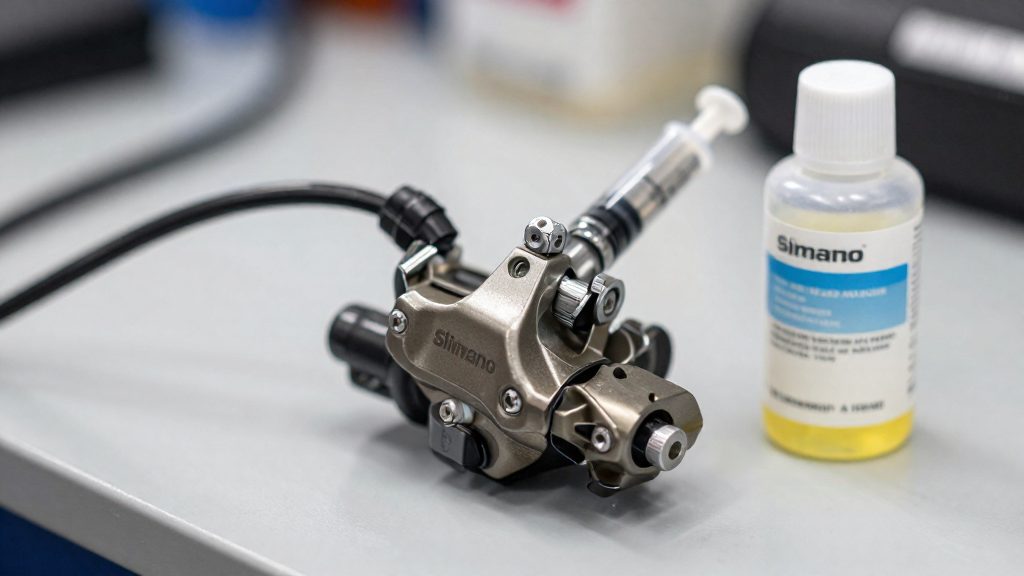
How do you bleed SRAM DOT 5.1 brakes?
SRAM brakes use DOT 5.1 fluid, and the bleed is a two-syringe flush rather than a single-line pump-through. According to evo, fluid moves between a caliper syringe and a lever syringe while the lever sits above the caliper. The flush continues until no bubbles remain in the system. Because the lever is kept raised throughout, the air is carried toward the lever end, where it can be cleared.
Tools and preparation
evo lists the following tools for the job:
- Two syringes
- A bleed block
- Isopropyl alcohol
- A T10 Torx driver
- A 5 mm Allen key
- A 2.5 mm Allen key
Flushing sequence
- Fill the caliper syringe and the lever syringe with DOT 5.1 fluid, expelling any air from each.
- Connect the syringes to the caliper and the lever, and raise the lever so it sits above the caliper.
- Push fluid from one syringe into the other, then reverse the flow, repeating the cycle so fluid passes through the hose and caliper.
- After each cycle, inspect the syringes and hose for bubbles.
- Continue flushing until no bubbles remain, then close the bleed ports and remove the bleed block.
Work slowly during each push. Forcing fluid quickly through the system is more likely to reintroduce air at the fittings.
Keeping fluid off pads and rotors
Brake fluid that reaches the pads or rotor during bleeding is one of the most damaging mistakes in the job. According to Singletracks (2024-10-02), fluid on the rotor or pads can permanently ruin the pads, so the practical goal is to prevent contact rather than correct it afterwards. Contamination matters more than volume: a single drip on a pad face can change how the hydraulic disc brake bites for the rest of that pad’s life. Oil-affected pads can feel inconsistent, with reduced stopping power, a grabbing or squealing feel, or a braking surface that no longer responds predictably.
Preventing contamination
Prevention starts before any fluid is poured. Keep a clean cloth under the caliper and wipe any overflow from the caliper body straight away. Avoid touching the rotor with fluid-coated gloves or a rag that has been used on the caliper.
Cleaning the rotor with isopropyl alcohol
If fluid reaches the braking surface, clean it with isopropyl alcohol applied to a clean, lint-free cloth. Wipe the rotor surface, then use a fresh area of cloth until no dark residue transfers. Singletracks (2024-10-02) also suggests sanding the braking surfaces to remove any contaminated layer that alcohol alone does not lift. Clean the rotor before refitting the wheel, and keep the cloth clear of the pad area while the rotor is in place.
Recognising contaminated pads
Once oil has soaked into the friction material, cleaning the surface does not reliably restore performance, so contaminated pads should be replaced rather than reused. Wear limits are a separate check, and Singletracks (2024-10-02) gives the following minimum total pad thicknesses:
| Brake brand | Replace pads when total thickness is under |
|---|---|
| Hayes, Avid | 3 mm |
| Magura | 2.5 mm |
Fit new pads only after the rotor has been cleaned and the caliper has been wiped of any residue.
Testing, torque and troubleshooting a spongy lever
A successful bleed shows up in the lever feel. After closing the bleed screws, pump the lever several times until the pads contact the rotor. The lever should feel firm, the bite point should stay in the same place across repeated pulls, and the lever should not slowly sink when held under pressure. If the lever keeps travelling toward the bar, air or a leak is still in the system, and the bleed should be repeated before any other diagnosis.
Bleed screw torque
Tighten the bleed screws to the values below with a torque wrench (roughly 35–53 in-lb for the caliper screw and 4–6 in-lb for the lever screw). Overtightening can strip the threads in the caliper or lever body, so a wrench is preferable to feel alone.
| Component | Bleed screw | Torque (BikeRadar, 2023-04-03) |
|---|---|---|
| Shimano caliper | Caliper bleed screw | 4–6 Nm |
| Shimano lever | Lever bleed screw | 0.5–0.7 Nm |
BikeRadar’s figures come from a specialist publication rather than the Shimano manual, so compare them with Shimano’s own documentation for your model before tightening.
Checking firmness and screw closure
Before judging the brake, confirm that every bleed screw is closed and that no fluid is weeping from the threads. A screw that is slightly loose lets air back in and can produce a lever that feels soft a few rides later. Wipe the screw threads and the surrounding body dry, then pump the lever again and watch for any fresh bubbles or fluid at the fitting.
Diagnosing a spongy lever that persists
If the lever is still soft after a full bleed and correct torque, do not ride the bike until the cause is found. Check these possible causes, such as trapped air, a loose fitting or screw, or a leak or worn seal at the caliper or lever:
| Symptom | Likely cause | Check |
|---|---|---|
| Lever sinks slowly under steady pressure | Air trapped at a high point or in the lever reservoir | Repeat the bleed and tap the lines gently to dislodge bubbles |
| Lever feels soft only after a ride | Bleed screw or fitting not fully sealed | Inspect screw threads and fitting nuts for weeping fluid |
| Soft lever with visible fluid around the caliper | Leak at the caliper seals or piston | Inspect the caliper body and pistons for wetness |
| Soft lever that worsens over weeks | Worn seals or ageing fluid | Check the fluid date |
If a leak is confirmed or the lever stays soft after repeated bleeds, stop riding the bike and have it inspected by a qualified mechanic or your local bike service, because a failing hydraulic system can lose braking power without warning.
Frequently asked questions
Can I reuse a bleed kit that previously held DOT fluid?
No. A syringe, hose or bleed block that has held one fluid must not be used with another, because a mismatch can destroy the seals and lead to brake failure. Keep a separate kit for each fluid type and confirm the fluid label before you start.
What happens if brake fluid gets on the pads or rotor?
Fluid on the pads can permanently ruin them, so a contaminated pad is not worth trying to restore. To clean the rotor, use isopropyl alcohol and sand the braking surface, as Singletracks (2024-10-02) suggests.
Is it safe to press the lever during a bleed?
Do not press the lever while oil is draining, as BikeRadar (2023-04-03) advises. Wear safety glasses and gloves for the whole job.