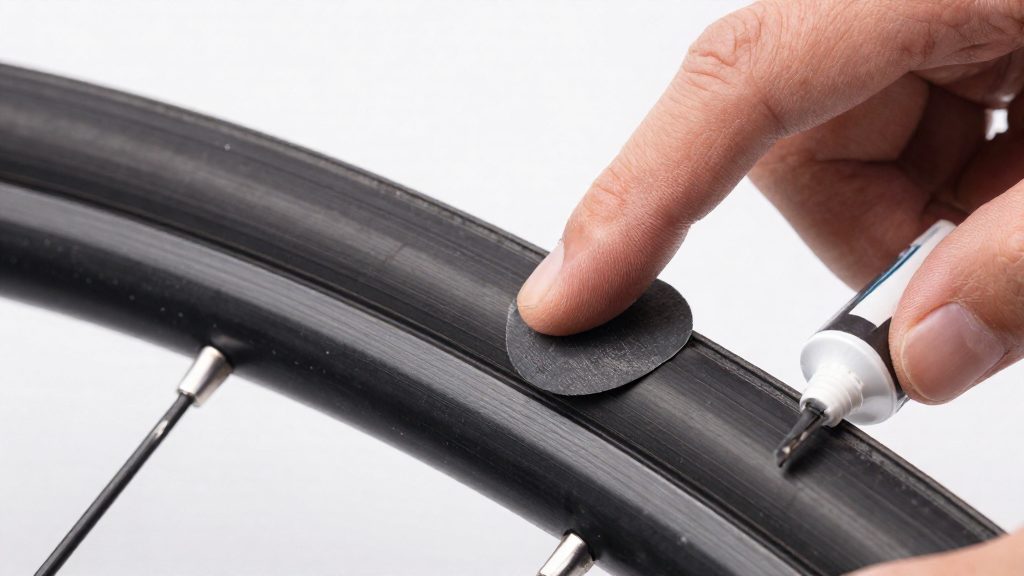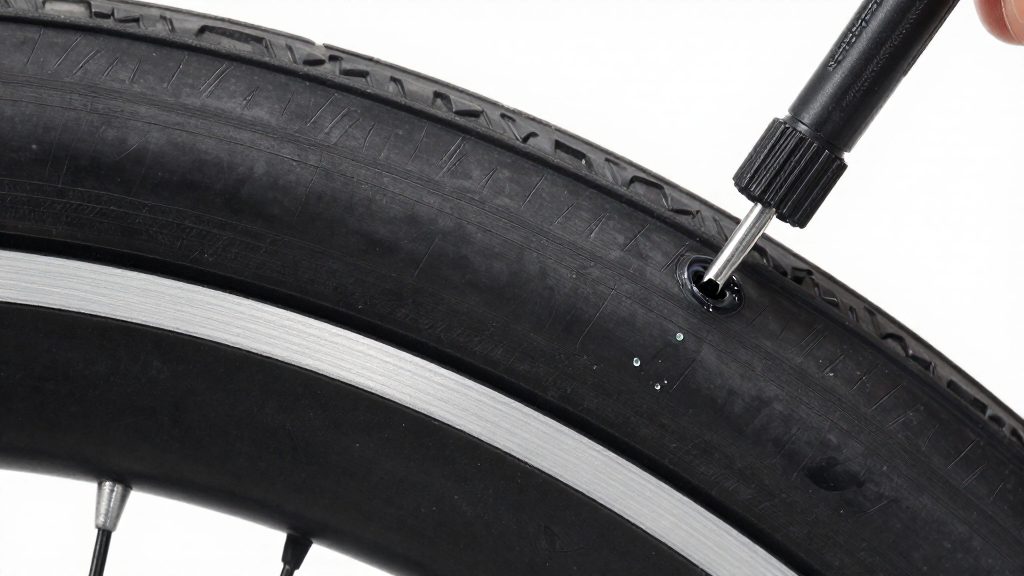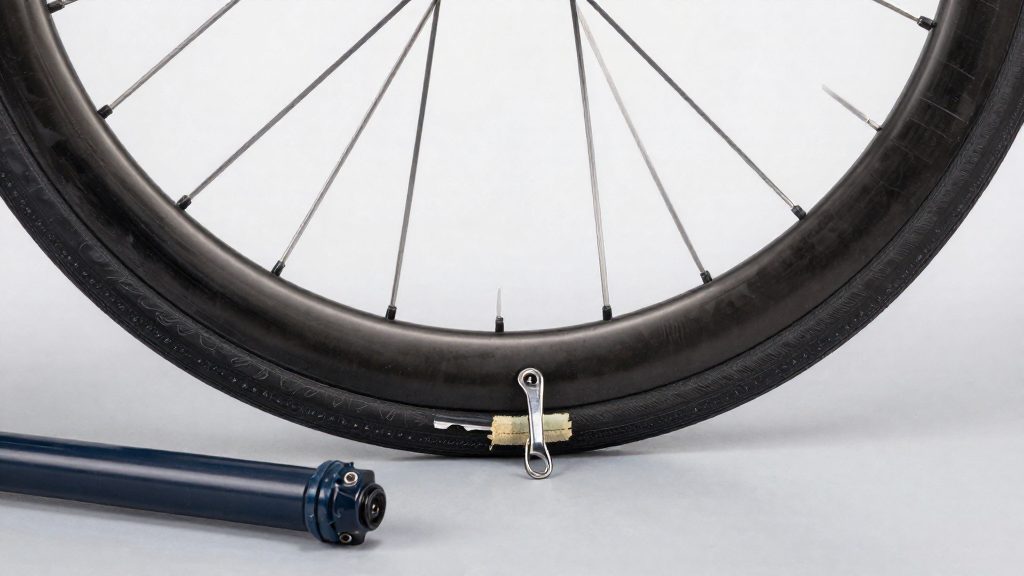
A road bike tire change needs three items before you touch the wheel: two plastic tire levers, a pump or CO2 inflator whose head fits both Presta and Schrader valves, and a spare inner tube matched to the tire’s width and the wheel’s diameter. Carry these with you on rides and keep them with your home tools so the change can be done with the wheel off the bike.
What tools do you need to change a road bike tire?
Two plastic tire levers
Two levers are the minimum because the first one holds the bead while the second works it over the rim. Choose levers that are rigid enough to lift the bead without bending, since a flexing lever can slip and scratch the rim. Trek Bikes (2026) describes using two levers for this stage.
Pump or CO2 inflator with Presta and Schrader compatibility
Presta valves are narrow and have a locking nut that must be unscrewed before inflation. Schrader valves are wider, like those on car tires. Confirm which valve your spare tube uses, and carry a pump head or adapter that matches it. A CO2 inflator fills a tube quickly, so the fill can overshoot. Michelin (2026) advises inflating in stages and staying below the maximum pressure printed on the tire sidewall.
Spare tube matched to tire size
The tube must match the tire’s width and the wheel’s diameter, both of which are printed on the tire sidewall. A tube that is too small for the tire can be stretched or pinched when fitted. Trek Bikes (2026) recommends inflating the new tube lightly so it holds its shape before seating the tire.
How do you remove the wheel?
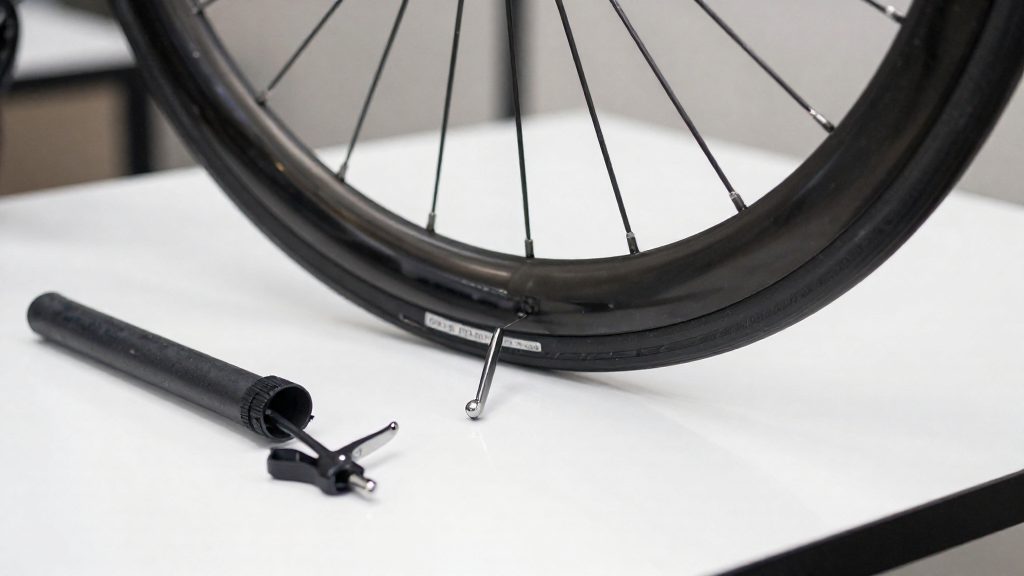
Removing a rear wheel takes three preparatory steps: shift onto the smallest cog, open the caliper brakes, and release the axle retention. According to Trek Bikes (2026), shifting to the smallest rear cog and opening caliper brakes with the quick-release lever come before removal. Both settings create clearance, so the wheel can drop out of the frame without the chain or brake pads catching on it.
Shift to the smallest rear cog
Use the rear shifter to move the chain onto the smallest sprocket on the cassette. The chain then sits at its outermost position, which slackens it and lets you lift it clear of the cog as the wheel comes out. With the chain on a larger cog, it stays under tension and can block the wheel from sliding out of the dropouts, the slots at the rear of the frame.
Open the caliper brakes
Caliper brakes squeeze the pads against the rim, so the tire cannot pass between them while the pads are closed. Open the quick-release lever on the brake to retract the pads away from the rim. Hold it open while you remove the wheel, and do not let the pads close again until the tyre is clear.
Release the skewer or axle nut
On a quick-release hub, open the skewer lever, which is normally on the non-drive side, then loosen the adjusting nut on the opposite side just enough for the skewer to slide out. Some rear hubs use bolt-on axle nuts instead. In that case, loosen both nuts with the correct wrench, and check the product label or manufacturer’s instructions for the wrench size. Support the bike so the rear wheel is free of the ground, then lift the wheel out of the dropouts with the chain still on the smallest cog.
Taking the tire and tube off
According to Trek Bikes (2026), you remove a tyre by working one bead off the rim with two tyre levers. The bead is the reinforced edge of the tyre that sits in the rim’s hook. Until it clears the rim edge, the tube cannot be reached.
Insert the first lever under the bead and pry a short section over the rim. Do not pull the whole bead off at once. Then hook the second lever onto a nearby spoke. This holds the freed section in place, so you can release the first lever and move it along the rim to lift the next section of bead.
Once the bead is clear on one side, peel the tyre off that side. You do not need to remove the tyre from the rim entirely to reach the tube. Pull the tube out starting at the valve, so the stem guides the rubber out through the valve hole and the tube slides free of the casing.
The sequence in brief:
| Step | Action | Purpose |
|---|---|---|
| 1 | Insert the first lever under the bead and lift a short section | Starts the bead over the rim edge |
| 2 | Hook the second lever onto a spoke | Keeps the freed section in place |
| 3 | Move the first lever along the rim and lift the rest of the bead | Frees one side of the tyre |
| 4 | Peel the tyre off one side | Exposes the tube |
| 5 | Remove the tube, starting at the valve | Withdraws the tube from the casing |
Work slowly and in short sections. Forcing a large section of bead with one lever tends to pinch the tube or bend the lever. Keep the lever tip against the rim and lift in small increments until the bead clears the hook.
How do you find what caused the flat?
Once the tube is out, the tyre and rim usually show what made it fail. Three causes are worth checking in order: sharp objects that penetrated the tyre, damaged rim tape, and a tube pinched between the rim and the tyre bead. Checking all three before you fit a new tube stops the same puncture from recurring.
Check the tyre for sharp objects
Inspect the outside of the tyre first, working around the tread and both sidewalls. Look for cuts and anything embedded in the rubber. Then check the inside of the casing, because an object can pass through the tyre without leaving a visible mark outside. Trek Bikes (2026) advises checking both the inside and outside for sharp objects such as glass before fitting the new tube. Remove anything you find, since a fragment left in the casing can pierce the new tube as soon as it is inflated.
Inspect the rim tape
Rim tape sits in the rim bed and covers the spoke holes, so the tube never touches them. Michelin (2026) notes that damaged rim tape favours flats. Look along the full circumference for tears, shifted sections and worn areas. Where the tape is damaged, spoke holes can be exposed. Replace the tape if it is worn or damaged.
Look for pinch flats
A pinch flat occurs when the tube is pinched between the rim and the tire, for example when it is trapped under the bead during fitting or when the tire bottoms out on the rim at low pressure. Michelin (2026) identifies a tube trapped under the bead as a cause of pinch flats. Examine the tube itself at the point where it sat against the bead, and check the bead area of the tyre for any sign that the tube was caught there.
| Inspection point | What to look for | Action |
|---|---|---|
| Tyre, outside | Cuts, embedded glass or thorns | Remove the object and note its position |
| Tyre, inside | Sharp objects that could pierce a new tube | Remove before fitting the new tube |
| Rim tape | Tears, shifts or worn areas exposing spoke holes | Replace if worn |
| Tube and bead | Damage where the tube was trapped under the bead | Confirm the tube sat correctly when refitted |
Fitting the new tube and tire
Fit the tube before the tire. Start by inflating the new tube lightly, just enough that it holds its shape. According to Trek Bikes (2026), this is the stage where the tube should be firm enough to stay round but loose enough to move inside the tire. A tube that is completely flat folds unpredictably and can get caught between the tire and rim. A fully inflated tube leaves no room for the bead to settle.
Tuck the tube inside the casing, then seat the valve through its hole in the rim. Position the tire so the valve sits at the top, since every following step starts from there.
Reseating the tire by hand
Push the first bead into the rim by hand, beginning at the valve. Work away from the valve in both directions, pressing the tire into the well of the rim an inch or so at a time. Keep your thumbs close to the rim edge so you can feel whether the bead is sliding in or catching on the edge. Trek Bikes (2026) describes this hand-first approach as the main method: the tire should go on with fingers alone for most of its circumference.
Once the first bead is in, the second bead follows the same pattern. Start at the valve again and work around the rim toward the opposite side. The last section, usually the part farthest from the valve, is where the tire is tightest.
Using a lever only for the final section
Reach for a tire lever only when the bead resists your fingers across the last tight section. Lift the bead over the rim edge and never drive the lever along the rim.
Before inflating the tire further, check that the tube isn’t pinched under the bead. Run your hand around both sides of the tire and look for a section of tube showing between the tire and the rim edge. If you find one, deflate slightly, reseat that section by hand, and check again.
How much air should you put in?
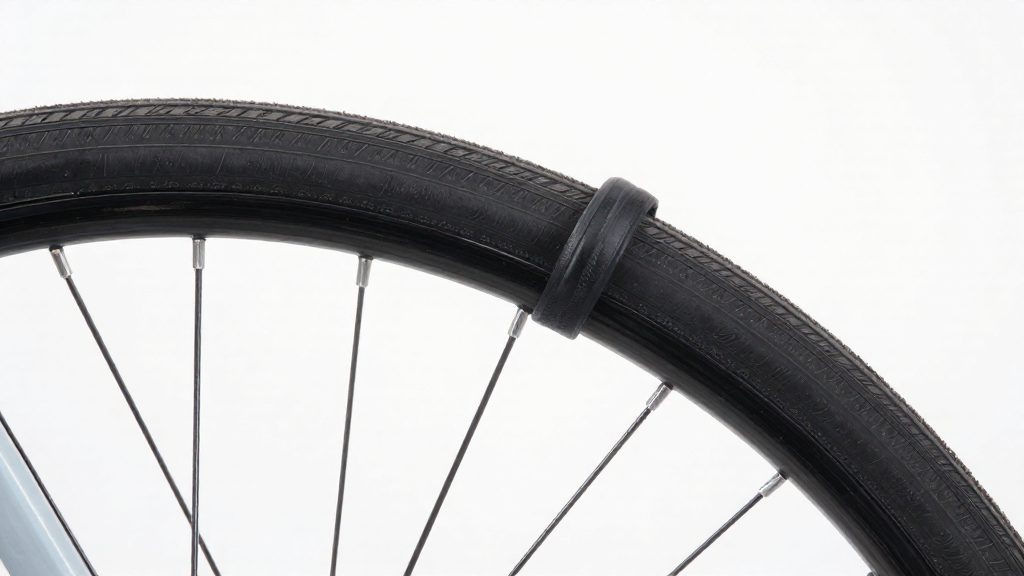
A road tyre’s safe pressure window runs from the lowest level that keeps the tyre stable to the maximum pressure printed on the sidewall, which is the ceiling you must not exceed. According to Michelin (2026), you should inflate in stages and stay below that sidewall limit. The working pressure you choose sits somewhere inside this window, and you should set it with a gauge rather than by feel.
Inflating in stages
Add air in short bursts and check the gauge between each one. Inflating all at once makes it easy to overshoot the sidewall maximum, and the gauge gives you a reading before you commit to more air. Stop once the reading is where you want it, then release air in small amounts if you’ve gone too far.
Staying below the sidewall maximum
Find the maximum pressure moulded into the tyre sidewall, usually printed near the bead. Use this figure as a hard limit, not a target. The table below shows how to act on each gauge reading.
| Gauge reading | Action |
|---|---|
| Below the sidewall maximum | Continue adding air in short bursts |
| At the sidewall maximum | Stop; add no more air |
| Above the sidewall maximum | Release air immediately |
Checking before every ride
Road tyres lose pressure over time, so a tyre that was correct last week may be low now. Check the pressure with a gauge before every ride, since the amount of pressure lost between rides varies with temperature and the tyre’s condition.
Refitting the wheel and final checks
Refitting is the stage where most mistakes go unnoticed until the first ride, so each step below checks the result of the one before. Work through them in order, and do not skip the spin test even when the wheel looked straight during installation.
Seating the wheel. Hold the wheel by the tyre and slide the axle fully into the dropouts (the slots in the frame or fork). On a rear wheel, the chain should sit on the chosen cog, and the wheel should be pushed forward until the axle is seated against the end of each slot. Then centre the wheel between the frame or fork legs. Rotate the rim by hand and look at the gap between the tyre and the seat stays or chainstays. If the gap is uneven, the wheel is off-centre and needs to be repositioned before you tighten anything.
Closing the quick-release. A quick-release skewer clamps the axle through a lever and a cam. Set the lever on the side opposite the drive side (the non-chain side on a rear wheel), and tighten the adjusting nut on the other side until the lever starts to resist. Close the lever with firm hand pressure so the cam bites into the frame or fork. A correctly closed lever lies flat or nearly flat against the frame, with a clear resistance at the end of its travel. If it closes easily or sits loosely, open it and tighten the adjusting nut a quarter-turn before trying again.
Spinning the wheel. Lift the bike so the wheel turns freely, then spin it by hand. Listen for a rubbing or scraping sound and watch the rim and tyre for any contact with brake pads, the brake caliper, or the frame. On a rim-brake bike, first close the caliper brake quick-release lever that you opened for removal and check that the pads sit evenly on each side of the rim. Then squeeze the brake lever firmly while the wheel turns; it should stop quickly without any drag once the lever is released.
| Check | Method | Sign of a problem |
|---|---|---|
| Axle seating | Slide the axle to the end of each dropout | Gap between axle and dropout end |
| Centring | Compare tyre clearance on both sides | Uneven gap to frame or fork |
| Quick-release | Close the lever with firm hand pressure | Lever closes loosely or rotates freely |
| Rubbing | Spin the wheel by hand | Scraping or contact with pads or frame |
| Brake function | Squeeze the lever while spinning | Drag, or no stop when the lever is pressed |
Can you change a tire on a disc brake road bike?
Yes. The tube and tyre procedure is the same as on a rim-brake road bike, but disc brakes change what you must protect. Because the brake caliper stays on the frame, there is no caliper to open first. According to Trek Bikes (2026), you skip the brake step entirely on disc brakes. The work then centres on keeping the rotor and pads clean and avoiding damage to the rotor while the tyre is off.
Protecting the rotor during the change
The rotor is a thin steel disc, and it is the surface that must stay clean. Handle the wheel by the hub and rim, not the rotor, and keep these points in mind:
- Keep the rotor free of oil and grease. Chain lube, grease from your fingers, or tyre-fitting lubricant on the rotor reduces braking power. If it gets contaminated, clean the rotor with a brake-specific degreaser and a lint-free cloth. Do not use oily rags.
- Keep tyre levers away from the rotor. A lever that slips onto the rotor can bend it.
Frequently asked questions
Why does my new tube go flat soon after I fit it?
Most early flats come from a pinch flat, where the tube is caught between the tyre bead and the rim edge during seating. Check for a tube bulge near the bead, and check the rim tape, which can expose the tube to spoke holes if it has shifted or worn through.
Do I need to re-check the brakes after putting the wheel back on?
Yes. On a bike with rim brakes, close the caliper quick-release before you ride, then squeeze both brake levers and confirm the pads clear the rim and stop the wheel. Disc-brake bikes need a separate check that the wheel is seated fully in the dropouts.
Can I change a road tyre without tyre levers?
On a wide rim with a loose-fitting tyre you can sometimes work the bead off by hand. Most narrow road tyres are too tight for this, so plan to carry levers even if you rarely need them.