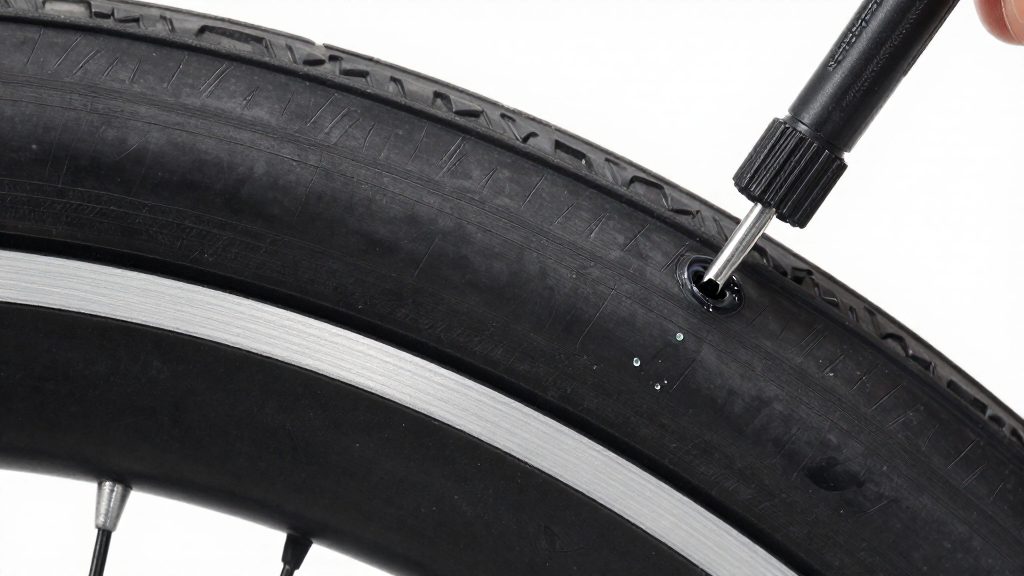
Yes. In most cases a flat tubeless tire can be repaired without an inner tube. The sealant already inside the tire fills small punctures as the wheel turns. Larger damage is handled with a plug or a boot, and a tube is fitted only when those options fail (a spare tube may also be run for a few days to help a boot adhere). Following this order keeps the tire tubeless and avoids unnecessary work at the roadside.
Can you fix a flat tubeless tire without a tube?
Repair decision order
Start with the least invasive option and move to the next only if it fails:
- Sealant first. Rotate the wheel so the puncture sits at the bottom, then re-inflate. If the leak stops, the repair is complete (ENVE Composites, 2020).
- Plug if the hole is too big for sealant (up to about a quarter inch); beyond that, use a boot.
- Install a tube only if neither works (ENVE Composites, 2020).
Damage severity changes the starting point. The table below shows where to begin for each type.
| Damage | First response | Source |
|---|---|---|
| Small puncture | Sealant, then re-inflate | ENVE Composites (2020) |
| Puncture larger than about a quarter inch | Boot instead of plug | Pearl Izumi (2022) |
Why most tubeless flats avoid a tube
Sealant and plugs repair the puncture inside the existing tire and rim, so the tire stays set up for tubeless running. A tube is the fallback because fitting one requires removing the tire from the rim, which is the most time-consuming part of a repair. For a rider repairing a flat by the roadside, staying tubeless is usually the faster route when the damage is small.
Signs the tire needs professional attention
- Sidewall gash. A sidewall gash needs the wheel removed and a boot. If the boot does not hold, take the wheel to a bike shop.
- Sealant that does not hold. If the tire keeps losing pressure after sealant, plugs, and a rotation, move on to a boot or a tube, and see a shop if those do not hold either.
- Repeated flats in the same place. A flat that returns at the same spot can indicate an embedded object or rim damage. Inspect the rim and tire before riding again.
- Bead that will not seat. If the tire does not seal to the rim when inflated, stop and have it checked.
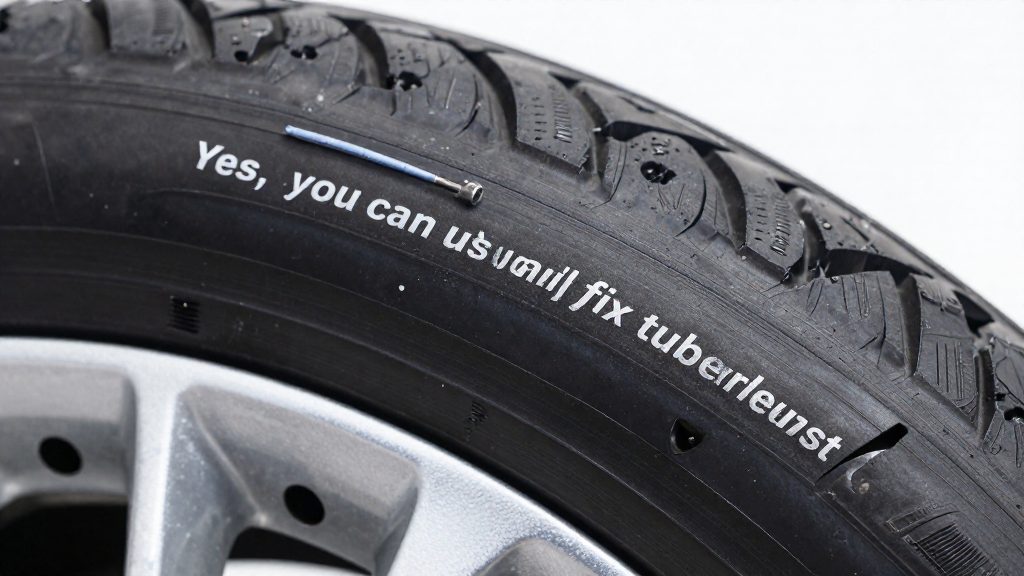
Tools and supplies to carry
A trailside tubeless repair needs three groups of items: a plug kit with its insertion tool, a means of re-inflating the tire, and a cloth for finding what caused the flat. These items are small enough to fit in a saddle bag or frame bag.
Plug kit and insertion tool
Carry the plugs together with the insertion tool that pushes them into the hole. Use the insertion tool supplied with your kit, since it is designed to match the plugs.
| Item | Purpose on the trail |
|---|---|
| Insertion tool | Push the plug into the hole |
| Knife or cutter | Trim the plug after fitting so it does not catch while braking |
| Lightweight rag | Locate the cause of the flat safely |
Re-inflation supplies
Pearl Izumi (2022) recommends carrying two CO2 cartridges for longer rides. A cartridge gives one burst of pressure, so the second is a backup if the first fails to seal or the tyre needs more air. Before the ride, confirm that the inflator head fits your valve type. If you prefer a manual pump, carry it as the alternative to cartridges, since cartridges are single-use and cannot be refilled on the trail.
Lightweight rag
ENVE Composites (2020) advises feeling for the cause of a flat with a rag or sleeve rather than a bare hand. A thin cloth lets you run your fingers around the tread and sidewall to find sharp debris such as glass or thorns while protecting your skin. Choose a lightweight rag that folds small enough to stay in the saddle bag, and keep it separate from the plug kit so that the tools stay clean.
Let the sealant do its job first
On a tubeless wheel, sealant is the first response to a flat. It sits inside the tyre, and when air escapes through a small hole, the liquid can be carried into the gap and form a seal. It can only work if it reaches the hole, so wheel position matters. According to ENVE Composites (2020-05-19), the first step is to rotate the wheel so the puncture sits at the bottom, then re-inflate.
Gravity moves the liquid, so the sealant collects at the lowest point of the tyre. With the puncture at the bottom, the sealant pools against the hole instead of settling on the opposite side. Find the leak by listening for the hiss, then rotate the wheel so the puncture is at the bottom.
| Step | Action | What to check |
|---|---|---|
| 1 | Rotate the wheel until the puncture is the lowest point | Hiss or mark is at the bottom |
| 2 | Re-inflate to your usual pressure | Tyre seats evenly on the rim |
| 3 | Leave the wheel still, puncture down | Sealant has time to collect at the hole |
| 4 | Spin the wheel and recheck the pressure | No hiss, no bubbles at the hole |
Sealing is not instant. Leave the wheel still with the puncture down for a while before you judge the result. If the pressure drops again after that rest, rotate the wheel so the puncture is at the bottom and re-inflate once more. If it still leaks, stop riding on that tyre and move to the next repair method.
How to plug a tubeless tire
A small puncture can be plugged with the wheel still on the bike, so you don’t need to remove the tire from the rim. Keep the tool and plug in the same hand, and work with the tire fully inflated or lightly pressurised so the hole is easy to locate.
- Load the plug. Thread a tubeless plug into the eye of the insertion tool, leaving only enough plug protruding to fill the hole.
- Insert with steady pressure. Push the tool into the puncture in one smooth motion. Stop once the plug has seated. Do not push so deep that you damage the rim tape.
- Withdraw the tool. Pull the tool straight out in one motion so the plug stays in the hole. Pull the tool out so the plug stays in the hole.
- Avoid pushing too deep. Pushing the plug too far can damage the rim tape, so stop once it has seated.
- Inflate and check. Re-inflate the tire to your normal pressure and check the plug for leaks. A simple soapy-water test on the plug shows bubbles where air is escaping.
- Trim the plug. Once the plug has sealed, cut off the protruding end close to the tread surface. A long stub can catch on the brake pads or on the frame while braking.
The insertion depth matters more than the force you apply: the plug should sit in the tread, not in the rim. Keep the tool straight in the hole so the plug does not bend, which would leave a gap for air to escape. If the plug still leaks after trimming, the puncture may be too large for a plug and needs a different repair.
What if the hole is too big?
When a puncture is too large for sealant or a plug, the repair has to be done with the wheel off the bike. According to evo (2024-04-10), large punctures and sidewall gashes both require wheel removal, followed by deflating the tyre, breaking the bead, clearing debris, and fitting a tubeless boot. The work is more involved than an on-bike plug, but the steps are the same for each type of damage.
Removing the wheel and breaking the bead
Take the wheel off the bike first, then work through the following sequence:
| Step | Action |
|---|---|
| 1 | Release all air from the tyre. |
| 2 | Break the bead by pressing the tyre sidewalls away from the rim so the tyre lifts off its seat. |
| 3 | Locate the damage and clear any debris from the tyre interior and the rim. |
Breaking the bead is what gives access to the inside of the tyre. Without it, a boot cannot be positioned over the hole.
Clearing debris and fitting a boot
Before fitting a boot, remove any thorns, glass, or wire fragments. The two sources describe the boot differently:
| Source | Boot described | Detail |
|---|---|---|
| evo (2024-04-10) | Tubeless boot | Fitted after the bead is broken and debris is cleared |
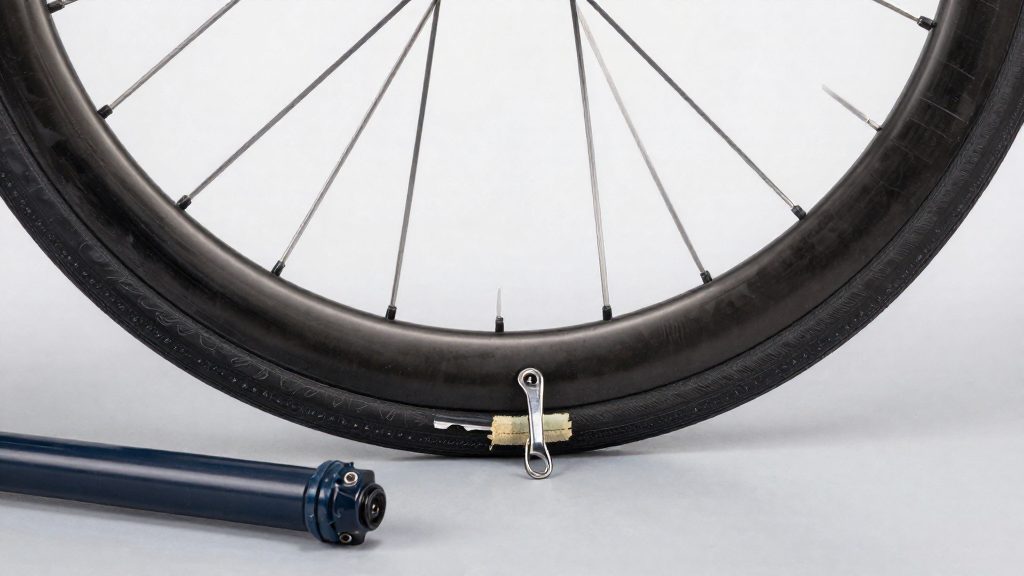
| ENVE Composites (2020-05-19) | Tyre boot placed between tyre and tube | Improvised alternatives named: a dollar bill or a used gel packet |
Position the boot over the damaged area on the inside of the tyre, then re-seat the bead and inflate. A boot is a temporary structural patch, so check it for leaks after inflating.
Sidewall gashes and why they limit repair
A sidewall gash is treated in the same wheel-off category as a large puncture, but its location makes the repair less predictable. Check the tyre’s sidewall markings and the manufacturer’s instructions to confirm whether a boot repair is appropriate for the cut. If the damage is doubtful, fitting a new tyre is the more reliable option than depending on a temporary patch.
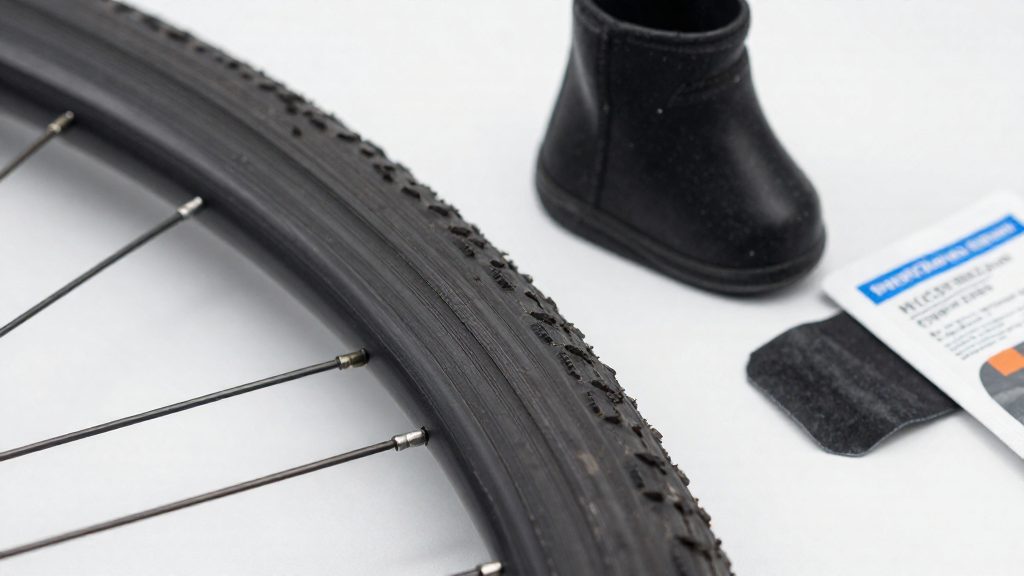
When should you use a boot or a spare tube?
Size and location decide the repair. Sealant works only when the hole is small enough to seal. A boot is for punctures and cuts too large for either.
| Damage | Suggested fix |
|---|---|
| Puncture up to about a quarter inch that sealant cannot close | Plug |
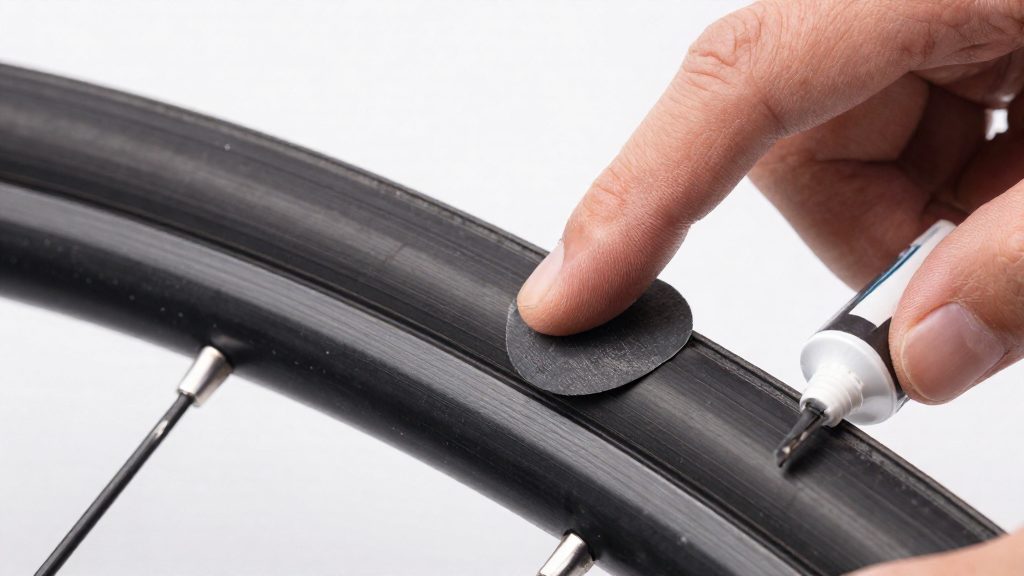
| Puncture larger than about a quarter inch | Tire boot |
| Large cut | Tubeless boot inside the tire (with a tube as a temporary fallback, boot between tire and tube) |
The quarter-inch figure is the practical dividing line. Below it, a plug usually holds. Above it, the hole is too large for a plug to bridge, so a boot gives the tire a patch on the inside.
Running a spare tube is how the boot is secured. evo recommends running a spare tube for a few days after fitting a boot so the boot adheres to the inside of the tire. Without that period, the boot can shift before it bonds.
Choosing the boot material is the last decision. ENVE suggests a dollar bill or a used gel packet as an improvised boot for a large cut. Both are improvised emergency options that sit between the tire and the tube; replace them with a proper boot when you can. Any material used should lie flat and cover the cut completely.
How often should you refresh sealant?
Tubeless sealant is a consumable, so it needs periodic renewal rather than a one-time fill. According to evo (2024), tubeless sealant should be refreshed about every six months. This is a calendar interval, so it works best as a fixed item in your seasonal servicing, whether or not the wheel has had a puncture.
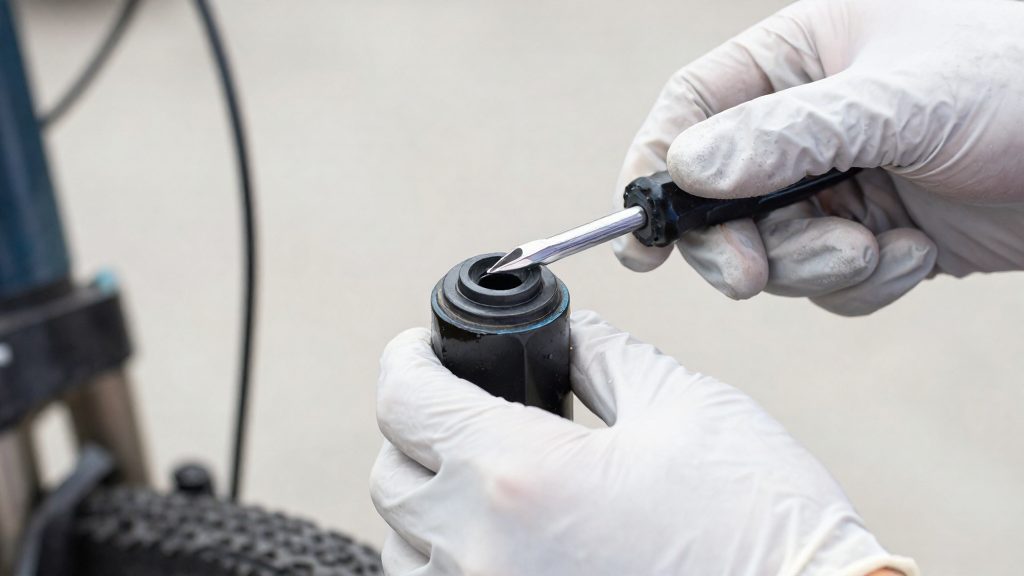
The refresh itself is quick, but the order of steps matters. The valve core has to come out before the sealant goes in, because the core blocks the fluid’s path into the tire.
| Step | Action | Detail |
|---|---|---|
| 1 | Remove the valve core | Use a valve core tool. This opens the valve so the sealant can pass into the tire. |
| 2 | Add sealant | About 4 oz per wheel, as stated by evo (2024). |
Work over a tray or a rag, since sealant that misses the valve opening will spread across the rim and tire bead. Shake the bottle before pouring so the latex solids are evenly mixed. Keep the bottle capped between uses, and store it out of direct sunlight and away from freezing temperatures, as most manufacturers’ labels advise. Check the product label for the exact shelf life and any temperature limits on your specific sealant.
Because the refresh is tied to the calendar, the sealant in a wheel that you ride rarely can still reach the six-month mark without any ride count. Use the date of each refresh as your reference point for the next one, and keep the same record for both wheels so neither is forgotten.
Prevent the next tubeless flat
Most tubeless punctures come from debris that stays lodged in the tread after a ride. A short inspection routine catches these before they cause a flat, and correct pressure and rim-and-tire pairing reduce the other common causes.
Inspecting the tread for embedded debris
Check the tread after every ride. Be ready to plug or re-inflate if removing an embedded object opens a leak. Run your fingers slowly over the tread. Look for embedded debris such as thorns, glass, and wire fragments, and remove anything you find. A fragment left in the tread can work through the casing and puncture the tire later, often on a different ride.
Choosing tire pressure to limit pinch flats
A pinch flat occurs when the tire compresses hard against the rim on an impact and tears or cuts the casing. Running the tire within the pressure range printed on its sidewall is the baseline. Within that range, lower pressure gives more cushion over rough ground but makes the tire more prone to pinch flats, while higher pressure reduces pinch-flat risk but gives a harsher ride. Set pressure for your body weight and the terrain you ride most, and recheck it before rides, since tubeless tires lose pressure over time.
Checking tubeless compatibility
Before converting a wheel, confirm that the tire and rim are designed to work together.
| Check | Where to look | What it confirms |
|---|---|---|
| Tubeless marking | Tire sidewall | The tire is designed to seal without an inner tube |
| Rim rating | Rim label or manufacturer’s specification | The rim is rated for tubeless use |
| Bead seating | During inflation | The tire seats airtight on the rim |
If the bead does not seat with a floor pump, do not keep increasing pressure beyond the sidewall maximum. Deflate the tire, check the bead and rim surfaces for debris or damage, and try again. If it still fails to seat, the tire and rim pairing may be incompatible.
Frequently asked questions
Can a beginner fix a tubeless flat on the roadside?
Yes, if the hole is small. The sealant inside the tire can close it once the puncture sits low, so re-inflate and check whether the leak has stopped. If air keeps escaping, the damage is probably too large for sealant alone.
What is the difference between a plug and a tire boot?
A plug is a rubber insert pushed into a small hole, and it can be fitted with the wheel still on the bike. A tire boot is a patch placed inside the tire over a larger cut, which requires removing the wheel. After fitting a plug, trim it short so it does not catch while braking (evo, 2024).
How should I search for the object that caused the flat?
Feel the inside of the tire with a rag or sleeve rather than a bare hand, because sharp debris such as wire or thorns can be hard to see. ENVE Composites (2020) recommends this check before fitting any repair, so the cause is removed and does not puncture the new repair.