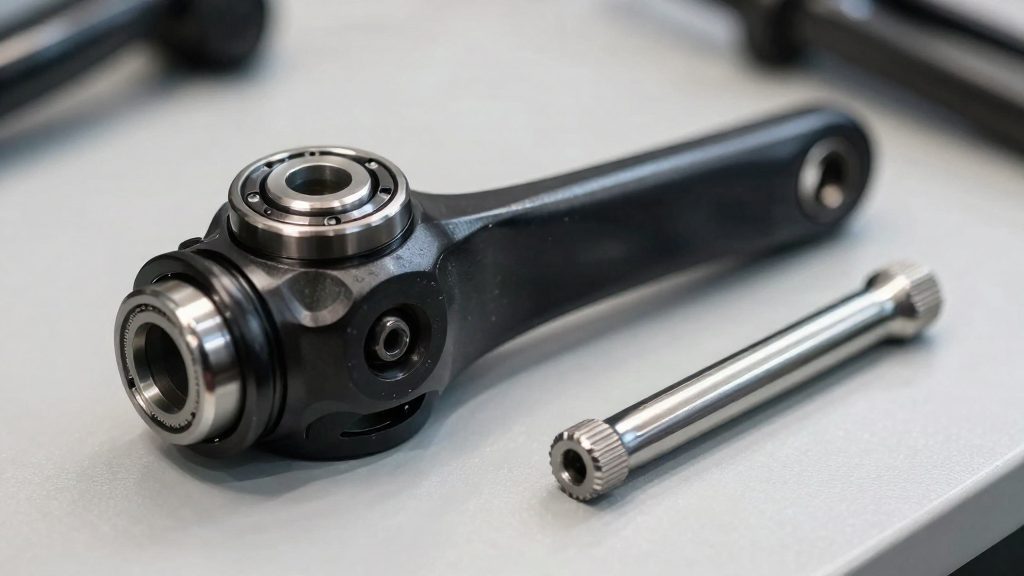
Which bottom bracket type do you have?
Identify the bottom bracket architecture before you touch any tool, because it determines every later step. Three checks settle it: how the bearing cups sit in the frame (threaded external or threadless press-fit), how the bearings are packaged (cup-and-cone or sealed cartridge), and which spindle interface the cranks use (square taper, Octalink or ISIS).
Shell type: threaded or press-fit
A threaded external shell holds cups that screw into the frame. On a cup-and-cone unit, the drive-side cup has a right-hand thread and the non-drive-side cup has a left-hand thread, so the two cups unwind in opposite directions (Park Tool, 2026). A threadless press-fit shell has no threads: the bearings sit directly in the frame bore. Press-fit designs include PF30, BB30 and BB86/92/95 (Singletracks, 2026).
Bearing packaging: cup-and-cone or sealed cartridge
A cup-and-cone unit uses separate cups, loose bearings and an adjusting cone, which lets you set the bearing preload by hand. A sealed cartridge packages the bearings and spindle into one sealed unit, and modern examples use a one-piece Octalink or square taper spindle (Singletracks, 2026).
| Architecture | Identifying feature | Source |
|---|---|---|
| Threaded external shell, cup-and-cone | Cups screw into the shell; drive side right-hand thread, non-drive side left-hand thread | Park Tool (2026) |
| Threadless press-fit shell | No threads in the shell; designations PF30, BB30, BB86/92/95 | Singletracks (2026) |
| One-piece sealed cartridge | Bearings and spindle in one unit with Octalink or square taper interface | Singletracks (2026) |
Spindle interface: square taper, Octalink or ISIS
The spindle interface is the shape at each end of the axle where the crank arms attach. After you remove the crank arm, inspect the spindle end: a square taper has a tapered square section, while Octalink and ISIS use splined interfaces. The interface type fixes the crank bolt and the crank tool you need, so confirm it before ordering parts. If the markings are unclear, check the crank manufacturer’s documentation or the bottom bracket label.
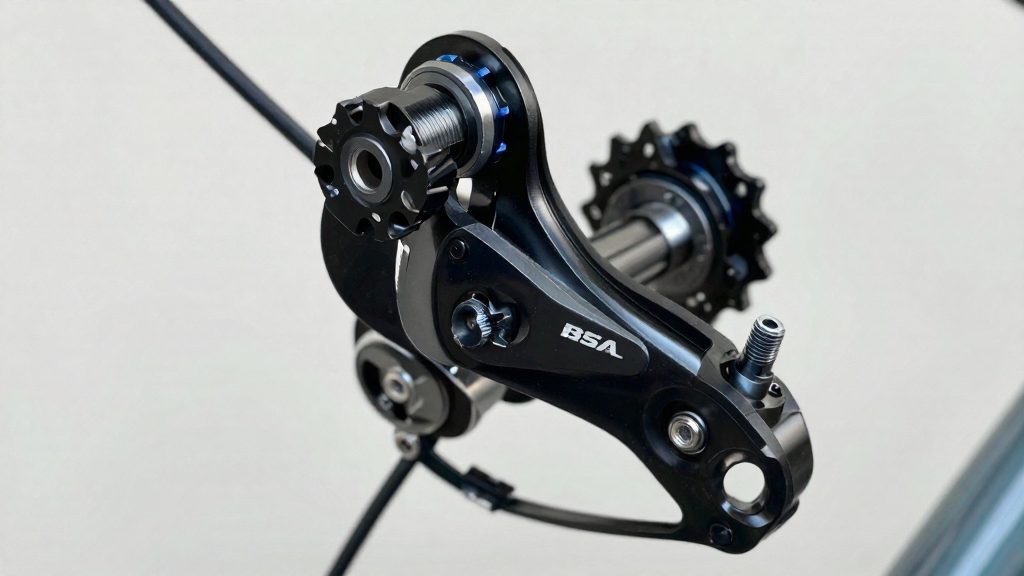
Signs your bottom bracket bearings are worn
Worn bottom bracket bearings show up in the crank and frame before you open the shell. Three symptoms are worth checking: radial play, creaking or clicking under load, and lateral play at the spindle. Each points to a different wear pattern, so test them one at a time, with the bike upright or on a stand.
| Check | Method | What a positive result suggests |
|---|---|---|
| Radial play | Rock each crank arm toward and away from the frame, with the chain at rest | Bearings or cups letting the spindle move off-axis |
| Creak or click under load | Pedal with weight on the pedals and listen at the bottom bracket shell | Bearing or spindle contact, once other sources are excluded |
| Lateral play | Push and pull each crank arm along the spindle axis | Bearings no longer holding the axial position |
Radial play felt by rocking the crank arms
Radial play is movement perpendicular to the spindle. Grip a crank arm near the pedal and try to move it up and down and forward and back in its plane of rotation, with the chain at rest. According to Park Tool (2026), rocking the crank arms is the standard way to check for play. Test both arms. Any knock or movement of the spindle relative to the shell, felt at either crank arm, suggests the bearings or cups are not holding the spindle centred. First rule out a loose crank bolt, crank arm or cup, because these can feel the same. Compare the two sides, since uneven play may point to one worn bearing.
Creaking and clicking under pedalling load
Creaks and clicks that appear only under pedalling load are often attributed to the bottom bracket, but pedals, cleats and seatpost clamps are common alternative sources. Pedal under firm load while listening at the shell. A sound that follows crank rotation and changes with load points toward the bearing. A click once per revolution usually comes from a loose component rather than bearing rumble. Tighten or service the other suspects first, then retest.
Lateral wobble and play at the spindle
Lateral play is side-to-side movement of the crank along the spindle axis. With the crank held still, push and pull each arm inward and outward. Movement here, without corresponding radial play, usually indicates that the bearings are not controlling the axial position. Note which side moves, because drive-side and non-drive-side bearings wear at different rates.
Tools you need
The tools you need depend on the bottom bracket type, because a threaded cup, a sealed cartridge and a press-fit bearing each use a different interface.
| Bottom bracket type | Tool | Function |
|---|---|---|
| Threaded external cups (cup-and-cone, one-piece crank) | BB tool for both cups | Turns the cups out of the frame. |
| Threaded external cups (cup-and-cone) | Spanner for the adjusting cone and locknut | Backs off the locknut, then sets the adjusting cone. |
| Press-fit (PF30, BB30, BB86/92/95) | Bearing removal tool, for example the Park Tool BBT-30.3, with a hammer | Seats on the inner race to drive the old bearings out. |
| Press-fit (installation) | Press set with a drift sized to the bearing | Presses new bearings squarely into the shell. |
| All types | Torque wrench | Tightens the crank bolts and cups to the torque specified by the manufacturer. |
Spanner sizes differ between cup designs, so confirm the size against your cups before ordering. A BB tool that does not seat fully on the cup will slip and can damage the cup’s flats.
Sealed cartridge bottom brackets are replace-only, according to Singletracks (2026). You therefore need only the BB tool to remove and fit the unit, not bearing tools or a press set. Threaded cups, by contrast, can be adjusted and need the cone spanner in addition to the BB tool, as Park Tool (2026) describes.
For press-fit frames, the bearing removal tool is the main item. Park Tool (2026) and road.cc (2026) both describe a hammer driving the tool against the inner race. Choose a press set whose drift matches the bearing’s diameter, because an undersized or oversized drift can contact the seals or the shell face.
A torque wrench is needed for every type. Use one that covers the specified value, since a wrench operating at the very bottom of its range gives less accurate readings.
How do you remove old bearings?
Removal starts with the crank, because the spindle and bearings can only come out of the shell once the crank arms are off. The method depends on the bottom bracket design. Threaded external cups are unscrewed with a BB tool, while press-fit bearings are driven out of the frame. The wrong method can damage the frame shell or a bottom bracket that could otherwise be serviced.
| Design | Steps before removal | Removal method |
|---|---|---|
| Threaded external cups | Remove the non-drive crank arm | Unscrew both cups with a BB tool |
| Press-fit (PF30, BB30, BB86/92/95) | Remove crank arms, spacers and dust caps | Drive each bearing out with a bearing removal tool and a hammer |
Removing the non-drive crank arm and spindle
According to BikeRadar (2026), a threaded external bottom bracket starts with removing the non-drive crank arm. Unscrew the crank bolt and pull the arm off the spindle. If the arm is seized to the taper, a crank puller is the safer way to separate it than striking the arm.
Remember the thread directions. On a cup-and-cone one-piece crank bottom bracket, the non-drive-side cup is left-hand threaded and the drive-side cup is right-hand threaded (Park Tool, 2026). For other threaded external cups, check the direction markings on the cups or the manufacturer’s instructions before turning them, because turning a cup the wrong way tightens it instead of loosening it. Once both cups or cones are out, the spindle slides out of the shell from the drive side, so keep the spindle supported as it leaves the frame.
Driving out press-fit bearings
With press-fit designs, remove the crank arms, spacers and dust caps first. According to road.cc (2026), seat a bearing removal tool, such as the Park Tool BBT-30.3, on the inner race of each bearing, then drive the bearing out with a hammer. Only the inner metal ring should take the blow. Striking the plastic seals or the outer case can deform the bearing and make the bore harder to clear.
Protecting the frame shell faces
Keep the tool fully engaged with the cup or bearing before applying force. A tool that sits at an angle can ride up the threads or scratch the shell faces, which are the surfaces the cups seat against.
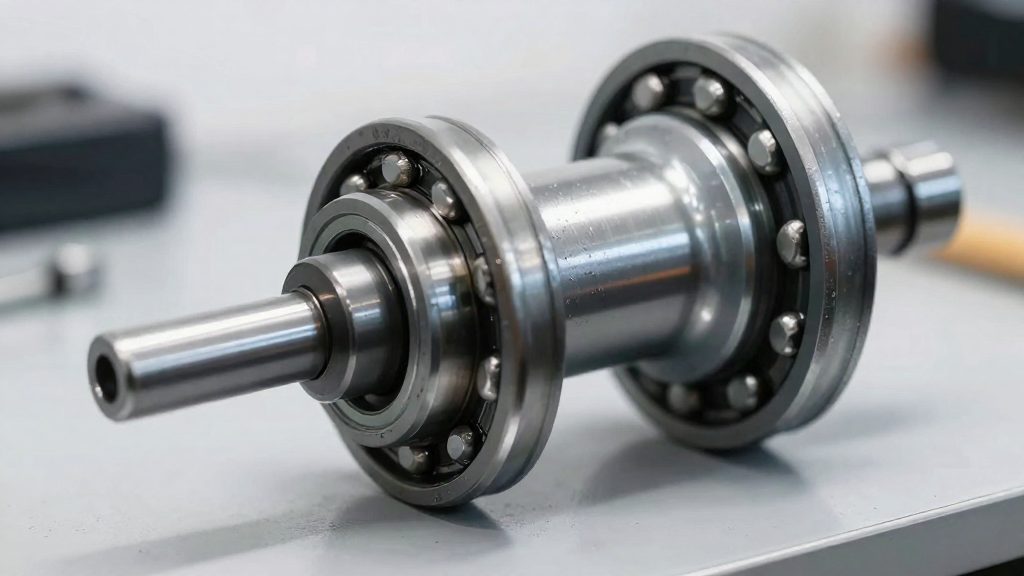
How to press in new bearings
Seating a new press-fit bearing correctly depends on three things: starting it square in the shell, driving it in with force applied evenly to the correct ring, and confirming that it turns freely afterwards. A bearing that enters at an angle can be damaged, and the fault usually shows up later as drag or play once the crank is refitted.
Keep the bearing square in the shell
Before any force is applied, check that the bearing lines up with the bore. Start it by hand so it enters square, then drive it with a press or a bearing installation tool rather than a hammer. Keep the tool square to the shell and advance slowly until the bearing is fully seated against the shoulder of the bore. Stopping short leaves the bearing proud, and it can then move under load.
Secure loose press-fit cups
Loctite RC609 retaining compound is a suitable way to secure a press-fit cup that turns or slips in the shell. Clean the bore thoroughly, remove any grease, and apply the compound to the outside of the cup before pressing it home. Wipe away any excess compound that squeezes out so it cannot contaminate the bearing.
Respect fit tolerance and press force
Do not compensate for a loose or tight fit by increasing the force. If the bearing will not enter square under light, steady pressure, stop and inspect the shell bore for damage or debris.
Check the seating after pressing
Rotate each bearing by hand and confirm that it turns smoothly and evenly. Refit the spindle, then check the crank for movement. Any movement or roughness means the seating or fit needs to be investigated before the bike is ridden.
Threaded cups and cup-and-cone units
A cup-and-cone bottom bracket fits two threaded cups into the frame shell and uses an adjustable cone to set the bearing preload. According to Park Tool (2026), the cups cannot be fitted interchangeably.
| Component | Thread direction | Tightening direction |
|---|---|---|
| Drive-side cup | Right-hand | Clockwise |
| Non-drive-side cup | Left-hand | Counter-clockwise |
| Adjusting cone | Left-hand | Counter-clockwise |
The adjusting cone sets the preload, and the locknut then holds it in place (Park Tool, 2026). Confirm the turning direction on the bike before you begin, since a reversed direction will produce misleading play readings.
Cone adjustment sequence
Park Tool (2026) describes the adjustment as a controlled loosening followed by incremental tightening:
- Back the adjusting cone off until it reaches the ball bearings, then loosen it about 1/4 turn.
- Tighten the locknut to hold the cone in place.
- Check the play check: rock each crank arm side to side and feel for movement in the bearings.
- If play remains, tighten the cone in small steps, re-checking after each step, until the play is gone.
Over-tightening the cone produces a stiff bottom bracket that wears the bearings quickly, while leaving play allows the bearings to knock under load.
Diagnosing a bearing that will not adjust
If the bottom bracket still grinds when spun after correct adjustment, the cups or cones are worn. Park Tool (2026) notes that pitted or worn parts also prevent a smooth adjustment, so a bottom bracket that cannot be set to zero play with both steps completed usually has damaged running surfaces.
Cup torque
To fit new threaded external cups, clean and grease the shell, check the cups for left and right markings, then fit them (BikeRadar, 2026). Singletracks (2026) states they are typically torqued to about 40 Nm. Finish by tightening the crank bolts to the specified torque. Before tightening, check the frame threads and the facing of the shell, because damaged threads or an uneven face will prevent the cup from seating squarely and can make a correct torque value unreliable.
When to replace the whole bottom bracket
Deciding between servicing and full replacement depends mainly on the bottom bracket’s design and on whether grinding persists after the bearings are properly set. Some designs cannot be serviced at all, while threaded cup-and-cone units can be restored until their parts are worn.
| Design or symptom | Decision | Source |
|---|---|---|
| Sealed cartridge, one-piece Octalink or square taper | Replace the unit | Singletracks (2026) |
| Threadless press-fit: PF30, BB30, BB86/92/95 | Replace once old bearings are removed | Singletracks (2026) |
| Threaded cup-and-cone, grinding after correct adjustment | Replace cups or bottom bracket | Park Tool (2026) |
Sealed cartridge and Octalink designs
A sealed cartridge keeps its bearings enclosed in a single unit, so wear cannot be addressed by adjustment or regreasing. Heavy grinding when the bearing is rotated usually means the whole cartridge must be swapped. Fit the replacement with the same spindle interface, whether Octalink or square taper, because the interface type is fixed by the crank and cannot be changed.
Grinding that persists after correct adjustment
On a threaded cup-and-cone unit, grinding that continues after the adjustment is correct points to persistent wear in the cups or cones, so repeated tightening does not solve the problem. Replacing the cups or the complete bottom bracket is the remedy.
Threadless PF30, BB30 and BB86 shells
Threadless press-fit shells are usually replaced as a unit once the old bearings are out. Because their bearings are pressed directly into the frame, a worn set is not restored by adjustment, and a new press-fit set is the practical route. Check that the new bearings match the frame’s shell width before fitting them.
Frequently asked questions
How can I tell a cup-and-cone bottom bracket from a sealed cartridge?
A cup-and-cone unit has separate cups, loose bearings and an adjusting cone that you set by hand. A sealed cartridge is one closed unit with the bearings and spindle inside, so if you cannot access loose bearings, it is almost certainly a cartridge.
My crank knocks or moves. Is the bottom bracket bearing worn?
Not necessarily. A loose crank bolt, a loose crank arm or a loose cup can produce the same movement, so tighten those first. If the play remains after everything is secured, the bearings or cups are the likely cause.
Can I reuse press-fit bearings after I drive them out?
Usually not. Press-fit bearings are normally replaced once removed, and heavy grinding when you spin them confirms the need. When removing them, seat a bearing removal tool, such as the Park Tool BBT-30.3, on the inner race and strike only that metal ring, never the plastic seals or outer case.