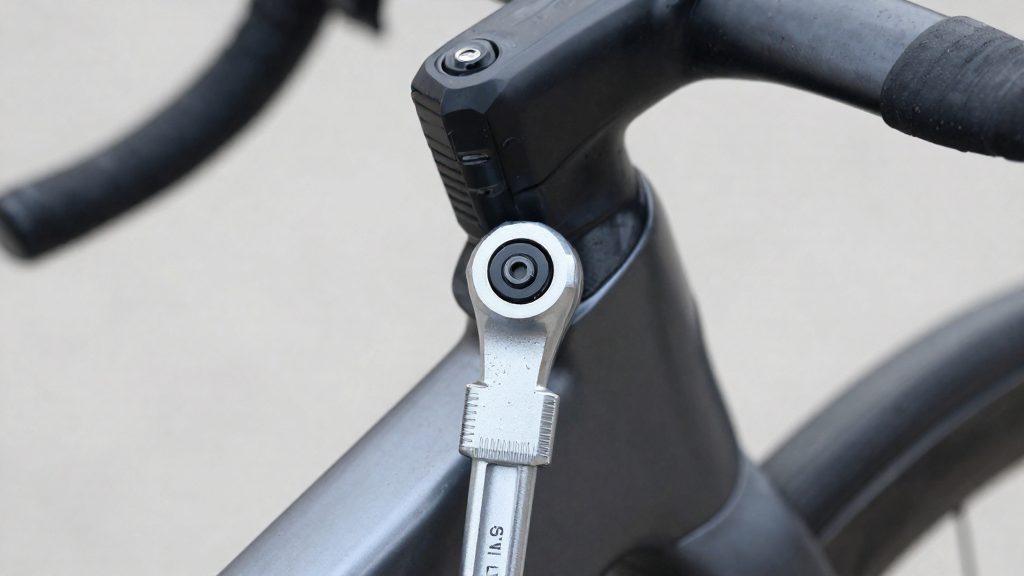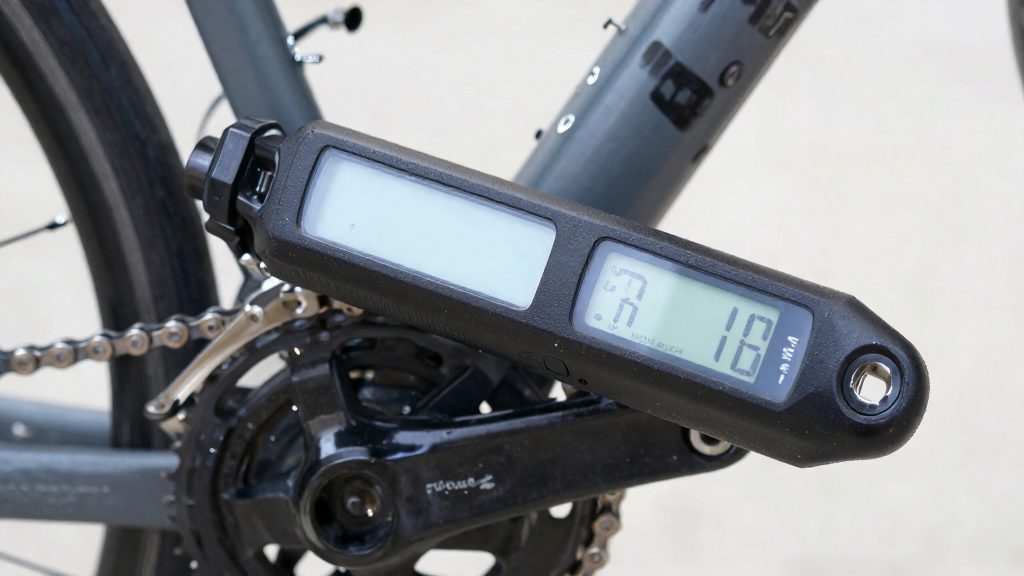
A torque wrench lets you tighten a bolt to a specified value instead of by feel, and on a bicycle that matters because under-tightening and over-tightening both cause failures. Excess clamping force can damage carbon fibre components, while too little force lets stems, handlebars, seatposts and brake lever clamps loosen under vibration and load. Using a torque wrench means staying within the range the manufacturer specifies, not tightening as hard as possible.
Why use a torque wrench on a bike?
Carbon fibre damage from excessive clamping force
Many frames, seatposts, handlebars and stems are made from carbon fibre, a laminate that does not deform like aluminium or steel. Excess clamping force can crush or crack the layers, and the damage may not be visible from outside. Metal parts usually give some warning, such as slight bending or ticking, before they fail. Carbon often does not, so the tightening force cannot be judged reliably by hand. For these parts, a specified torque value is the only dependable reference.
Loosening from insufficient preload
A bolt’s preload is the clamping force it applies to the mating surfaces. If preload is too low, the joint can slip. A loose stem can rotate under braking, a seatpost can drop under body weight, and a brake lever clamp can shift position during a ride. These failures tend to build gradually, which makes them easy to miss during routine checks. Rouvy (2026) states that most quality click-type wrenches are accurate to within ±4%, which it considers sufficient for bike maintenance. The practical risk for most home mechanics is therefore not the tolerance of the tool but skipping it altogether.
Torque specifications printed on frames and components
Frame and component manufacturers often print torque values on the part itself, typically near the clamping bolt or on a label, and include them in the supplied documentation. A value on the frame or component should take priority over a figure remembered from another bike, since the same bolt size can carry different limits on different parts. If no value is marked, look for it in the manufacturer’s instructions before tightening. Guessing the setting defeats the purpose of using a wrench in the first place.
Which torque range do you need?
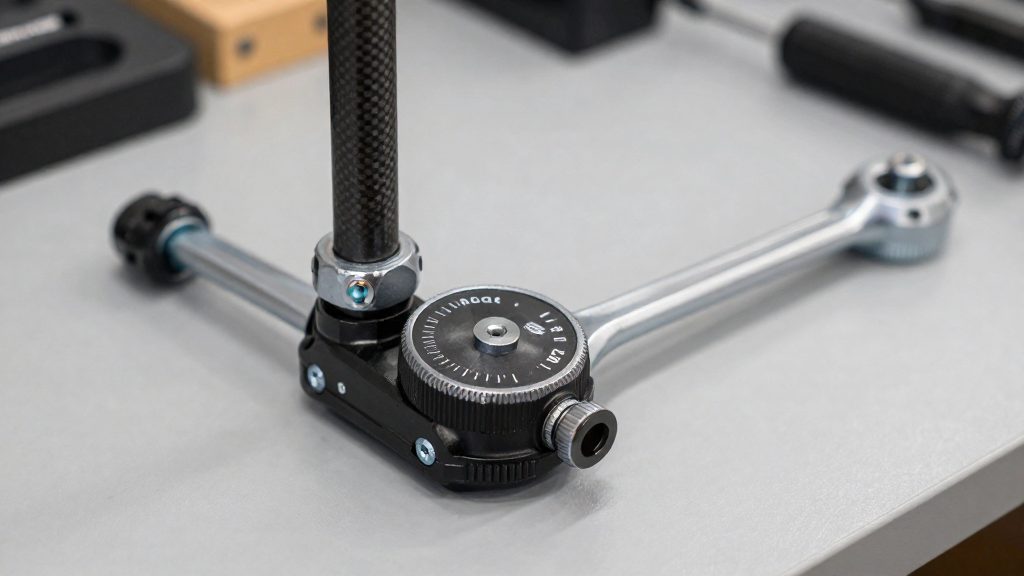
For most routine bike work, a low-range click-type torque wrench covering about 2–15 Nm is enough. According to Rouvy (2026), that span handles stems, handlebars, seatposts, brake lever clamps and bottle cage bolts, which make up most of the cockpit and frame fittings a home mechanic tightens. The lower end matters as much as the upper: light clamps such as bottle cage bolts sit near the bottom of the range, where a wrench with a higher minimum scale gives less usable reading.
Stem, handlebar and seatpost fittings
All three clamp types fall within the 2–15 Nm band. Set the wrench to the specified figure and tighten. Stop as soon as the click sounds. Continuing to pull after the click overtightens the fastener, and a wrench that clicks early or late at the same setting is a sign to stop, check your technique and consider having the wrench checked or recalibrated before using it on safety-critical parts.
Brake lever clamps and bottle cage bolts
These are the lightest fasteners in this group and the most common reason for overtightening. Use the same low-range wrench, and tighten in a single smooth pull rather than in short jerks.
Choosing the wrench type
Rouvy (2026) notes that click-type wrenches give the best balance of accuracy, simplicity and value. Beam wrenches are cheap but harder to read at a glance, and digital wrenches are very accurate but cost more and need batteries. For the 2–15 Nm work described above, a click-type model is the practical default.
The three click-type models Rouvy names for this band are covered under Best torque wrenches for home mechanics.
Click, beam or digital: which type is best?
For home bike work, the three main torque wrench types differ mainly in how you read the setting, what they cost, and whether they need a power source. According to Rouvy (2026), click-type wrenches offer the best balance of accuracy, simplicity and value, which makes them the most practical default for most home workshops.
| Type | Readability | Relative cost | Power source |
|---|---|---|---|
| Click-type | Audible and tactile release at the set value | Mid-range, best overall value | None (mechanical) |
| Beam-type | Reading a pointer against a scale | Lowest | None (mechanical) |
| Digital | Numeric display | Highest | Batteries |
Click-type wrenches use a spring-loaded mechanism. You set the target value, pull the handle, and the wrench releases with an audible click and a slight jolt when the torque is reached. You do not need to watch a scale while tightening, which reduces the chance of overtightening a stem bolt or a bottle cage bolt while looking at the dial. Because the release happens at the same point each time, a click wrench is easy to use on repetitive jobs such as setting handlebar and seatpost clamps.
Beam-type wrenches have a pointer that bends along a graduated scale as you apply force. They have no spring or moving release, so they are inexpensive and need no maintenance beyond keeping the scale clean. The trade-off is readability: you must look at the pointer while applying force, and the reading can be hard to see in a dim garage or at an awkward angle. Rouvy (2026) describes beam wrenches as cheap but harder to read, which suits occasional use or a tight budget.
Digital wrenches display the applied torque electronically and are the most accurate of the three types, according to Rouvy (2026). That accuracy comes at a higher price, and the tool depends on batteries. A flat battery halts the readout, so keep a spare set on hand for workshop use, and check the manufacturer’s instructions for the battery type it requires.
Best torque wrenches for home mechanics
Rouvy (2026) names three click-type wrenches as its top picks for home bike work: the Park Tool TW-5.2 as best overall, the BBB Cycling TorqueSet BTL-73 as best budget option, and the Pedro’s Demi Torque Wrench II as best premium pick. The table below sets out their specifications as Rouvy lists them.
| Model | Rouvy category | Torque range | Drive size |
|---|---|---|---|
| Park Tool TW-5.2 | Best overall | 2–14 Nm | 3/8” |
| BBB Cycling TorqueSet BTL-73 | Best budget | 2–14 Nm | 1/4” |
| Pedro’s Demi Torque Wrench II | Best premium | 3–15 Nm | 1/4” |
The Park Tool TW-5.2 and the BBB BTL-73 cover the same 2–14 Nm band, so their torque capacity is identical. The difference is the drive: the TW-5.2 uses a 3/8” square drive, which accepts the 3/8” sockets found in most workshop socket sets, while the BTL-73 uses a 1/4” drive, which accepts smaller sockets and hex bits. Rouvy’s budget label on the BBB model reflects its position as the lower-cost option in this group, but the source gives no price figures, so the price gap should be checked at the point of purchase.
The Pedro’s Demi shifts the whole band up by 1 Nm at each end, to 3–15 Nm. Its upper limit matches the TW-5.2 within 1 Nm, but its 3 Nm floor means it cannot set the lightest fasteners, such as some bottle cage bolts, to a verified value. For routine jobs in the 2–3 Nm range, the TW-5.2 or BTL-73 is the better fit.
Because the two 2–14 Nm models overlap so closely, the practical choice comes down to which drive size matches the sockets and bits you already own. Choose the Pedro’s Demi only if your work sits mostly between 3 and 15 Nm and you want its 1/4” drive.
Do you need a second wrench for cassettes and bottom brackets?
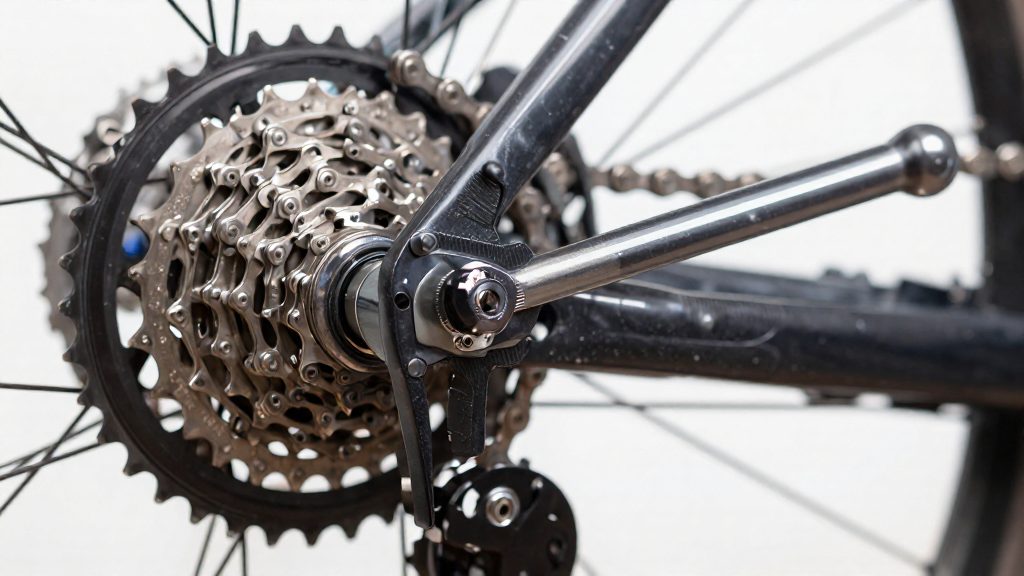
Yes. Cassette lockrings and some bottom brackets call for roughly 20–60 Nm, which is above the range of a standard low-range click wrench. According to Rouvy (2026), these jobs need a second, higher-range wrench. The everyday low range covers only about 2–15 Nm, so a tool limited to that band cannot reach the torque these fixings require.
| Job | Listed torque | Tool note |
|---|---|---|
| Cassette lockring | roughly 20–60 Nm | Used with a lockring tool that engages the splines |
| Some bottom brackets | roughly 20–60 Nm | Applies only to certain designs, so confirm the value for your frame |
The wrench must reach the top of this band, not only the bottom. Park Tool’s TW-6.2, listed at 10–60 Nm, is the heavy workshop option Rouvy names for this work. Its range overlaps the full 20–60 Nm requirement, so it covers both jobs in the table.
For cassette lockrings, seat the lockring tool fully in the splines before you apply force. A partly engaged tool can slip under load, and the lockring can then be overtightened or damaged. Hold the wheel or frame steady with a stand or a second person before applying the wrench.
How accurate is a bike torque wrench?
Most quality click-type torque wrenches are accurate to within ±4% of the set value, according to Rouvy (2026), which considers that tolerance sufficient for bike maintenance. The percentage applies to the setting, so the permitted error in newton-metres shrinks or grows with the target. On the 2–14 Nm range of the Park Tool TW-5.2, a few typical settings give these bands:
| Set value | ±4% error | Acceptable reading |
|---|---|---|
| 2 Nm | ±0.08 Nm | 1.92–2.08 Nm |
| 5 Nm | ±0.20 Nm | 4.80–5.20 Nm |
| 14 Nm | ±0.56 Nm | 13.44–14.56 Nm |
Low-torque settings are where the percentage matters least in absolute terms. A 2 Nm setting leaves only about 0.16 Nm of total spread, which is small enough for light fasteners such as bottle cage bolts and brake lever clamps. Rouvy (2026) does not give a separate, larger error figure for the bottom of the range, so ±4% is the figure to use across the wrench’s stated range.
Whether ±4% is enough depends on the fastener. For stems, handlebars, seatposts and most brake and accessory bolts, the roughly ±0.56 Nm variation at 14 Nm is small, but you should still stay within the range the manufacturer specifies. Cassette lockrings and bottom brackets fall outside the low-range wrench entirely; Rouvy (2026) lists a separate 20–60 Nm wrench for them, and the ±4% figure is stated only for the low-range click type.
Practical method: set the wrench to the target value, hold it at the grip mark, and pull steadily until the click is felt and heard.
Where to buy in Canada
Canadian buyers can source a torque wrench from independent bike shops, general hardware and tool retailers, and online stores. Bike shops let you handle the tool and check the scale before paying. Tool retailers and online stores usually offer a wider choice of models, but the price you see can differ from the price you pay once taxes and shipping are added. Because the total depends on where you live and where the seller ships from, compare the final cost rather than the listed price.
Before buying, check these points on the listing or the receipt:
| What to verify | Why it matters |
|---|---|
| Price in CAD with sales tax included | Sales tax is applied by province, so the final total changes with your address |
| Whether duty and brokerage fees are included | Cross-border orders can incur charges at delivery that the listed price does not show |
| Shipping origin and carrier | Orders from outside Canada take longer and can be held for customs inspection |
| Return policy for opened tools | Determines whether you can exchange a wrench that does not suit your work |
| Where the warranty is honoured | Shows whether a Canadian service point exists if the tool needs repair |
If you buy from abroad, ask the seller in writing for the total landed cost in CAD, including import duty. Keep the order confirmation and the carrier’s tracking number, since you may need them if the parcel is held at the border.
Care, storage and calibration
A click-type wrench holds its calibration mainly through how it is stored and when it is serviced. Rouvy advises that adjustable click wrenches be stored at their lowest setting, which keeps the internal spring from staying loaded while the tool sits unused. Rouvy also recommends that frequent users have the wrench professionally recalibrated every few years.
| Habit | Practical rule |
|---|---|
| Storage | Wind the adjustment back to the lowest setting before putting the wrench away |
| Routine users | Schedule professional recalibration every few years |
| Occasional users | Check the setting before each use, since the wrench may have been left at a higher value |
Impacts are the most common cause of drift that goes unnoticed. A wrench that is dropped, knocked against a bench edge or thrown into a toolbox can shift its calibration without any visible damage. Keep it in its case or a dedicated drawer, separated from heavier tools that could strike it.
If the wrench has been dropped or struck, have it recalibrated before relying on its readings for stems, seatposts or other safety-critical fasteners. Between professional services, avoid adjusting the internal mechanism yourself, since disassembly is outside what a home mechanic can verify without specialist equipment.