Which torque wrench range suits bike stem bolts?
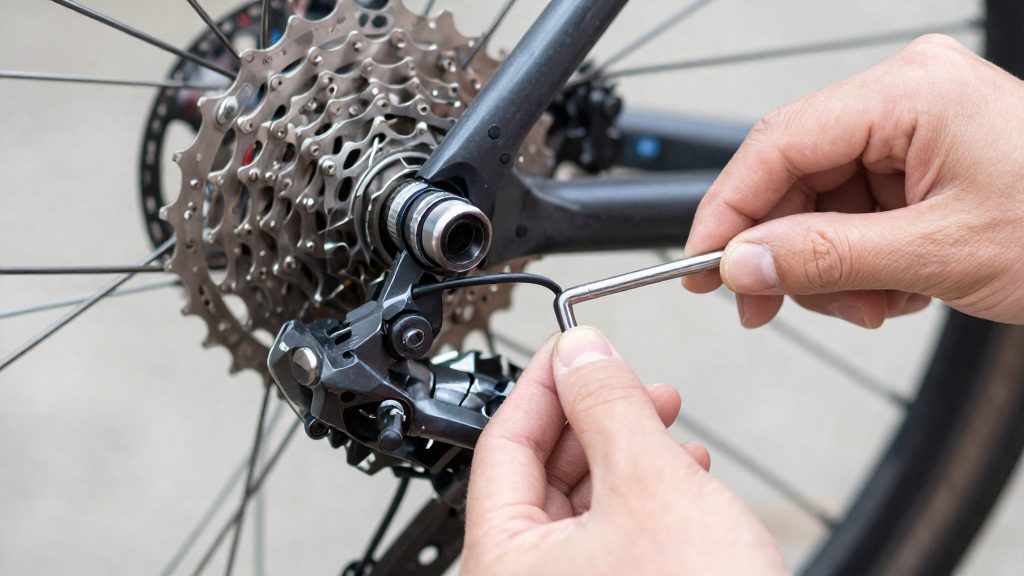
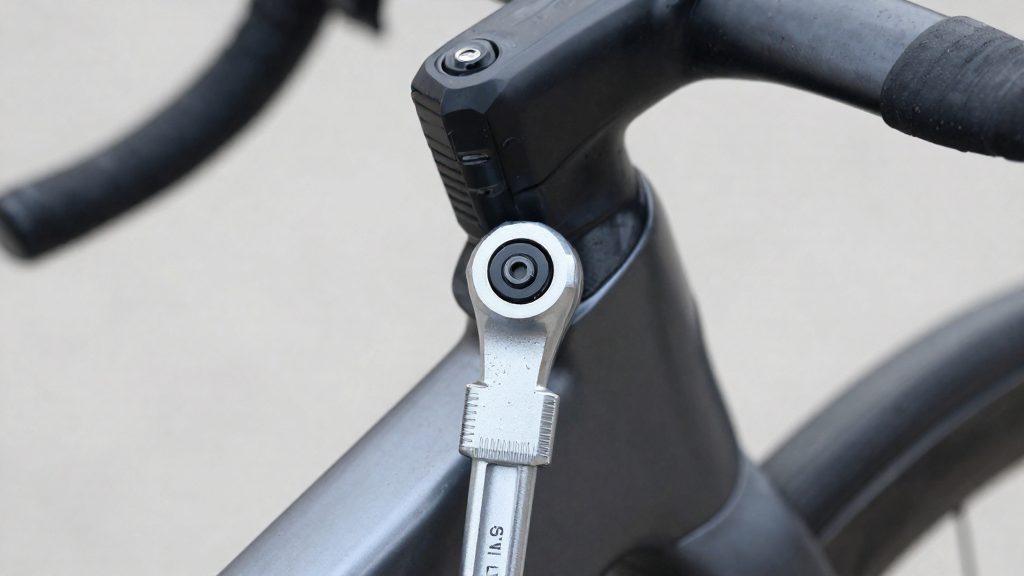
A torque wrench that reads accurately across roughly 2 to 10 Nm is a practical suggestion for the stem bolts a home mechanic is likely to meet. Check that the tool is accurate at the low values that carbon parts can require. The 2 to 10 Nm range is a practical suggestion rather than a published specification, and it fits the typical stem clamp values. The matching hex key must seat fully in the bolt head without rounding it. Hex sizes vary between stem makers, so confirm the size against the bolt head or the manufacturer’s instructions before tightening.
Reference values depend on the material being clamped:
| Clamp situation | Reference value | Source |
|---|---|---|
| Aluminium bar and steerer clamp | About 5 Nm | Unior USA (2026) |
| Carbon bar | Often 4 Nm, sometimes lower | Unior USA (2026) |
| Stems checked by the author | About 5 to 6.8 Nm | Bicycling Australia (2013) |
Choose a wrench by its torque range first, then use a hex bit that fits the bolt head. Check the tool’s label for its range and bit compatibility.
When you use the wrench, hold it at the grip rather than partway down the handle, because off-centre pressure reduces accuracy. Tighten face-plate bolts in stages, as described in the four-bolt faceplate section below.
Typical stem bolt torque values
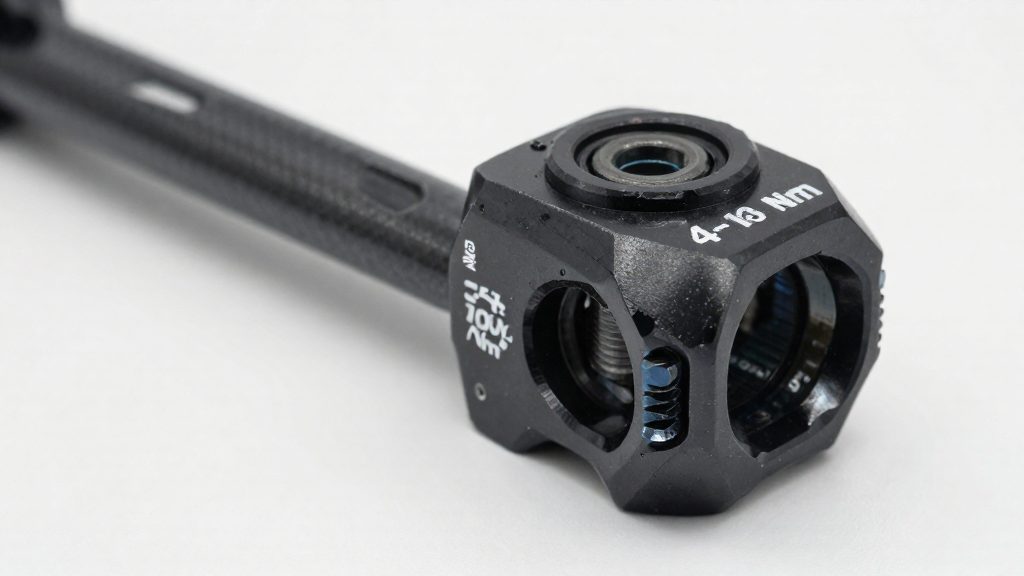
The stems checked by one source fall within a fairly narrow band. According to Bicycling Australia (2013), the stems its author checked specified about 5 Nm to 6.8 Nm, depending on manufacturer and model. The spread is why the value for the particular stem should be used rather than a general figure.
Tool-maker guidance from Unior (2026) sits at the lower end of that band. For a face-plate clamp on an aluminium bar and for the steerer clamp, it gives about 5 Nm. The two sources agree that aluminium stem clamps sit at roughly 5 Nm or slightly above, and they differ mainly in form: Unior gives a single figure, while Bicycling Australia gives a range covering several makes and models.
Model-to-model variation has a practical consequence. Two aluminium stems can carry different specifications, so tightening both to the same figure may under-tighten one and over-tighten the other. Setting the wrench to the number specified for the particular stem avoids this, and the lower end of the range is a reference point only, not a target for every stem.
Bicycling Australia also notes that torque control matters most on carbon and titanium parts. The stem itself should still be torqued to its own specification.
Why a 2–10 Nm wrench suits stems
The working band sits inside the wrench’s range, with room at the lower end for small fasteners.
Scale resolution limits what you can confirm. A beam or dial wrench is only as precise as its graduation marks. Check the smallest division on your tool. If that division is coarser than the difference you need to distinguish between the working values in the 5 to 7 Nm window, reading the scale cannot confirm the target.
On a click-type wrench, the click is the release point. Set the value, apply force at the grip until the click, and stop. Stop at the first click; pulling further overshoots the setting.
Where to find your stem’s torque spec
Check three places, in this order. The molded or printed value on the stem body or faceplate comes first. Look closely at the faceplate and the stem body before going further, because the number is sometimes small and partly worn.
If nothing is marked on the part, check the manufacturer’s published value on the spec sheet or product page for your exact model. Search with the full model name and the bolt size, because one stem family often includes variants with different clamp designs. Keep the figure in a note with the stem model, so you can reuse it at the next service.
If neither source gives a value, use a fallback reference only as a starting point.
| Where to look | What it gives | Priority |
|---|---|---|
| Marking on stem body or faceplate | Torque value molded or printed on the part | Highest |
| Manufacturer spec sheet or product page | Maker’s published value for the exact model | Second |
| General reference | About 5 to 6.8 Nm for stems (Bicycling Australia, 2013-11-06) | Fallback only |
Carbon bars and steerers: what changes?
Carbon parts usually have a lower torque than aluminium ones, and the value is set by the manufacturer, so the figure you use depends on the part.
Why aluminium figures must never apply to carbon
Using the aluminium value from a general chart on a carbon part risks damaging it. If the printed value is missing, contact the manufacturer or the bike shop that supplied the part rather than estimating.
Friction paste and bar clamping
Friction paste increases grip between the bar and the clamp, which lets a bar clamp securely at a lower torque. Read the paste label before use, because the product instructions define where and how much to apply. Apply the paste only to the area inside the clamp, and wipe off any excess that could migrate onto the stem or the frame.
If a bar still slips at its published torque, do not raise the setting above that value. Clean the bar and clamp surfaces, check the parts for damage, and ask the manufacturer or a bike shop before retightening.
How to tighten a four-bolt faceplate
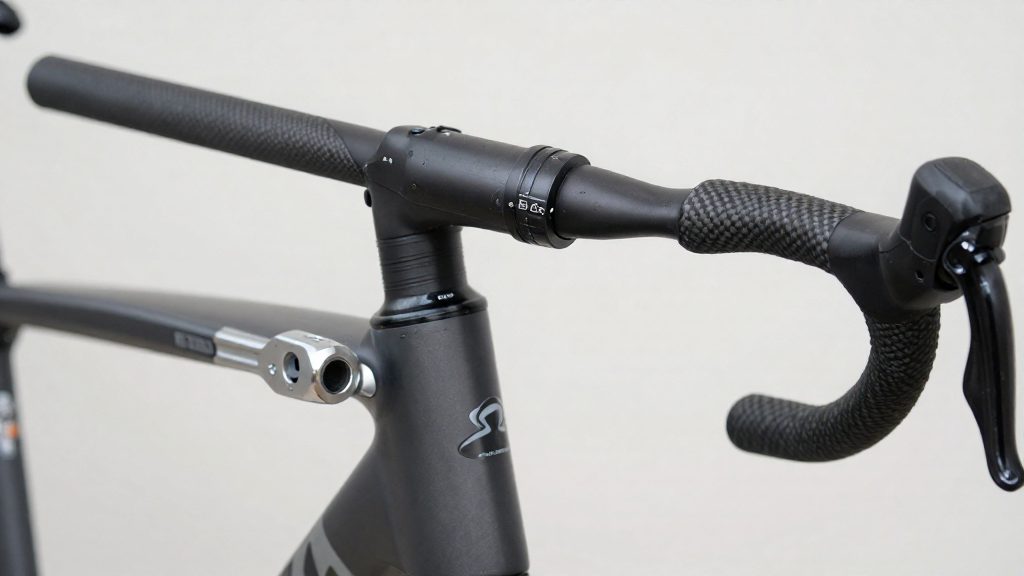
Four-bolt faceplates clamp the bar evenly only when the bolts are drawn down in stages. Tightening one bolt fully before the others pulls the faceplate off square and can leave the bar gripped unevenly. According to Unior USA (2026), the method is to snug all four bolts by hand, bring them to about half the final torque, then tighten them to full torque, alternating between diagonally opposite bolts.
Use this sequence:
- Snug by hand. Thread all four bolts evenly until each one just contacts the faceplate. Do not tighten any bolt fully yet.
- Set the bar. Position the handlebar in its final angle and centre it in the clamp before tightening further, so the bar cannot shift once the bolts take load.
- Stage one: half torque. Tighten the bolts to about half the final value, moving diagonally: top-left, bottom-right, top-right, bottom-left. Repeat the cycle until all four reach the same stage.
- Stage two: full torque. Repeat the same diagonal order at the full value for the part, as printed on the stem or published by its maker.
| Stage | Target | Bolt order |
|---|---|---|
| Hand snug | Each bolt just in contact | Any order, evenly spaced |
| Half torque | About 50% of final value | Diagonal pairs, repeated |
| Full torque | Final value from the part | Diagonal pairs, repeated |
Check the result by looking at the gap between the faceplate and the stem body above and below the bar. The gap should be equal, which indicates that the clamp is closing evenly. If one side closes faster, loosen the bolts and restart at hand snug.
Do you need a second wrench for cranks and pedals?
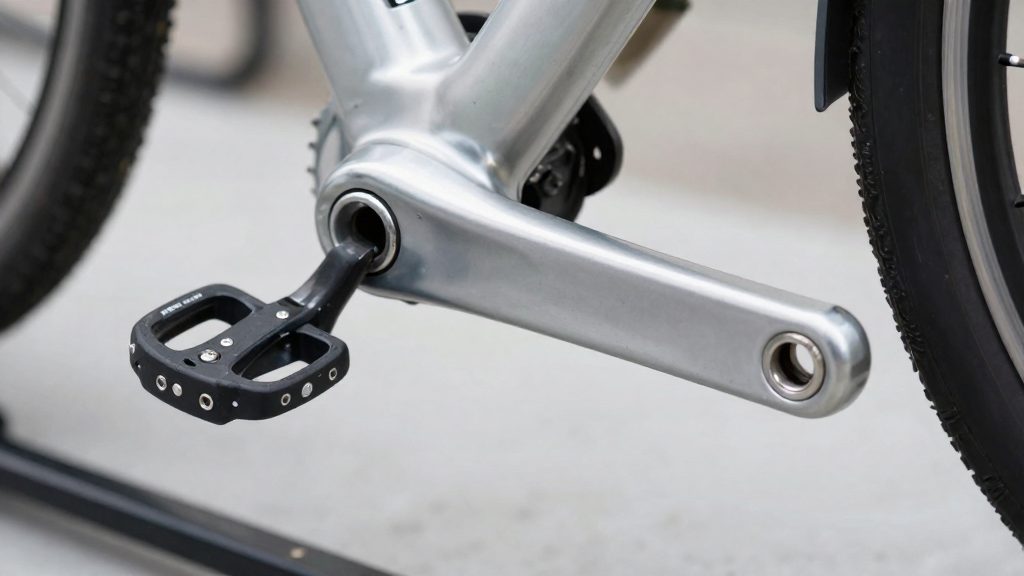
Probably yes: a 2 to 10 Nm stem wrench cannot reach crank and pedal values, so a second wrench is a sensible suggestion. Bicycling Australia (2013-11-06) lists the typical values below, and they sit far above the range used for stem and seatpost work.
| Fastener | Typical torque (Bicycling Australia, 2013-11-06) |
|---|---|
| Crank bolts | about 50 Nm |
| Pedals | about 40 to 50 Nm |
| Seatpost clamp | about 4 to over 7 Nm |
The seatpost clamp is the only one of these three that overlaps with a small-range wrench. Its range runs from about 4 Nm to over 7 Nm, and the source gives no upper limit, so confirm the value printed on the seatpost or frame and check that it is within your wrench’s range.
The crank and pedal bolts need a wrench that reaches the 40 to 50 Nm band. A 2 to 10 Nm wrench cannot deliver that torque, so a practical approach is to keep the small wrench for stems and seatposts and add a second, higher-range torque wrench for cranks and pedals. A single large-range wrench may be less accurate at the low torques used on stems.
Pedal and crank tightening is also a two-step task. Thread the pedal in by hand before applying the wrench, remembering that the left pedal has a reverse thread, since cross-threading is difficult to reverse. Then tighten to the target value in one smooth pull, without jerking the handle.
Wrench care and accuracy
A torque wrench stays accurate only if it is unloaded after use, stored correctly and checked against a reference. Its release point depends on an internal spring, and that spring is affected by how long it is held under load. Care therefore comes down to three routines: resetting, handling and storage, and periodic checks.
Resetting after each use
Wind the scale back to the lowest setting after every session, including when the last bolt was tightened to a low value. Leaving a high torque selected keeps the internal spring under tension between uses. Bicycling Australia (2013) identifies prolonged high-torque settings as a factor that can affect calibration, so for a click-type wrench the lowest setting is a sensible resting position; follow the manual for your model.
Handling and storage
Store it in its case or a dry drawer, unloaded, and keep it away from heat and impacts. A wrench that has been dropped should not be trusted until it has been checked. If the reading is in doubt, send it to the manufacturer or a local calibration service rather than continuing to use it on stem bolts.
Periodic accuracy check
The practical check compares the wrench with a reference check, either a second torque wrench of known accuracy or a calibration service. Set the wrench to a value within the range used for stem bolts, apply torque with the reference instrument, and record the difference. Repeat the comparison at several settings. A reading that drifts across the range is a sign that the wrench should be checked or recalibrated by the manufacturer or a calibration service.
The interval depends on use. A wrench used every week on bike maintenance benefits from more frequent checks than one used a few times a year. Look in the manufacturer’s manual for a published schedule for your specific model before setting a fixed routine.
Frequently asked questions
Can I use friction paste to clamp a bar at a lower torque?
Unior USA (2026) states that friction paste lets a bar clamp hold securely at a lower torque. Use the lowest value printed on the part, not the figure you would otherwise apply, and do not treat the paste as a reason to exceed it.
What happens if I tighten a stem bolt past its specified torque?
Over-tightening can deform an aluminium clamp or crack a carbon component, and the damage may not be visible until the part fails under load. A torque wrench that clicks at the set value prevents this more reliably than tightening by feel.
How should I store a torque wrench between jobs?
Wind the wrench back to its lowest setting before putting it away. Bicycling Australia (2013) notes that prolonged high-torque settings can affect the tool’s calibration, so the reading may drift if it stays loaded.