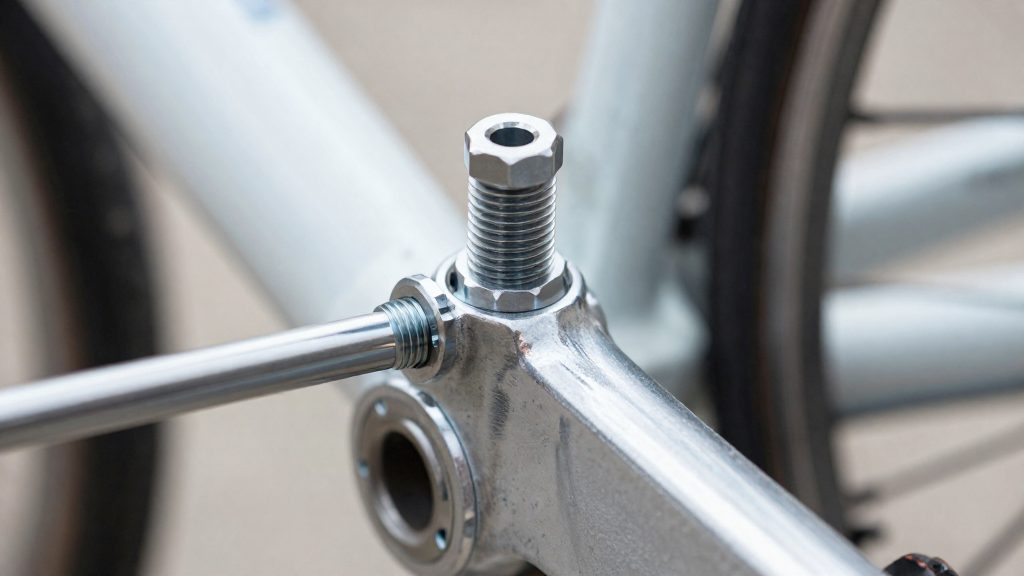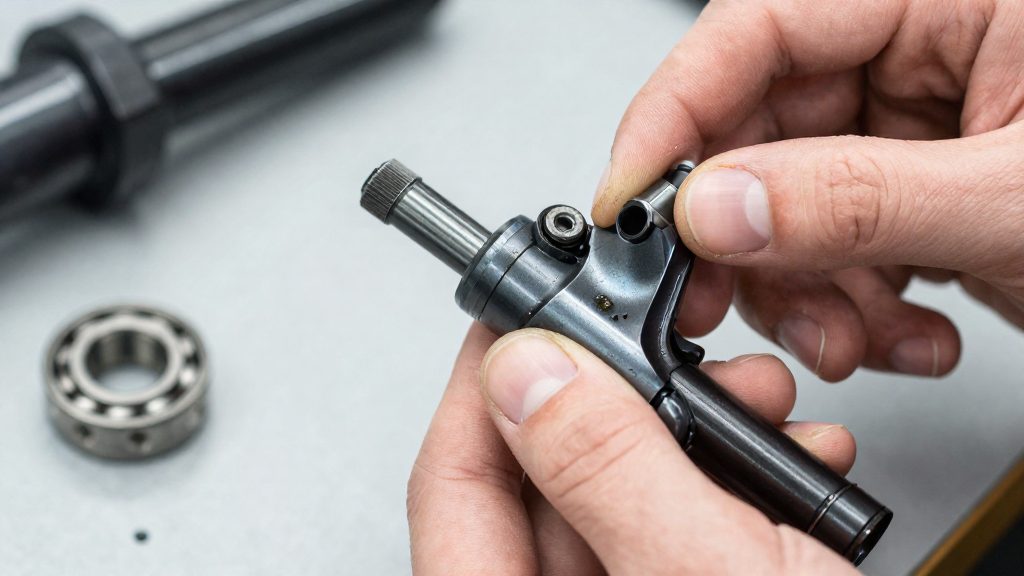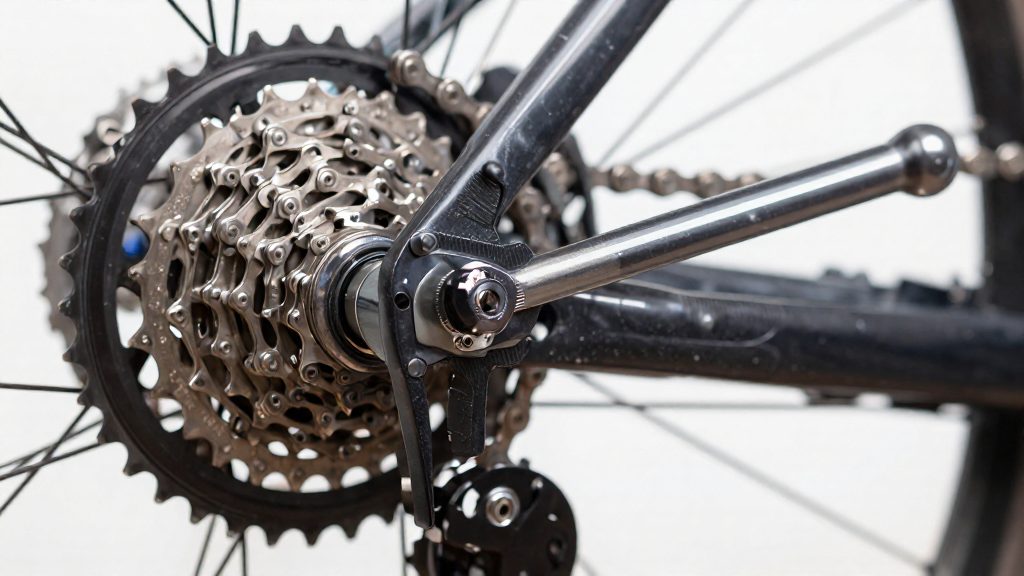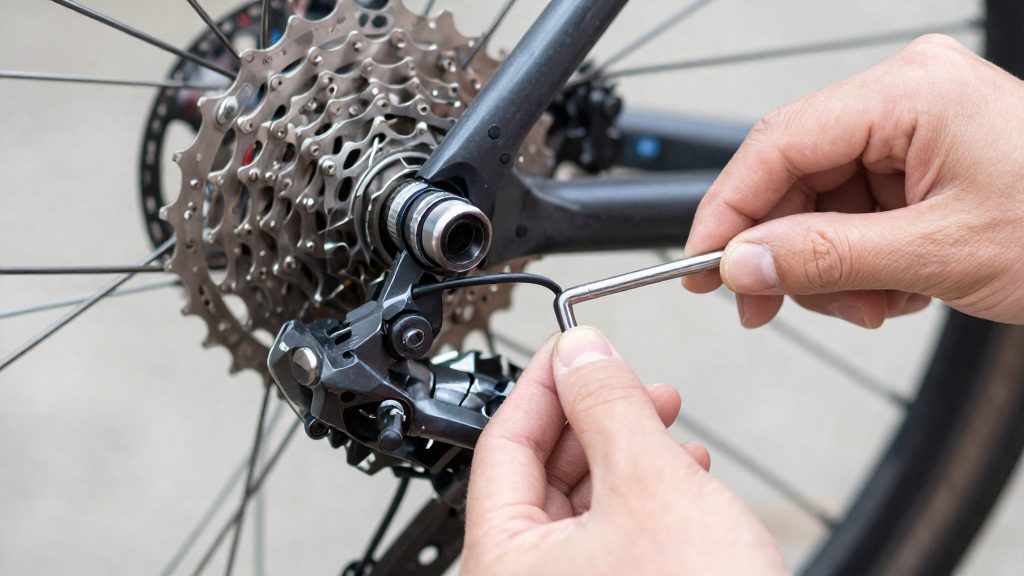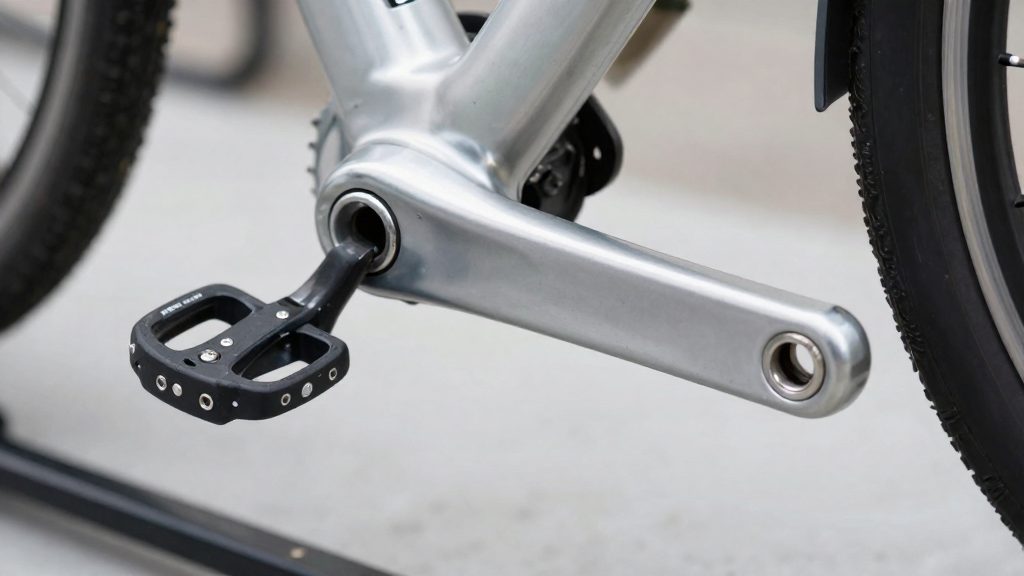
To remove a bike crank arm, you need a proper pedal wrench for the pedals, a hex key or socket that fits the crank bolt, and a stable workbench with a protective mat under the frame.
What tools do you need to remove a bike crank arm?
Pedal wrench
Remove the pedals before the crank arm, and use a pedal wrench rather than a cone wrench. Cone wrenches are thin and open-ended, so they can slip off the pedal flats when you apply force, which damages the flats and makes the pedal harder to remove. Park Tool (2026) specifies a proper pedal wrench for this reason.
Hex keys and sockets for the crank bolt
The crank bolt or nut sits at the centre of the crank arm, often behind a dust cap. Remove the cap first, then identify the bolt head before choosing a tool. The hex key or socket must seat fully on the head, because a partly engaged tool rounds the corners and makes the bolt difficult to turn.
Some pedals also have an 8 mm hex fitting on the back of the spindle, according to Park Tool (2026). Keep an 8 mm hex key available, and check each pedal before you start, since a pedal wrench alone will not reach this fitting.
| Tool | Used for | Check before starting |
|---|---|---|
| Pedal wrench | Pedal removal from the crank | Must be a pedal wrench, not a cone wrench |
| 8 mm hex key | Hex fitting on the back of some pedal spindles | Confirm whether each pedal has the fitting |
| Hex key or socket | Crank bolt or nut | Match the head size to the bolt you find |
Workbench stand and protective mat
Hold the bike on a stable workbench or workstand so the frame cannot shift while you apply force to the pedals or crank. Put a protective mat under the frame and the drivetrain area. The mat prevents scratches to the paint and to the cables when you turn the bike or rest it at an angle. A firm base also keeps your hands free to hold the tool steady and reduces the risk of the bike slipping while you turn the wrench.
Remove the pedals first
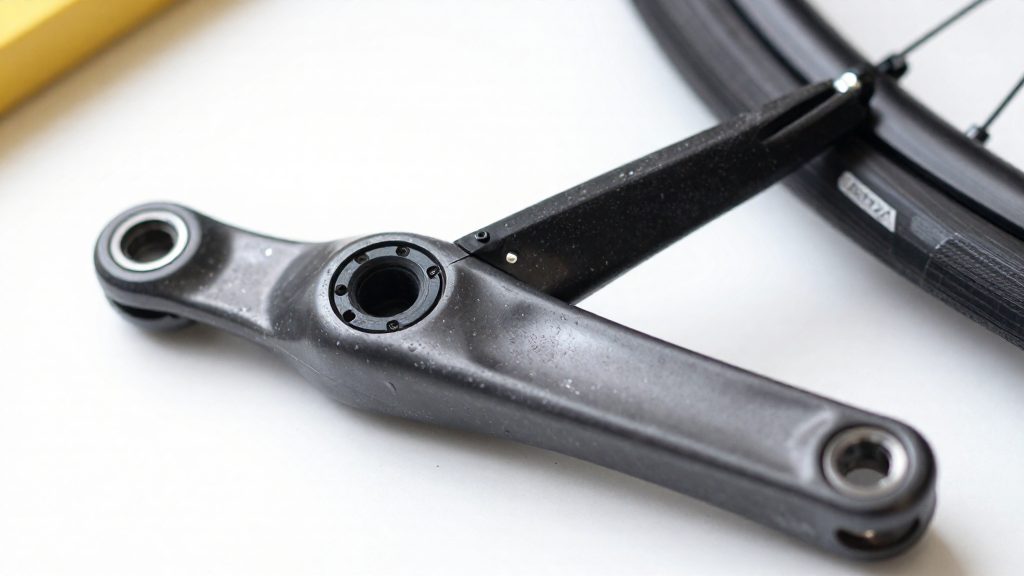
Both pedals come off before the crank arm, and they do not turn in the same direction. Park Tool (2026) specifies that the right pedal has a right-hand thread and the left pedal has a left-hand, or reverse, thread. Turning a pedal the wrong way will not loosen it and can damage the threads in the crank arm.
| Pedal | Thread type | Removal direction |
|---|---|---|
| Right | Right-hand thread | Counterclockwise |
| Left | Left-hand (reverse) thread | Clockwise |
Start with the right pedal and turn it counterclockwise. Then move to the left pedal and turn it clockwise. Because the left thread runs in reverse, the clockwise direction is the one that loosens it. Check the direction for each pedal before applying force, since the two sides are easy to confuse when you are working at the crank.
Seat the pedal wrench fully on the pedal’s flats before you turn it. The jaws should sit flat against both faces rather than on the corners or at an angle. Keeping the wrench flush spreads the load across the flats and reduces the risk of rounding them, which would leave you unable to grip the pedal for removal or refitting. Apply steady, even pressure instead of jerking the wrench. If a pedal does not move, stop and confirm the thread direction before pushing harder.
Once a pedal is loose, unscrew it by hand the rest of the way. Keep the two pedals separate, because they are not interchangeable. Park Tool’s thread directions tell you which side each belongs on when you refit them.
Take off the crank bolt or dust cap
With the pedals already removed, each crank arm is held onto the bottom bracket spindle by a single fixing bolt or nut at its outer end. Loosening that fastener releases the arm’s retention, but the arm usually still has to be pulled off the spindle with a crank puller, so the order of the steps matters. Park Tool (2026) recommends doing the chain shift first, then loosening the fastener, and clearing any washers before the arm is pulled.
| Step | Action | Purpose |
|---|---|---|
| 1 | Shift the chain onto the largest chainring | Protects your hands when the arm comes free |
| 2 | Unscrew the crank bolt or nut counterclockwise | Releases the arm from the spindle |
| 3 | Remove any washers and keep them in order | Prevents loss and wrong stacking on reinstall |
Shifting the chain first
Move the chain to the largest chainring before you touch the fastener. Park Tool gives protecting your hands as the reason. Once the arm loosens, the chainring is the part nearest your knuckles, so keeping the chain on the big ring reduces the chance of catching a finger in the teeth.
Loosening the bolt and clearing washers
Fit a tool that seats fully in the bolt head, so the head does not round off. Turn the fastener counterclockwise until it lifts free. Some installations place one or more washers between the bolt head and the arm. Lift these off in the order they came, and lay them in a small tray. Keeping them in sequence makes it easier to match the original stack when you reassemble the crank.
Removing the dust cap when no bolt is visible
Some crank arms have a dust cap covering the fastener, which hides the bolt head. If no bolt is visible, the cap must come off first. Check how the cap is fitted first: many caps thread in and need a suitable tool, while others press in. Follow the crank manufacturer’s instructions and do not pry hard, which can damage the cap or the crank. Once the cap is off, the bolt head is exposed and you can continue with the steps above.
How do you use a crank puller safely?
A crank puller pulls the arm off the bottom bracket axle by threading a driver into the crank arm and turning a central spindle clockwise. Safe use depends on three points: full thread engagement before any turning, separate work on each side, and a tool that stays in line with the axle. Park Tool (2026) and Downtube (2026) describe the same basic sequence.
| Step | Action | Purpose |
|---|---|---|
| 1 | Thread the puller’s driver into the arm by hand | Avoids cross-threading and stripped threads |
| 2 | Continue until the driver is fully engaged | Partial engagement can damage the arm (Park Tool, 2026) |
| 3 | Turn the spindle clockwise until the crank releases | Presses the arm off without forcing it sideways |
| 4 | Repeat steps 1 to 3 on the opposite arm | Removes the second arm (Park Tool, 2026) |
Hand-threading comes first because a driver started with a wrench can cut into the arm’s threads before it has seated properly. Once it turns freely by hand, it should be fully screwed in before the spindle is tightened. Only then does the load go onto the threads.
Axis alignment matters throughout. Hold the puller body square to the axle so the driver enters the arm straight. If the tool tilts, the driver can bind against one side of the thread and strip it. Stop, back the puller out, and reseat it rather than forcing the spindle. When using a universal puller such as the Park Tool CWP-7, the spindle is turned with an adjustable wrench, so keep that wrench seated and turn steadily.
Treat each side separately. Complete one arm, remove the puller, then set it up again for the other arm. Keep your hands clear of the crank when it releases, since the arm can come free suddenly.
Which puller fits your crank type?
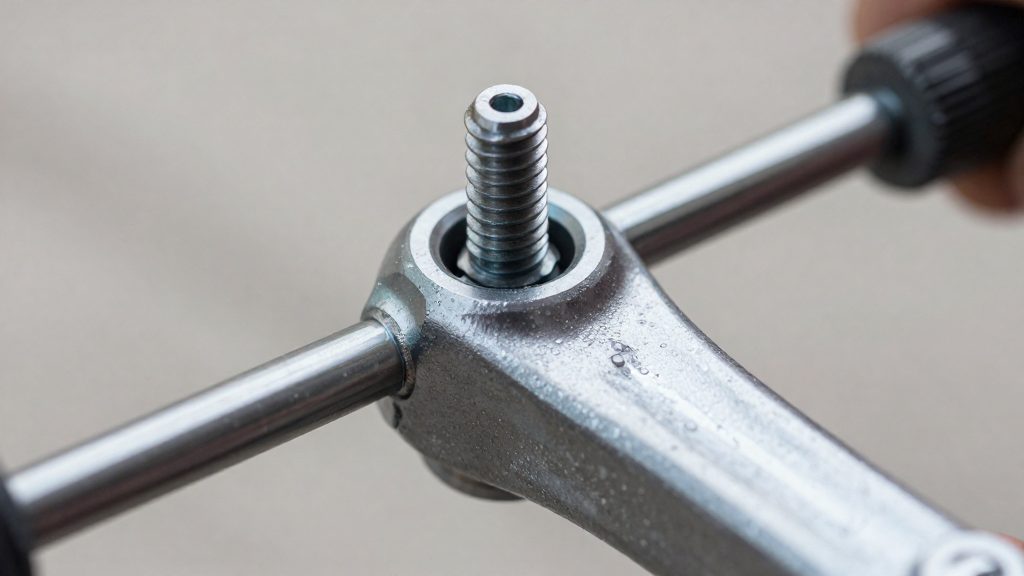
Match the puller to the crank’s bolt size before you start. The bolt size determines which extractor foot or puller body will seat on the arm. According to Park Tool (2026), M8 bolts take the CCP-22 or the CWP-7 with its small tip, and M12 or M15 bolts take the CCP-44 or the CWP-7 with its large tip. Identify the bolt size from the crank’s fixing hardware before you select a tool.
- CCP-22: for M8 crank bolts.
- CCP-44: for M12 or M15 crank bolts.
- CWP-7: a universal puller for square-taper and splined arms, with M22 x 1.0 extractor threads. Its two feet cover the other bolt sizes:
| CWP-7 foot | Bolt size | Crank systems named |
|---|---|---|
| Small foot | M8 | Square taper, SRAM PowerSpline, Bosch BNI |
| Large foot | M12 and M15 | Shimano Octalink, ISIS |
The CWP-7 is the better choice when you work across several crank types, because one body covers all three bolt sizes once you swap the foot. The CCP-22 and CCP-44 are dedicated pullers, so they suit a single bike or a workshop that only sees one bolt size. Both the CWP-7 and the dedicated pullers are used with the crank bolt already removed.
The CWP-7 needs an adjustable wrench to turn it, so keep one at hand. Some fitness equipment uses non-standard threads that the CWP-7 will not fit.
What if the crank arm is stuck?
A seized crank arm is usually bonded to the spindle by corrosion or by dried grease in the taper or spline. Forcing it tends to damage the spindle, the arm, or the extractor threads, so the aim is to loosen the joint slowly and let the puller do the work. If the arm does not move after a sustained, controlled attempt, stop and reassess.
Apply penetrating lubricant and allow it to soak
Spray a penetrating lubricant into the joint between the crank arm and the spindle, working it around the taper or spline and onto the exposed spindle end. Re-apply it as it is absorbed, then leave the assembly undisturbed for longer than the spraying took. A spray followed immediately by pulling rarely frees a corroded joint. Wipe off excess lubricant before fitting the puller so it does not drip onto the bottom bracket bearings.
Inspect the extractor threads and puller tip
Check the extractor threads before loading the puller. The Park Tool CWP-7 universal puller uses M22 x 1.0 extractor threads, and worn or galled threads can strip under load. Examine the contact tip as well, since a damaged tip can slip off the spindle end and concentrate force on the arm.
| Component | What to look for | Action |
|---|---|---|
| Extractor threads | Galling, flattened crests, cross-threading | Clean with a brass brush; replace the puller if threads bind or strip |
| Puller tip | Rounded or flattened contact face, cracks | Replace if it no longer seats squarely on the spindle end |
| Spindle end | Burrs or mushroomed edges | Remove burrs with a fine file before pulling |
Apply heat with strict limits
Heat expands the crank arm relative to the spindle and can break a corrosion bond, but it carries real risks. Bottom bracket bearings and their grease sit close to the crank, and heat conducted through the spindle can soften grease and damage seals. A torch can also scorch paint, decals and carbon components. Do not use heat for this job at home. It can damage bearings, seals, paint and carbon parts. If penetrating lubricant and a correctly seated puller do not free the arm, stop and take the bike to a bike shop.
Reinstall and torque the crank arm
Refitting reverses the removal, but the torque value and spindle preparation determine whether the arm stays seated. Crank bolts typically need about 34 to 50 Nm (300 to 450 in-lb), depending on brand, according to Park Tool (2026). Use a torque wrench, and follow the specification from the manufacturer of your crankset. The range varies between brands, so a value from one brand should not be applied to another.
Preparation depends on the spindle interface, which is why you should identify it before fitting the arm:
| Spindle type | Preparation before fitting | Example interfaces |
|---|---|---|
| Splined spindles | Grease the splines | Splined arms such as SRAM PowerSpline, Shimano Octalink and ISIS |
| Square-taper spindles | Keep the taper clean; no grease | Square-taper arms |
Grease goes only on the splines of a splined spindle. On a square-taper spindle, the tapered surfaces must stay clean so the arm seats against them without added lubricant.
Pedals are the other threaded connection in this job. Coat their threads with grease or anti-seize when refitting them, as Park Tool (2026) recommends.
After tightening, turn the crank by hand. It should rotate smoothly with no rubbing and no side play. If the arm wobbles or rubs against the frame, remove it and check that it sits fully on the spindle before tightening again to the specified torque.
Frequently asked questions
My crank bolt is loose, but the arm still won’t come off. What should I do?
Loosening the bolt does not release the arm, because the taper or spline still grips the spindle. Thread a crank puller fully into the arm by hand, then turn it clockwise until the arm releases. Check that the puller engages the full thread depth before you apply force, since partial engagement can damage the arm.
Which puller fits my bolt: the small foot or the large foot?
Match the puller foot to the bolt size. The small foot of the Park Tool CWP-7 fits M8 bolts, found on square-taper, SRAM PowerSpline and Bosch BNI cranks. The large foot fits M12 and M15 bolts, found on Shimano Octalink and ISIS cranks.
What torque should I apply when I refit the crank?
Crank bolts typically need about 34 to 50 Nm (300 to 450 in-lb), depending on brand, so confirm the exact figure in the manufacturer’s specification and tighten with a torque wrench. Grease the splines on splined spindles, but keep square-taper spindles clean, because grease on a tapered fit can let the arm work loose.