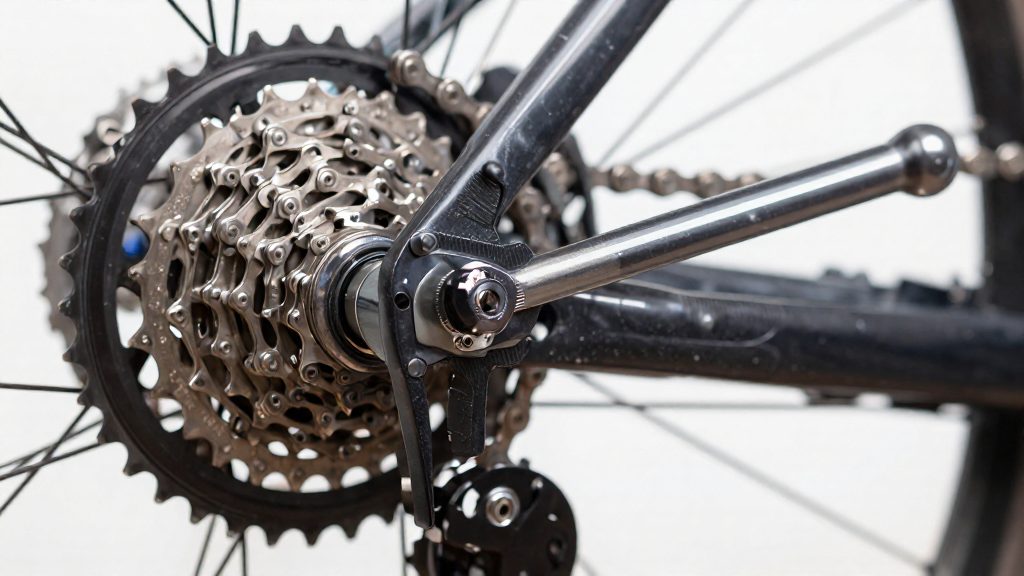
What does a bike chain breaker tool do?
A bike chain breaker tool pushes a chain’s rivet pin out of its side plates, which splits the chain so a damaged link can be removed. A threaded handle drives a threaded pin against the rivet, and the chain is held in a fixed frame so the rivet is forced out of the link. According to Cycling UK (2026), this is the method used to remove a damaged link.
Anatomy of the tool
- Pin: the threaded element that contacts the rivet end and travels through the link as the handle turns.
- Shelves: the supports that cradle the chain and hold the link in line with the pin. Park Tool (2026) names two-shelf models, including the CT-3, CT-5 and CT-7.
- Threaded handle: the part you turn. Its threads convert rotation into the linear push that moves the pin.
- Body: the frame that keeps the pin, shelves and handle in fixed alignment during pressing.
How the threaded pin drives out a rivet
Each turn of the handle advances the pin a small distance, pressing the rivet out of the link. Because the force is applied gradually, the tool gives you control over how far the rivet moves.
Chain tool versus quick link
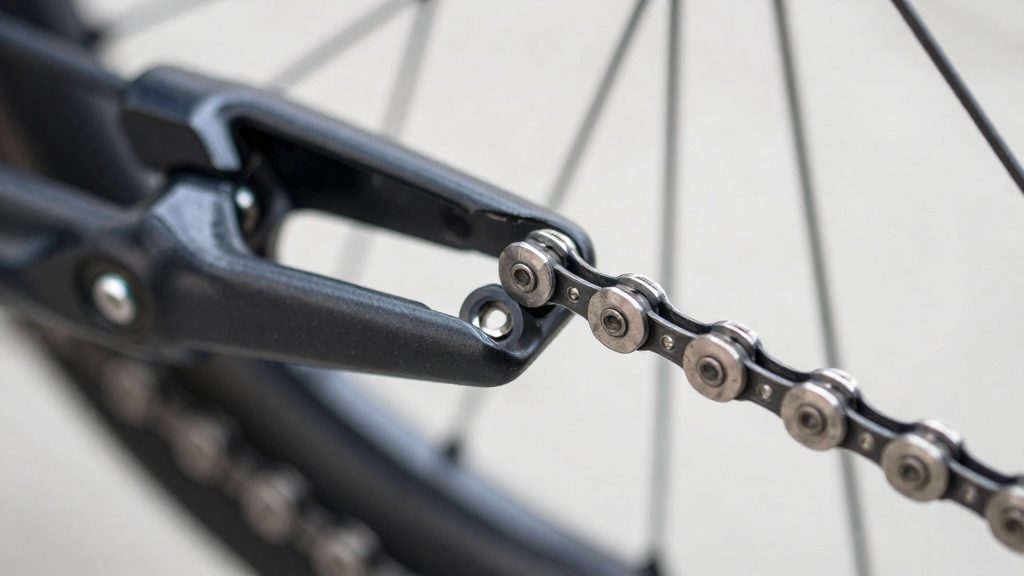
A chain tool and a quick link solve different problems. The chain tool separates the chain; the quick link rejoins it.
| Item | Chain tool | Quick link |
|---|---|---|
| Primary role | Pushes a rivet out to split the chain | Connects the two ends of the chain |
| Use with a damaged link | Removes the damaged link | Replaces the damaged link |
| Carrying | Carry a quick link with the chain tool, as Cycling UK (2026) advises | Carry one with the chain tool |
The tool is the mechanical means of opening the chain, while the quick link is the replacement connector used to close it again.
Tools and parts to have ready
Assemble the chain tool, replacement pins, a quick link and grease before you start, because a missing part leaves the chain open and the bike unusable until you find it.
Replacement pins
Park Tool supplies replacement pins for its chain tools in two codes, CTP and 985-1 (Park Tool, 2026). Keep a spare pin in the kit so that a damaged pin does not stop the job. The pins are sold with threadlocker already applied, so use them as supplied.
Quick links and spare inner links
Cycling UK advises replacing a broken link with a quick link and carrying one alongside the chain tool (Cycling UK, 2026). Each end of the chain should have two inner links before the quick link is fitted (Cycling UK, 2026).
Grease for the handle threads
Grease the handle threads of the chain tool before first use, so the handle turns smoothly when you push the pin through (Park Tool, 2026).
| Item | Purpose in the repair |
|---|---|
| Chain tool with CTP or 985-1 pins | Pushes the rivet out of the damaged link |
| Replacement pin (CTP or 985-1) | Replaces a damaged or broken pin in the chain tool |
| Quick link | Rejoins the chain once the damaged link is removed |
| Two inner links at each chain end | Keeps enough chain length for the quick link to be fitted |
| Grease | Keeps the tool handle threads turning freely |
How to use a bike chain breaker tool step by step
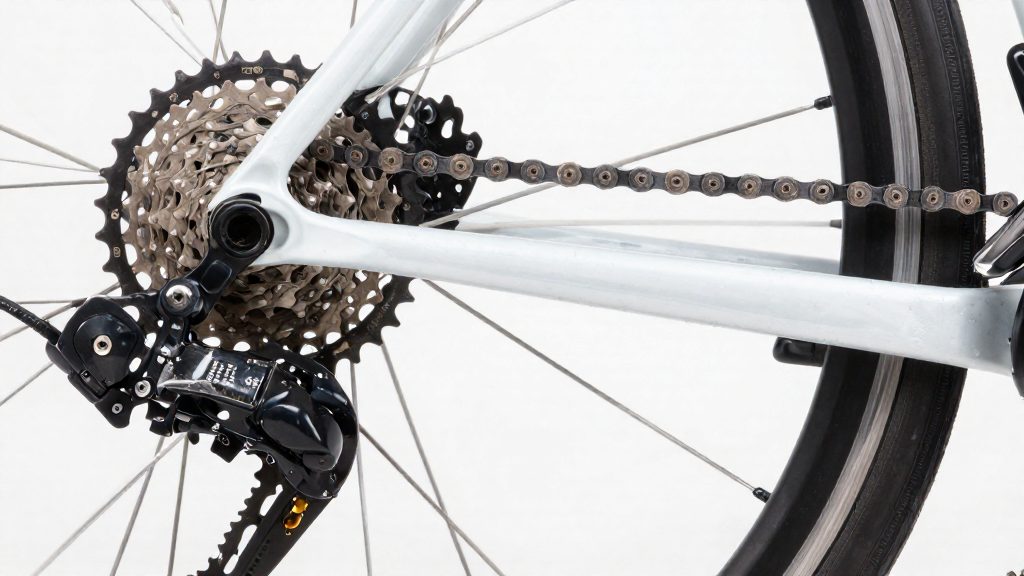
Removing a damaged link is a three-stage job: position the chain, push out the damaged rivet, then rejoin the chain with a quick link. Start by lifting the rear of the bike so the rear wheel is clear of the ground. Turn the pedals backwards until the damaged link sits at the bottom of the chain run. Working from the bottom keeps the link accessible and lets you see which section is being separated.
Next, place the link to be opened in the front of the chain tool on the lower shelf, with the pin centred on the rivet. Turn the handle slowly and steadily until the pin pushes the rivet out of the link plates. This is the stage where you separate the link, so keep track of the damaged piece and of the two chain ends it leaves behind.
Once the damaged rivet is out, remove the damaged link and check that each chain end keeps two inner links. Then join the two ends with a quick link. Then join the two ends with a quick link, following the quick link section below.
Which shelf and what alignment should you use?
Two-shelf chain tools let you choose where the chain sits, and that choice decides whether the pin pushes the rivet out. On two-shelf tools such as the Park Tool CT-3, CT-5 and CT-7, place the chain on the lower shelf to drive a rivet out. (Park Tool, 2026)
| Shelf | Purpose | Condition |
|---|---|---|
| Lower | Drives a rivet out of the chain | Standard rivet removal |
| Upper | Loosens tight links | Older chains only |
The upper shelf is only for loosening tight links on older chains. Use the lower shelf for the rivet itself. (Park Tool, 2026)
Alignment matters as much as shelf choice. Keep the pin straight and centred on the rivet for the whole press. A misaligned chain can make the pin walk off the rivet and damage the pin, the shelf or the chain. (Park Tool, 2026)
Before you turn the handle, check three things:
- The chain lies flat on the selected shelf.
- The pin sits over the centre of the rivet, not its edge.
- The chain is not angled sideways in the tool.
Check alignment again every few turns. As the rivet moves, the chain can drift, and correcting it early prevents the pin from walking off the rivet.
How do you rejoin the chain with a quick link?
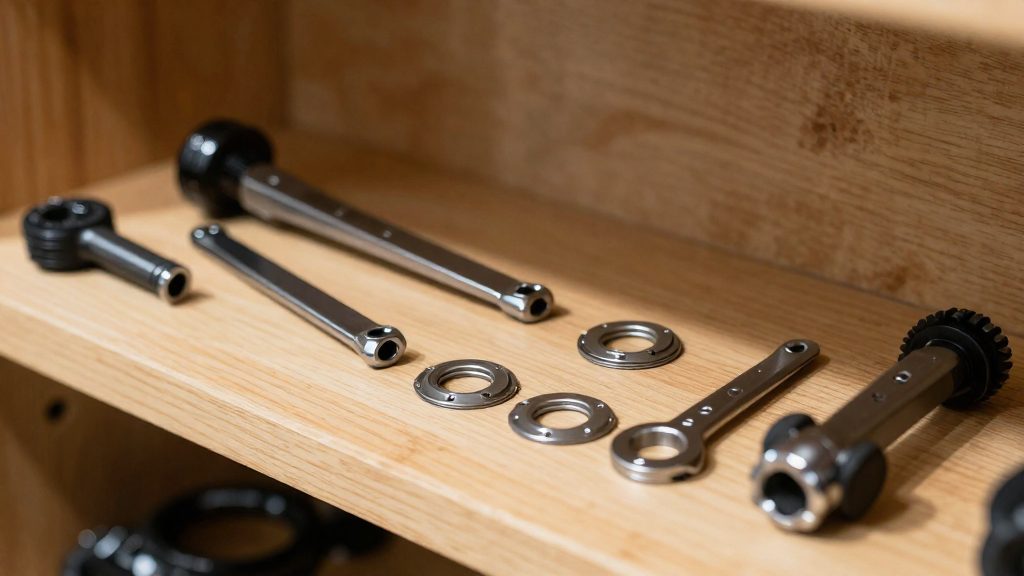
A quick link lets you reconnect a chain without pliers, once both ends are prepared. Check that each chain end has two inner links before you fit the quick link.
To seat the link without pliers, use the pedal-based method:
- Rotate the chain so the quick link is at the top of the chain run, where you can reach it easily.
- Hold the rear brake firmly so the rear wheel cannot turn.
- Step on the pedal to drive the chain forward. The force pulls the quick link into its locked position.
- Listen for an audible click. Cycling UK (2026) identifies this sound as the sign that the link has locked.
The brake is what makes this method work. Without it, the wheel turns instead of pulling the chain through the quick link, so the link does not seat. Keep your hand on the brake throughout the step, not just at the start.
After seating, confirm the quick link sits flush and that no inner plate is misaligned. If you do not hear the click, do not ride the bike. Check the product label or the manufacturer’s instructions for the correct orientation of the link, then repeat the seating step.
Common mistakes that break pins and chains
Park Tool (2026) identifies two main causes of chain tool pin breakage: an insufficiently tightened pin and a misaligned tool when breaking the rivet.
| Mistake | Direct consequence |
|---|---|
| Pin not fully tightened before pressing the rivet | The pin takes the full pressing load on its threads, so it can snap instead of driving the rivet cleanly |
| Misaligned tool when breaking the rivet | The pin can walk off the rivet and damage the pin or the chain |
Insufficiently tightened pin
The pin is the threaded element that pushes the rivet out. If it is not fully seated before you start pressing, the threads carry a load they are not set up to hold. Seat the replacement pin fully and tighten it to about 7–9 N·m, the figure Park Tool gives for its CTP and 985-1 replacement pins, before applying force. Do not force the handle to compensate for slack threads, because that loads the pin beyond what its seating allows.
Misaligned tool during rivet removal
Park Tool names a misaligned tool as the second main cause of pin breakage. Check the tool’s alignment before pressing, and check it again whenever the chain drifts, following the alignment steps described above.
When to replace the chain instead of repairing it
A single damaged link can usually be repaired, but a chain that is worn throughout or that keeps breaking needs replacing. The deciding factors are measured wear, the condition of the sprockets it runs on, and whether the tool keeps failing on the same chain.
Measuring chain wear with a chain checker
A chain checker has a gauge that engages the rollers. If the gauge sits deep into the chain, the pitch has stretched and the chain is worn. Read the result against the scale printed on the checker itself, because the pass and fail points depend on the model. Check at several points along the chain, not just one, since wear is rarely even. A chain that reads worn at multiple points should be replaced rather than patched, because a single repaired link does nothing for the stretch elsewhere.
Cassette and chainring wear after chain failure
A worn chain wears the teeth of the cassette and chainring over time. When the teeth take on a hooked or shark-fin profile, a new chain will tend to skip under load. Inspect the teeth for this shape before fitting a replacement. If the teeth are hooked, replace the chain together with the affected sprockets. Fitting a new chain to worn sprockets shortens the new chain’s life and can cause skipping.
When the tool breaks the same chain repeatedly
Repeated pin breakage on the same chain often points to the tool setup, since Park Tool names an insufficiently tightened pin and a misaligned tool as the two main causes, but the chain’s condition can also play a part. Before replacing a chain for this reason, check that the pin is seated correctly and that the tool is aligned with the rivet.
Decision guide
| Condition | Action |
|---|---|
| One damaged link, rest of chain within checker limit | Repair with a quick link |
| Chain reads worn at several points | Replace the chain |
| Teeth on cassette or chainring are hooked | Replace the chain with the affected sprockets |
| Pin breaks again on the same chain | Check pin seating and tool alignment before blaming the chain |
Frequently asked questions
Can I seat a quick link without pliers?
Yes. According to Cycling UK (2026), rotate the chain so the quick link sits at the top, hold the rear brake, and step on the pedal. You should hear a click as the link locks.
Where should the damaged link sit before I press out the rivet?
Lift the rear wheel off the ground and back-pedal until the damaged link reaches the bottom of the chain, where it can be fitted into the tool (Cycling UK, 2026).
Which shelf do I use on a two-shelf chain tool?
Park Tool (2026) reserves the lower shelf for driving out a rivet. The upper shelf is intended only for loosening tight links on older chains.