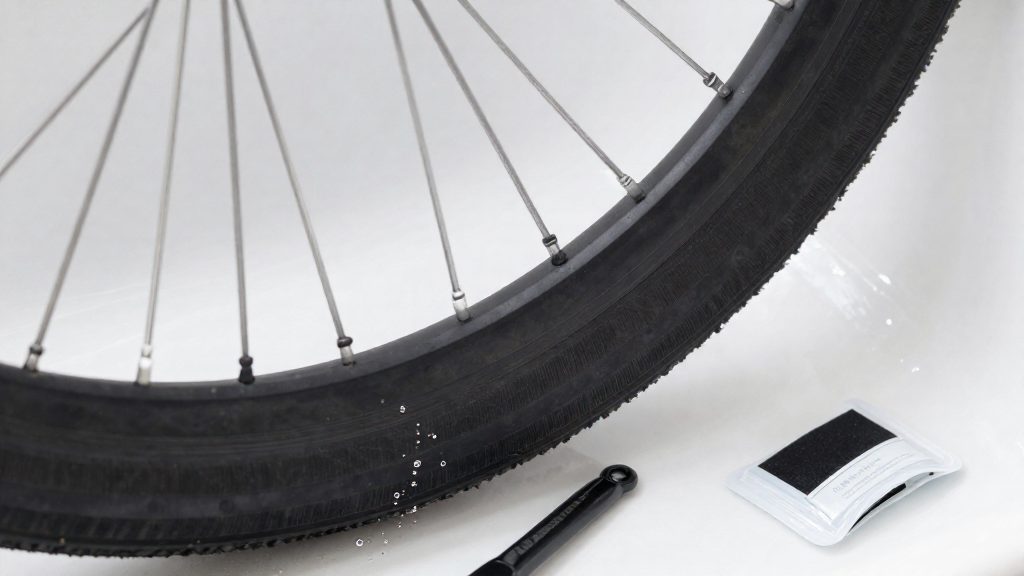
Slow air loss usually comes from one of three physical sources: a small puncture in the tube, a faulty valve, or porous rubber that lets air diffuse through the wall. Unlike a sudden flat, which empties the tube quickly, these leaks lower pressure gradually over hours or days. The cause matters because each one needs a different fix. A puncture needs a patch, a valve problem usually needs tightening or a new valve core, and diffusion through the wall means the tube has aged or deteriorated.
Why does my tube lose air slowly?
Small punctures from thorns, glass and wire
A thorn, shard of glass or steel wire fragment can pierce the tube without causing a flat. The opening is small, so air escapes slowly and the tube may hold enough pressure for a day or more before feeling soft. A tube that loses air again after being pumped up may have a pinhole that reopens under repeated flexing of the tire, so check the whole tube and the inside of the tire for the object that caused it.
Leaking valve core and loose valve stem
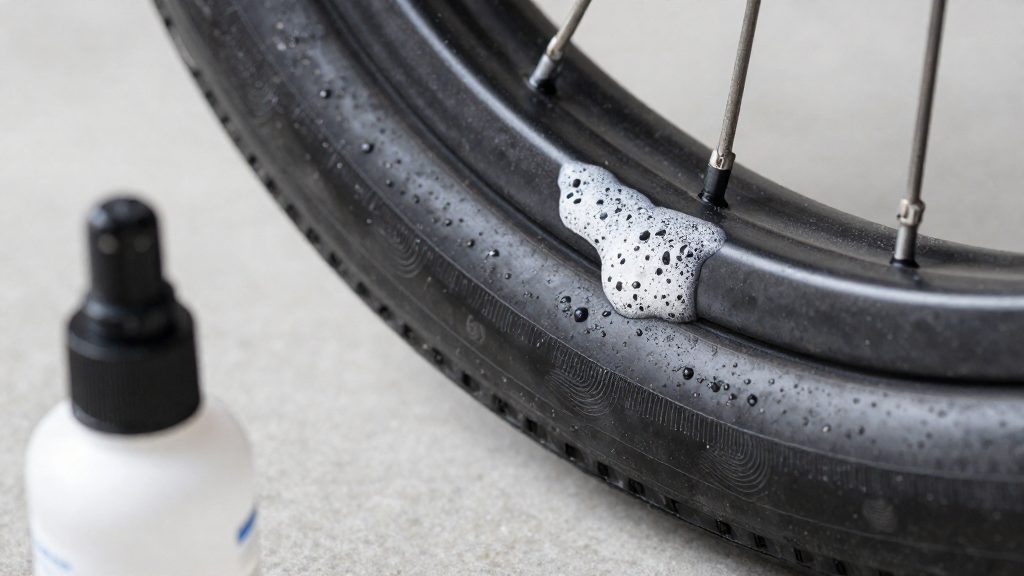
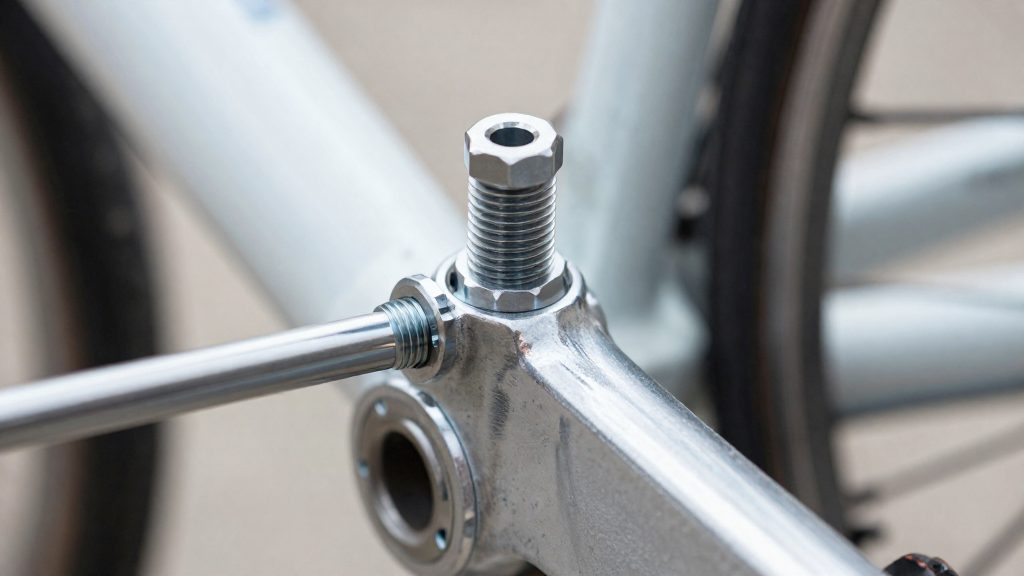
The valve core is the spring-loaded pin inside the valve that seals the tube when closed. If it is not fully seated or has grit on its seal, air escapes at the valve and the tube deflates even though the tube body is intact. A loose valve stem causes a different leak: air escapes around the base of the stem where it passes through the rim. On Presta valves, the locknut at the stem base holds the stem in place and should be tightened.
Porous rubber and diffusion
Air can pass slowly through the wall of an aged or thin tube, even with no hole. This diffusion produces a uniform, gradual loss with no single leak point, which makes it different from a localised puncture. If a tube loses pressure overnight and no valve or puncture is responsible, check the tube’s age and condition, and replace it if it shows cracking or hardening.
| Cause | Where air escapes | Typical pattern |
|---|---|---|
| Small puncture | A pinhole in the tube body | Steady loss, often from one point |
| Valve core | Seal inside the valve | Hiss at the valve, tube deflates with no hole |
| Loose valve stem | Base of the stem at the rim | Air escapes around the valve base |
| Porous rubber | Whole tube wall | Uniform, gradual loss with no single leak |

Tools and materials you need
A tube patch needs three things beyond the wheel itself: a way to lift the tyre off the rim, a way to re-inflate the tube, and a patch kit that bonds to the rubber. Each item has a separate job, and the table below lists what to check before you start.
| Item | Role in the repair | What to check |
|---|---|---|
| Tyre levers | Pry the tyre bead off the rim so the tube can come out without being pinched again | Levers should be rigid enough to lift the bead without bending or snapping |
| Hand pump or inflator with pressure gauge | Re-inflates the tube to test the patch and seats the bead back onto the rim | The gauge should read in the same unit as the pressure printed on the tire sidewall (PSI, kPa or bar) |
| Patch kit with patches and rubber cement | The patch covers the hole, and the cement bonds it to the tube | Check that the cement is not dried out and that the patches match the size of the hole |
The tyre levers are the tool most often used incorrectly. Working them in small steps around the rim keeps the tube away from the levers’ edges, which is where a second puncture usually starts.
The pump matters for more than inflation. A gauge lets you confirm the tube holds pressure after patching, and a pump that seals well at the valve makes it easier to notice a slow leak.
The patch kit is the consumable that actually seals the tube. Rubber cement is applied in a thin coat about the size of the patch, and most kits include patches in a range of sizes. Before you start, check that the rubber cement has not dried out.
How do I find a slow leak?
A slow leak rarely produces a visibly flat tyre, so locating it means sensing small volumes of escaping air. Work through the methods below in order, starting with the cheapest.
| Step | Method | Sign of a leak |
|---|---|---|
| 1 | Feel test: inflate the tube and hold it close to your cheek, turning it slowly so each section passes your face | Faint air movement against the skin at one spot |
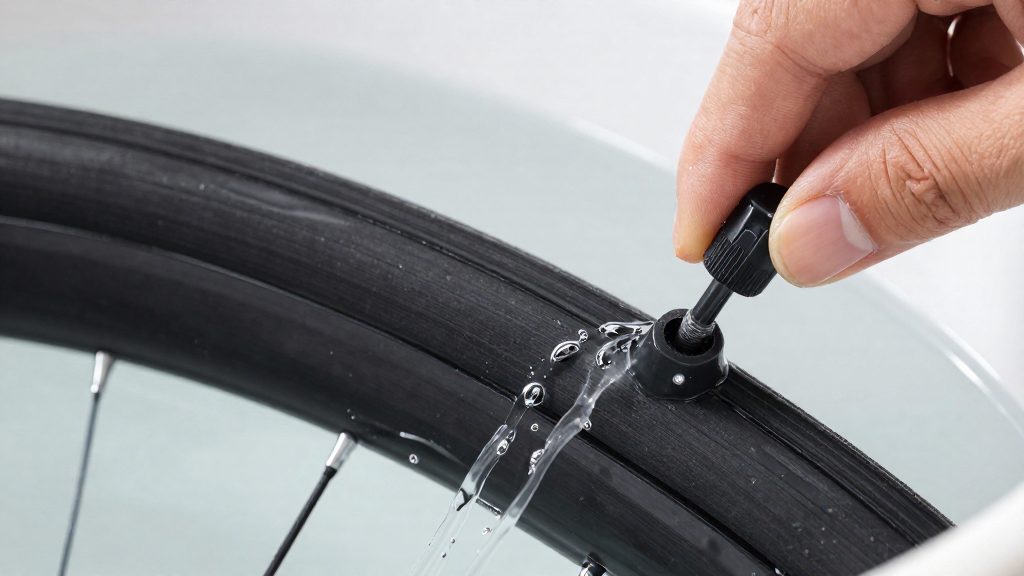
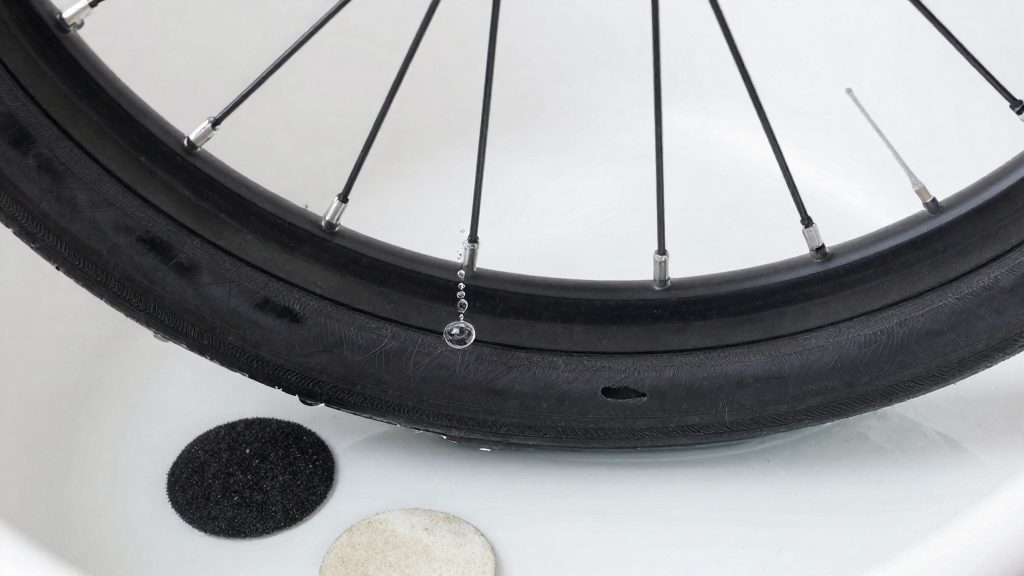
| 2 | Submersion test: immerse the inflated tube in water, working section by section | Bubbles rising from the hole |
| 3 | Pinch-flat check: examine the whole tube, not only the first spot found | A second hole, often close to the first |
According to Veloweb (2026), the feel test is the first option for a small or slow leak, because a cheek is sensitive enough to detect a light stream of air. Rotate the tube in your hands so that the valve area and every part of the tube pass near your face. If you feel nothing, the leak is either very small or sits in a section you have not yet covered.
The submersion test is the fallback. Veloweb (2026) recommends submerging the tube when the feel test fails and looking for bubbles. Move the tube through the water in short sections so the entire surface is covered, since a bubble trail is easy to miss if you check only part of the circumference.
The pinch-flat check matters because a tube damaged by a pinch flat usually has two holes rather than one. Veloweb (2026) notes that a tube should otherwise have only one hole, so the second puncture is a sign that the inspection must cover the full length of the tube. Once you have located the leak, its exact position guides the repair steps that follow.
Preparing and patching the hole
Preparation decides whether a patch holds. Start by marking the hole before you touch the surface. Small holes are easy to lose once the tube is deflated and handled, so circle the hole with a marker, according to Veloweb (2026). Slime (2026) suggests chalk as an alternative, which is useful on dark rubber where a marker line is hard to see.
Next, roughen the rubber around the hole with sandpaper so the cement can grip. iFixit (2026) recommends this step, which gives the adhesive a textured surface rather than a smooth, glossy one. While you sand, feel for mold ridges, the raised seams left by the tube mold. Veloweb (2026) advises flattening any ridge that crosses the patch area. A ridge under the patch prevents it from lying flat against the tube, so it can lift at the edges.
Apply a thin cement coat that is about the size of the patch, as iFixit (2026) describes. A thick layer takes longer to dry and can trap solvent under the patch. Do not add a second coat to speed things up. Sources differ on drying time: Veloweb (2026) gives about one minute for the first layer, iFixit (2026) about three minutes until the cement is dry to the touch, and Slime (2026) says to wait until it feels tacky. Follow the instructions on your cement and do not press the patch on while the glue is still wet.
| Stage | Waiting time | Source |
|---|---|---|
| First layer of glue, before the patch goes on | About 1 minute | Veloweb (2026) |
| Cement dry to the touch | About 3 minutes | iFixit (2026) |
| Glue ready to press | Wait until it feels tacky | Slime (2026) |
Once the cement is ready, place the patch so that it is centered on the hole, not offset toward one side. Press it down firmly with your thumb, as iFixit (2026) describes. A centered patch covers the hole with an even margin on every side, which gives the repair the best chance of sealing. Work quickly but carefully.
Checking the tire before reinstalling
Before the tube goes back in, the casing needs to be cleared of whatever caused the flat. Once the patch is drying, this step is easy to skip, so do it before the tube goes back in.
Clearing the interior
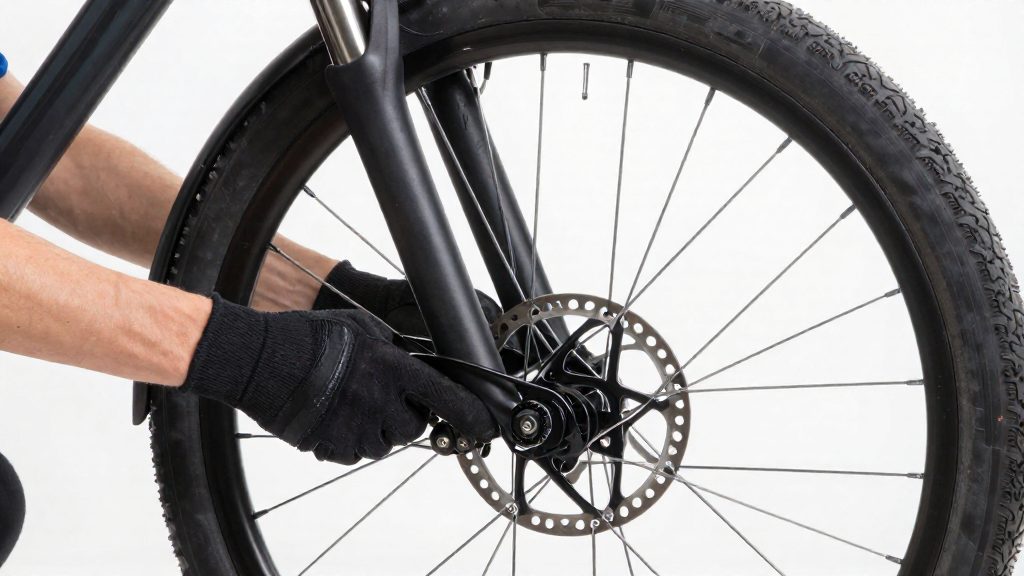
Work the tire off the rim, then run your fingers slowly around the inner surface. Thorns, wire ends and small stones often stay lodged in the casing with only a tip showing. Pull each one out along the path it entered, so the cut does not widen. Shake the tire and wipe the inside with a dry cloth to remove loose grit.
Inspecting the casing for cuts and glass
Hold the tire up to a light source and turn it section by section. Glass is the easiest thing to miss because fragments are often small and translucent. Wipe a cloth or cotton ball gently across the tread and sidewalls. It will snag on any sharp point, so you do not need to rely on sight alone or risk cutting your fingers. Any fragment you find must come out completely, because a piece left in the casing will keep working through to the tube.
Mapping the inspection points
| Area | What to look for | Action |
|---|---|---|
| Tread, outer surface | Cuts, splits, embedded glass | Remove fragments; a cut that runs through the casing needs a tire replacement |
| Sidewall | Cracks, bulges, deep abrasion | A bulge or deep cut means the tire should be replaced |
| Bead edge | Cracking or damage along the bead | Damaged bead means the tire should be replaced |
Sidewall and bead checks
The sidewall is the thinnest part of the casing, so cuts and abrasion there often go unnoticed until the tire fails. Flex it gently with both hands and look for separations in the rubber or fabric. Check the bead edge where the tire meets the rim, since a cracked or torn bead can allow the tube to pinch or bulge when the tire is pumped. Any damage found here affects whether the tire is safe to reuse, so decide that before refitting the tube.
Reassembling and testing the repair
The final stage has three checkpoints: powdering the patch, seating the bead on the rim, and allowing a pause before the tube is pressurised. Each addresses a different way a repair can fail after it looks finished, so they are best carried out in order.
Dusting the patch with talc
Before the tube goes back into the casing, dust the patch with talcum powder. According to Slime (2026), this keeps the patch from sticking to the tyre. Shake off any excess so that no loose powder is left inside the casing, where it could collect at the valve or settle around the bead.
Seating the bead
Insert the tube, then partially inflate it so it takes its shape inside the tyre. Check that the bead, the tyre’s edge, sits snugly on the rim all the way around. Slime (2026) recommends this check after reassembly. A bead that sits unevenly on one side should be pushed back into place before you add more air, because pressure applied to a misseated tyre can pinch the tube.
Waiting before the test
After patching, wait a few minutes before testing, as Veloweb (2026) advises. This pause lets the patch settle before it bears air pressure. Testing too early means you may judge the repair against a patch that has not yet bonded.
Confirming the repair holds
Inflate the tube lightly outside the tire and retest it in water for bubbles. Then refit it, inflate it to your normal riding pressure, leave the wheel for long enough to show a slow loss, and check the pressure again. Veloweb (2026) notes that slow leaks are easy to miss, so a brief glance is not enough to confirm the repair. If the tyre has lost pressure, deflate it and repeat the checks above, looking closely at whether the patch has moved or the bead has shifted during inflation.
When should I replace the tube instead?
A patch suits a single, isolated hole in an otherwise sound tube. When the tube has more damage than that, or a patch has already failed, a new tube is the more reliable fix. Several conditions mark the point where patching stops being a dependable repair.
The first is a pinch flat. According to Veloweb (2026), a pinch flat usually leaves two holes close together, often called a “snake bite,” and a tube should otherwise have only one hole. Two holes close together therefore suggest a pinch flat, so check the whole tube for further damage before deciding whether to patch or replace it.
The second condition is a tube that already carries several patches. Each patch adds another seam and another raised edge. The more patches a tube carries, the less uniform its wall becomes, and the greater the chance that a new hole appears beside an old patch rather than in a clean area.
The table below sets out the other conditions and the action each one calls for.
| Condition | Why patching is unreliable | Practical action |
|---|---|---|
| Patch near the valve stem | The valve base flexes and is clamped where the tube meets the rim, so the patch edge is stressed with every inflation | Replace the tube |
| Patch in the bead area, where the tire edge presses the tube against the rim | The bead edge is pinched and rubbed in use, so the patch lifts or wears through | Replace the tube |
| Leak persists after a second correctly applied patch | The first patch may have sealed correctly, so the leak is probably coming from another point on the tube | Replace the tube |
If a leak returns after two correct patch attempts, stop patching. A third patch adds bulk without giving a dependable seal, and a new tube costs less than the time spent on repeated repairs. Keep the old tube as a spare for testing, but do not reuse it as your main tube once it has failed in these ways.
Frequently asked questions
How do I find a slow leak if I can’t see a hole?
Inflate the tube lightly and hold it close to your cheek to feel for escaping air. If you feel nothing, submerge the tube in water and watch for bubbles rising from the surface.
Why do I need to mark the hole before sanding?
Once the surface is roughened, a small hole is easy to lose, so circle it with a marker or chalk first. Also flatten any mold ridges that cross the patch area, so the patch sits flat and seals fully.
What does a pair of holes close together mean?
Two holes close together usually indicate a pinch flat (a “snake bite”). Because a tube should normally have only one hole, inspect the whole tube for further damage before you patch it.