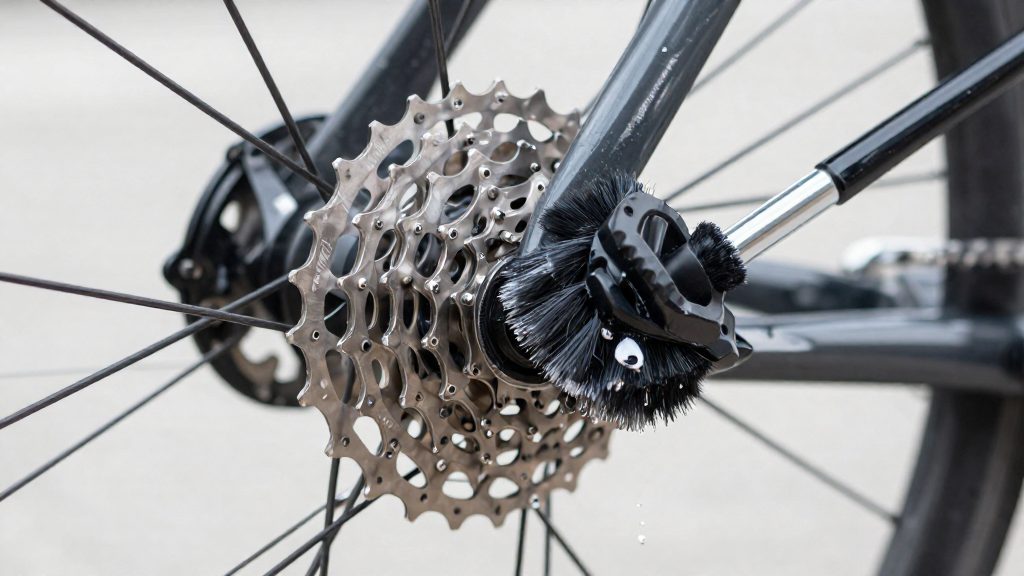
Yes, in many cases you can clean a cassette without removing it from the hub. In-place cleaning works when a brush can reach the teeth and faces of the sprockets with the wheel fitted, and the clearance around the cassette is enough for the brush to pass. Whether a cassette can be cleaned on the bike depends less on the dirt itself than on the space around the cogs, and that space is set by the frame and the rear derailleur.
Can you clean a cassette while it is on the bike?
Situations where in-place cleaning is enough
In-place cleaning suits routine maintenance: road grit, a light oil film, and a mix of dirt on the outer faces and between the teeth of the mid-range cogs. Shift the chain onto the smallest cog, which gives the most room, then work through the cogs in one consistent order, ending with the largest. Work one cog at a time and rotate the brush around each cog so the bristles reach both the teeth and the back face.
Frame and chainstay clearance
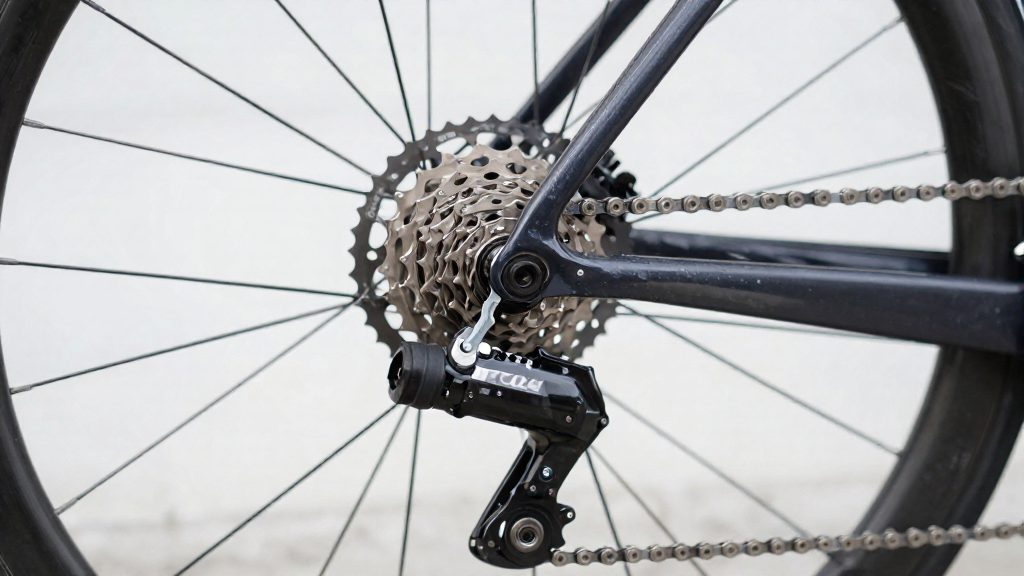
The chainstay sits close to the largest cogs. If the gap between the cassette and the chainstay is tight, a brush cannot wrap around the back face of the cog, so only the outer face gets cleaned. Check the gap by holding a brush against the sprocket before you start. If it does not fit, the back of the cassette will stay dirty, and this is the point where removal becomes the practical option.
Derailleur cage clearance near the largest cog
The derailleur cage (the lower guide pulley housing) sits beside the largest cog and can block access to it. Shift the chain onto the largest cog and check whether the cage leaves room for the brush to pass between it and the sprocket.
| Check | What to look for | Result |
|---|---|---|
| Brush passes the cog face | Bristles reach the teeth without contacting the cage | Clean in place |
| Cage blocks the brush | Cage contacts the brush before the teeth are reached | Partial cleaning only |
| Chainstay gap | Brush can wrap around the back face | Full in-place cleaning possible |
What you need to clean a cassette in place
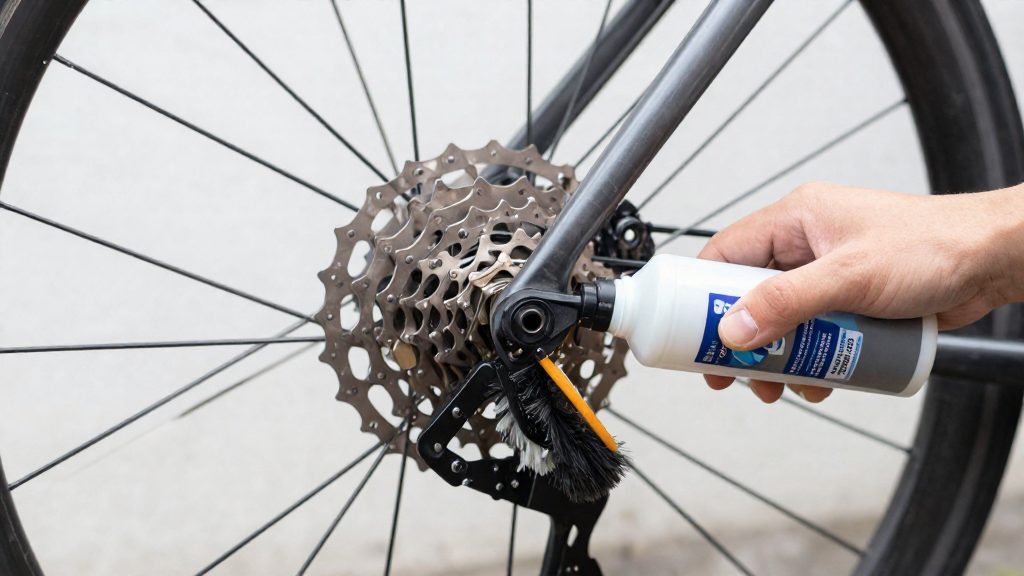
Cleaning a cassette without removing it requires three things: a brush small enough to enter the gaps between sprockets, a separate degreaser, and cloths that keep the wheel and frame clean. Because the wheel stays installed and the bike stays on its stand, the tools should be chosen for reach and slimness rather than bulk.
Brush bristles for narrow cog gaps
Grime packs into the space behind each cassette cog, and that space is narrow. A brush for this job needs bristles stiff enough to lift dried oil and grit from the cog faces and tooth roots, but thin enough to slide between adjacent sprockets. Check the bristle material before use. Metal wire bristles are more aggressive and can scratch alloy or anodised cog surfaces, so a nylon brush is the safer choice for regular cleaning.
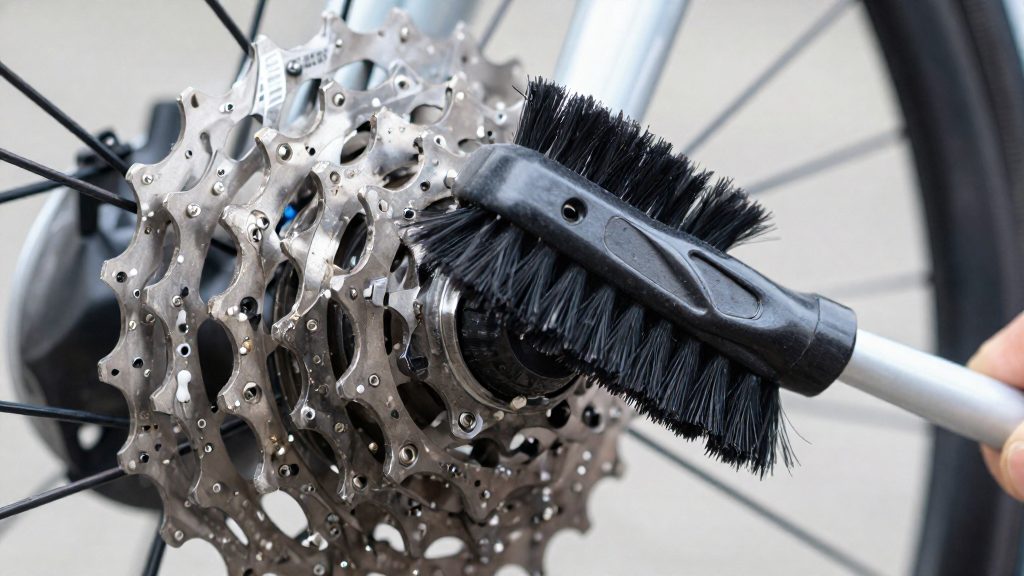
Park Tool GSC-1 GearClean brush
Park Tool sells the GSC-1 GearClean brush for cleaning both the derailleur and the cassette. Its features are summarised below.
| Feature | What it does |
|---|---|
| Tough bristles | Scrub grime from the cassette and derailleur surfaces |
| Contoured toothed end | Reaches dirt deep between the gears |
Park Tool states that the toothed end saves wear and tear on the chain and cassette. The brush is a practical tool for the GearClean task because, according to Park Tool, its contoured toothed end reaches dirt deep between the gears.
Rags and protective covers
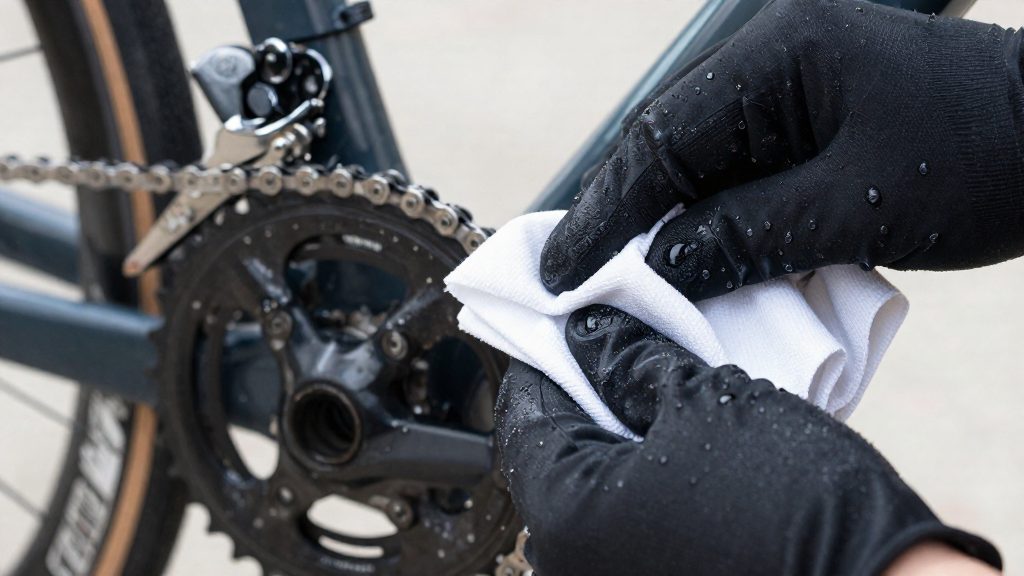
Use lint-free cloths, since fibres left in the cassette can be pulled into the drivetrain. Keep a clean, dry cloth for wiping the brush between cogs and a second cloth for the cassette body.
Protect the wheel area before you start. Lay a rag over the chainstay and the tyre sidewall, and drape a plastic sheet or cloth over the rear hub and spokes to catch drips and splashes.
Choosing a bike-safe degreaser
A cassette degreaser has to be compatible with every material it touches: the cassette itself, the aluminium-alloy and carbon-fibre parts of the drivetrain, and the plastic and rubber components nearby. Park Tool’s CB-4 ChainBrite is a useful reference because the manufacturer publishes compatibility claims for it in writing. The table below sets out those claims.
| Material | Park Tool claim for CB-4 ChainBrite (2026) |
|---|---|
| Alloy | Will not harm alloy parts |
| Plastic | Will not harm plastic parts |
| Rubber | Will not harm rubber parts |
| Carbon fibre | Will not harm carbon fibre parts |
| Cassette | Safe for cleaning cassettes when used with a chain scrubber or scrubbing brush |
These are manufacturer statements, not independent test results. Carbon fibre deserves particular attention. Carbon components are often bonded to other materials, so confirm that the label names carbon explicitly rather than relying on a general “bike-safe” claim.
Reading the biodegradability claim
Park Tool also states that the surfactants in CB-4 ChainBrite are readily biodegradable under the OECD 301B test, a standardised laboratory method (Park Tool, 2026). Surfactants are the ingredients that lift grease from metal and polymer surfaces, so this claim concerns the part of the formula that does the cleaning. It does not extend to the product as a whole. Other ingredients in the formula are outside its scope, so a reader cannot treat the claim as a statement about the full bottle.
Selecting a degreaser
When comparing products, use the following checks:
- Confirm the label names every material on your bike that will contact the degreaser.
- Note whether the manufacturer’s cassette claim is tied to a specific cleaning method. For CB-4 ChainBrite it is.
- Where the label gives no material list or test reference, the product does not provide the information needed to judge it.
How to brush the cogs step by step
Brushing without removing the cassette means working cog by cog while the chain stays on the wheel.
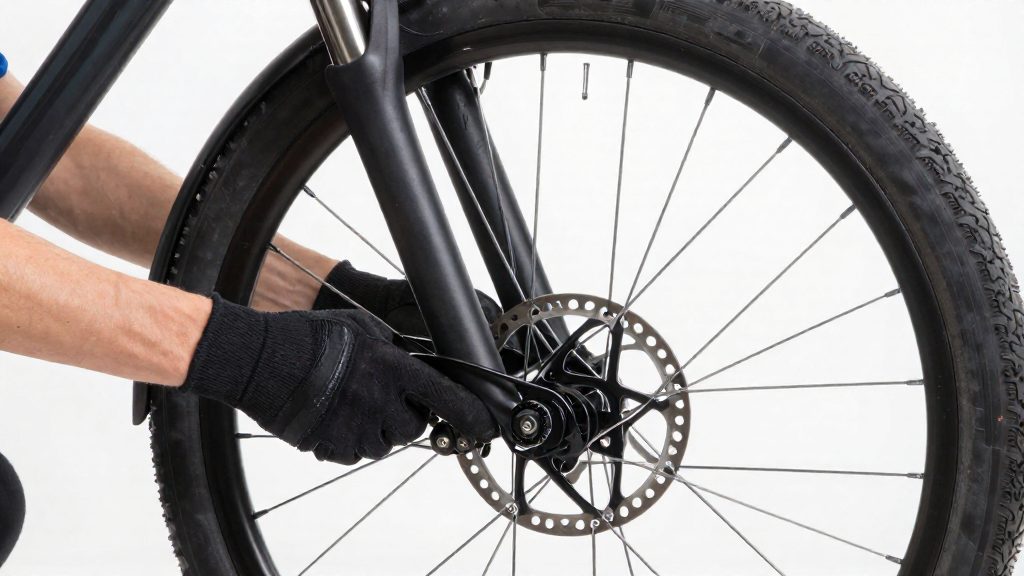
- Lift the rear wheel off the ground, or use a stand, so the cassette turns freely when you pedal.
- Shift the chain onto one cog with the rear derailleur shifter. Pick one end of the cassette and keep that order for every pass, so no cog is skipped or cleaned twice.
- Brush the teeth on that cog. Hold the GSC-1 against the cog and turn the pedals backwards so the cog rotates past the brush. Use the toothed end to work the gaps between the teeth.
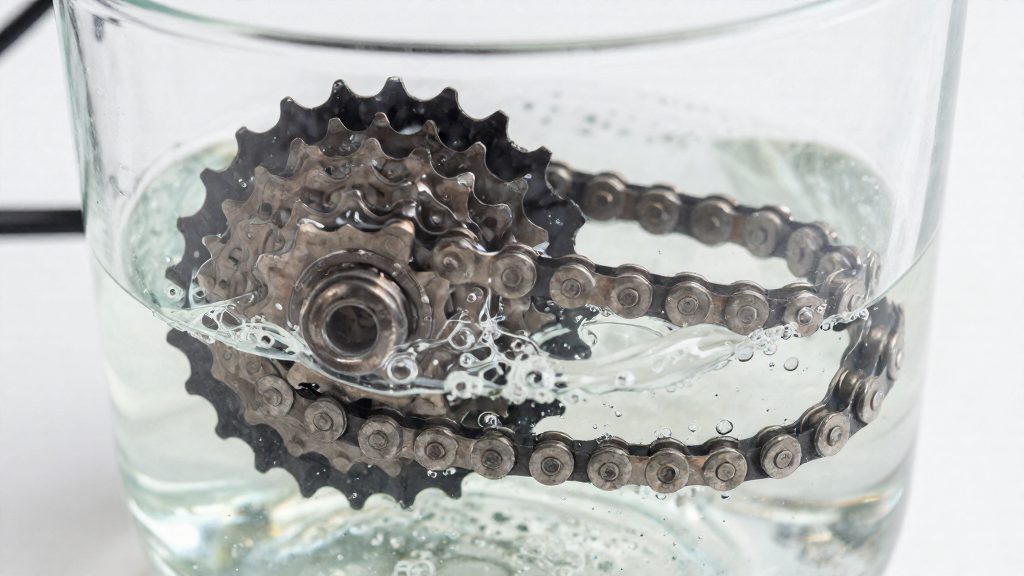
- Clean the chain on the same cog. Apply degreaser following the product label, fit a chain scrubber around the chain above the cog and pedal backwards so its brushes pass over the links.
- Move to the next cog and repeat steps 2 to 4 until every cog has been brushed.
Work in the same direction throughout. Pedalling backwards turns the chain and cogs past the brush while the chain stays on the bike. Brushing the cassette and chain as one continuous pass per cog keeps the process short and consistent.
How do you rinse and dry without harming the bearings?
The rear hub bearings and the freehub mechanism sit directly behind the cassette, so water that travels through the cog gaps toward the axle is the main risk when you clean without removing it. Rinse with a gentle flow, such as a hose on a light stream or a bucket and sponge, and angle the water outward across the cogs rather than inward toward the hub centre. This keeps the freehub seals out of the direct spray path.
Water pushed through the cog teeth collects in the narrow spaces between the sprockets. After rinsing, wrap a dry cloth around the cassette and pull it back and forth through the gaps, working one cog at a time. Replace the cloth with a fresh section whenever it becomes wet, and continue until the cloth comes out dry. With the chain still on, turn the cranks by hand in the normal drive direction. This flings loose droplets off the cogs and lets the cloth reach spots it missed.
The freehub body and its internal pawls are enclosed behind the cassette and cannot be dried directly without removal. Limit drying to the visible exterior: wipe the surface of the freehub body where it meets the cassette, and leave the interior alone. If you use compressed air, hold the nozzle at a wide angle and use short bursts, directed across the cog faces rather than into the gaps near the hub. Allow the assembly to air-dry in a warm, ventilated space before riding, because moisture left between the cogs can linger after a surface wipe.
Re-lubing the chain and wiping the excess
Once the chain is dry, it needs a fresh lubricant film on the inner rollers, the parts that contact the sprocket teeth. Lubricant on the outer plates has no benefit and holds grit against the chain and cassette. The method is therefore about placing the lubricant precisely and removing what lands elsewhere.
Choosing a lubricant for wet or dry conditions
Chain lubricants are generally sold as wet or dry formulations. Their behaviour differs in the conditions you ride in:
| Riding conditions | Lubricant type | Practical effect |
|---|---|---|
| Rain, mud, or frequent water exposure | Wet lube | Stays tacky on the chain, so it resists washing off, but it attracts more dirt |
| Dry, dusty, or fair-weather riding | Dry lube | Dries to a thin film that collects less grit, but it washes out faster in wet weather |
Check the product label for the intended conditions and confirm that it suits your chain type.
Applying lubricant to the inner rollers
Apply lubricant to a chain that is already dry, as moisture left behind reduces the lubricant’s grip on the metal.
- Hold the chain steady, or shift to a small sprocket to expose the lower run.
- Apply one drop of lubricant to each roller on the inside of the chain.
- Turn the pedals backwards slowly so the lubricant works into the rollers and bushings.
- Continue until every link has been treated, then let the lubricant settle for a short period before wiping.
Wiping surplus from the chain and cassette
Wiping is the step that determines how quickly the drivetrain collects grime after lubing.
- Hold a clean rag against the outer plates of the chain and pedal backwards to pass each link through the cloth.
- Wipe the cassette sprockets with the same rag to remove drips that have landed on the teeth.
- Check the derailleur pulleys for drips and wipe them as well.
When should you remove the cassette instead?
In-place cleaning stops being effective when the grime is no longer on the surface of the cogs. If the cassette still looks dark after several rounds of brushing and degreasing, the dirt is probably packed behind the cogs or against the freehub body, where a brush cannot reach. Repeated passes with a brush that leave visible residue point to contamination you cannot clear without taking the cassette off.
Three checks help decide:
| Observation | What it indicates | Next step |
|---|---|---|
| Dark residue remains after repeated brushing and degreasing | Dirt is lodged behind or under the cogs | Remove the cassette and clean each cog separately |
| Teeth look hooked, pointed, or one tooth is bent | Tooth wear or deformation, which cleaning cannot correct | Inspect each cog under good light and replace the affected cog or cassette |
| Cage or chainstay blocks the brush even after repositioning | Access, not dirt, is the limit | Remove the cassette for a full clean |
Tooth inspection needs a close look at every cog, not only the largest or most-used ones. Check the tooth profile from the side and compare the teeth on each cog for uniform shape. A tooth that has lost its profile or leans noticeably can cause the chain to skip under load, and no amount of cleaning restores it.
The lockring is the step most likely to stall a job. Cassettes are held by a lockring that threads onto the freehub body and has notches for the lockring tool. Turning it with pliers or a hammer risks damaging the notches or the freehub, so if it resists, apply penetrating lubricant to the threads and let it sit before trying again.
Frequently asked questions
Can I use a degreaser on the cassette while it is still on the bike?
Park Tool states that its CB-4 ChainBrite degreaser is safe for cassettes when used with a chain scrubber or scrubbing brush, and that it will not harm alloy, plastic, rubber or carbon fibre parts (Park Tool, 2026). This is a manufacturer claim, so check the product label before using it on a drivetrain you have not cleaned before.
Which brush reaches the gaps between the cogs?
Park Tool sells the GSC-1 GearClean brush for cleaning the derailleur and cassette. Its contoured toothed end is designed to reach dirt deep between the gears, which the maker says also reduces wear on the chain and cassette (Park Tool, 2026).
Is the degreaser’s formula biodegradable?
Park Tool states that the surfactants in CB-4 ChainBrite are readily biodegradable under the OECD 301B test method (Park Tool, 2026). This claim covers only the surfactants, not the whole product, so follow the disposal instructions on the label for the rest of the formula.