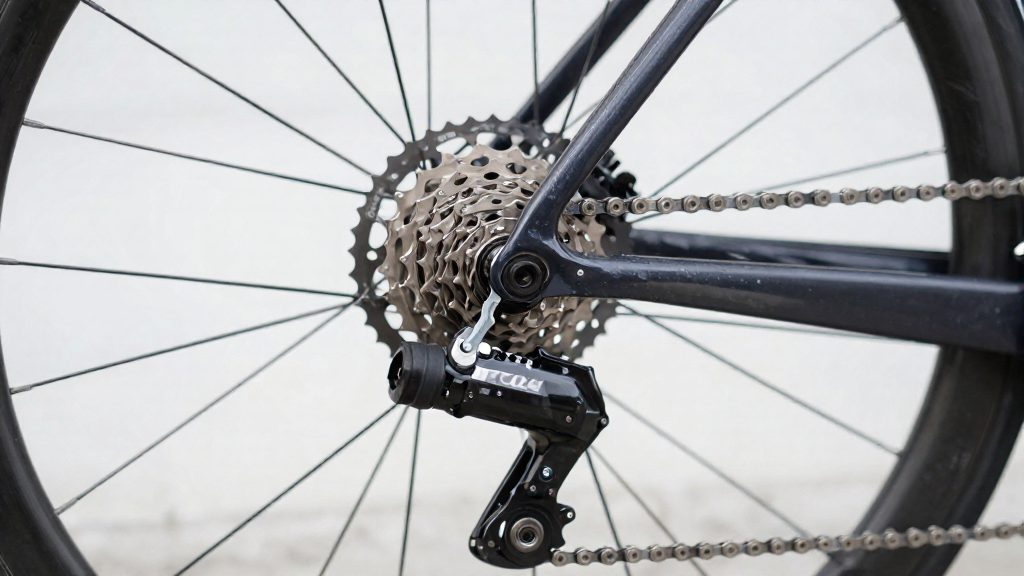
To remove and fit a road bike cassette, you need three core items: a chain whip, a lockring tool, and grease. The lockring tool depends on the cassette system. Shimano and SRAM HG and XD/XDR cassettes use a shared splined tool. Each item has a specific role, covered below.
What tools do you need to change a road bike cassette?
Chain whip
It is used for removal only. The chain whip is not needed when tightening the lockring.
Cassette lockring tool
The lockring tool is splined, so it engages the grooves of the lockring and cannot be substituted with a generic tool. Match it to your cassette system:
| Cassette system | Lockring tool | Notes |
|---|---|---|
| Shimano HG | Splined tool shared with SRAM | Loosened with a chain whip holding the cassette |
| SRAM HG | Same shared tool as Shimano | Same procedure as Shimano HG |
| SRAM XD/XDR | Shared tool with Shimano and SRAM HG | Lockring is built into the cassette |
| Campagnolo | Campagnolo-specific spline tool | Different spline pattern, so the shared tool does not fit |
Grease
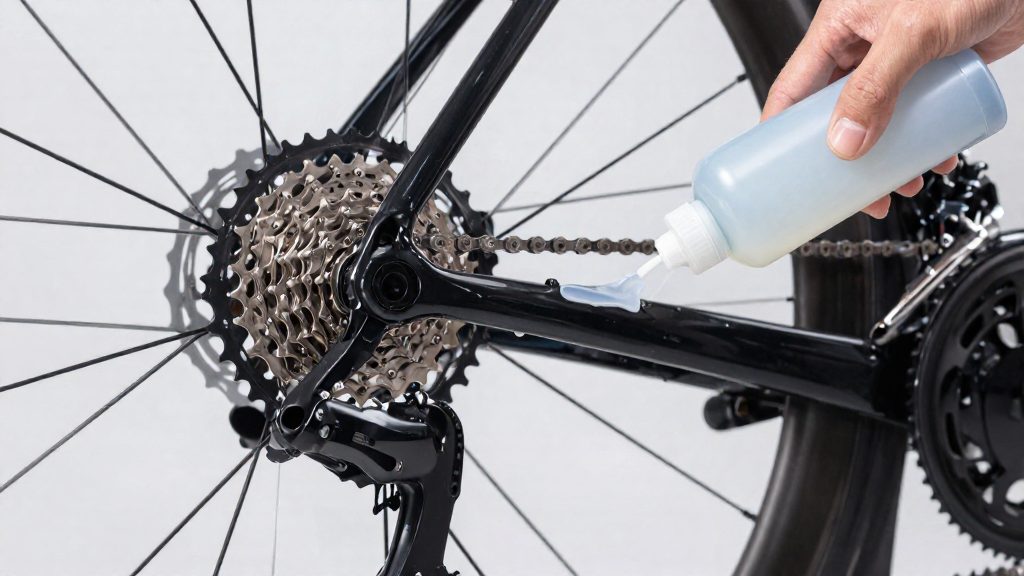
Apply grease sparingly. The fitting procedure calls for a very light coat on the cleaned freehub body before sliding the new cassette. For SRAM XD/XDR cassettes, the freehub threads also need grease before the lockring goes on.
Optional torque wrench
A torque wrench with a lockring socket is optional. Without one, the lockring must still be tightened firmly, and the freehub threads can be damaged by overtightening.
According to BikeRadar (2023-02-11), these are the only tools required for the job.
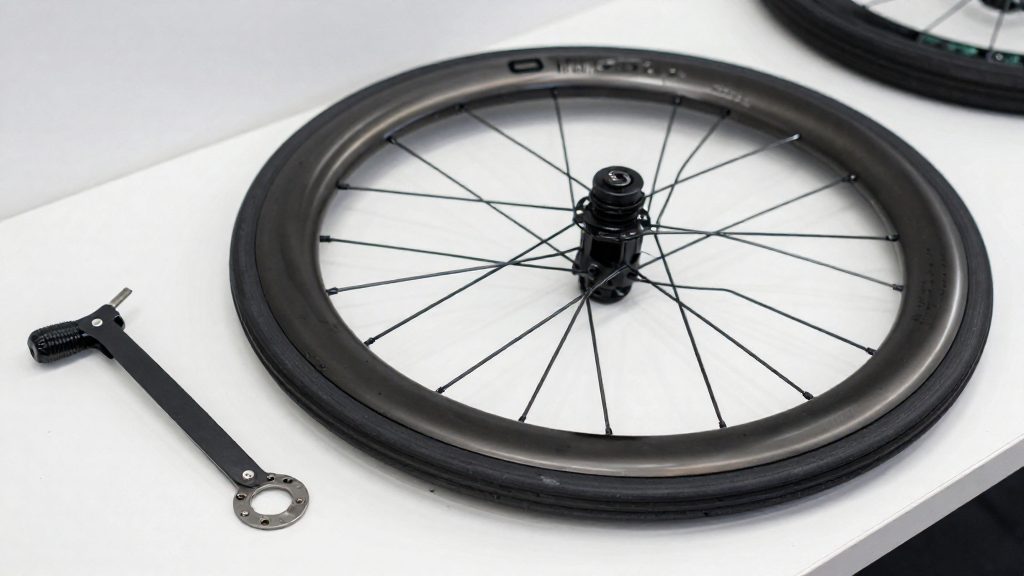
Check cassette and freehub compatibility first
Confirm three things before you remove the old cassette: the speed count, the freehub type and the cog range. Mismatches are easiest to catch on the bench, before the wheel is stripped down.
Start with the speed count. The replacement must have the same number of sprockets as the existing cassette. A 9-speed cassette cannot be swapped for a 10-speed one, so count the cogs on the current cassette and match that number on the new one.
Next, identify the freehub type, because it determines the smallest cog you can run:
| Freehub type | Smallest usable cog | Compatible cassette family |
|---|---|---|
| Standard HG freehub | 11 teeth | Shimano and SRAM HG |
| XD/XDR freehub | 10 teeth | SRAM XD/XDR |
A standard HG freehub accepts cogs down to 11 teeth only. If you want a 10-tooth sprocket, the hub must be an XD/XDR freehub.
Some combinations need an extra part. An XD cassette fitted to an XDR freehub requires a 1.85 mm spacer, which must be in place before the cassette goes on. Without it, the cassette will not seat correctly on the freehub body.
Campagnolo is a separate system. Its cassettes use a different spline pattern from Shimano and SRAM, so a Shimano or SRAM cassette will not fit a Campagnolo freehub. Check the hub brand before buying tools.
Once the speed count, freehub type and cog range all match, the replacement is ready for removal. Keep the old cassette until the new one is installed and tested, so you can return to it if the fit is wrong.
How do you remove the old cassette?
Removing a road bike cassette takes three steps: take the rear wheel out of the frame, loosen the lockring, then slide the cogs off the freehub body. According to BikeRadar (2023-02-11), for Shimano, SRAM HG and Campagnolo cassettes you remove the wheel first, then loosen the lockring with the splined lockring tool. The work is done on the bench or with the bike upside down, and the cassette itself is never reused unless it is in good condition.
Removing the rear wheel
- Open the quick-release skewer or undo the thru-axle, then lift the wheel out of the dropouts.
- Before lifting, shift the rear derailleur to its smallest cog so the chain is slack and the cage clears the wheel.
- Lay the wheel on a clean surface with the cassette facing up, so the cogs and freehub are accessible.
Holding the cassette and loosening the lockring
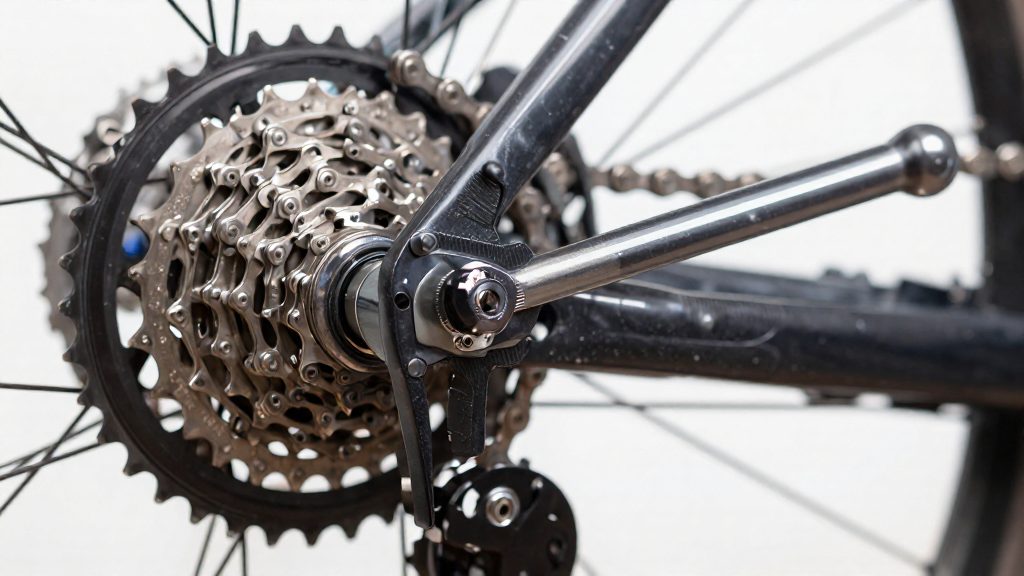
The chain whip wraps around the cogs and locks into them, so the cassette cannot rotate. Engage the chain whip on the cogs, then fit the lockring tool into the splined lockring and turn it anticlockwise to loosen. Keep steady pressure on the chain whip; if the cassette rotates, the lockring will not break free.
Lifting the cogs off the freehub body
Once the lockring is off, lift the cassette straight off the freehub body. Note the order of the cogs and any spacer behind them so the replacement goes back correctly. Inspect the freehub splines and threads for wear before fitting the new cassette.
Clean and grease the freehub body
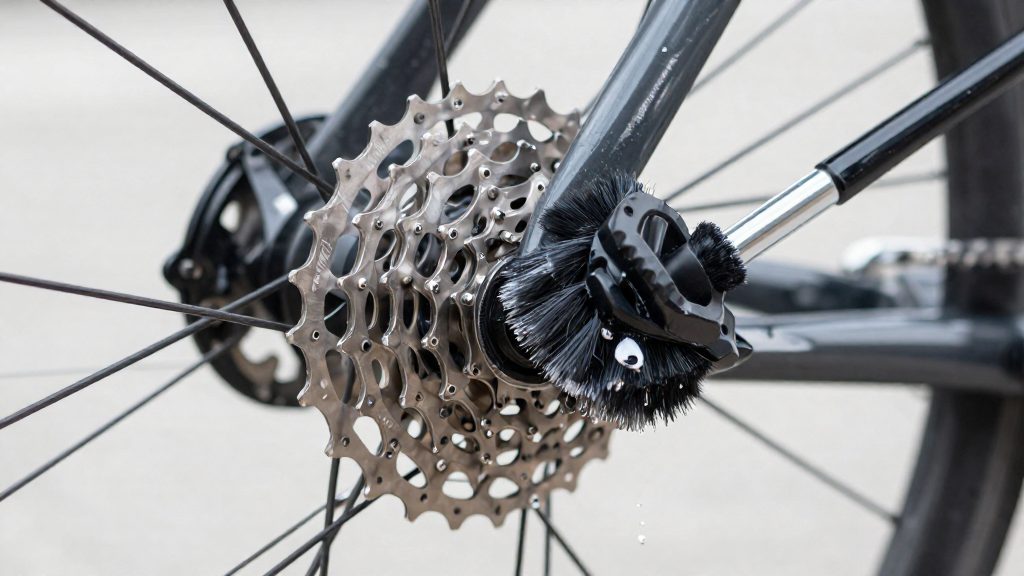
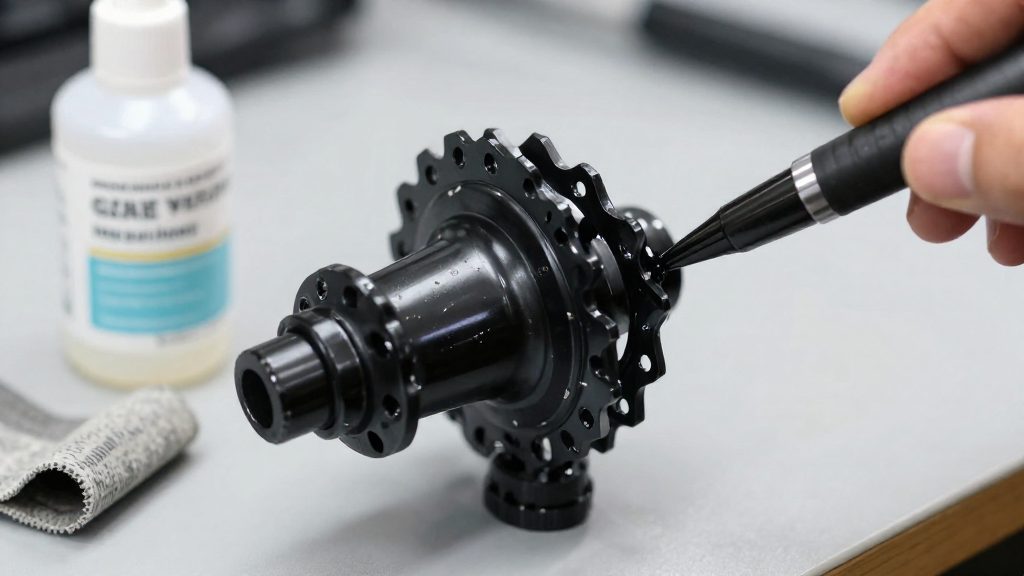
With the cassette off, the freehub body is the splined carrier on the rear hub that the cogs slide onto. Before fitting a new cassette, remove dirt, grit and old grease from its splines and, on SRAM XD and XDR freehubs, from the threads that take the lockring. Leftover grime can stop the cogs seating flush, and grit trapped between the splines and the cassette can make shifting less precise.
Work in this order:
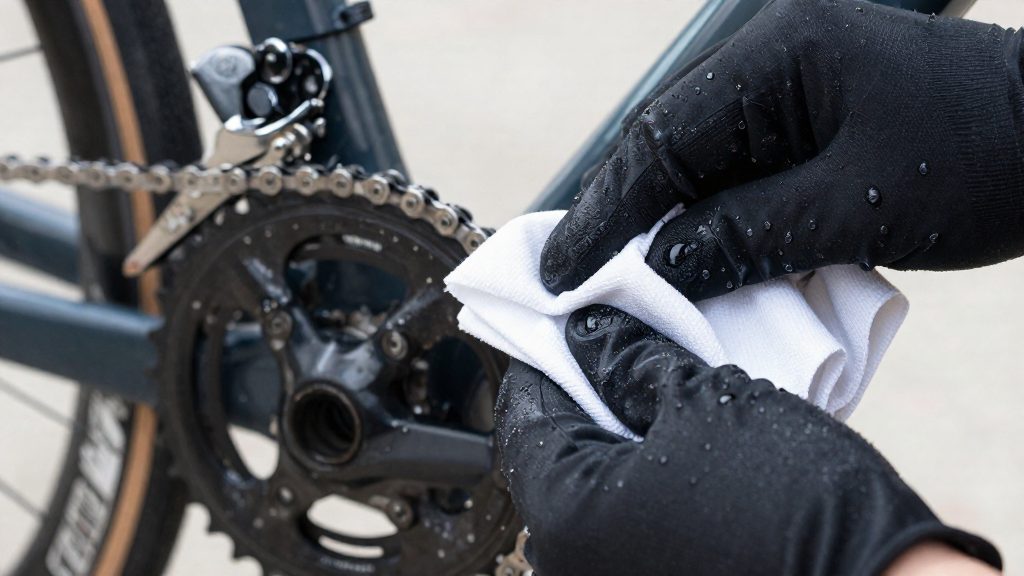
- Clean the splines. Wipe the splines with a clean rag and use a small brush, such as an old toothbrush, to loosen packed-in dirt. Remove all old grease, because it holds grit against the metal.
- Clean the threads. On XD and XDR freehubs, clear the threads with the same method so the lockring can start cleanly by hand.
- Check for damage. Look for burrs, bent splines or stripped threads. Damaged threads are a reason to address the hub before fitting a new cassette, not to force the lockring.
- Apply a very light coat. On Shimano, SRAM HG and Campagnolo freehubs, apply a very light coat of grease to the splines. Wipe off any excess so that no grease sits on the spline tips where the cogs seat.
- Grease the XD/XDR threads. Apply a thin film to the freehub threads only. Excess grease here can make the lockring feel tight without actually clamping the cassette properly.
Cleaning and greasing are separate steps, so degrease fully before applying any grease. A freehub that looks clean but still has old residue in the splines will not seat the cassette correctly.
Source: BikeRadar (2023-02-11).
Install the new cassette and set the lockring torque
Fitting the new cassette is a short sequence, but the lockring step is where threads are most easily damaged. Work methodically: seat the cassette, start the lockring by hand, then tighten it to the correct value.
Spline alignment comes first. Hold the cassette so its internal splines line up with the freehub body, then slide it on, pushing it fully home so every cog sits flat against the freehub. If it does not seat easily, rotate it slightly until the splines engage. Forcing it can misalign the cassette and make the lockring difficult to start.
Next, hand-start the lockring. Turn it by hand and feel for the first few threads engaging smoothly. Cassette lockrings should turn freely for the first turns. If resistance appears early, stop, back the lockring off and realign it. Forcing a cross-threaded lockring can damage the freehub threads.
Tightening depends on the cassette system:
| Cassette type | Lockring | Tightening |
|---|---|---|
| Shimano and SRAM HG | Splined lockring, shared tool | Manufacturer’s torque |
| SRAM XD/XDR | Built into the cassette | 40 Nm |
| Campagnolo | Campagnolo splined lockring | Follow the manufacturer’s specified torque |
According to BikeRadar (2023), the chain whip used to loosen the lockring is not needed for tightening. For HG cassettes, the torque value is set by the manufacturer, so check the cassette’s documentation before tightening. For XD and XDR cassettes, the 40 Nm figure applies, and a torque wrench is the practical way to reach it accurately.
Should you replace the chain too?
A stretched chain is the main reason to question whether a new cassette on its own is enough. As a chain elongates, its rollers sit at a different pitch from the one the cassette teeth were cut for. The load then concentrates on a smaller area of each tooth, so a new cassette fitted with a worn chain wears out faster than it would with a matched chain. If the chain is past its limit, replacing it at the same time as the cassette protects the investment.
The decision should rest on measurement, not appearance. A chain checker is a small gauge with a hooked pin that drops into the rollers and shows how far the chain has elongated. Clean and degrease the chain before measuring, because grit between the rollers can make a serviceable chain read as worn. Check at several points along the chain, since wear is rarely uniform. Read the result against the scale printed on the checker itself, as the marking differs between models.
Use the reading to decide:
| Chain checker result | Action |
|---|---|
| Pin does not seat at any point checked (reading within the checker’s limit) | Keep the chain and fit the new cassette |
| Pin seats fully at any point checked (reading at or past the checker’s limit) | Replace the chain together with the cassette |
| Chain skips under pedalling load | Replace the chain and the cassette, as the old cassette has likely worn to match the stretched chain |
Where the chain is marginal, the cost of a chain is small compared with the cost of a cassette, so replacing both is the more predictable choice.
Test shifting and adjust the derailleur
A new cassette can change how the rear derailleur sits relative to the sprockets, so the derailleur needs checking once the wheel is back on. BikeRadar (2023-02-11) notes that a cassette with a different size range may require adjusting the rear derailleur’s B-tension, the screw that sets the gap between the jockey wheel and the cassette. Adjust B-tension only when the cog range changes, and leave it alone when the replacement matches the original range.
Adjusting B-tension for a new cog range
- Shift the chain onto the largest cog, then check the gap between the jockey wheel and the cassette.
- Turn the B-tension screw in small increments until the jockey wheel sits in the correct position beneath the cassette.
- Shift through the full range again and confirm the chain tracks cleanly across every sprocket.
Running the gears under load
Shifting while stationary can hide problems, because chain tension changes when the drivetrain carries load. Pedal forward and move through every gear, from the smallest cog to the largest and back. Listen for chain rub, skipping, or delayed shifts, and note which gears cause them. Repeat the check with the bike on a stand and again on the road, since small faults often appear only under real pedalling force.
Setting the H and L limit screws
The H screw limits how far the derailleur moves toward the smallest cog, and the L screw limits its travel toward the largest cog. If either is set incorrectly, the chain can overshoot the sprocket range.
| Symptom | Adjustment |
|---|---|
| Chain overshoots past the smallest cog toward the frame | Adjust the H screw |
| Chain overshoots past the largest cog into the spokes | Adjust the L screw |
| Jockey wheel rubs or sits too close or far after fitting a different cog range | Adjust B-tension |
Frequently asked questions
What happens if the new cassette has a 10-tooth sprocket but my hub is HG?
A standard HG freehub only accepts cogs down to 11 teeth, so a 10-tooth cog requires an XD/XDR freehub. Check the freehub type on the hub before you buy a cassette with a small top sprocket.
Can I fit an XD cassette on an XDR freehub?
Yes, but you need a 1.85 mm spacer first, according to BikeRadar (2023-02-11). Fit the spacer behind the cassette, then check that the lockring seats fully before you torque it.
Why do I need to start the XDR lockring by hand?
The XDR lockring cross-threads easily, so turning it by hand for the first few turns keeps the threads aligned. Once it is seated, tighten it to the 40 Nm torque specified for SRAM XD/XDR, according to BikeRadar (2023-02-11).