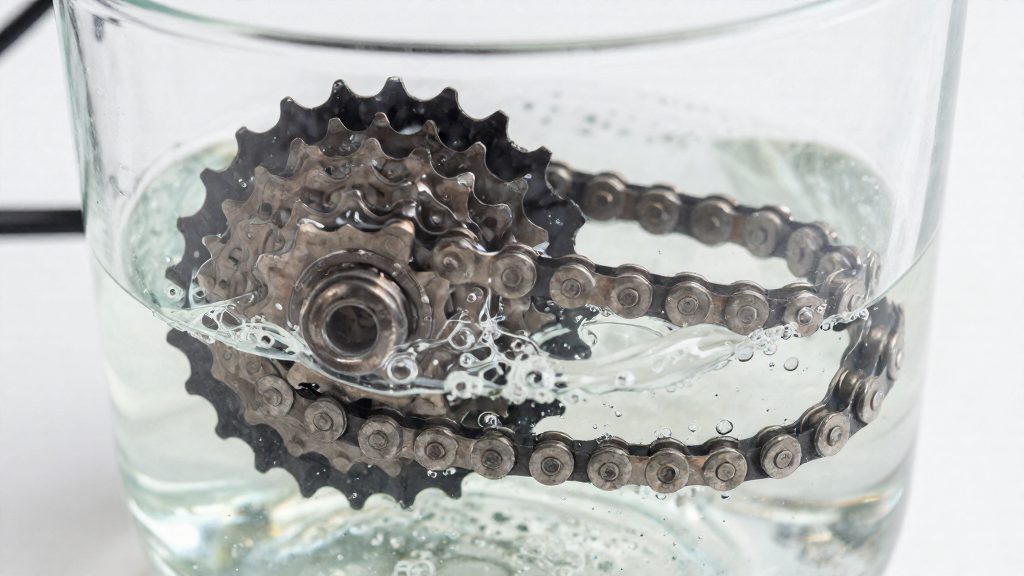
Ultrasonic cleaning reaches the internal clearances of a chain, where abrasive grime can lodge, because the cleaning action happens in the liquid rather than on the exposed surface. A bike chain traps grit between rollers, bushings and link pins, and this is the area that brushing and soaking handle least well.
Why use an ultrasonic cleaner on a bike chain?
In an ultrasonic cleaner, a transducer produces high-frequency pressure waves that form microscopic bubbles in the liquid. These bubbles grow and then collapse against nearby metal. Each collapse creates a small, localised shock that dislodges hardened grease and particles lodged in the joints, including material inside the gap between a roller and its bushing. Because the liquid carries this effect into the joint, the chain’s interior is cleaned without the chain being forced apart.
The table below compares the three common methods on the points that matter for a chain.
| Method | Reaches inside rollers and pin gaps | Cleaning mechanism |
|---|---|---|
| Brushing | No, limited to exposed surfaces | Mechanical contact |
| Solvent soaking | Slowly, by diffusion over time | Chemical dissolution |
| Ultrasonic cleaner | Yes, carried by the liquid | Cavitation bubble collapse |
Brushing leaves residue in the gaps, and soaking depends on time and chemistry to penetrate the joints. The ultrasonic method adds mechanical agitation, so the cleaning does not rely on the solvent alone.
Degassing the solution before loading the chain helps the bubbles form. One published routine degasses the solution for 5 minutes (Gear & Grit, 2026).
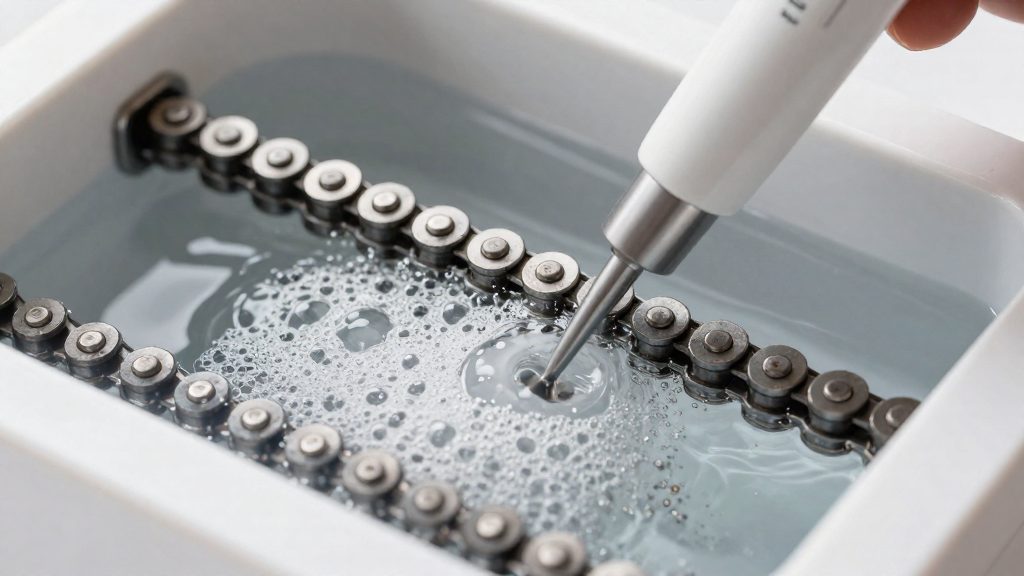
What you need before you start
The equipment falls into three groups: the ultrasonic tank and basket, the degreasing product and brushes, and personal protection. Each one has a specific role during the bath.
Ultrasonic tank and perforated basket
Choose a basket with perforations rather than a solid bottom, because the cleaning liquid and ultrasonic energy need to reach the pins and the inner faces of the links. Check the tank’s internal dimensions against your chain before buying, so the chain does not have to be bent or bunched to fit. A tank with a heater is the better choice for degreasing, since Optimize (2026) notes that a heater helps a lot with this task.
Degreasing product and brushes
The cleaning solution must be aqueous and non-flammable, mixed with hot tap water as the manufacturer directs, according to Gear & Grit (2026). Use a degreasing additive designed for water-based baths, and keep the product label within reach so you can follow its dilution instructions. Keep one set of brushes for the bath only. Using brushes that have already handled oily workshop parts can carry grease back onto the chain.
Gloves and safety glasses
Gear & Grit (2026) recommends rubber gloves and safety glasses for handling the cleaning solution. Gloves protect your hands while you lift the basket and handle the chain. Safety glasses protect your eyes when the basket is removed from the liquid, which is when splashes are most likely. Set both out at the bench before you start, so they are already on when you begin handling the solution.
How do you pre-clean a greasy drivetrain?
Pre-cleaning is the mechanical stage that comes before the chain enters any liquid. According to Optimize (2026), pre-cleaning is still needed before an ultrasonic bath, and a degreasing additive does not replace it. The aim is to remove the dust, sand and loose debris that the liquid would otherwise have to carry away, so the bath works on the grease rather than on a mix of grit and oil.
Brushing loose dirt and grit
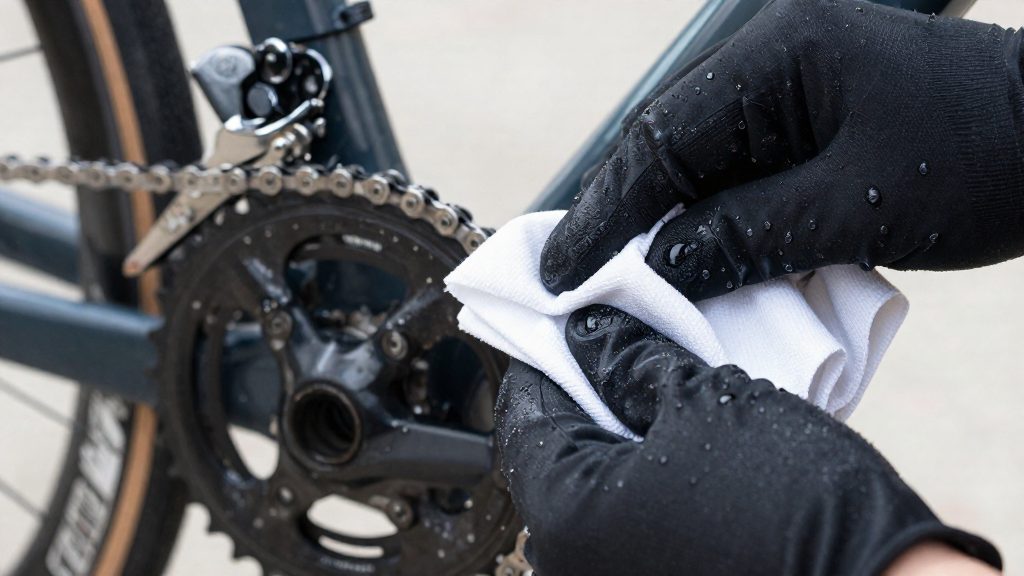
Start with the chain dry. Ultraschall-Welt (2026) lists removing loose grime with a cloth or brush as the first step before any liquid. Work over the outer plates, the inner faces and the rollers, using a stiff brush to knock off dried mud and sand. Brush in one direction along the chain, then reverse, so debris is not pushed deeper into the pin joints.
Grit collects most in the gaps between links and on the inner faces where the chain meets the chainrings. Removing the chain from the bike makes these areas much easier to reach.
Wiping off surface grime with a dry rag
After brushing, draw the chain through a dry rag link by link, turning it by hand so every section passes through the cloth. This lifts the surface film of oil and dust that brushing leaves behind. Dry wiping also shows where caked grease remains. Those spots call for more mechanical attention before the bath, because the bath cannot tell a light film from a thick deposit.
Why a bath alone leaves greasy residue
An ultrasonic tank is effective at loosening material from the surface, but it works best on a chain that is already free of loose debris. When grit and hardened grease are left on, the liquid has to dissolve and disperse more material, and some of that residue can settle back onto the chain. The result is a chain that looks cleaner than it is, with a greasy layer still in the link gaps.
| Stage | Action | Purpose |
|---|---|---|
| Brushing | Stiff brush or cloth on dry chain | Removes loose dirt and grit |
| Dry wiping | Rag drawn through each link | Lifts surface film and shows caked grease |
| Inspection | Check link gaps and inner faces | Identifies areas needing more mechanical work |
Mixing the solution and setting temperature
The bath works best with an aqueous, non-flammable solution. Gear & Grit (2026) specifies that the cleaning solution should be water-based and non-flammable, mixed with hot tap water according to the manufacturer’s directions. The tank liquid itself should stay water-based. If a solvent is ever needed, it stays sealed in its own container inside the bath, as explained in the safety section.
Start by reading the dilution ratio on the degreasing additive’s label. Use that ratio for the water volume in your tank. Do not estimate the dose, because a mix that is too strong or too weak changes how well the bath removes grease.
Use hot tap water as the base, following the same source. Fill the tank, add the measured additive, and stir gently so it disperses before you start the cycle.
Optimize (bike maintenance products, 2026) states that a heater helps a lot with degreasing. Switch it on once the solution is in the tank and let it bring the bath to temperature before loading the drivetrain. The sources do not give a target temperature, so use the heater’s own display or the additive’s label as your reference.
| Element | Guidance | Source |
|---|---|---|
| Solution type | Aqueous, non-flammable | Gear & Grit (2026) |
| Water | Hot tap water | Gear & Grit (2026) |
| Additive dose | Per manufacturer’s directions | Gear & Grit (2026) |
| Heating | Heater improves degreasing | Optimize (2026) |
Step-by-step: degrease the chain in the tank
Run the bath in a fixed order so that each stage starts from a settled, consistent state. The published routine from Gear & Grit (2026) divides the work into a degassing run followed by two timed cycles, with the chain turned over between them. The total bath time is 10 minutes, at the lower end of the 10–15 minutes that Ultraschall-Welt (2026) gives as a typical ultrasonic cleaning time.
| Step | Action | Duration |
|---|---|---|
| 1 | Remove loose grime from the chain with a cloth or brush | Before the bath |
| 2 | Degas the solution with the basket empty | 5 minutes |
| 3 | Lay the chain loosely in the basket and run the first cycle | 5 minutes |
| 4 | Flip the chain so the other side faces down and run the second cycle | 5 minutes |
Degassing first means the bath runs empty for 5 minutes before the chain goes in. The chain is loaded only after this step, so the cycles start from a bath that has already been run.
Loose laying matters more than the timer. Drape the chain across the basket without coiling it or pressing links together, so the liquid can reach the inside of every link and the pins. A tangled or bunched chain leaves sections shielded from the cleaning action, and the flip between cycles only compensates for the side that was facing the bottom of the basket.
Flipping is done between the two cycles, not during them. Lift the basket, turn the chain over, and lower it back in without changing its loose shape. This exposes the surfaces that were underneath in the first cycle.
Keep the chain fully submerged for both cycles. If the chain floats up or rests on the tank wall, lower the basket again before the timer restarts. Stop the bath at the end of the second cycle and move to the rinsing stage, which is covered separately below.
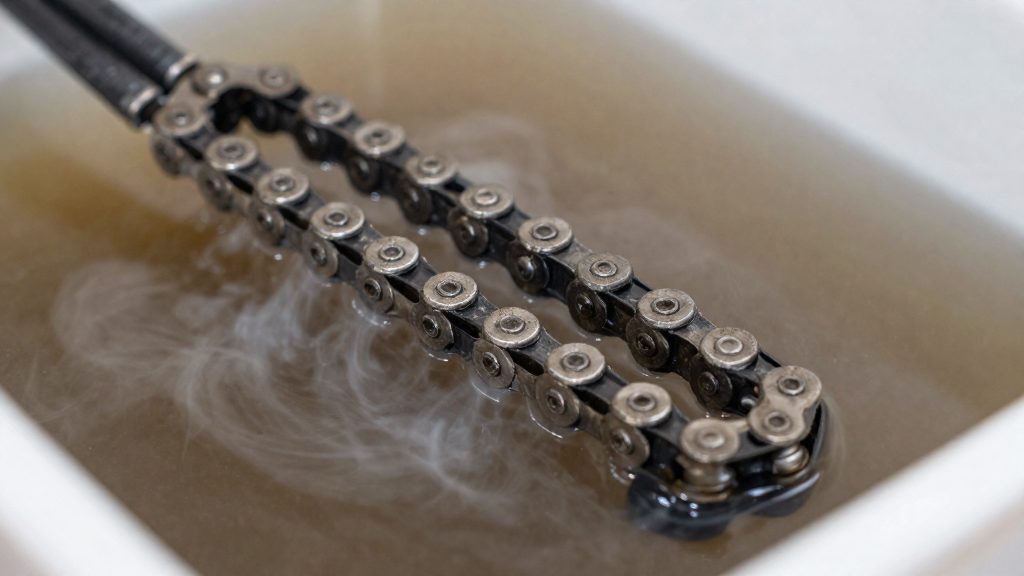
Can you ultrasonically clean cassettes and derailleur parts?
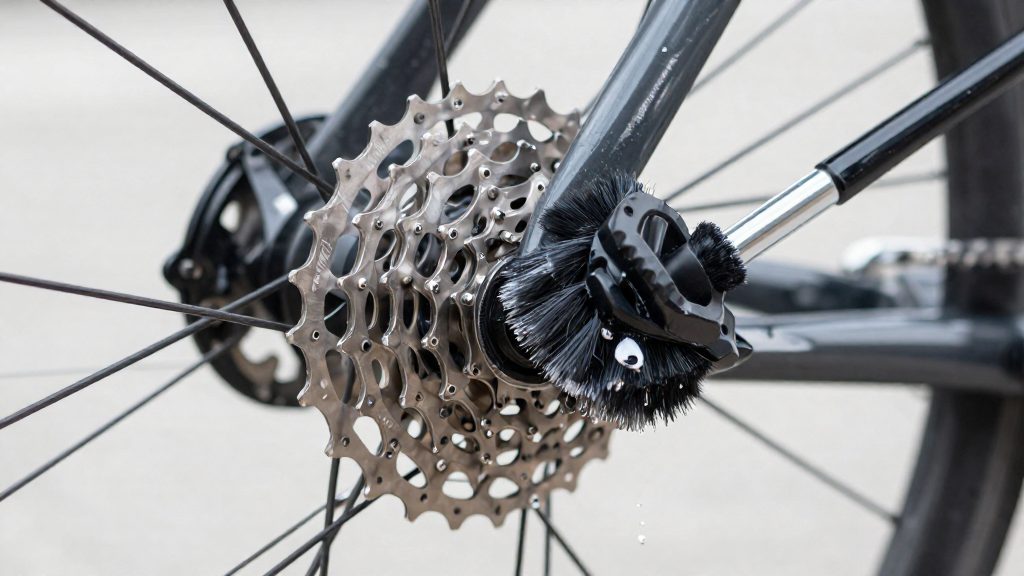
A cassette suits an ultrasonic bath better than most drivetrain parts. Its cogs and freewheel body have many narrow gaps where grime collects, and a brush reaches only some of them. Remove the cassette from the wheel first so the liquid reaches every cog face.
Derailleur parts are a different case. The pulleys are the limiting factor because some contain sealed bearings. Their seals and the grease inside are the parts to protect from prolonged soaking. Unless the manufacturer’s instructions state that a specific pulley can be submerged, clean it by hand: brush off loose dirt, wipe the surfaces with a cloth dampened in the cleaning solution, rinse with clean water, and dry the pulley completely before reassembly.
| Part | Method | Reason |
|---|---|---|
| Cassette cogs and freewheel body | Ultrasonic bath, removed from the wheel | Narrow gaps between cogs trap grime |
| Derailleur pulleys with sealed bearings | Hand cleaning, unless the manufacturer allows immersion | Seals and internal grease are the limiting factor |
| Derailleur body and cage | Hand cleaning | Pivots and fasteners stay in place and can be wiped directly |
Check the cassette visually after the bath and repeat the cycle only if grime remains.
Rinse, dry and relube or wax
Once the ultrasonic bath has finished, the chain still carries loosened grime and cleaning-solution residue. Any residue left between the plates and rollers will mix with new lubricant and attract fresh dirt, so the rinse and drying steps come before lubrication. The table below lists each stage with its published guidance.
| Stage | Action | Source |
|---|---|---|
| Hot water rinse | Rinse in hot water for at least 30 seconds | Gear & Grit (2026) |
| Clean-water rinse | Rinse with clean water, not the used cleaning solution | Ultraschall-Welt (2026) |
| Drying | Dry with a rag; compressed air is optional | Gear & Grit (2026) |
| Complete drying | Dry the chain completely before applying anything | Ultraschall-Welt (2026) |
| Resting period | Hang the chain for 15 minutes before waxing | Gear & Grit (2026) |
| Lubrication | Apply fresh oil or wax | Ultraschall-Welt (2026) |
The rinse removes the solution that the bath has pushed into the inner links. Keep the chain moving in the water so the liquid reaches the spaces between the inner plates, not only the outer surface. Drying with a rag works well on the outer plates, but it cannot reach the gaps between the rollers and the side plates. Compressed air is optional, but it can help push trapped water out of the gap between the rollers and the side plates before the chain is handled again.
Wait for the resting period before applying wax. A wax layer applied over moisture seals water into the pins, where it can cause corrosion over time. Hanging the chain also lets the last traces of water drain and evaporate, so the lubricant bonds to clean, dry metal.
Apply lubricant only to a fully dry chain, and wipe off the excess afterward so that the outer surfaces do not collect grit. The lubrication sequence for cassette and rear gears is covered separately in this guide.
Safe use and disposal in Canada
Ultrasonic cleaning of a drivetrain is a water-based process, so the safety rules that matter most cover how solvent enters the bath and what happens to the liquid afterwards. According to Optimize (bike maintenance products) (2026), solvent must never be poured directly into the tank. When a solvent is needed for a stubborn deposit, it goes into a closed container placed inside the water bath, and the heater is switched off. Keeping the solvent sealed inside the bath limits its exposure to the heated water and to the surrounding air.
Solvent handling rules
- Never pour solvent into the tank.
- Place any solvent in a sealed container inside the bath, not loose in the liquid.
- Switch the heater off before the solvent container is in use.
- Keep the container lid closed except when adding or removing material.
Ventilation
Run the unit in a space with good air exchange, such as a garage with the door open or a covered balcony. Keep the room clear of open flames, pilot lights and other ignition sources while solvent is present, and store solvent containers upright and sealed between sessions. A closed bath does not remove vapour from the room, so ventilation is the only practical control for air quality at home.
Disposing of the spent solution
Once the chain is cleaned, the liquid holds dissolved oil, grease and fine metal particles from the drivetrain. Do not pour it down a household sink, into a storm drain or onto soil. Let the liquid cool, pour it into a labelled, sealed container, and keep that container upright and out of reach of children until you can take it to your local hazardous waste depot. Before you go, confirm the drop-off location, opening hours and which materials are accepted with your municipality, because rules and depot networks differ between towns and provinces.