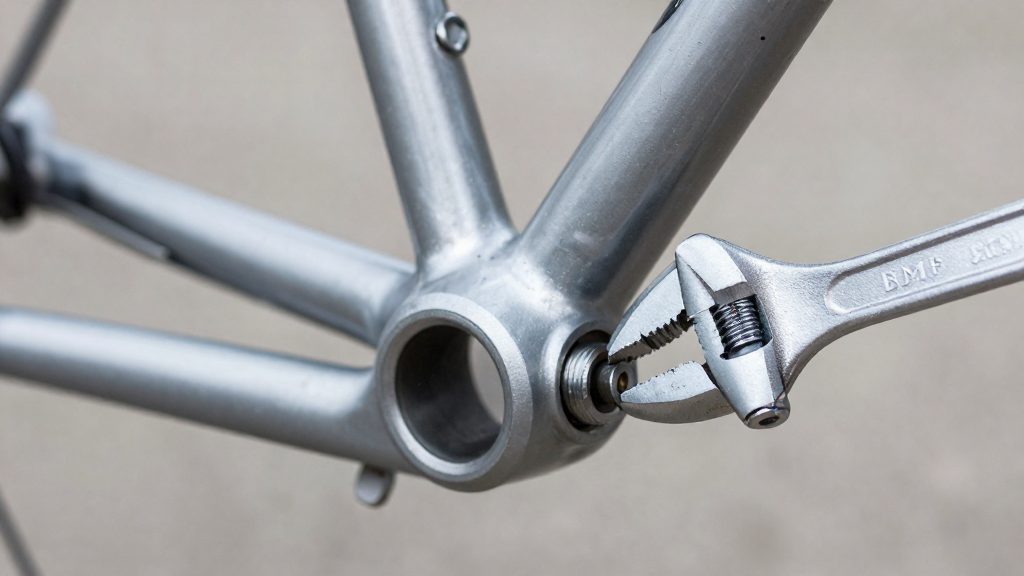
Yes, but only in limited cases. A cup can be removed without a dedicated tool when it has a grip a standard wrench can turn, or when the fixed cup can be clamped in a bench vise and unscrewed from the frame. Whether either method works depends on the cup design and its thread direction. Improvised removal is riskier than using the matching tool because the cups are often very tight and a slipping wrench can damage them.
Can you remove bottom bracket cups without a special tool?
When a cup can be turned with ordinary tools
According to Sheldon Brown (Harris Cyclery, 2010), the adjustable (left) cup can be turned with a regular wrench, but only if the cup has a hex projection.
Why improvised removal is risky
Thread direction is the main hazard. Many cups are fitted with threads that loosen opposite to what a user might expect, so turning in the wrong direction tightens the cup further.
| Shell standard | Fixed (drive-side) cup thread | Source |
|---|---|---|
| English | Left-hand; loosens clockwise | Park Tool (2019) |
| Italian | Right-hand; both cups tighten clockwise, marked 36x24 | Park Tool (2019) |
| French | Right-hand (standard) | Sheldon Brown (2010) |
| British and Swiss | Left-hand (reverse) | Sheldon Brown (2010) |
Sheldon Brown notes that pedalling tends to loosen right-hand cups and tighten left-hand cups, which explains why cups are often very tight. A vise or wrench applied without checking the direction can therefore seize a cup more firmly. A wrench that slips off the wrench flats can also damage the cup or the shell threads, and that damage is hard to correct without the proper tool.
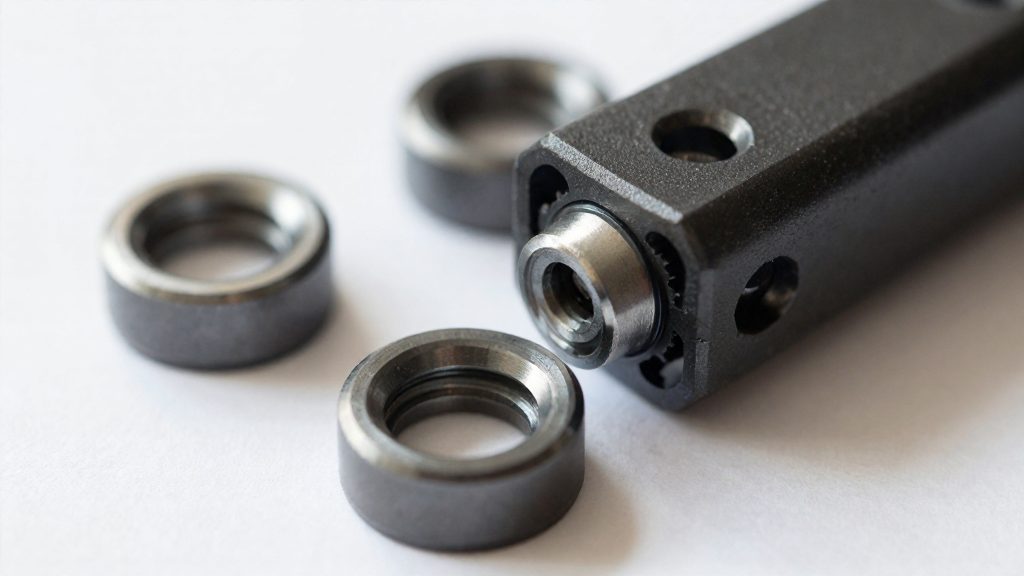
Identify your bottom bracket type first
Before choosing a removal method, establish whether the shell uses English or Italian threading. The two standards differ in thread handedness, and the cup type determines which approach suits the job. The most direct check is the marking on the cup. According to Park Tool (2019), Italian cups are marked 36x24, so that marking identifies an Italian-threaded shell where both cups have right-hand threads.
If the cup is unmarked or the marking is worn, compare the thread handedness. On an English-threaded shell, the two cups have opposite threads: the non-drive (left) cup is right-hand and the drive (right) cup is left-hand (Park Tool, 2019). On an Italian shell, both cups are right-hand (Park Tool, 2019). Because the drive-side cup on an English shell is left-hand, a cup set that appears to have matching threads points to an Italian shell.
The fixed cup can also vary by national standard. Sheldon Brown / Harris Cyclery (2010) lists the fixed-side threading as follows:
| Standard | Fixed-side thread | Source |
|---|---|---|
| French | Right-hand | Sheldon Brown / Harris Cyclery (2010) |
| Italian | Right-hand | Sheldon Brown / Harris Cyclery (2010) |
| British | Left-hand | Sheldon Brown / Harris Cyclery (2010) |
| Swiss | Left-hand | Sheldon Brown / Harris Cyclery (2010) |
Confirm the type before you buy or fit any tool. A cup-and-cone bottom bracket with a fixed cup of unknown origin may not match the standard you expected, and a tool sized or threaded for one system will not engage the other correctly. Once the standard is clear, you can select the method that applies to that cup type.
Which way do the cups unscrew?
The loosening direction depends on the thread standard of the frame shell, and on an English-threaded shell the two cups turn in opposite directions. According to Park Tool (2019-09-24), the non-drive (left) cup on an English shell has a right-hand thread and loosens counterclockwise, while the drive (right) cup has a left-hand thread and loosens clockwise. Italian-threaded shells follow a single rule: both cups have right-hand threads and tighten clockwise, so each one loosens counterclockwise.
| Shell thread standard | Cup position | Thread hand | Loosening direction |
|---|---|---|---|
| English | Non-drive (left) | Right-hand | Counterclockwise |
| English | Drive (right) | Left-hand | Clockwise |
| Italian | Non-drive (left) and drive (right) | Right-hand | Counterclockwise |
Because the two English cups turn in opposite directions, the order in which you work matters. Turning the drive-side cup the wrong way on an English shell tightens it further, so the table is the first check to make before applying force.
Park Tool’s removal sequence starts with the non-drive cup:
- Remove both cranks.
- Fit the matching bottom bracket tool to the cup.
- Turn the non-drive cup counterclockwise.
- Turn the drive-side cup clockwise on an English shell (counterclockwise on an Italian shell, where both cups are right-hand).
Park Tool also notes that cups often carry arrows showing the loosening direction, so look for them before you turn anything.
Removing the adjustable cup and lockring
The adjustable cup sits on the non-drive side of the bottom bracket, and a lockring holds it in position. The lockring must be loosened before the cup can be turned. Sheldon Brown / Harris Cyclery (2010) identifies three improvised options for the lockring: a C spanner, a T.A. spanner, or lockring pliers.
Loosening the lockring
Lockring tools engage the lockring, not the cup. Each one grips a different part of the ring:
| Tool | Engages | Notes |
|---|---|---|
| C spanner | Lockring | Named by Sheldon Brown / Harris Cyclery (2010) |
| T.A. spanner | Lockring notches or pins | Named by Sheldon Brown / Harris Cyclery (2010) as an option |
| Lockring pliers | Lockring | Named by Sheldon Brown / Harris Cyclery (2010) as an option |
Place the tool squarely on the lockring so it does not slip off the ring’s edge. Slipping can scratch the ring and leave the tool sitting at an angle, which makes the next step harder.
Turning the adjustable cup
Once the lockring is free, the cup can be turned. The method depends on the cup’s design:
- Hex projection: The cup has a hexagonal projection on its outer face. After the crank is removed, a regular wrench fits the hex and turns the cup. Sheldon Brown / Harris Cyclery (2010) specifies that the crank must be off first.
- Drilled holes: The cup has small holes in its face and needs a pin spanner. Sheldon Brown / Harris Cyclery (2010) states that no other improvised option is listed for this design, so a regular wrench or pliers should not be used on it.
Check the cup’s face before choosing a tool. A hex projection and drilled holes look different, and using the wrong tool can round the hex or damage the holes.
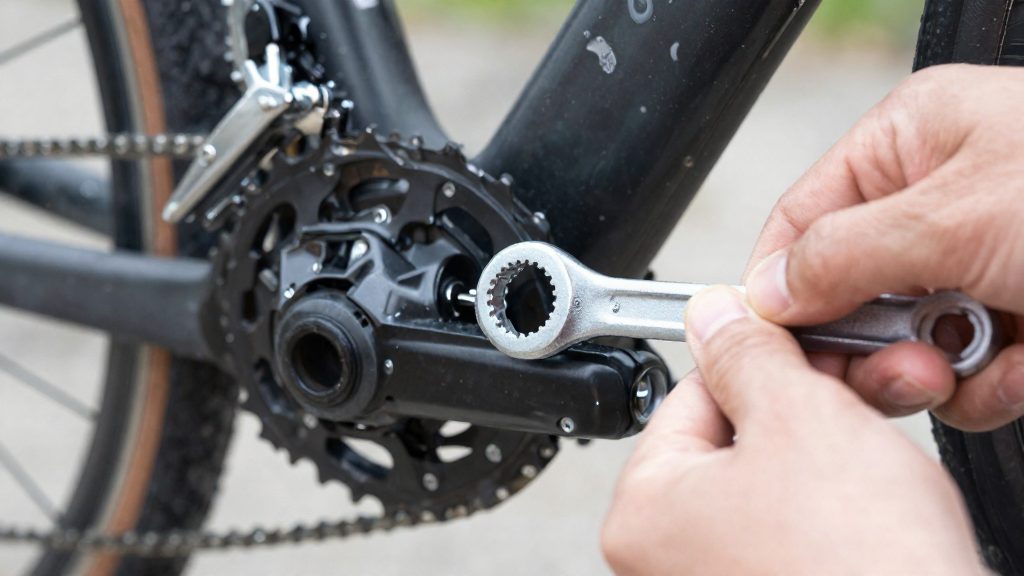
How do you remove a stubborn fixed cup?
Two improvised methods can loosen a fixed cup that will not turn with a standard cup tool: clamping its wrench flats in a bench vise, or building a homemade pinch tool.
| Method | Parts needed | How the cup is held or turned |
|---|---|---|
| Bench vise on wrench flats | Bench vise | Cup flats gripped in the vise; the frame is unscrewed around the fixed cup |
| Homemade pinch tool | 5/8-inch, 18 tpi hex bolt about 1½ inches long, nut, washer, lockwasher spacers | Bolt passes through the cup from inside the shell, nut on the outside; a socket turns the bolt and a box wrench turns the nut |
Vise method. Clamp the cup’s wrench flats firmly in the vise so the cup cannot rotate, then unscrew the frame. Because the cup stays fixed, the frame carries the rotation. This works only if the cup flats are accessible and the frame can be rotated freely on the vise setup.
Pinch tool. Assemble the bolt, washer, lockwasher spacers and nut so the bolt passes through the cup from inside the shell and the nut sits on the outside. Turn the bolt with a socket and the nut with a box wrench, so the assembly grips the cup. Using a bolt of the specified size matters: the 5/8-inch, 18 tpi thread is what the described method relies on, so substituting a different thread is not advised.
Both methods rely on the cup being held rigidly. Check the assembly before applying force so that the grip does not slip and damage the shell threads.
Do you need to remove the fixed cup at all?
For routine cleaning and repacking of a cup-and-cone bottom bracket, you do not. According to Sheldon Brown / Harris Cyclery (2010), the fixed cup (right side) stays in the shell during this work. It comes out only when it is being replaced, for example when the whole crankset is replaced.
Routine cleaning and repacking
Service the bearings with the fixed cup still threaded into the frame. Clean the bearing surfaces, check the balls and races for pitting, and repack with fresh grease. Leaving the cup in place also leaves its threads and seat in the shell undisturbed.
A fixed cup that is not due for replacement is not worth the effort of removal.
When removal is required
| Situation | Remove fixed cup? | Reason |
|---|---|---|
| Routine cleaning and repacking | No | The cup stays in place (Sheldon Brown / Harris Cyclery, 2010) |
| Replacing the whole crankset | Yes | The fixed cup is replaced along with the assembly (Sheldon Brown / Harris Cyclery, 2010) |
| Replacing the fixed cup itself | Yes | The cup is the part being changed (Sheldon Brown / Harris Cyclery, 2010) |
Check the thread direction before replacing
Thread direction determines which way a new cup must turn. Confirm the shell standard before ordering a replacement, because a cup with the wrong thread will not fit the shell.
When should you buy the proper tool?
A dedicated tool becomes worth buying when the cup cannot be gripped without risking the frame or cup, or when you remove the same cup repeatedly. Improvised methods work for a one-off job on a cup with a suitable grip surface, but they lose reliability as the cup gets tighter or the frame gets more stressed.
Signs that improvised methods risk damage
Extra leverage on a tight cup raises the chance of a wrench slipping off its flats and marking the frame or rounding the cup.
Watch for these warning signs:
- Slipping on the flats: if a wrench or pliers slip before the cup moves, stop. Continued force rounds the flats and makes the next attempt harder.
- Bench vise: clamp only the cup’s wrench flats, never the frame tube. If the flats cannot be gripped firmly, stop and use the matching tool.
Cases where a dedicated tool is the only option
Some cups cannot be turned by improvised means at all. A cup with drilled holes needs a pin spanner, so a wrench will not engage it.
Service frequency that justifies buying
The purchase decision depends on how often you open the bottom bracket:
| Job | Cup handled | Recommendation |
|---|---|---|
| Routine cleaning and repacking | Adjustable (left) cup and lockring; fixed cup stays in place | Buy a lockring tool |
| Replacing the crankset or fixed cup | Fixed (right) cup | Buy a tool matched to the cup |
| One-off removal of a hex-projection adjustable cup | Adjustable cup, crank off | Regular wrench is sufficient |
If you open the bottom bracket often, a dedicated lockring tool is easier to use than the improvised options.
Frequently asked questions
Do I need to remove the fixed drive-side cup to clean and repack the bearings?
No. According to Sheldon Brown (Harris Cyclery, 2010), routine cleaning and repacking of a cup-and-cone bottom bracket can be done with the fixed cup left in place. Remove it only when replacing it, for example when you swap the whole crankset.
How do I tell which way to turn each cup?
Look for a loosening arrow cast on the cup. On English-threaded shells, the non-drive (left) cup loosens counterclockwise and the left-hand drive-side cup loosens clockwise, according to Park Tool (2019). Italian cups are marked “36x24” and have right-hand threads, so both loosen counterclockwise.
Which adjustable cups can a regular wrench handle?
Only an adjustable (left) cup with a hex projection can be turned with an ordinary wrench, and only after the crank is removed, per Sheldon Brown (Harris Cyclery, 2010). Cups with drilled holes need a pin spanner, and the locknut must first be loosened with a C spanner, T.A. spanner or lockring pliers.