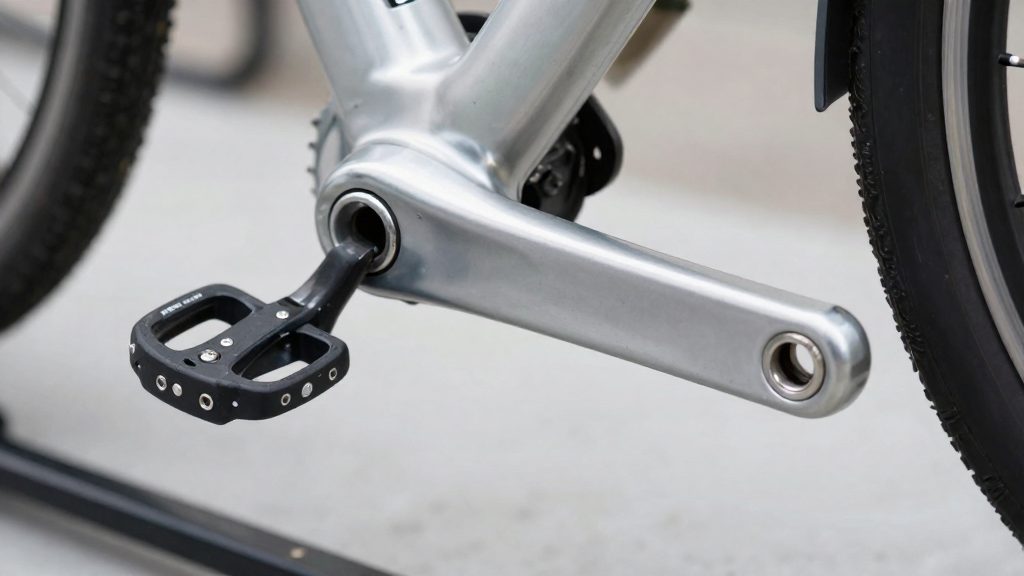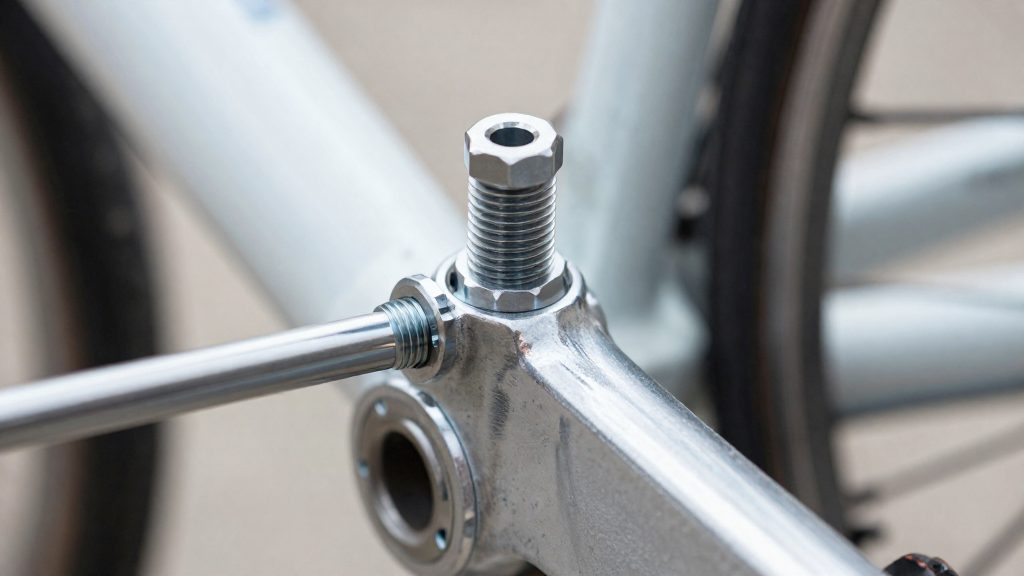
Pedals loosen for three mechanical reasons: repeated pedalling forces and road vibration work the spindle back over time, a pedal is under-tightened or not fully seated at installation, and the threads in the crank arm wear or corrode. Each cause can be checked before a ride, so most loosening is preventable. The sections below explain how each mechanism develops and what to inspect.
Why do bike pedals come loose?
Cyclic loading and vibration
Every pedal stroke pushes and pulls on the spindle, and vibration from the road adds small oscillations on top of that. Over many cycles these movements gradually reduce the clamping load holding the pedal in the crank. The loss is cumulative, so a pedal that was secure can work loose over several rides without any single hard event. This is why periodic rechecks are more effective than one tightening at installation.
Under-tightening from dry threads and incomplete installation
Friction determines how much clamping force a given wrench effort produces. Dry threads create more friction, so the wrench can feel snug before the pedal is fully drawn into the crank, leaving the joint under-clamped.
Wear and corrosion in aluminium crank threads
Aluminum crank arms have softer threads than the pedal spindle, so repeated installation and removal and corrosion can wear the thread profile.
| Cause | Mechanism | What to inspect |
|---|---|---|
| Cyclic loading and vibration | Gradual loss of clamping load | Pedal play after several rides |
| Dry threads or partial seating | Wrench reaches snug before full clamp | Pedal sitting proud of the crank |
| Worn or corroded aluminium threads | Thread profile lost | Resistance or grittiness when threading |
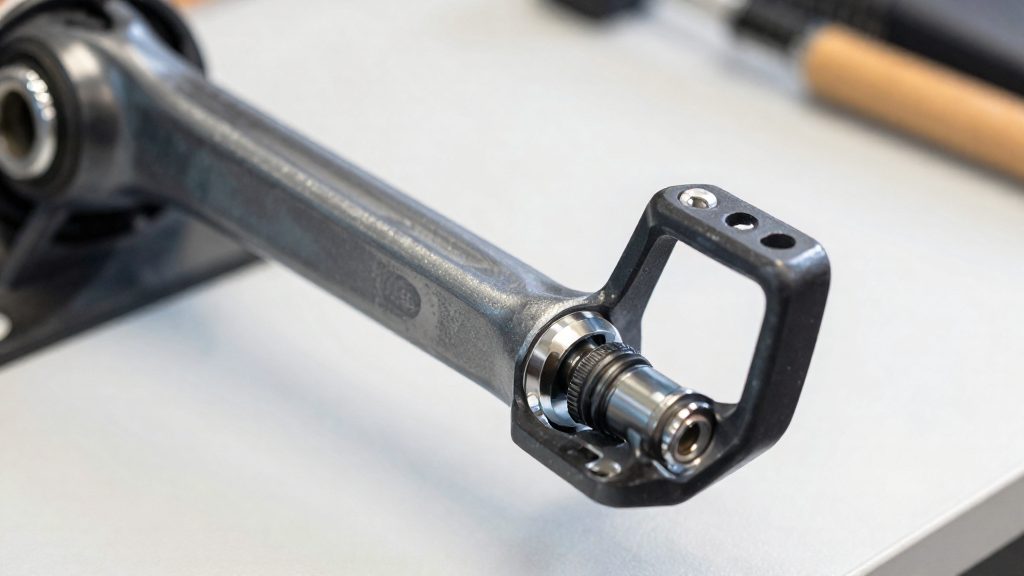
Which way do you tighten each pedal?
The two pedals use opposite thread handedness, so they are not interchangeable. The right pedal has a right-hand thread and tightens clockwise. The left pedal has a left-hand thread and tightens counterclockwise (Park Tool, 2026). Before you apply any wrench, confirm which side you are holding, because the direction you turn depends entirely on that identification.
| Pedal | Thread type | Tightens | Loosens |
|---|---|---|---|
| Right | Right-hand thread | Clockwise | Counterclockwise |
| Left | Left-hand thread | Counterclockwise | Clockwise |
Identifying the correct side
Park Tool (2026) describes two reliable cues:
- L/R markings: Look for an “L” or “R” stamped on the pedal axle or on the wrench flats. This is the fastest check.
- Thread slope: If the pedal has no markings, use the thread itself. Left-hand threads slope up to the left.
Use the markings first. Check the thread slope only when the markings are absent or worn, since a worn stamp can be hard to read on a greasy axle. Clean the axle lightly with a rag before reading it.
Using the wrench rotation trick
RoadBikeRider.com (2026) offers a simple memory aid: turn the wrench toward the rear of the bike to loosen, and toward the front to tighten. The rule is the same for either side. This gives you one motion to remember for both pedals, which helps when the crank is awkward to view. It does not replace the side check. Use the trick to confirm the direction you have already identified from the L/R marking or thread slope.
Tools you need
Tightening a pedal safely takes three tools, each with a separate job: turning the pedal, measuring the torque, and holding the crank steady.
The pedal wrench turns the spindle. Its opening must match the flats on the pedal spindle. A loose fit rounds the flats, and a rounded spindle becomes hard to grip the next time the pedal comes off.
The torque wrench replaces guesswork with a measured value. Choose one that reads in N·m or inch-pounds across the pedal range, so you can compare the display directly with the specification (about 40 N·m, or 360 in-lb) without converting units. The head must engage the same spindle flats as the pedal wrench. A torque wrench with a head that slips on the flats gives a false reading, so check the fit before you rely on it.
A vise or repair stand holds the crank so the pedal can be tightened against resistance. Clamp the crank arm, not the pedal body, and use padded or soft jaws to avoid marking the alloy. If the crank is still fitted to the bike, a stand that holds the frame keeps the crank from rotating and keeps the bike stable while you work. Without a fixed reaction point, the wrench force goes into the bike rather than into the pedal joint, and the result is less controlled.
How do you tighten a loose pedal step by step?
Pedal tightening works best as a sequence: thread the pedal straight, seat it by hand, snug it with a wrench, and then check it again once you have ridden. Forcing a pedal with tools before it is properly threaded can damage the crank threads, so each stage should be finished before the next begins.
Step 1: Hand-thread each pedal
Start each pedal by hand, turning it by its wrench flats on the pedal axle rather than by the pedal body. Keep the axle lined up with the crank threads and turn slowly. A correctly started pedal spins freely for several turns before any resistance appears. If it binds early or feels gritty, stop, back it out, and start again. Park Tool (2026) describes hand-threading as the first step for this reason. Never drive a pedal in with the wrench before it has been hand-threaded: a cross-threaded pedal can strip the crank threads, and a pedal started with a wrench can look tight while sitting proud of the crank without being fully seated.
Step 2: Snug with the wrench
Once the pedal seats by hand, fit a pedal wrench to the flats and tighten. Tighten toward the front of the bike: RoadBikeRider.com (2026) notes that the same rule applies on either side, with loosening done toward the rear. Pull smoothly and steadily, keeping your knuckles clear of the crank arm, and stop when the pedal has no play at the axle. This is a snug, not the final tightening. Finish by tightening to the target value in the torque section below, using a torque wrench where possible.
| Stage | What you feel | Action |
|---|---|---|
| Hand-threading | Smooth rotation for several turns | Continue by hand |
| Resistance begins | Pedal seats against the crank | Switch to the wrench |
| Snug | Firm, no movement at the axle | Proceed to final tightening |
Step 3: Check and retighten after first rides
Pedals can work loose during the first rides, so check them again after a short initial ride. Wiggle each pedal by hand: any play at the axle, or a click or creak while pedalling, means the pedal needs attention. Retighten with the wrench in the same direction as in Step 2. Repeat the check periodically over the first few rides.
If a pedal keeps loosening after proper retightening, do not add more force. Remove it, inspect the threads on the pedal axle and crank for wear or damage, and take the bike to a workshop if the threads look compromised.
What torque should you use?
The typical target for a pedal is about 360 inch-pounds, or about 40 N·m. Torque is the product of applied force and lever length, so the same number can be reached with different amounts of hand force depending on the tool. The table converts the target into units you can use on a standard wrench.
| Unit | Target | How to reach it |
|---|---|---|
| Inch-pounds | 360 in-lb | Read directly on a torque wrench set to this unit |
| Newton-metres | About 40 N·m | Metric equivalent of the same target |
| Hand effort | Roughly 30 lb | Pull on a wrench 1 foot long (30 lb × 1 ft = 30 lb-ft, which equals 360 in-lb) |
Because torque depends on lever length, the 30 lb figure only applies to a wrench about one foot long, pulled at its end. A shorter wrench needs more force for the same torque, and pulling near the middle of the handle reduces the effective lever arm. Apply the force steadily at the end of the handle and keep the wrench square to the pedal axle, so the pull stays perpendicular to the wrench.
Torque wrench use gives a measurable result and is the more reliable choice when you tighten pedals repeatedly or want a consistent value. Feel-based tightening, which relies on the hand and the resistance of the threads, can work for an experienced rider, but it cannot confirm that the pedal has reached the target. Use the 30 lb effort figure as a check for a wrench you are already holding, not as a replacement for a torque wrench when accuracy matters.
Grease and thread care
Pedal threads sit between the pedal axle and the crank, and the lubricant you put on them affects how the pedal comes off again later. Park Tool suggests two products for this job: Polylube (PPL-1) and Anti-Seize (ASC-1) (Park Tool, 2026). Both are offered as options, so the choice is between them rather than a ranking.
- Polylube PPL-1: a grease-type lubricant that Park Tool names for pedal threads.
- Anti-Seize ASC-1: a compound that Park Tool names for the same application.
Use either one on the threads of both pedals, not only the one you suspect is loose. The right pedal and the left pedal are threaded in opposite directions, so each needs its own coating before installation.
Grease the threads of both pedals heavily: the threaded section of each axle should carry a visible, even coating. A thin smear is not enough, because the lubricant is what keeps the pedal from seizing in the crank over time. Keep the coating on the threads and out of the bearing seals, and wipe away any excess that squeezes onto the crank arm or the pedal body before you thread the pedal in.
For riding on wet or gritty roads, check the product label for the conditions it covers and follow the manufacturer’s instructions for reapplication. Because the two products are recommended for the same purpose, the choice comes down to which one you can source and which one’s label matches your conditions.
What if the threads are damaged?
A pedal that is hard to thread into the crank may have distorted threads rather than missing ones. A thread tap can realign them. Park Tool (2026) specifies a tap for each common pedal thread size:
| Pedal thread | Tap |
|---|---|
| 9/16”x20 TPI | TAP-6 |
| 1/2”x20 TPI | TAP-3 |
Measure or identify the thread size on the crank before you buy or use a tap, since the wrong tap will not correctly engage the threads.
Work through the repair in this order:
- Clean the threaded bore so loose debris does not get pushed deeper into the crank.
- Select the tap that matches the thread size.
- Turn the tap in by hand, keeping it straight with the axis of the bore. Apply light, even pressure rather than force.
- Back the tap out every few turns to clear the metal chips, then continue.
- Remove the tap, clean the threads thoroughly, and check that the pedal starts threading smoothly by hand.
Realignment has limits. Park Tool (2026) notes that a tap straightens threads that are bent out of position, but it does not rebuild material that has worn away. If the pedal still feels loose, wobbles, or the threads have thinned after tapping, the crank has lost the metal needed to hold the pedal, and a tap cannot fix that.
Bushing fallback. When no usable threads remain, Park Tool (2026) recommends that a mechanic fit a pedal bushing kit. This is the repair route for cranks whose threads can no longer be realigned, and it replaces the damaged bore rather than cutting new threads into it.
When to see a Canadian bike shop
Home repair of a pedal ends when the crank threads can no longer hold the pedal. When the threads are beyond realignment, a mechanic at a bike shop in Canada needs to assess the crank.
Use the table below to decide when to stop working at home.
| Symptom | What it suggests | Next step |
|---|---|---|
| Pedal still loose after threading by hand and snugging with the wrench | The threads are not gripping, or the pedal is not seating correctly | Stop tightening and have the crank threads checked |
| Tap no longer restores a usable thread | The damage is beyond realignment | Take the crank to a shop |
| Creak or play returns after correct retightening | The pedal interface is no longer stable | Stop riding on it and have the pedal and crank inspected |
Repeated retightening of a pedal that keeps working loose adds further wear to the threads and makes the damage harder to repair. Once you have confirmed that the wrench-tight pedal still moves, stop and book the crank in.
When you visit, tell the mechanic which side is affected and what symptom you noticed. Mention whether the pedal was loose before or after a recent installation, since this helps them check the threads and the pedal seat.
Frequently asked questions
What torque should I use when tightening pedals?
Park Tool (2026) gives a typical pedal tightening torque of about 360 inch-pounds, or roughly 40 N·m. On a foot-long wrench, that works out to about 30 lb of pull at the handle. Check the torque value against the marking on your crank or the manufacturer’s instructions if they differ.
Which lubricant should go on pedal threads?
Park Tool (2026) recommends heavily greasing the threads of both pedals before installation, with Polylube (PPL-1) or Anti-Seize (ASC-1) as suitable choices. Apply the grease to the spindle threads only, and keep it off the bearing seals and crank contact surfaces.
What if my pedal is hard to thread or the crank threads are damaged?
Park Tool (2026) advises that a tap can realign damaged threads: TAP-6 for 9/16” x 20 TPI pedal threads and TAP-3 for 1/2” x 20 TPI. A tap cannot restore metal that has already worn away, so if no usable threads remain, a mechanic should fit a pedal bushing kit.