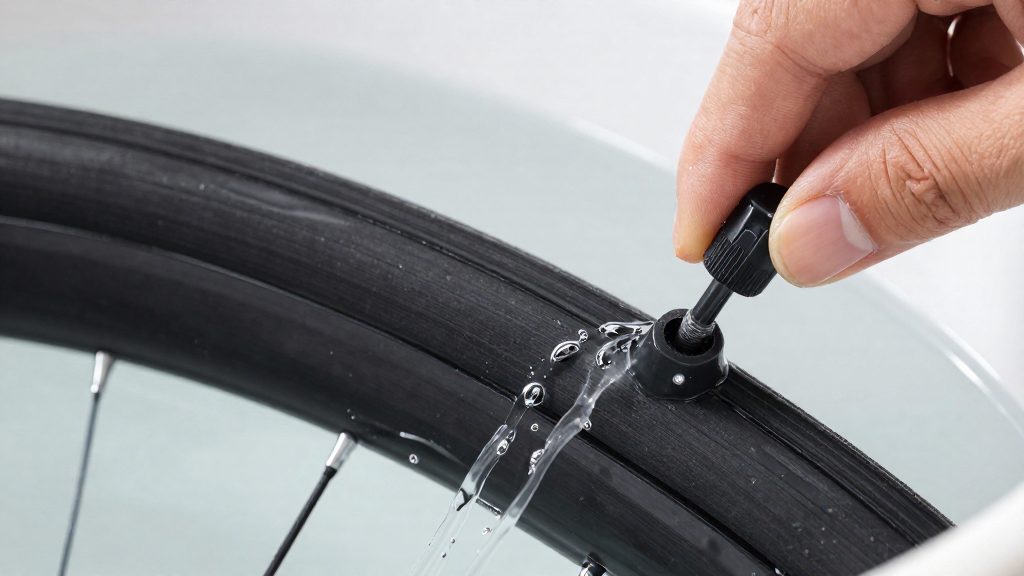
A slow puncture is a tube that loses air gradually, so the tyre holds enough pressure to ride after inflation but goes soft again over hours or days. A sudden flat is different: a sharp object or a pinch breaks the tube and the tyre deflates within minutes. A slow puncture leaks at a low, steady rate through a hole too small to cause immediate failure, or through a porous or poorly sealed area. Because the air escapes slowly, the rider usually notices it through a spongy feel, sluggish handling, or a gauge reading that has dropped since the last ride.
Distinguishing a slow leak from a sudden flat
The two faults differ in speed and in what the rider observes.
| Feature | Sudden flat | Slow puncture |
|---|---|---|
| Air loss rate | Rapid, often within minutes | Gradual, over hours or days |
| Typical cause | Sharp object or pinch through the wall | Small hole, porous patch, or valve leak |
| Rider sign | Tyre collapses during or after a ride | Tyre soft before a ride, pressure falls between rides |
A tyre that deflates completely overnight after holding pressure the previous day points to a slow leak rather than a sudden flat.

Typical causes of gradual pressure loss
- Small punctures from thorns, wire fragments, or grit that do not split the rubber fully
- Valve faults, such as a cracked valve stem or a valve not sitting squarely in the rim hole
- Porous or aged rubber, where the wall lets air through in small areas
- Pinched or folded sections left by a tyre or tube that was seated badly
Normal permeation versus abnormal leakage
Every inner tube loses some air through its rubber wall over time. This process is called permeation, and it is slow enough that a tyre left unused for a while only needs an occasional top-up. Butyl and latex tubes both permeate, with butyl generally retaining air longer.
Abnormal leakage is a different matter. If the tyre needs frequent pumping, or goes flat again the same day after being inflated, the loss has exceeded permeation and a leak is present that needs to be located.
Confirm the tube is losing air
Before searching for a puncture, confirm that the tube actually loses pressure. A tube that seems flat may simply have been under-inflated, and searching a sound tube for a hole wastes time. The check is a timed pressure test: record the pressure, wait a set period, and record it again.
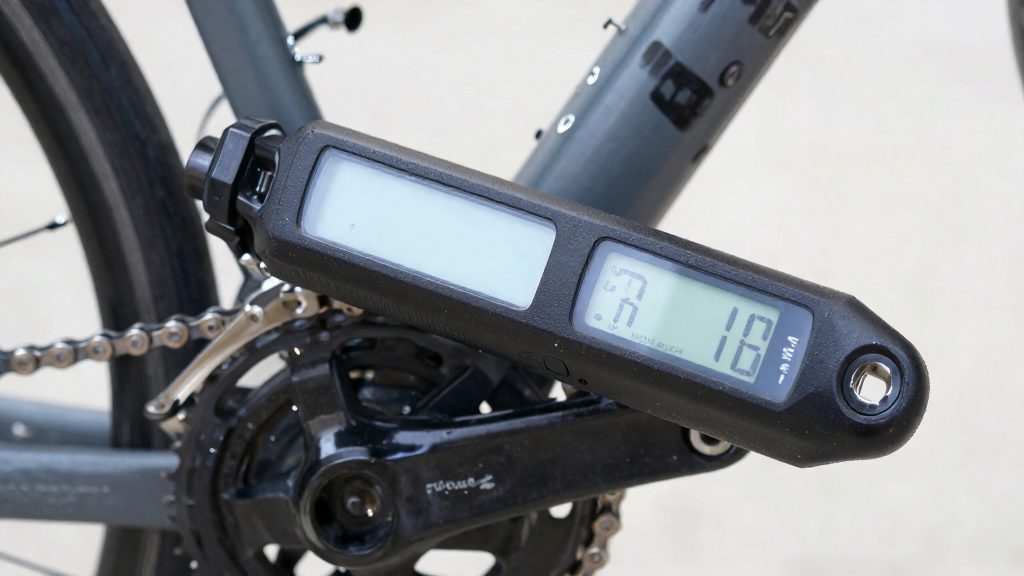
Inflate the tube fully before you start. Take a first reading with a pressure gauge and note both the value and the time.
Take readings at fixed intervals. Use the same gauge, the same valve type, and the same time gap for every reading so the results can be compared directly. Keep the wheel at a stable temperature between readings, because air warmed by sunlight or by handling the tube shifts the gauge value and can mimic a loss.
The pressure drop per hour shows whether the loss is real and how fast it occurs. Calculate it as follows:
pressure drop per hour = (first reading − last reading) ÷ hours elapsed
Use one unit throughout, either bar or psi, so readings from different checks stay comparable.
| Step | Action | What to record |
|---|---|---|
| 1 | Inflate the tube fully and let it settle | Starting pressure and time |
| 2 | Wait for the fixed interval | Elapsed time |
| 3 | Read the gauge in the same way each time | Current pressure |
| 4 | Apply the formula above | Pressure drop per hour |
Repeat the test at least once more to confirm consistent loss. A single low reading can come from gauge error or a tube that cooled down, but two runs that show a similar, clearly measurable hourly drop, well above the slow loss from normal permeation, suggest a genuine slow leak. Only after that confirmation should you move on to locating the hole.
How do you find a slow leak without water?
Park Tool’s dry method starts with the tube itself. To locate a leak, listen and feel for escaping air with the tube held near your lips or ear (Park Tool, 2025). The goal is to raise the pressure enough that a hole which leaks slowly at normal inflation becomes audible or detectable by touch. The method relies on your senses rather than on any added fluid.
Re-inflating the tube to twice its normal width
Inflate the tube until it reaches at least twice its normal width, if your pump and the tube’s valve allow it. At normal inflation, a small hole releases air too slowly to hear, so the extra pressure is what makes the leak detectable. Remove the tube from the tyre first so you can rotate it freely and check every section.
Listening and feeling for escaping air
Hold the tube close to your lips or ear and move it slowly along its length. Then pass the back of your fingers over the surface, since air escaping through a hole produces a faint hiss that you hear and a light draught that you feel. Work in short sections, turning the tube so each part passes near your face or hand, and mark each spot where you detect air.
| Sense | Where to check | What to notice |
|---|---|---|
| Hearing | Tube held close to the lips or ear | Faint hiss from a small hole |
| Touch | Back of the fingers along the tube surface | Light draught of escaping air |
Limits of dry detection on tiny holes
Dry detection depends on the air escaping at a rate you can hear or feel. A very small hole may leak too slowly, even at raised pressure, to produce a sound or draught you can detect, so a tube that seems sound may still lose air. Background noise in a workshop can also mask a faint hiss. When your hearing and touch find nothing, the result is inconclusive rather than proof that the tube is intact. In that case, use a different method to confirm the tube, because a dry check alone cannot rule out a leak.
Use the water test
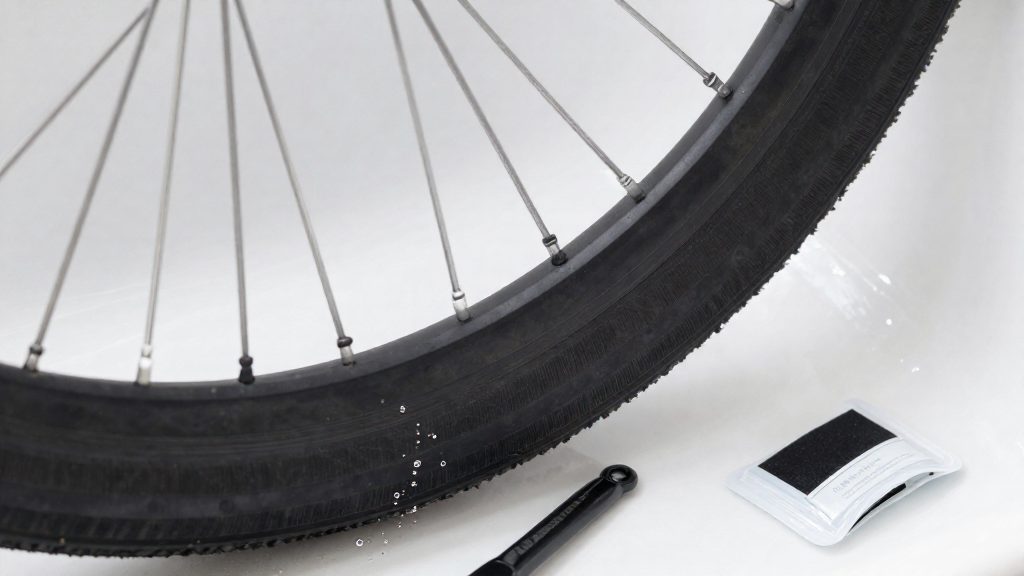
The water test is the fallback when listening and feeling for escaping air does not locate the leak. Park Tool (2025) advises submerging the tube in water and watching for bubbles at the hole. The principle is that a pressurised tube forces air through a puncture, and that air rises as bubbles that mark the exact spot.
Submerging the tube in sections
Work along the tube in sections rather than immersing it all at once. Inflate the tube firmly without exceeding its rated limit, submerge one portion, and turn it slowly while watching the surface. Move to the next section only after the current one shows no bubbles. Keep each section under water long enough to see the surface clearly, because a slow leak may release only a few bubbles at a time.
Identifying bubbles at small or multiple leaks
A small puncture often produces a single bubble or a faint, intermittent trail, so watch each spot for several seconds before moving on. Tubes can have more than one hole, and bubbles may appear at separate points along the same section. Test each area individually and note every location as you find it, so that a second hole is not overlooked after the first one is found. Bubbles can also cling to the rubber, so gently brush the surface with a wet hand to dislodge them and reveal the source.
Working with a tub, bucket or sink
A bathtub, large bucket or sink works well as long as the tube can be fully covered by water in the section under test. Fill the container with enough water to submerge the section, and keep the tube inflated enough to produce visible bubbles while still bending easily without stressing the valve. Lower the tube gently to avoid trapping air pockets that could be mistaken for leaks, and keep the valve end accessible so you can reinflate if needed.

Check the valve, tyre and rim tape
Not every slow leak comes from a hole in the tube body. The valve, the tyre casing and the rim tape can each lose air, and a fault in any of them can look like a puncture. Check the valve first with the tube still in the tyre. Then remove the tyre and tube to inspect the casing and rim tape. Many faults in these areas are fixed by tightening, re-seating or replacing a component rather than patching the tube.
Valve core and stem
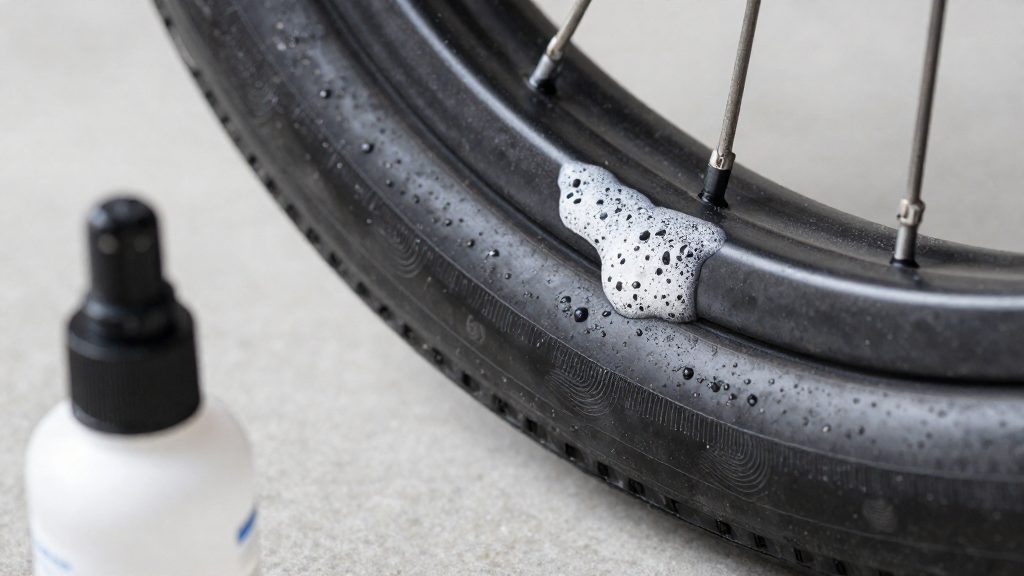
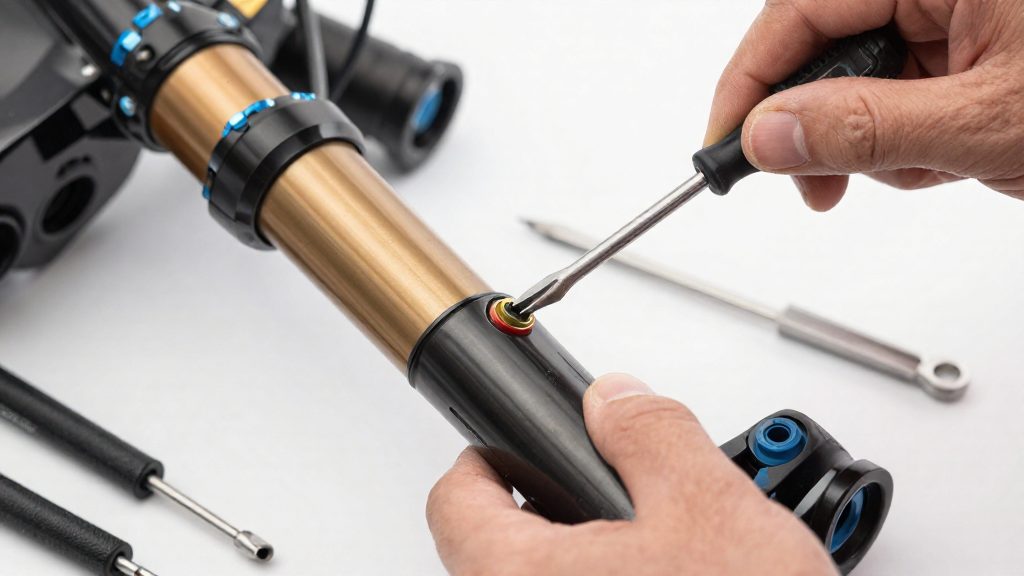
Start at the valve. Inflate the tyre, then hold a finger or a wet cloth at the valve tip to check for escaping air. If air escapes, tighten the valve core with a valve core tool. A loose core releases air continuously, and tightening it often ends the leak without any other repair. Then look at the stem where it meets the tube. Check for hairline cracks around the base and for a stem that wobbles or moves under light pressure. A cracked stem keeps leaking even when the core is fully seated, and the tube usually needs replacing.
Rim tape and spoke holes
Remove the tyre and tube, then examine the rim bed. The rim tape must cover every spoke hole completely, because the spoke holes sit directly under the tube. If the tape is torn, has shifted or is worn through, the exposed holes can press into the tube wall as the tyre flexes and wear a leak into it. Look for spoke ends that protrude through the tape as well, since a sharp end can also pierce the tube. Replace damaged tape with new tape sized to your rim, and make sure it sits flat with no gaps or overlaps at the joint.
Tyre bead seating and sidewall cuts
Check that both beads sit evenly in the rim well. A bead that is not seated pulls the tube unevenly and can pinch it as you inflate, which causes a leak that appears soon after reinstalling the tyre. With the tyre and tube removed, run your fingers carefully around the inside of the casing and along the sidewalls to find cuts, cracks or embedded debris. A sharp object that has pierced the casing can also pierce the tube at the next ride. Remove any debris you find, and replace the tyre if the casing is cut through.
How do you mark the hole before patching?
Once the leak is located, the hole needs a visible reference that survives surface preparation. According to Park Tool (2025), you should make four marks with a marking pen around the hole, placed on each side of it but not right next to it. Marks drawn directly beside the hole could be sanded off during prep, which would leave you without a reference point. Keeping the marks at a distance from the hole protects them when the rubber is roughened for the patch.
Work on a dry, clean section of tube. Wipe away dust and any residue first, so the pen ink sits on the rubber rather than smearing. Then draw the marks so that their arrangement is symmetrical around the hole. This lets you find the exact centre again after the surface has been abraded, even if the individual marks have partly faded.
Keep the layout simple and consistent:
- Place two marks on opposite sides of the hole, then two more on the remaining sides, so the four marks form a loose square or cross around the leak.
- Keep every mark clear of the hole’s edge and of the area you plan to sand.
- Confirm the layout is visible under a light before you move on, because a faint mark is easy to lose.
The marking step is quick, but it depends on accuracy. A patch placed off-centre over a hole can fail to seal, so the four marks should be drawn carefully and checked before the surface is prepared.
When to patch and when to replace the tube
A patch works only when the rubber around the hole is sound enough to hold adhesive. The decision depends on three things: the size and shape of the damage, where it sits on the tube, and how much the tube has already been through. A single clean hole on a healthy tube is a good candidate for a patch. Damage that is spread out, torn, or sitting on weakened rubber usually is not.
Hole size and shape matter most. A small, round puncture with smooth edges gives the patch a clean surface to bond to. A long slit or a tear with ragged, flapped edges does not, because the patch lifts at the corners and the flap keeps moving under the rim and tyre. Replace the tube in those cases.
Location affects both adhesion and durability. Damage on a flat, accessible part of the tube is easiest to patch. Holes on the curved sections of the tube, or where the tube folds over the rim bed, are harder to seal because the patch cannot lie flat and flexes with each rotation.
Number of holes and porous areas change the calculation. A patch covers only its own footprint. If you find several separate holes, or a zone where the rubber feels thin, soft or spongy, the tube is near the end of its useful life, and new leaks are likely to appear beside the patch. Replacement is the more reliable choice.
Age and cumulative damage are easy to overlook. Rubber that is cracked, brittle, sticky or showing dry rot has lost its elasticity, and adhesive does not hold well to it. A tube that has already been patched several times carries stiff, layered rubber, and each additional patch adds more of it. Replace a tube with a patch history once the patches start to overlap or sit close together.
| Situation | Recommended action |
|---|---|
| Single small puncture, clean edges, on the tread side | Patch |
| Long slit or torn edges | Replace |
| Several separate holes or a thin, porous area | Replace |
| Rubber cracked, brittle or dry-rotted | Replace |
| Tube stretched, deformed or pinched | Replace |
| Patches overlapping or placed close together | Replace |
Frequently asked questions
How do I know if a tube is leaking or just losing air through its wall?
Every tube loses some air through its rubber, a process called permeation, so an occasional top-up is normal. Compare two inflation-and-wait tests: if both show a similar drop that is clearly larger than normal permeation, the tube likely has a genuine leak. These tests do not locate the hole, so use the next step to find it.
What should I do if I cannot hear or feel air escaping?
Inflate the tube gently until it is firm but still below the maximum pressure printed on the tube or tyre, and keep your face and eyes clear while you inflate. Then submerge it in water and watch the surface for bubbles, gently brushing away any that stick with a wet hand. Stop pumping before you bring the tube near your ear, and handle it by the body without twisting the valve.
How should I mark the leak once I have found it?
Use a marking pen to draw four marks around the hole, placed on each side of it but not directly next to it. According to Park Tool (2025), marks placed right beside the hole could be sanded off during surface preparation for the patch.