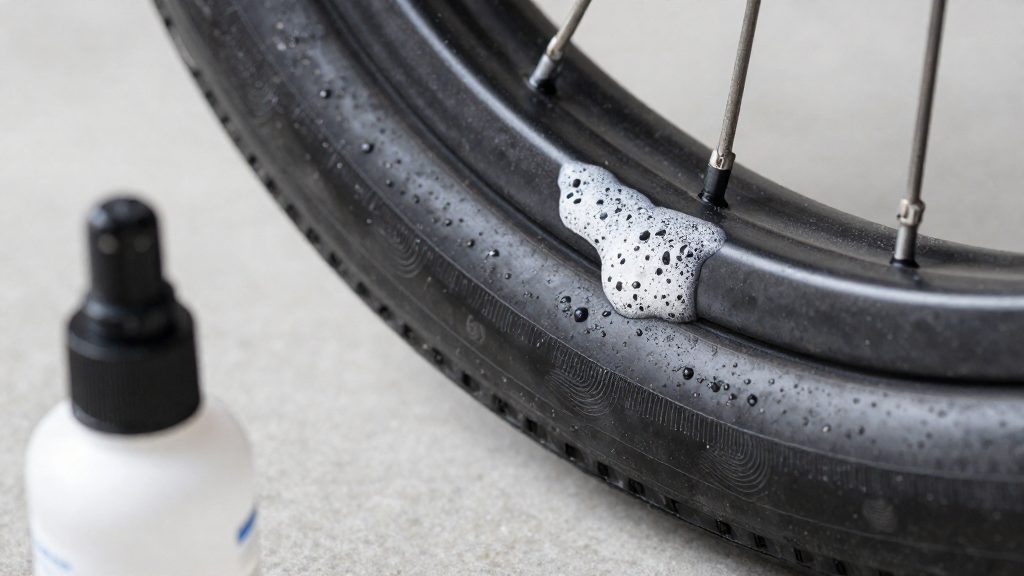
According to road.cc (11 January 2026), a standard track pump can seat the beads without a compressor. The method works only within a narrow set of conditions covered below.
Can you go tubeless without special tools?
Rim and tyre pairing compatibility
Trek Bikes (2026) advises confirming that the wheels and tyres are tubeless-ready (marked TLR) before starting. Pairing is the first gate, because a mismatched rim and tyre cannot be made airtight by this method.
| Rim and tyre marking | Suitable for household-tool tubeless setup? |
|---|---|
| Both marked TLR | Yes, proceed with the method |
| Rim marked TLR, tyre not marked | No, the tyre is not tubeless-ready |
| Tyre marked tubeless-ready, rim not marked | No, the rim is not confirmed for tubeless use |
Rim bed condition also changes the procedure. road.cc (2026-01-11) states that rim tape is not needed if the rim bed is solid, so a rim without spoke-hole channels can skip taping entirely. Rims with spoke holes need the taping step.
When the rim lacks TLR marking
The guidance above applies only to TLR-marked rims. An unmarked rim should be treated as unsuitable, because its bead seat and rim bed have not been confirmed for sealed tubeless use. Trying to convert it with sealant and a track pump risks an unseated tyre and sealant loss, not a working tubeless setup. Ask the wheel maker or a local bike shop to confirm compatibility before attempting the conversion.
Pressure and inflation limits
Tubeless tyres usually run well below 100 psi, and the wheel maker’s pressure guidance takes priority. road.cc (2026-01-11) gives a worked example from Giant’s calculator:
| Variable | Value |
|---|---|
| Rider mass | 75 kg |
| Tyre width | 28 mm |
| Internal rim width | 22.4 mm |
| Suggested pressure | 61 psi (4.2 bar) |
A standard track pump can seat the beads, but it takes more effort than a compressor or high-volume pump.

What you need before you start
Assembling the right parts first avoids stopping partway through the job. The core kit is a valve, sealant, a rag, cleaning alcohol or label remover, and a pump. Tyre levers are optional.
Rim strip or rim tape is the main compatibility decision. Trek recommends a TLR rim strip because it makes an airtight seal easier to achieve than tape (Trek Bikes, 2026). Check the rim bed by eye before buying, and choose a strip if the rim has spoke holes or an open well that tape cannot cover cleanly.
Tyre levers are optional for a tubeless setup. If you use plastic levers, choose ones designed for tyre work and never twist them against the rim, since that can damage the bead seat and the rim surface. Trek advises removing the tyre with approved plastic levers and working around the rim (Trek Bikes, 2026).
Shopping list
| Item | Purpose | Source |
|---|---|---|
| Rim strip (TLR) or rim tape | Seals the spoke holes and rim bed | Trek Bikes (2026); road.cc (2026-01-11) |
| Tubeless valves | Air passage through the rim, with a removable core | road.cc (2026-01-11) |
| Tubeless sealant | Seals punctures from inside the tyre | road.cc (2026-01-11) |
| Syringe with flexible hose | Injects sealant through the valve core | road.cc (2026-01-11) |
| Rag and alcohol or label remover | Cleans the rim bed before fitting | road.cc (2026-01-11) |
| Track pump or compressor | Inflates and seats the tyre | road.cc (2026-01-11) |
| Plastic tyre levers (optional) | Lifts the bead when removing or fitting | Trek Bikes (2026) |
How do you prepare the rim and tape?
A clean rim bed and a flat, correctly positioned tape layer determine whether the tyre bead and sealant can seal. The steps below cover only the preparation stage, before the tyre goes on.
| Step | Action | What it prevents |
|---|---|---|
| Clean | Wipe the rim bed with a rag dampened with alcohol or label remover | Residue stopping the tape from bonding flat |
| Tape | Wrap the rim with steady tension and no ripples | Raised edges that let air and sealant escape |
| Pierce | Cut the valve hole from inside the rim bed | Tape lifting around the valve opening |
Start with the cleaning. Wipe the full channel of the rim, including the area around the spoke holes, and let it dry before applying tape. Remove any old adhesive or grease, since these leave a surface the tape cannot grip.
Lay the tape into the well of the rim so it covers the spoke holes completely. Work it on evenly, keeping tension constant as you go. Any ripple or fold lifts the tape edge, creating a gap at the rim wall where air or sealant can escape. Press the tape down with your fingers, or with the rounded end of a small screwdriver handle, moving outward from the centre so trapped air is pushed toward the edges.
When the tape is fully down, pierce the valve hole from the inside of the rim bed. Cutting from inside keeps the blade pushing the tape against the rim rather than lifting it outward. Check that the hole lines up with the valve hole in the rim before fitting the valve, so the stem sits straight and the tape is not stretched around it.
Mounting the tyre by hand
Once the rim is prepared, a tubeless tyre can usually be seated with your hands alone. Place the wheel on a flat surface with the valve hole at the top, so the valve stays in position while you work. Trek Bikes (2026) recommends starting at the top of the rim and working around it, keeping the valve inside the beads throughout.
Begin by pressing one bead (the tyre’s edge that sits on the rim) into the centre channel of the rim, starting at the top and working around the rim in both directions, keeping the valve inside the beads. Work outward from this point in both directions with your thumbs, pushing the bead down into the channel a short section at a time. Keep the sections already fitted pushed down into the centre channel to create slack, because the last stretch is the tightest. Keep the bead flat against the rim and avoid forcing it over the edge with the thumbs alone.
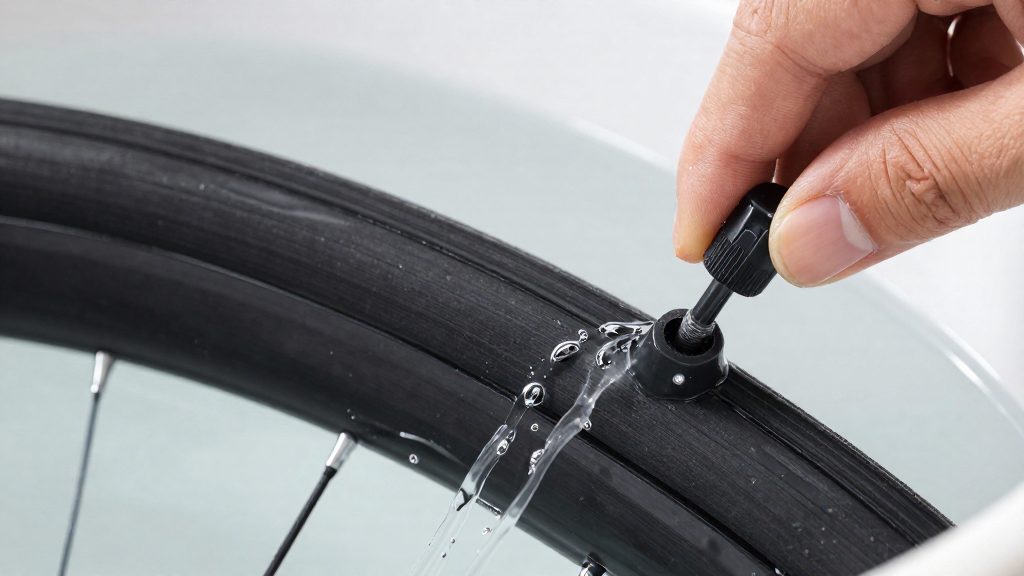
The valve is the reference point for the whole fitting. Before finishing, check that the valve sits centred in its hole and that the stem is not pinched under either bead.
If you are using tape, check the fit once the tyre is on the rim. If the tyre feels loose or slides around the rim when you press it, the tape layer is too thin. road.cc (2026-01-11) advises adding an extra tape wrap rather than tightening the bead.
| Check after seating | Result | Action |
|---|---|---|
| Tyre slides or feels loose on the rim | Tape layer may be too thin | Add another tape wrap and reseat the bead |
| Valve off-centre or pinched under a bead | Gap at the valve | Reseat the valve so it sits inside both beads |

How do you seat the bead with a track pump?
Bead seating is the step where both sides of the tyre are pushed out against the rim so the tyre can hold air. According to road.cc (January 2026), a standard track pump can seat the beads, but it takes more effort than a compressor or high-volume pump, so expect to pump for longer and with more force.
| Inflation tool | Effort to seat beads | Source |
|---|---|---|
| Standard track pump | Higher, but sufficient | road.cc (January 2026) |
| Compressor or high-volume pump | Lower | road.cc (January 2026) |
Pre-inflation means inflating the empty tyre with no sealant inside. road.cc (January 2026) states that this seats the beads and avoids spraying sealant, which is the main reason to do it in this order. Pump in steady strokes and watch the bead line on both sides of the tyre. When the beads have moved fully into the rim well, the tyre is seated.
Adding sealant without an injector
According to road.cc (2026), sealant can be added to a tubeless tyre with a flexible-hose syringe instead of a dedicated injector bottle. The tyre must be fully deflated and the valve core removed first, so the sealant has an open path into the tyre without being forced past the core.
Start by letting all the air out of the tyre. Then unscrew the valve core from the valve stem. With the core out, the valve bore is open and the syringe can be fed through it.
Draw the sealant into the syringe, then insert the hose end into the valve stem. Inject the sealant slowly so it flows into the tyre rather than back out of the valve. Keep the hose seated in the valve for the whole injection, and withdraw it only once the sealant has been fully delivered.
Refit the valve core once the sealant is in. The core is replaced after injection, not before, which closes the valve so the next step, inflating the tyre, can take place. Road.cc (2026) lists this sequence as the injection method, with the pre-inflation stage handled separately.
| Step | Action | Purpose |
|---|---|---|
| 1 | Deflate the tyre fully | Lets the valve core come out and the sealant go in without air pushing back |
| 2 | Remove the valve core | Gives the syringe hose access to the valve bore |
| 3 | Inject sealant through the flexible hose | Delivers sealant into the tyre without spraying it |
| 4 | Refit the valve core | Closes the valve before inflation |
Using a syringe with a flexible hose keeps the injection controlled, and the hose can reach the valve bore without the rigid nozzle of a bottle.
Checking for leaks and maintaining sealant
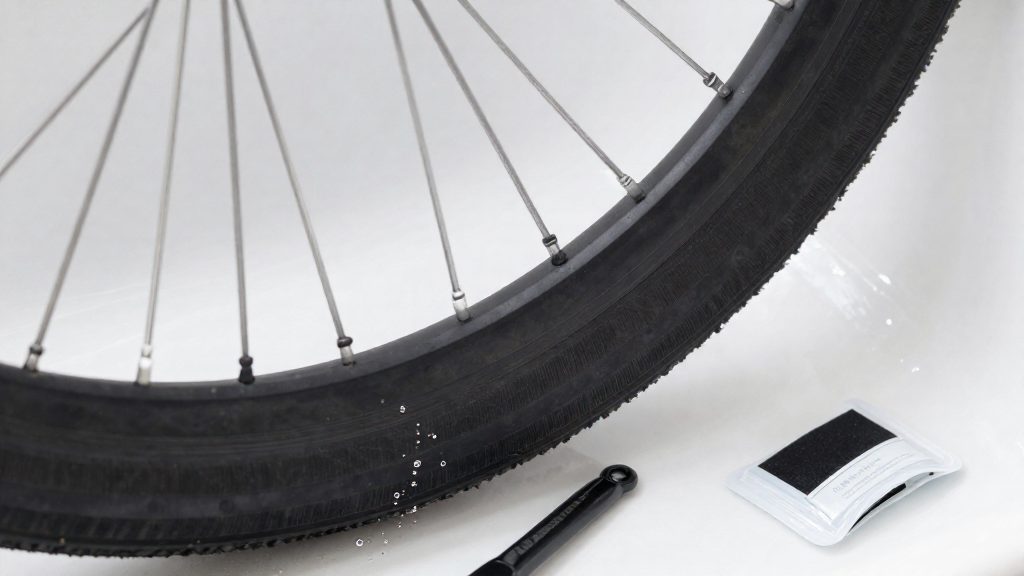
Once the tyre is seated and sealed, check that it holds air before you ride. According to road.cc (January 2026), a correctly sealed tubeless tyre should hold pressure consistently for 24 hours. Inflate to your target pressure, leave the wheel untouched, and compare the gauge reading the next day. A drop over that period shows the seal is not yet reliable, so find the leak before riding. The usual seal points are the bead where the tyre meets the rim and the base of the valve, so inspect those first. Look for bubbles or fresh sealant residue, then rotate the wheel slowly and watch the bead line for any spot where sealant is escaping.
Sealant does not last indefinitely in the tyre. The schedule below sets out the checks that matter most.
| Check | Interval or trigger | Source |
|---|---|---|
| Pressure hold test | 24 hours after sealing | road.cc (January 2026) |
| Sealant condition check | Regularly, and more often in hot, dry conditions | Trek Bikes (2026) |
| Sealant top-up | About every three months | Trek Bikes (2026) |
A sealant top-up restores the liquid that has evaporated or dried, so it is a maintenance task rather than a repair. If a tyre that held pressure starts losing air between top-ups, check the bead, the valve base and the tread for leaks, and check the condition of the sealant. Do not ride on a tyre that keeps losing pressure until you have found the cause. Repeat the 24-hour hold test after any top-up to confirm that the seal has recovered.
Frequently asked questions
Do I need tyre levers to fit a tubeless tyre without special tools?
No, tyre levers are optional for a tubeless setup. If you use them, Trek Bikes (2026) recommends approved plastic levers and says never to twist them.
How often should I top up the sealant?
Trek Bikes (2026) advises checking the sealant regularly and topping it up about every three months. Sealant dries out faster in hot, dry conditions, so check it more often in those climates.
How should I apply rim tape to a rim with spoke holes?
Lay the tape with steady tension and no ripples, pressing it down with your fingers or the rounded end of a small screwdriver handle. Pierce the valve hole from inside the rim bed, and add another wrap if the tyre fit feels loose, according to road.cc (11 January 2026).