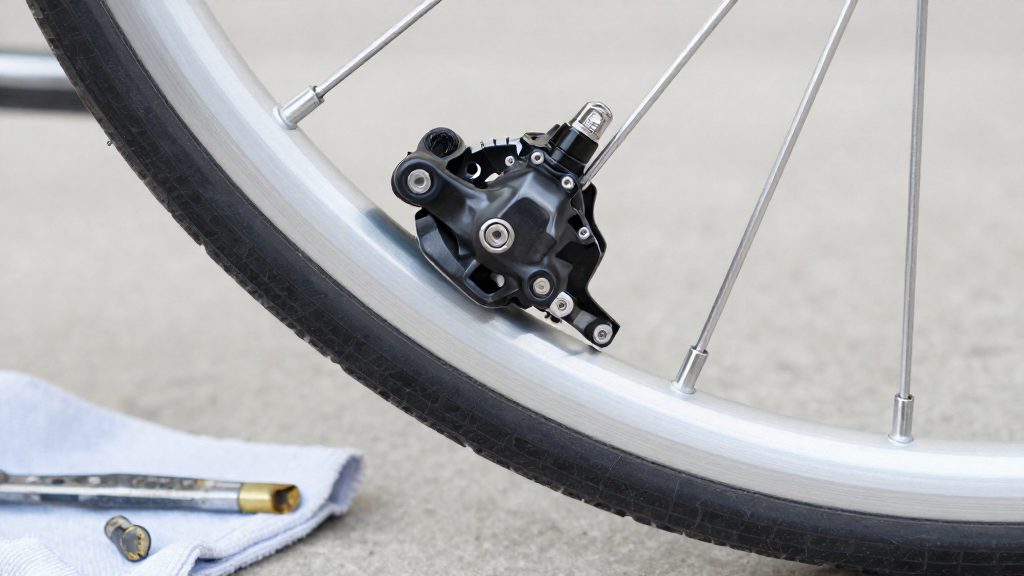
Rim brakes squeal when the pad vibrates against the rim instead of gripping it evenly. According to BikeRadar, the main causes are a braking surface polished smooth by use, pad faces that have become hard, shiny and glazed, and aluminum particles embedded in the pad or rim. Each of these changes how the pad slides across the rim and how easily it starts to chatter, which produces the audible squeal.
Why do rim brakes squeal?
Squeal is a high-pitched vibration. It comes from the pad-rim contact, so the causes sit in the rim surface, the pad material, and the way the pad meets the rim.
Rim surface polish over time
A machined rim surface is smooth and uniform when new. BikeRadar notes that this surface reduces the need for toe-in on a new rim, but squeal can start once it has been polished smooth through use. The change is gradual. A quiet new set can become noisy without any change to the pads, because the rim’s braking face has slowly become more uniform and slicker.
Vibration at the pad-rim contact
Squeal is a stick-slip effect. The pad alternately grips the rim and slides across it, and the brake arm and pad flex and resonate at a pitch you hear as a squeal. When the trailing edge of the pad meets the rim first, the pad is more likely to chatter. Contact that is even across the pad face reduces this vibration.
| Factor | Physical effect | Typical result |
|---|---|---|
| Polished machined rim | Uniform, slick braking face | Squeal once the surface is polished smooth |
| Glazed pad face (hard, shiny) | Reduced grip and irregular contact | Squeal and chatter |
| Embedded aluminium particles | Rough particles scrape the rim | Scraping noise |
| Play in the brake arms | Pad alignment shifts | Loss of toe-in and noise |
Pad compound and hardness
Pad compound determines how the pad grips the rim. A hard pad face is the glazed condition BikeRadar describes, and it grips less consistently, which encourages vibration. Because the pad surface and the rim surface interact, a hard pad on a polished rim is a common combination for persistent noise.
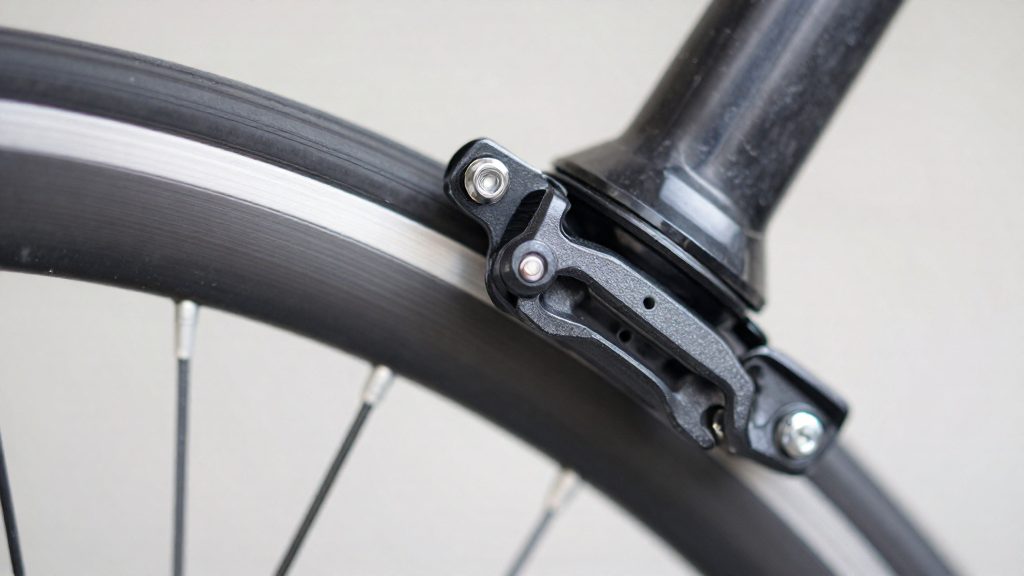
Check pads and rims for contamination and glazing
Rim brake squeal often comes from the pad face as well as the rim. Three conditions cause most of it: oil or grease transferred from the chain or hubs, grit from the road, and a hardened surface called glazing. Each one changes how the pad grips the rim and makes it vibrate. Inspect the pads before adjusting the arms, because a clean, correctly seated pad may be quiet without any other work.
Identifying glazed pads
A glazed pad has a hard, shiny face. Rub a thumbnail across the braking surface. A pad in good condition has a slightly rough, slightly yielding texture, while a glazed pad feels smooth and resists marking. Check the whole pad face, including the front edge, for a shiny, hard surface.
Roughening glazed pads
Restore grip by abrading the glazed face with a coarse file or emery cloth. Lay the pad flat on a bench, then work the file or cloth across the face until the shine is gone and the surface looks matte. Remove only enough material to break the glaze. Do not reshape the pad or cut into the backing.
Wiping pads and checking for contamination
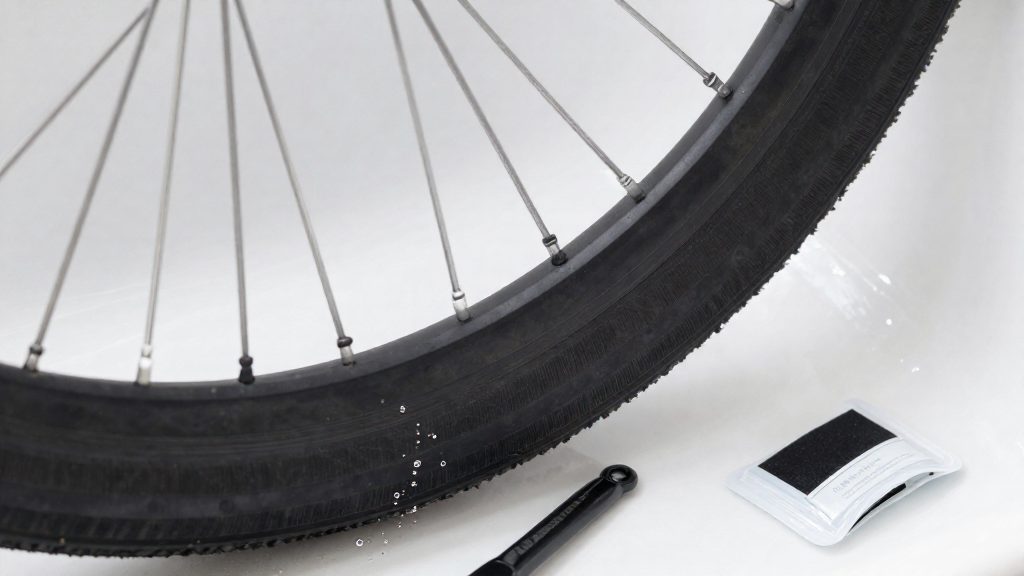
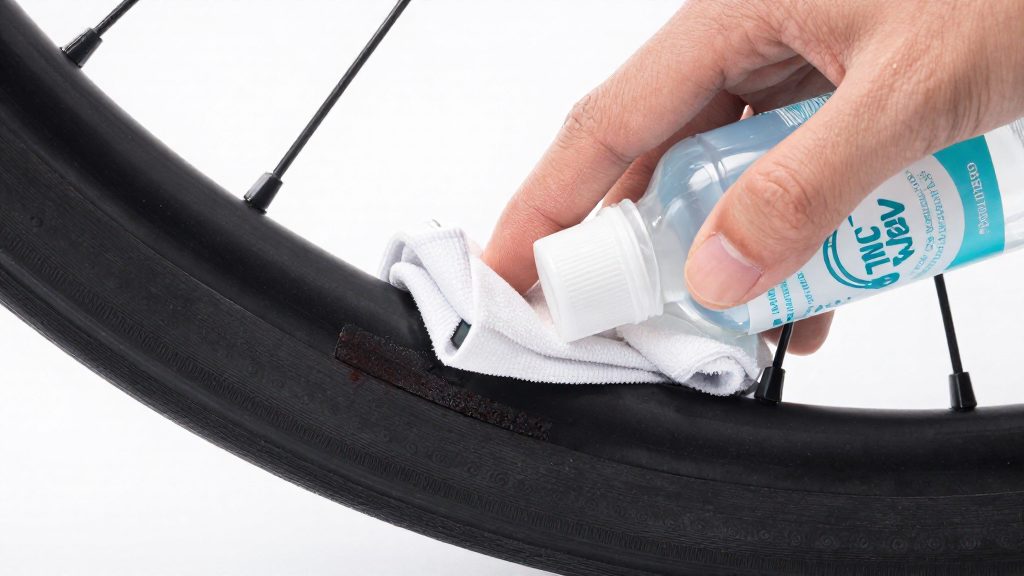
Clean the pad face with a damp cloth to lift grit and loose residue. Check the cloth after each wipe: if it picks up a dark film, the pad has oil or grease on it. A damp cloth removes surface contamination, but if the rubber compound is saturated with oil, it will keep squealing after cleaning and needs replacing.
| Finding on the pad | Likely cause | Action |
|---|---|---|
| Dark film on the cloth | Oil, grease, or pad and rim debris | Clean again, and replace the pad if it is saturated with oil |
| Loose or embedded particles | Road grit | Recheck the face after cleaning |
How do you set brake pad toe-in?
Toe-in means the front edge of each brake pad touches the rim slightly before the rear edge, so the pad engages the braking track gradually instead of all at once. According to BikeRadar, this front-first contact is the main principle behind quiet rim braking. On cantilever pads, leave a gap of roughly 2mm at the back of the pad when the lever is released.
Toe-in is set at the pad holder, not by bending the brake arm. Work through these steps on each side:
- Squeeze the lever and watch where the pad meets the rim, then release it.
- Loosen the pad holder bolt just enough to let the pad rotate.
- Turn the pad so its front edge sits closer to the rim than its rear edge, keeping the roughly 2mm gap at the back.
- Hold the pad in position and tighten the bolt firmly.
- Check the alignment from the side and from above, then compare the left and right pads.
- Squeeze the lever again with the wheel in the frame. The front of the pad should make contact first.
Toe-in matters most once the rim’s machined surface has been polished smooth through use. If the adjustment is correct and the pads still squeal, check the pad and rim surfaces, then check the brake arms for play, since play lets the toe-in drift.
Clean the rim braking surface
Embedded aluminium and road grime on the braking track are a common source of scraping noise. The fix is mechanical: abrade the rim so the pad surface can grip cleanly without dragging on bonded debris. According to BikeRadar (2025), cleaning the rims with an abrasive block or coarse emery cloth, and removing embedded aluminium from both the rims and the pads, keeps scraping noise down.
Rim braking track is the machined sidewall area the pad contacts. Aluminium worn from the rim can embed in the pad compound and be dragged back across the braking track as a fine, grey film during braking. Grime from road dust, oil and wet grit builds on top of that film, so cleaning the track alone without removing the embedded metal often leaves the squeal in place.
Work sequence
- Remove the wheel if you need full access to both sides of the rim, and release the brake so the pads sit clear of the track.
- Degrease the braking track with a clean cloth and a solvent, such as isopropyl alcohol. Wipe in one direction so you lift grime off rather than pushing it back into the surface.
- Abrade the track with an abrasive block or coarse emery cloth. Use firm, even strokes along the circumference of the rim, keeping the cloth flat so you do not cut a groove into the sidewall.
- Wipe the track again to remove the loose aluminium dust and abrasive residue.
- Clean the pads. Use the same abrasive on the pad face to remove aluminium that has embedded in the compound, then brush away debris.
Condition check of the braking track
After cleaning, examine the track before refitting the wheel.
| Check | What to look for | Action |
|---|---|---|
| Surface | Even, uniform texture across the full circumference | Repeat abrasion if grey streaks or grime remain |
| Grooves | Visible channels or step edges that catch a fingernail | Grooving that does not clear after cleaning means the rim needs replacing, not further abrasion |
| Pad contact | Abraded areas that line up with the pad face | Confirm the pad sits square on the cleaned track before testing |
A rim that is smooth, free of embedded metal and uniformly textured gives the pad a consistent contact area. Test the brake at low speed after refitting the wheel and listen for scraping before riding at full pace.
Do worn pads or arms cause squeal?
Worn pads and loose brake arms can both cause squeal, but they do so differently. Pad condition changes the surface that meets the rim, while arm play changes where the pad sits relative to the rim. Identifying which problem you have tells you whether to service the pad or replace the arm.
Pad wear indicator and replacement threshold
Many rim brake pads have a wear indicator, usually a groove or line in the pad body. When the pad material wears down to that mark, replace the pad. Check both pads on each wheel, because a misaligned brake often wears one side faster than the other.
Glazing is a separate issue from wear, and a glazed pad can still have plenty of material left, so check the surface and the indicator separately.
Brake arm play and toe-in retention
Play in the brake arm lets toe-in drift under braking, so the pad can shift onto the full face of the rim and squeal. To check for play, apply the brake, grip each arm, and try to move it sideways. Noticeable movement at the pivot means the arm is loose or worn. Tighten it first, and replace the arm if play still lets the toe-in drift.
| Condition | Likely effect | Action |
|---|---|---|
| Wear indicator reached | Pad material exhausted | Replace pads |
| More than about 3mm of toe-in lost through arm play | Pad cannot hold toe-in | Replace brake arms |
Before replacing arms, rule out glazing and wear, since those are cheaper to correct and are often the source of the noise.
Choose the right replacement pads
For quiet rim brakes, pad design matters as much as pad condition. Fitting new pads to freshly cleaned rims is often the quickest fix, so a pad change is worth trying before you replace other brake parts.
| Pad design | Mounting or construction | Effect on squeal |
|---|---|---|
| Offset pad | Mounted short edge forward | Less prone to noise |
| Dual-compound pad | Harder section alongside the main compound | Helps clean the rim and can reduce squeal |
Offset pads and mounting direction
The orientation of an offset pad changes how it meets the rim. Before tightening, check which end of the pad faces the direction of wheel travel. If an old pad was fitted the other way round, reverse it when you replace it.
Dual-compound pads and rim cleaning
A dual-compound pad has a harder section that works on the rim surface during braking. It does not replace rim cleaning. This design can help keep the rim surface clean and can reduce squeal.
Fitting new pads to a cleaned rim
- Loosen the pad holder bolt and remove the old pad.
- Select the pad design that suits your brake, offset or dual-compound.
- Slide the new pad into the holder, with the short edge forward if it is an offset pad.
- Tighten the bolt firmly without overtightening it, so the pad stays fixed.
- Test the brake on a dry rim, then recheck the squeal before riding in wet conditions.
When to see a bike shop
When the noise returns after home servicing, or when the brake shows signs of mechanical damage, the problem may lie in the caliper, the brake arms, or the frame and fork attachment points. A workshop can inspect these parts with the bike mounted and the brake under load, which is hard to do reliably at home.
The table below sets out the symptoms that point beyond pads and rims.
| Symptom | Likely cause | What the workshop checks |
|---|---|---|
| Squeal continues after new pads are fitted to a clean rim | Movement or wear in the caliper pivot, arm bushings, or return springs | Pivot tightness, bushing condition, and spring tension |
| One pad wears faster than the other or sits at an angle | Caliper misalignment or uneven arm tension | Caliper centring and pad position relative to the rim |
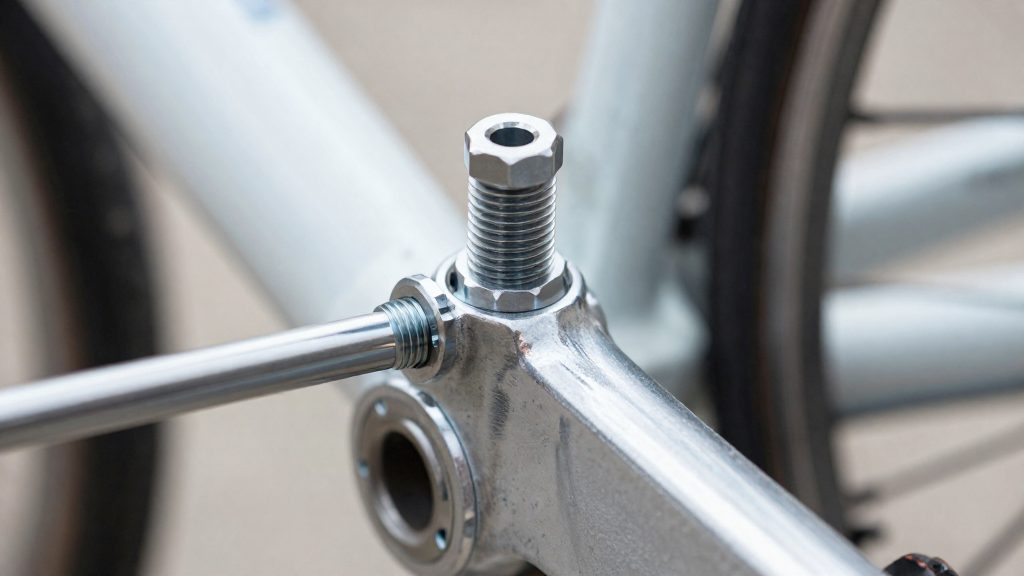
| A pad holder or cantilever stud moves, cracks, or has stripped threads | Damaged mounting boss or stud | Boss and stud integrity, and whether the frame or fork needs repair |
Mounting points deserve the closest attention. A boss or stud that has been overtightened, cross-threaded, or struck in a crash can loosen gradually, so the brake shifts under braking and the squeal seems to come and go. Inspect these points by hand before riding: any visible crack, deformation, or movement under light pressure means the brake should not be used until a professional has checked it.
Mechanical wear that affects the caliper’s geometry also changes how the pads meet the rim. Adjusting the pads at home can mask this, but it does not correct a bent arm or a worn pivot, so a workshop is the right place to confirm the cause.
Frequently asked questions
Can new pads fix a squeal without cleaning the rims?
Fitting new pads often clears a squeal quickly, especially when they go onto freshly cleaned rims. Cleaning matters because embedded aluminium left on the rim can make new pads scrape again.
Which pad design is least likely to squeal?
Offset pads fitted short edge forward are less prone to noise than standard mounting. Dual-compound pads, which have a harder section that helps clean the rim, can also reduce squeal.
Should I check pad wear when a brake squeals?
Yes. When you wipe the pads with a damp cloth to inspect glazing, also check the wear indicator on each pad, as BikeRadar recommends.