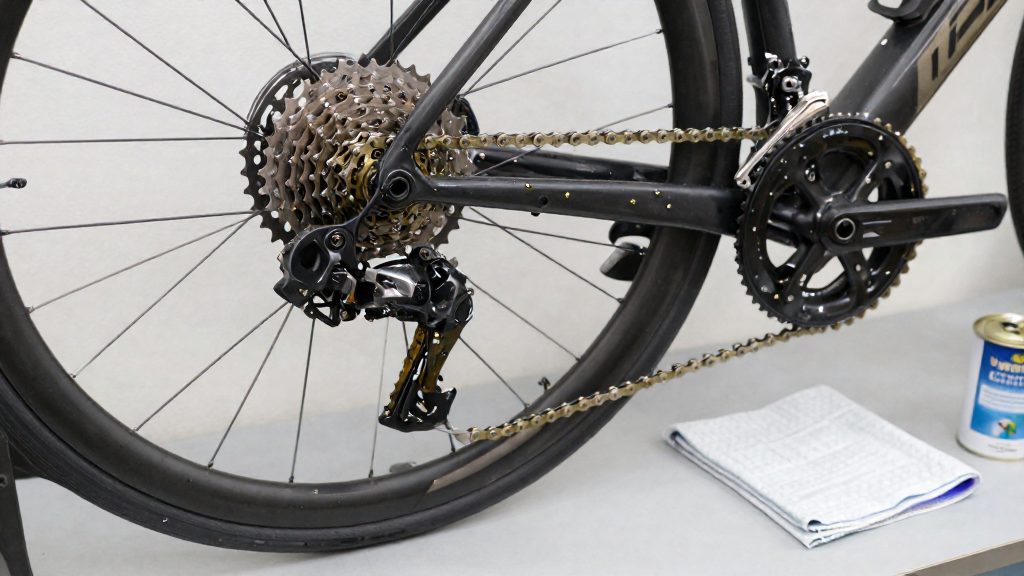
Winter storage without preparation lets moisture, grime and idle moving parts work on a bicycle for months. The usual results are corrosion, seized joints and wear that stays hidden until the first ride of spring. Most of these problems are preventable, and the few steps taken before the bike goes into storage cost far less time than diagnosing and replacing parts afterward.
Why does winter bike storage matter?
Months of inactivity are the main risk for the mechanical parts, and cold adds a further risk, particularly for an e-bike battery. A bike that sits unused lets moisture and dirt act on bare metal and on every joint that normally moves under load. Three outcomes follow: corrosion, seizing and hidden wear.
Seizing is the most visible failure. VoltBike recommends applying light chain lube to the chain, derailleurs and brake pivots before storage to prevent seizing (VoltBike, 2025-10-15). These are the points where metal moves against metal, so a joint left unprotected for a season can lock up and need freeing before it works again.
Hidden wear is harder to spot. Canadian Cycling Magazine (2022-12-02) warns that dirt left on the bike for months can damage the frame, drivetrain and bearings. Nothing about this damage shows in the garage.
Cold, damp, unheated spaces add to these risks. They can affect the mechanical drivetrain, and for an e-bike the cold is also a risk to the battery.
| Component | Risk during inactivity | Source |
|---|---|---|
| Chain, derailleurs, brake pivots | Seizing if left unprotected | VoltBike (2025-10-15) |
| Frame, drivetrain, bearings | Damage from dirt left on for months | Canadian Cycling Magazine (2022-12-02) |
| E-bike battery | Cell strain from a full charge held for months | Canadian Cycling Magazine (2022-12-02) |
Why neglected storage shows up as spring failures
Neglect rarely causes an immediate breakdown. It appears as a bike that resists being used: a chain or derailleur that moves stiffly, a pivot that won’t travel freely, bearings that feel rough, or a battery that has lost capacity. Each symptom traces back to a condition that developed quietly over the storage period. Because the damage builds gradually, the first ride is when it is discovered, and by then the repair list is longer than it would have been after a short autumn check.
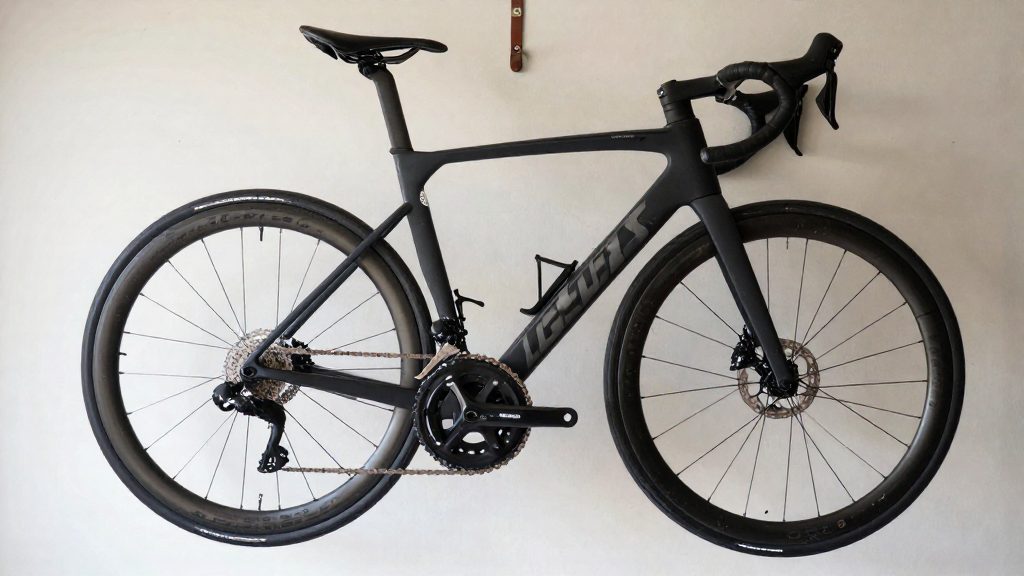
Clean and dry the bike
Cleaning is the first step before storage, because dirt left on for months can damage the frame, drivetrain and bearings. Arkel also recommends cleaning the bike and its accessories thoroughly at the end of the season.
Removing road grime, grit and salt
Rinse the bike with water and a soft brush, working from the top of the frame downward so loosened grime does not fall onto clean areas. Give extra attention to the drivetrain, where grit collects between chain links and on the teeth of the cassette and chainrings. Wipe the bearings areas, including the headset, hubs and bottom bracket, to clear the grime around their seals. If the bike has been ridden on salted roads, rinse the frame, fork and drivetrain soon after the ride rather than leaving salt in place over the storage period. Use a degreaser sparingly on the chain and drivetrain, then rinse away any residue before the bike is put away.
Drying every surface
Moisture trapped in hidden areas is the main concern once the bike is clean. Dry the frame and fork with a clean cloth, then work into the frame joints, where water can stay in crevices. Dry the cassette and chainrings by hand, and pass a dry cloth along each chain link. Turn the cranks and spin the wheels to shake out water from the drivetrain and hubs before the final wipe.
| Area | What to remove or dry |
|---|---|
| Frame and fork | Road grime and salt residue |
| Drivetrain (chain, cassette, chainrings) | Grit between links and teeth; moisture |
| Bearings (headset, hubs, bottom bracket) | Grime around seals |
Lubricate the chain and moving parts
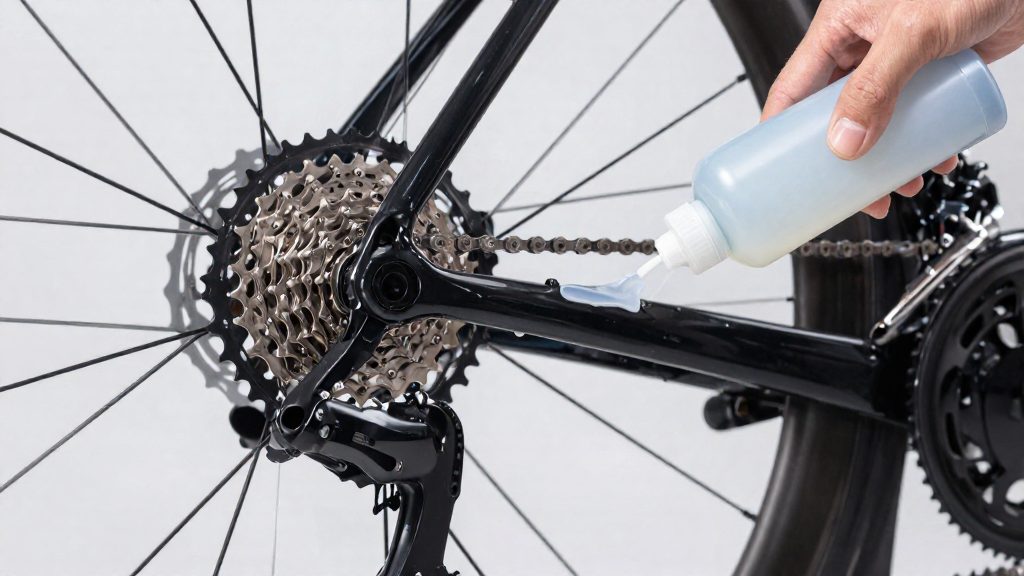
VoltBike (2025-10-15) advises applying light chain lube to the chain, derailleurs and brake pivots before storage to keep them from seizing while the bike sits unused. Bare metal contact points can corrode or bind over a long idle period.
| Component | Where to apply | Purpose |
|---|---|---|
| Chain | Along the inside of each link, while turning the cranks backward | Prevents rust and stiffness in the links |
| Derailleurs | Pivot points and the pulley bearings | Keeps the shifting mechanism free to move |
| Brake pivots | Caliper pivot pins and lever pivot | Stops the moving joints from binding |
Light lube is the right choice for storage. A thin film generally works better than a thick coat, since heavy lubricant tends to hold grit.
Apply the lube sparingly. Turn the pedals backward so the lubricant reaches all sides of the chain, then run a clean rag along it to remove the surplus. Lube left on the outside of the chain and on the derailleur pulleys attracts dust and forms a sticky film over the winter, so the aim is a thin coat inside the links, not a dripping chain.
For the brake pivots, add one or two drops to the pins only, then work the lever several times so the lube spreads through the joint. Wipe any surplus from the caliper body with a clean rag.
Tires, brakes and position
Bike position during storage affects the brakes, the seatpost and the tyres.
Hydraulic disc brakes
Keep the bike upright whenever it is parked for the season. Hydraulic disc brakes don’t tolerate inversion, so never store the bike upside down.
Dropper seatpost
Store a dropper seatpost fully extended. Raise the post to its maximum height before the bike goes into storage, then leave it in that position for the whole period.
Tyre pressure and flat spots
A tyre that carries the bike’s weight in one spot for months can develop a flat spot where it touches the floor. Keep the tyres inflated to the pressure range printed on the sidewall rather than fully deflated, and turn each wheel by hand every few weeks so the contact point changes.
Check the tyres again before the first ride of the season, and inflate them to the sidewall range before riding.
How do you store an e-bike battery?
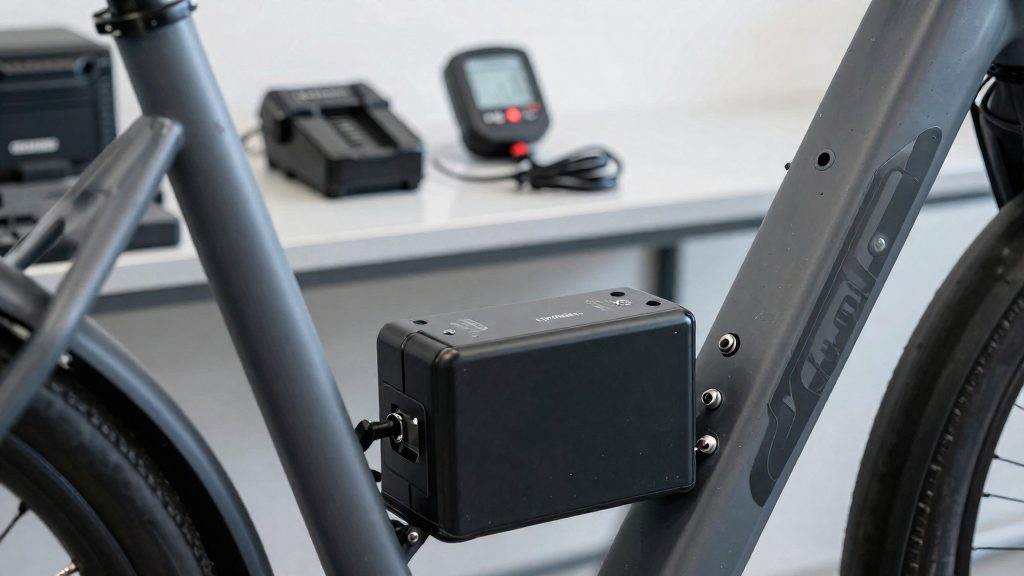
The short answer is to store the battery partly charged, neither full nor empty. The two guidelines overlap only between 50% and 60%, so follow your battery manufacturer’s guidance if it differs. The table compares the two guidelines.
| Source | Charge level for storage | Check interval | Storage temperature |
|---|---|---|---|
| Canadian Cycling Magazine (2022) | About 60%, with 40–60% acceptable | Monthly | Dry, above freezing |
| VoltBike (manufacturer, 2025) | 50–75% | Every 6–8 weeks | 0°C to 20°C |
Choosing and maintaining the charge level
A charge target in the middle of the range limits stress on the cells. A full battery held for months degrades faster, and a battery left fully empty may not recover when charged again in spring. If your checks are infrequent, start from the upper part of your range, because the level drops slowly during storage and a higher starting point leaves more margin before it falls below the lower bound.
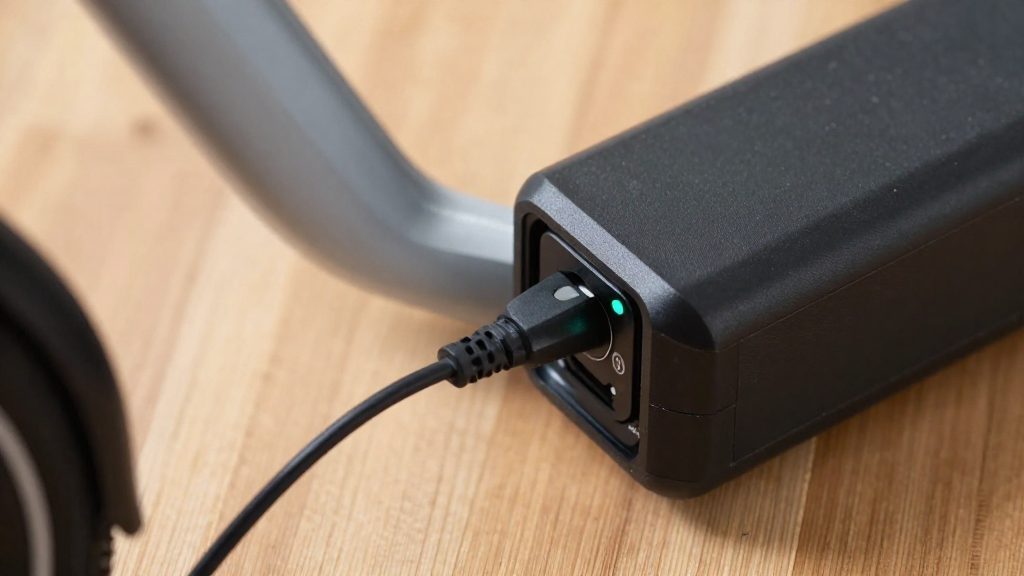
Before storing, charge the battery to your target with the manufacturer’s charger. Write the date and the starting percentage on a label or in a calendar. At each check, read the level on the battery’s indicator. If it has fallen below the lower bound of your chosen range, charge it back to the target.
Protecting the battery from freezing
For the battery, cold is the main environmental risk. Keep the battery in a space that stays above freezing, and avoid unheated sheds or garages that drop below that threshold overnight. If the battery is removable and the garage is cold, take it indoors to a room with stable temperature. If the battery is built into the frame, store the whole bike in the same conditions. If the battery has been exposed to freezing temperatures, let it return to room temperature before charging it.
Unplugging and fire risk
Leaving a battery connected to a charger for long periods adds strain to the cells and raises fire risk. Once the battery reaches its target, unplug the charger from both the wall and the battery. Store the battery on a hard, non-combustible surface, away from paper, fabric and other flammable materials. Do not leave the charger running unattended overnight or in an unoccupied room.
Where is the best place to store a bike in Canada?
Winter storage site matters as much as preparation. Freezing temperatures, snowmelt and condensation in unheated spaces all work on the same parts: bearings, cables, pivots and the drivetrain. Canadian Cycling Magazine (2022) advises keeping an e-bike out of the cold, in a dry place above freezing, so the first decision is whether the site stays above freezing and dry. The second is whether air moves through it, because a sealed, damp space holds moisture against metal.
Indoor storage versus locked outdoor exposure
A locked outdoor bike takes direct precipitation and repeated freeze-thaw cycles. Water that enters cable housings and bearing seals freezes, expands and then thaws, which can seize moving parts before spring. Indoor storage removes that cycle, but only if the indoor space is itself dry and above freezing. An unheated space that is indoors but still cold can offer little advantage over a sheltered spot outside.
Ventilation and humidity in basements and garages
Basements are often cool and can hold damp air, especially in spring when snow melts. Condensation forms when warm, humid air meets cold walls or floors, and it can leave a film on the frame and chain. Attached garages can follow the outdoor temperature closely, and opening the door can let in cold, wet air. Before choosing either, check for water marks on walls, a persistent damp smell, or standing water after a thaw. Any of these means the site needs better airflow or a different location.
Comparing apartments, basements, garages and sheds
| Storage site | Exposure to weather | Temperature stability | Humidity risk | Ventilation |
|---|---|---|---|---|
| Heated apartment | Low | Stable, kept above freezing | Low when heated and ventilated | Usually adequate |
| Basement | Low | Cool, usually more stable than a garage | Higher; check for dampness | Often limited |
| Attached garage | Low | Variable, can drop near freezing | Variable; rises after door openings | Variable |
| Garden shed | Moderate; protects from rain only if fully closed | Variable, often the coldest option | Higher; closed structures trap moisture | Often limited |
A heated apartment offers the most stable conditions when space allows. A basement or garage can work if it stays dry and above freezing and if it has some airflow. A shed gives the least control over temperature and humidity, so it suits only a bike that is fully prepared beforehand.
Spring tune-up checklist
Run this inspection in a fixed order before the first ride of the season, starting with the parts that stop the bike. According to Canadian Cycling Magazine (2022), the brakes should be checked before riding in spring, and this is the first step.
Brake function check
- Squeeze each lever slowly. It should reach firm resistance well before touching the bar, and the bike should stop when you pull the lever alone.
- On hydraulic disc brakes, a spongy or sinking lever usually means air in the line or a fluid leak. Look at the hose fittings and the caliper for wetness.
- Spin each wheel and check that the pads sit evenly on the rotor with no rubbing. Look at pad thickness and replace pads that are worn down to the backing or the wear indicator.
Chain, cassette and drivetrain wear
- Shift through every gear while turning the pedals by hand. Listen for grinding, skipping or chain slap, which point to worn teeth or a stretched chain.
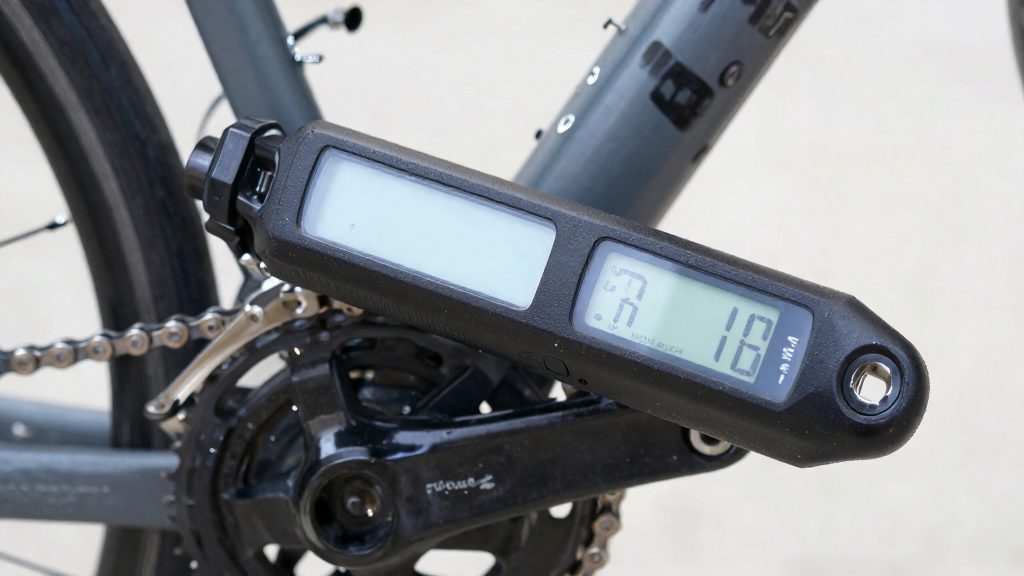
- Use a chain wear indicator tool across several links. If the reading shows the chain has stretched past the tool’s limit, replace the chain before the cassette, because a worn chain wears the cassette teeth quickly.
- Check the cassette and chainrings for hooked or shark-fin tooth profiles and for missing teeth. Any damaged sprocket should be replaced with the chain.
Tyre sidewall and bead inspection
- Inspect the sidewalls for cracks, cuts, bulges and exposed casing threads, particularly where the sidewall flexes near the rim.
- Check that each tyre bead sits evenly on the rim. Uneven seating or a bulge near the bead is a sign of an unsafe tyre, so deflate it and remount it before riding.
- Replace any tyre with cracks that reach the casing.
Frequently asked questions
What charge level should an e-bike battery be left at over winter?
Canadian Cycling Magazine (2022) recommends about 60% charge, with 40–60% acceptable, and a check roughly every month. VoltBike (2025) gives a wider 50–75% range with checks every 6–8 weeks, so the two overlap only between 50% and 60%. If your battery manufacturer gives different guidance, follow that.
Can I hang the bike up for the winter?
Store the bike upright, not upside down. Hydraulic disc brakes do not tolerate inversion, so a bike turned over or hung in an inverted position risks brake problems. Check the brakes before the first spring ride.
What should I do if the e-bike battery has been exposed to freezing temperatures?
Let the battery return to room temperature before charging it. The exact recovery steps depend on the model, so check the manufacturer’s instructions or contact the bike shop that services your e-bike.