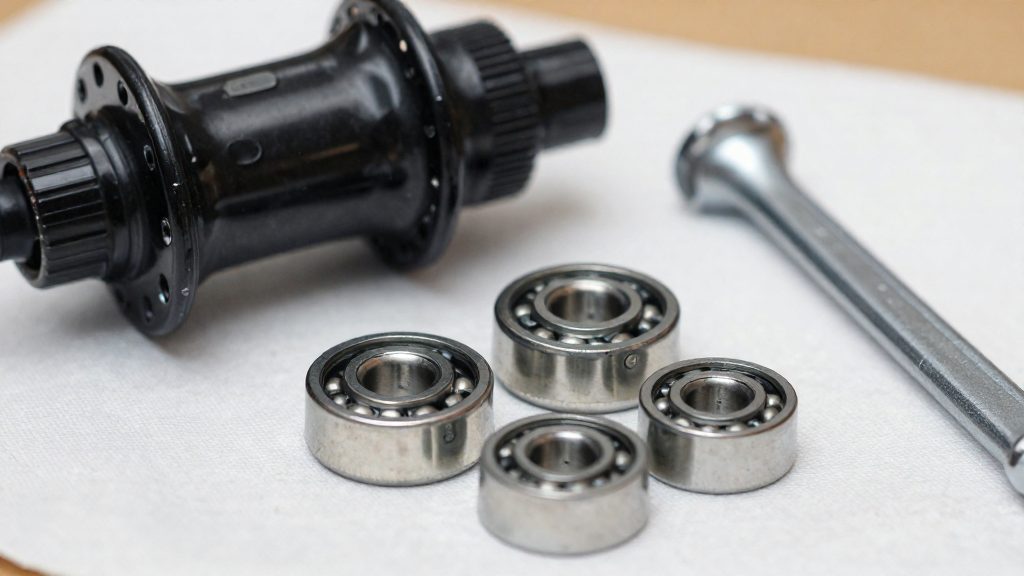
Before you remove a wheel bearing, identify whether the hub uses loose cup-and-cone bearings or sealed cartridge bearings. The two designs are serviced differently, and using the wrong method can damage the hub. A cup-and-cone hub has loose balls running between a cone and a cup, with the cone held on the axle by a locknut. A cartridge hub uses a sealed bearing unit installed in the hub body. You can usually tell which type you have by inspecting the hub ends and axle, and by reading any markings, in a few minutes.
Cup-and-cone or cartridge: which bearings do you have?
Visual differences between loose balls and sealed cartridges
| Feature | Cup-and-cone hub | Sealed cartridge hub |
|---|---|---|
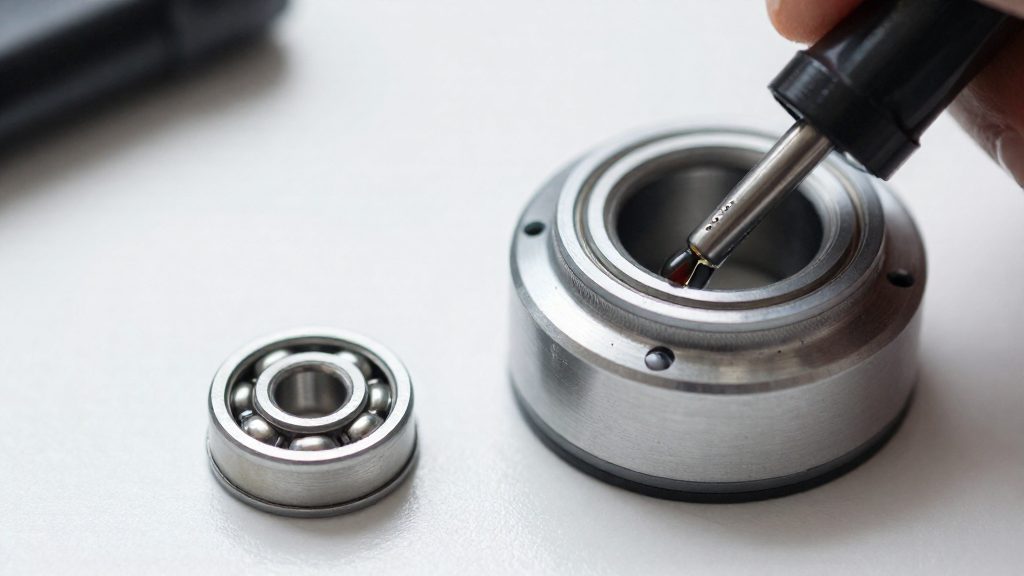
| Bearing form | Loose balls running between a cone and a cup | Self-contained sealed unit |
| Axle hardware | Cone and locknut on the axle | No loose cone and locknut at the hub ends |
| Service reference | Park Tool’s cup-and-cone hub overhaul guidance | Manufacturer’s instructions, checked first (BikeRadar) |
The difference is most obvious at the hub ends. A cup-and-cone hub shows the threaded cone and locknut on the axle, while a cartridge hub shows a smooth, sealed face with no cone to adjust.
Checking for exposed cups and a locknut
Look at both ends of the hub and the axle while the wheel is on a stand or in your hands. A locknut with a cone beneath it on each side means the hub is cup-and-cone. If you see only a sealed face with no locknut, the hub is probably a cartridge type, but confirm this with the manufacturer’s documentation before buying parts.
Reading hub markings and axle type
- Cartridge bearing markings: A five-digit catalog number identifies a cartridge bearing’s dimensions (Unior). Read it from the bearing or its packaging before ordering a replacement.
- Quick-release hollow axles: These take a skewer through a hollow axle. The axle ends must sit fully inside the dropouts when the wheel is refitted.
- Axle type: A solid axle with fixed nuts indicates a different mounting arrangement from a quick-release hollow axle, and affects which hub documentation applies.
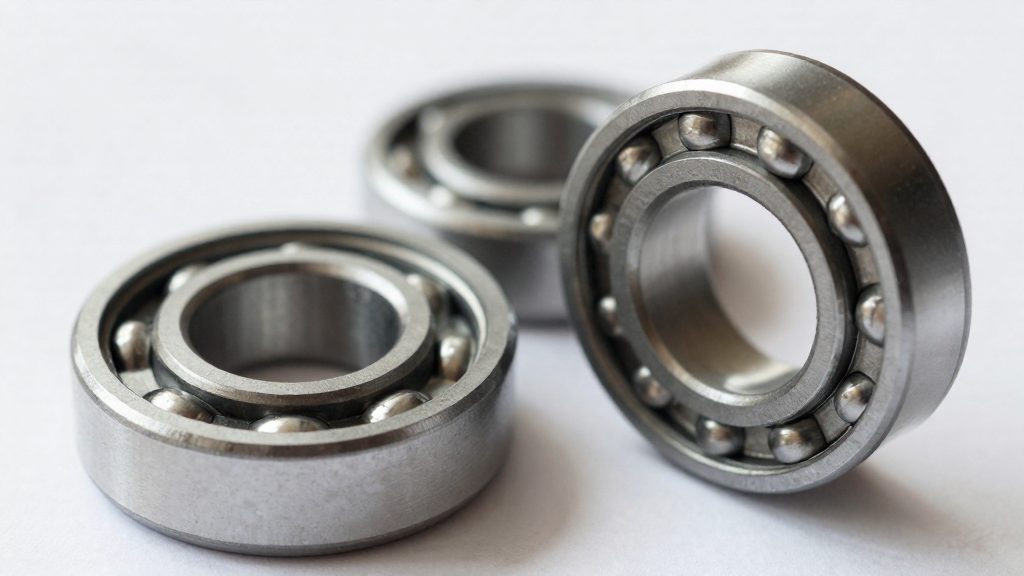
Tools and supplies you need
Loose-ball hub service needs a small set of items, and each one has a specific job. Use the right tool for each step, because the wrong substitute can damage the hub or leave the bearing adjustment inaccurate.
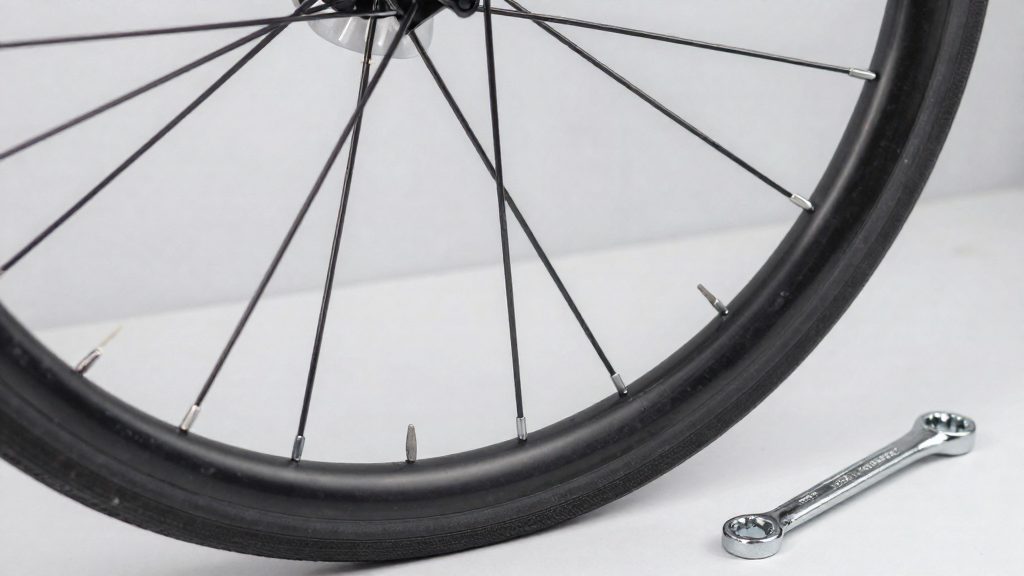
Cone wrenches are thin, open-ended wrenches used to hold the cone while you loosen the locknut. Choose a wrench that matches the flats on your axle and on the cone. The wrench should seat fully on the flats without slipping. An adjustable wrench rounds off the flats and makes it hard to hold the cone still, so it should not be used here. Measure the axle flats before buying, because hubs use different flat sizes, and a wrench that is one size too large will not grip. Keep the cone wrench on the cone while you turn the locknut so the adjustment does not move.
Grease protects the cups and balls and keeps the bearings running smoothly. Park Tool recommends its PPL-1 Polylube 1000 for cup-and-cone hubs, and it is a good reference product if you want a grease that matches the manufacturer’s recommendation. Any grease you choose should be suitable for bearing service, and you should avoid substituting a general-purpose grease from a different application.
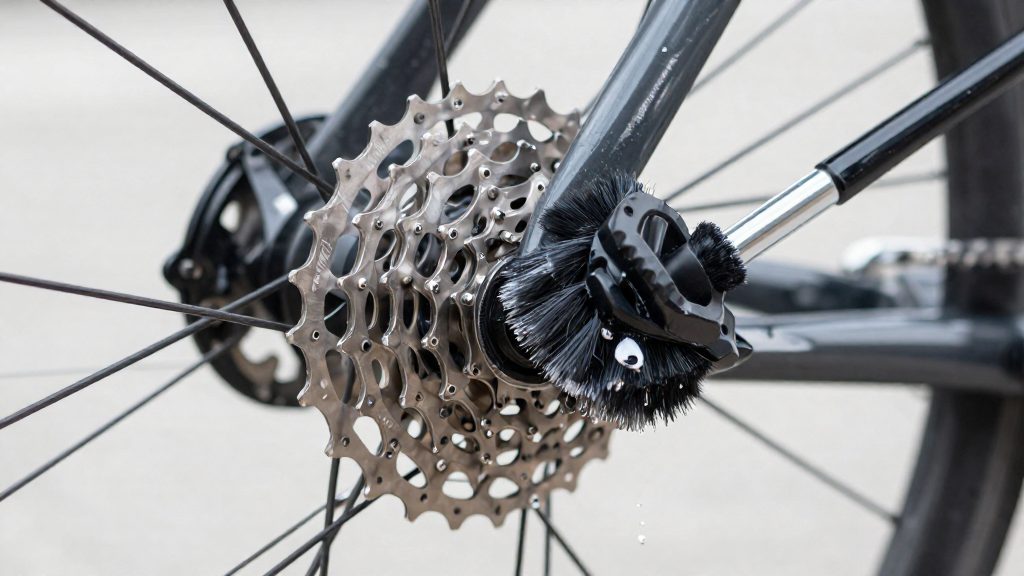
Degreaser removes old grease and grit from the cups, cones and balls before you inspect them for pitting. Use it on these bearing surfaces only. Once the parts are clean, rinse or wipe away the degreaser and make sure everything is fully dry before you add fresh grease.
| Tool or supply | Purpose | Key point |
|---|---|---|
| Cone wrench | Holds the cone during adjustment | Must fit the flats exactly |
| PPL-1 Polylube 1000 (Park Tool) | Lubricates cups and balls | Recommended by Park Tool for cup-and-cone hubs |
| Degreaser | Cleans cups, cones and balls | Applies to bearing surfaces, not the freehub |
| Clean rags | Wipe parts and remove degreaser | Use dry rags for final wiping |
How do you remove loose hub bearings?
Removing loose cup-and-cone bearings follows a fixed order: the wheel comes off the bike, the rear cassette or freewheel comes off, and only then is the axle disassembled. According to Park Tool, the wheel must be off the bike before the cassette or freewheel can be removed, and the skewer comes out with the wheel. Clearing the skewer first leaves the hub free to work on.
- Remove the wheel and skewer. Take the wheel out of the frame. The skewer comes out with it.
- Remove the cassette or freewheel. On a rear hub, do this before touching the axle, as described above.
- Hold the cone. Fit a cone wrench on the cone on the side you are working on, so the cone stays still.
- Loosen the locknut. Use a second wrench on the locknut while the cone is held. Remove the locknut and the washers, keeping them in the order they came off.
- Unscrew the cone. Turn the cone off the axle. Once the cone is off, withdraw the axle carefully and catch the bearings that fall from the cup.
- Count and retrieve. Count the bearings on each side. Remove any left in the cups with a pencil magnet, which lifts the steel balls without scratching the cup.
Park Tool’s reassembly specification gives the expected number of bearings per side, which serves as a check against your count:
| Hub position | Bearing size | Bearings per side |
|---|---|---|
| Rear hub | 1/4-inch | 9 |
| Front hub | 3/16-inch | 10 |
A count below these figures means bearings are still in the cups, or have dropped onto the floor or into the frame. Check both before you continue to the next step.
How do you clean, inspect and repack bearings?
Loose-ball cup-and-cone hubs depend on a fixed number of balls on each side, so the first task after removal is to count them. Park Tool specifies 9 bearings per side on rear hubs and 10 bearings per side on front hubs, in the sizes below. Keep the left and right sets separate while you clean them, and confirm both counts before reassembly. A missing ball means one is still in the hub or has been lost, and the set cannot be rebuilt correctly until that is resolved.
| Hub position | Ball diameter | Balls per side |
|---|---|---|
| Rear | 1/4 inch | 9 |
| Front | 3/16 inch | 10 |
Cleaning and inspecting for pitting
Wipe each ball, cup and cone clean and dry before inspecting them, because old grease and moisture hide surface damage. Look for pitting, which appears as small dull or rough spots on the bearing surfaces. Park Tool advises replacing any ball, cup or cone that is dull or pitted, and the replacement decision depends on which part is damaged:
| Component | Condition | Action |
|---|---|---|
| Ball bearings | Dull or pitted | Replace |
| Cup | Pitted or damaged | Usually a new hub is needed |
| Cone | Pitted or dull | Usually bought separately |
| Axle | Bent | Replace, since it cannot be straightened |
Because a damaged cup usually means replacing the whole hub, inspect the cups before deciding whether to buy cones alone. Cones are the more economical part to replace when only they show wear.
Repacking with heavy grease
Repack the bearings with a generous amount of grease. Park Tool recommends packing heavy grease packing into the cups and over the balls. Its own reference product is PPL-1 Polylube 1000, and you can use it as the benchmark when choosing a grease. Press a layer of grease into each cup, seat the balls into it, and cover them with more grease so they stay in position during reassembly.
Pack each side with its own counted balls, checking that every ball sits in the grease before you move to the next step. Once the balls are seated and the counts match the table above, the hub is ready for adjustment.
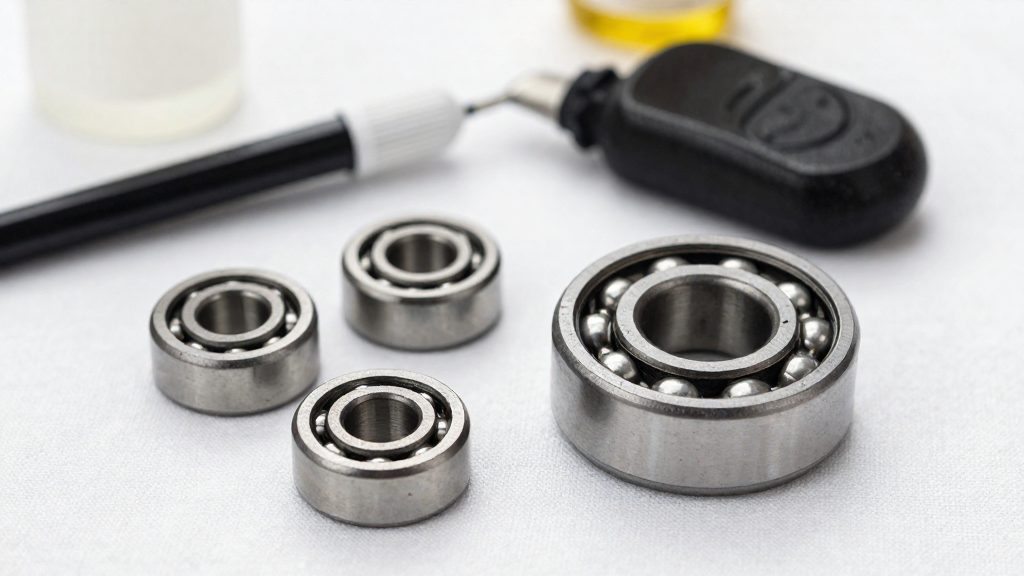
Adjusting cone preload without play
Cone preload is set by turning the adjustable cone until the bearings sit snugly with no side-to-side movement at the rim. Park Tool specifies that cup-and-cone bearings should be set to the loosest setting with no play. The target is the position where the wheel shows zero lateral movement while the cone is backed off as far as possible. Going tighter than that loads the balls and races without improving the bearing, and it makes the wheel harder to spin.
Each wheel has a designated side for the adjustment:
| Wheel | Side to adjust | Adjustment increment |
|---|---|---|
| Rear | Left side | About 1/32 turn |
| Front | Right side | About 1/32 turn |
Because the increment is so small, make one adjustment at a time and recheck after each step. A larger turn can move the cone past the play-free point, and you will only notice once the wheel is rocked again.
To check, hold the wheel by the hub and push the rim gently side to side. Any clearance you can feel at the rim means the cone needs a further small adjustment. Then spin the wheel. A correctly set hub rotates freely and slows gradually. A notchy, gritty, or abruptly stopping wheel at the play-free point signals a problem that adjustment will not solve, so the bearings should be inspected rather than tightened further.
Replacing sealed cartridge bearings
A sealed cartridge bearing is a complete unit: the inner race, outer race, balls and seals come as one part, so there are no loose cups or cones to handle. The bearing is set at the factory, so a cartridge hub has no cone adjustment step. Replacement means removing the old unit, fitting the new one squarely, and confirming that it runs freely.
Start by checking the manufacturer’s instructions for the specific hub, since installation details vary between models. Before fitting the new bearing, inspect its seals for cuts, flattening or trapped debris, then spin the bearing by hand. It should turn smoothly with no grinding, notchiness or side play. A bearing that feels rough before installation will not improve once it is seated, so replace it at this stage.
Removal is best done with a slide hammer and collets, which grip the bearing and pull it straight out. Driving the old bearing out with a support, a resin mallet or a hardwood block is the alternative. Support the hub shell so the force goes through the bearing being removed rather than through the hub flange or axle.
Fitting the new bearing requires a clean, dry bore. Apply only a light coat of grease to the housing, because too much can prevent the bearing from seating fully. Start the bearing square to the bore, then press it in by the outer race only, using a bearing press where possible. The drift should touch only the outer face of the bearing.
To seat squarely and fully, push steadily until the bearing bottoms out against the shoulder of the bore. Check that its outer face sits flush and level with no tilt. A bearing that sits at an angle or stands proud of the shell has not been seated correctly and should be pressed in again, not forced.
After seating, spin the wheel’s axle assembly to confirm free rotation, then refit the axle, spacers and wheel. The bearing is ready for use when the hub turns without resistance and shows no lateral movement.
When should you service wheel bearings in Canada?
Service timing for wheel bearings depends more on how the bike has been exposed than on the calendar. Winter road salt, slush and wet riding all reach the hub over time, so the trigger for an inspection is the exposure and the symptoms, not a fixed date. Check the bearings after a season of salted or wet roads, and sooner if the bike is ridden regularly through slush or puddles.
Seasonal timing
- After winter: Inspect the hubs once the bike is clean and dry, before the first long rides of spring.
- Before winter: Check the bearings before the bike is stored or used on salted roads, so any damage is found while it is still easy to address.
- During winter: Clean the wheels and hubs after salty or wet rides. Bearing contamination builds up in the same places each time, so regular rinsing matters more than a single deep service.
Grease stiffening in sub-zero weather
Grease thickens as temperatures fall, so a hub that spins freely in autumn can feel notchy on a cold morning. Stiffness that eases once the bearings warm up may be caused by thickened grease, but it can also hide wear. Still check for roughness, notchiness or side play at room temperature. Stiffness that persists after warming, or that comes with noise, should be inspected.
Warning signs
| Symptom | Likely cause | Check |
|---|---|---|
| Grinding when the wheel spins | Contamination or damaged races | Inspect cups and cones for pitting. Replace dull or pitted bearings (Park Tool) |
| Roughness or catching | Dry or worn bearings | Spin the wheel off the bike and feel for a catch or uneven resistance |
| Side-to-side play | Loose cones or worn bearings | Re-check cone adjustment (Park Tool) |
Frequently asked questions
Can I drive out a stuck cartridge bearing with a regular metal hammer?
No. A metal hammer can crack the bearing seat or damage the hub, so use a slide hammer with collets to pull the bearing. A resin mallet or hardwood block, with the hub properly supported, is a fallback only.
Why does my hub feel fine on the bench but bind once the wheel is in the frame?
Closing a quick-release skewer compresses the hollow axle, which can tighten a cup-and-cone adjustment that felt correct on the bench. Recheck the adjustment with the wheel clamped in the frame, and set it again if the hub binds.
Can I clean a freehub by soaking it in solvent?
No. Solvent removes the internal lubrication that a freehub needs to work. Wipe the body with a damp rag instead, and make sure every part is fully dry before reassembly.