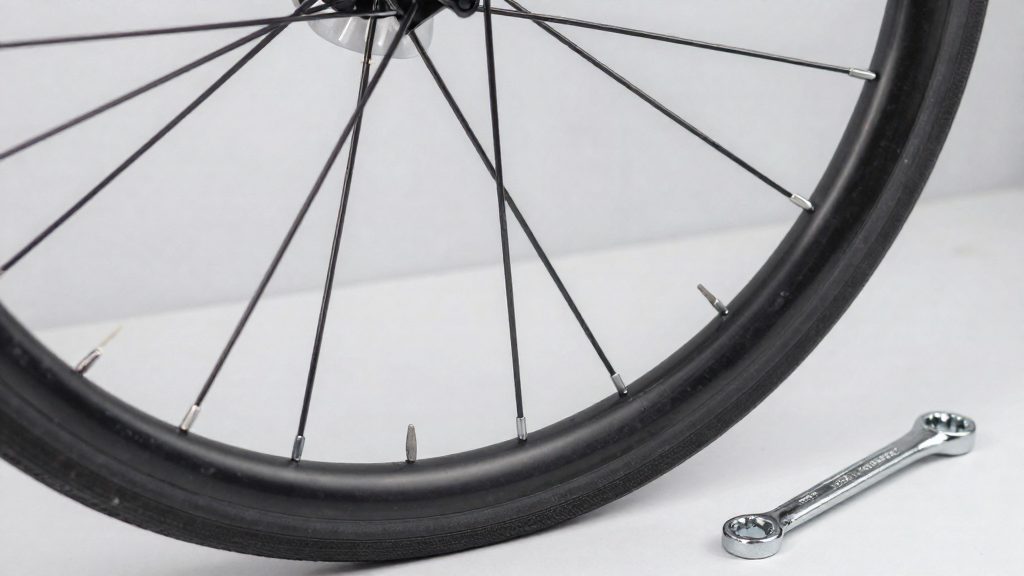
A wheel with one broken spoke can usually be ridden gently for a short distance, but it is not a safe long-term state. The broken spoke no longer carries its share of the load, so the neighbouring spokes work harder and the rim can move out of true. Whether to keep riding depends on what the wheel does when it turns.
Is a broken spoke safe to ride on?
Wheel wobble and rim contact risk
A missing spoke leaves a gap in the wheel’s tension, so the rim can shift sideways or out of round. Lateral movement appears as wobble, and the rim may rub a brake pad, the frame or a fork leg. Rim contact is the most immediate hazard, because it can slow the wheel abruptly or damage the tyre.
Load transfer to neighbouring spokes
Every spoke carries part of the load between hub and rim. When one breaks, the spokes adjacent to the gap take on more stress, and they are the most likely to loosen or fail next. Inspect those neighbours at the nipples and spoke elbows before deciding to ride. A break that appears without a clear cause, such as a crash or impact, often indicates that the remaining spokes are already loose.
Ride-home decision after a spoke fails
Use the wheel’s behaviour to decide whether to ride:
| Observation | Action |
|---|---|
| Wheel spins true, no rubbing, neighbouring spokes firm | Ride gently to a repair point |
| Visible wobble or rim touching brake, frame or fork | Stop and walk or transport the bike |
| Spoke broke at or near the nipple, rim strip or tyre damaged | Repair before riding |
If you ride home, keep speed low, brake early and avoid potholes, curbs and rough surfaces, since these put sudden loads on the weakened wheel.
Tools and parts you need
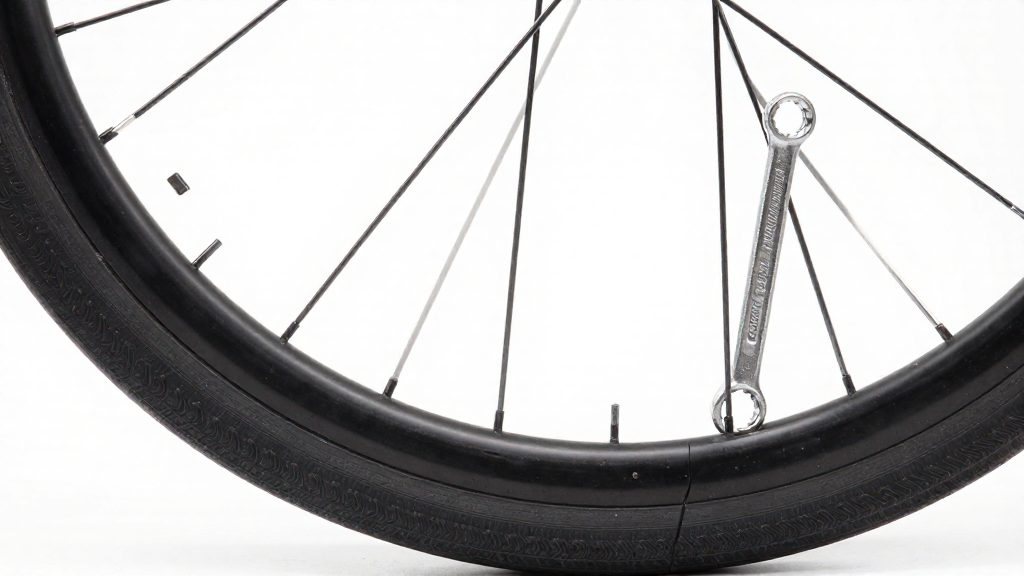
Start with a dedicated spoke key, a replacement spoke, and a nipple if the old one is damaged. The spoke key should fit the nipple properly. road.cc recommends it over the spoke key built into a multi-tool, so use a dedicated key for this job.
| Item | Role in the repair | Key requirement |
|---|---|---|
| Dedicated spoke key | Turns the nipple to set tension | Use it instead of the multi-tool spoke key (road.cc) |
| Replacement spoke | Replaces the broken spoke | Same length as the original spoke |
| New nipple | Replaces a damaged nipple | Fit only when the old one is damaged (BikeRadar) |
| Spoke tension meter | Gives a numeric tension reading for the new spoke | Optional |
| T25 Torx key | Removes six-bolt disc rotors | Needed only on disc-brake wheels (BikeRadar) |
Spoke length is the parameter most likely to cause a failed repair, so the replacement must match the length the old spoke required.
A spoke tension meter is optional and turns a judgement made by feel into a numeric reading. Read the meter’s instructions for its reading scale before you start.
How do you find the right spoke length?
Spoke length determines whether the new spoke seats in the hub flange and reaches the nipple in the rim, so the measurement has to match the spoke it replaces. Measure from the elbow (the bend at the hub end) to the threaded end, following the original spoke’s path. Measure the broken spoke if enough of it remains, or measure an unbroken spoke in the same position on the same wheel. Keep the measurement and the spoke’s rough side (drive or non-drive, for a rear wheel) in mind, because the replacement has to go back in the same position.
Spokes are sold in 2 mm length increments, so you can’t buy a length between two sizes. Choose the size closest to your measurement, and check it against the intact spoke before lacing. Laying the new spoke beside the original shows a mismatch before it’s threaded into the hub and rim.
| Length fit | Effect on the wheel |
|---|---|
| Too short | The spoke won’t seat properly in the hub flange or nipple |
| Correct (matches the original) | Seats in the flange and threads into the nipple as the neighbouring spokes do |
| Too long | The nipple can bottom out, and the spoke end can poke through the rim tape |
A spoke that is too short can’t be fixed by tightening the nipple, since the thread never engages enough to hold tension. A spoke that is too long is more likely to cause problems at the rim than at the hub.
Removing the cassette, rotor and tire
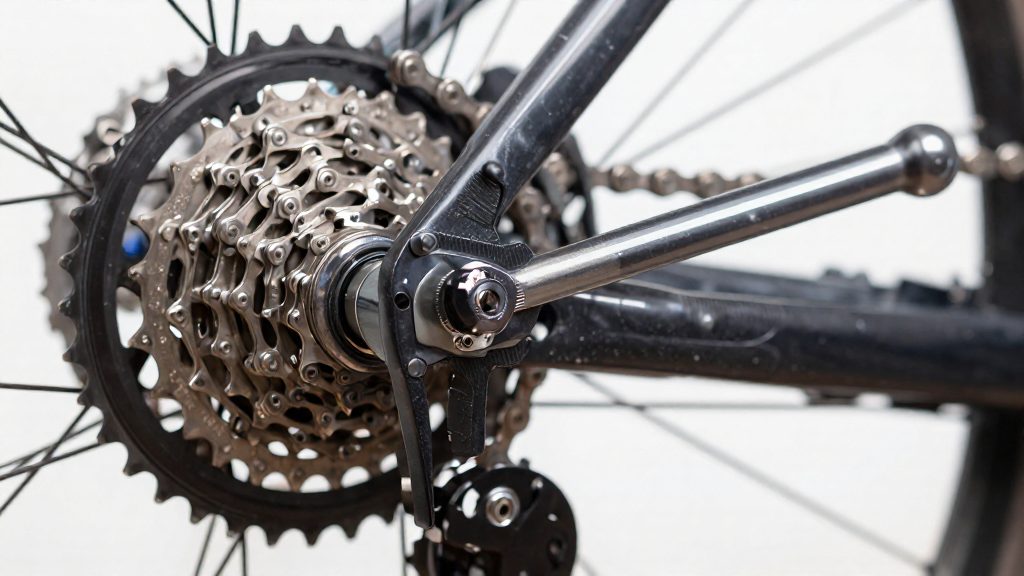
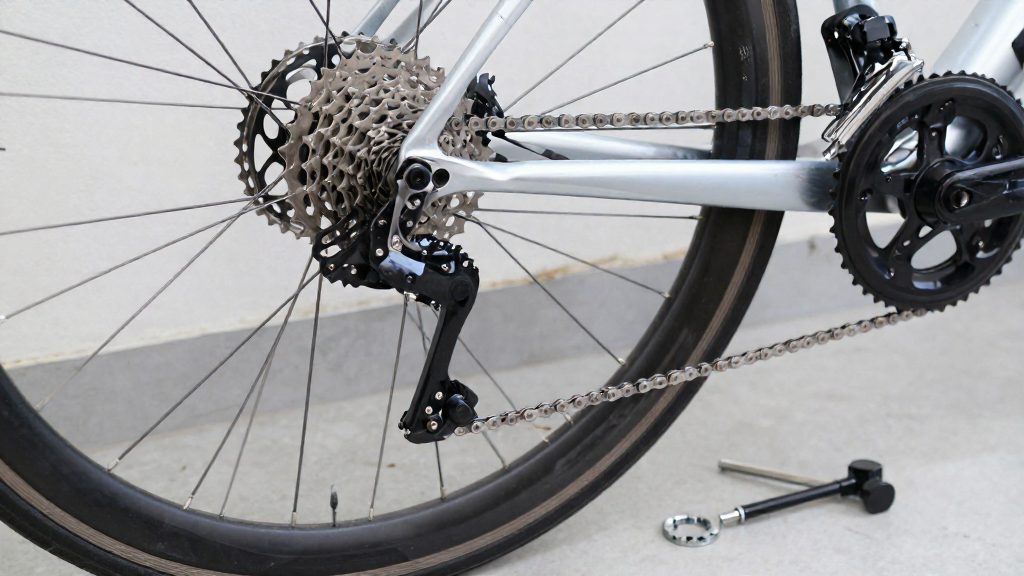
Only the rear wheel normally needs its cassette removed. Front wheels skip this step. On a rear wheel, unscrew the cassette’s lockring with a lockring tool while a chain whip holds the cassette still. Work slowly, because the cassette can rotate under the force on the lockring and the chain whip keeps it from spinning.
Disc-brake wheels need the rotor removed to reach the rim and nipples, and the method depends on the rotor type:
- Six-bolt rotors: remove the bolts with a T25 Torx key.
- Centre-lock rotors: remove the lockring first, then lift the rotor off the hub.
Once the rotor is off, you can reach the rim. Take the wheel, tyre, inner tube and rim tape off to access the nipples, unless the rim is a sealed tubeless design. The tyre removal is the part that determines how much work the repair takes, so decide before you start whether the nipple is still usable.
| Situation | Action |
|---|---|
| Nipple intact and enough spoke remains | Replace the spoke without removing the nipple. This is quicker but is not the best long-term fix. |
| Spoke broke in or near the nipple | Remove the tyre and rim strip, then fit a new nipple. |
Choose the nipple-removal route whenever the break is at or close to the nipple, because a spoke that snaps there leaves nothing to grip. When the spoke is intact at the nipple, you unscrew the broken spoke and leave the nipple in place.
After removing the broken spoke from the nipple, check the nipple flats for wear. Worn flats make a spoke key slip and round the nipple, which makes the next tensioning step harder. Then push the other broken end of the spoke out of the hub flange, leaving the wheel ready for the new spoke.
Lacing and tightening the new spoke
Before the old spoke comes out, record its route. Note which side of the hub flange it enters and whether it passes over or under each spoke it crosses. BikeRadar advises lacing the new spoke the same way, so this record is the template for the replacement.
| Observation | What to record | Why it matters |
|---|---|---|
| Flange side | Whether the spoke enters the inner or outer flange | Sets the spoke’s starting point on the hub |
| Crossing pattern | Whether it crosses over or under each neighbouring spoke | Sets the route through the spoke pattern |
| Third crossed spoke | Which spoke it passes on its way to the rim | Shows where the bend is needed |
Thread the new spoke through the flange hole on the recorded side, then follow the original crossing pattern. Where the spoke overlaps the third spoke it crosses, bend it slightly so it clears that spoke. Make only a slight bend, since the goal is clearance, not a sharp kink.
Straight-pull spokes are the exception. Some are designed not to overlap, so they should not be bent to clear a third spoke. Check the spoke type before bending anything.
Thread the nipple onto the spoke by hand until it is snug. Then tighten it with the spoke key. Turn the nipple until the new spoke’s tension matches the neighbouring spokes. Because the spoke must match its neighbours, do not tighten one spoke far beyond the rest.
How do you true the wheel at home?
Without a truing stand, you can check runout against fixed points on the frame. Clamp two zip ties to the seat stays or fork leg at rim level, one aimed at the sidewall (lateral guide) and one aimed at the rim edge (radial guide), so each tip sits just clear of the rim. Spin the wheel slowly and watch the gap between the rim and each tip. The lateral guide (the tie aimed at the sidewall) shows side-to-side wobble. The radial guide (the tie aimed at the rim edge) shows up-and-down movement, often called hop.
Work through the wheel in a fixed order:
- Set the guides. Position both ties so the gap is small but the tip never touches the rim during rotation. Keep each gap consistent while you work.
- Find the largest deviation. Mark the spot with a piece of tape. Then work through the deviations in the order below, lateral first and radial second, starting with the largest one in each.
- Correct lateral runout first. If the rim swings toward the lateral tie, tighten the nipples on the opposite flange, which pulls the rim away from the tie. Loosen the nipples on the near side if the rim needs to move further away from the guide.
- Correct radial runout second. At a high spot, where the rim rises toward the radial tie, tighten the nipples on the spokes in that section to pull the rim toward the hub. Balance the change with a small adjustment on the opposite side so overall tension stays even.
- Recheck after every move. Spin the wheel, confirm the change, and only then continue.
Adjust nipples in quarter-turn increments. Larger moves overshoot and create a new error in the opposite direction. Turn each nipple a quarter turn, spin the wheel, and compare the gap before moving the next nipple.
| Symptom | Guide that shows it | Nipple action |
|---|---|---|
| Rim swings toward the lateral tie | Lateral | Tighten the spokes on the opposite flange |
| Rim swings away from the lateral tie | Lateral | Tighten the spokes on the near flange |
| High spot touches the radial tie | Radial | Tighten the spokes in that section |
| Low spot drops away from the radial tie | Radial | Loosen the spokes in that section |
Keep the rim tape and tyre off while you work so you can see each nipple clearly, and check that every spoke still seats fully in its nipple as you go.
When to see a bike shop
Home repair suits a single broken spoke, with a new nipple if the old one is damaged, on a wheel that is otherwise sound. Some conditions go beyond that scope, and a professional wheelbuilder is the better option when the damage affects the rim or hub, or when the wheel as a whole is wearing out.
| Scenario | Typical sign | Why a shop is needed |
|---|---|---|
| Cracked rim | A visible crack in the rim wall or around a spoke hole | A spoke swap cannot repair rim damage, so the rim must be assessed for reuse or replacement |
| Damaged hub flange or bent rim | The wheel will not true, or the rim wobbles in a way that adjustment does not resolve | Distortion in the flange or rim changes how the spokes load the wheel, which needs a full inspection |
| Repeated spoke breakage | Several spokes break in the same zone of the wheel | Breaks that keep recurring point to fatigue across the whole wheel, not one bad spoke |
| Tension beyond home tools | The wheel cannot be brought true with a spoke key and visual guides | Even, correct tension across all spokes requires equipment and experience that a home setup lacks |
The first two scenarios involve parts that home methods cannot correct. A cracked rim or a deformed flange is a structural fault, and replacing spokes around it leaves the root cause in place. A wheelbuilder can determine whether the rim is reusable and whether the hub is still serviceable.
Repeated breakage is a different signal. When spokes fail one after another, the remaining spokes are likely carrying loads they were not built for. Replacing them one at a time at home treats the symptom. A shop can re-lace the wheel, check tension across all spokes and assess the rim and hub together.
Frequently asked questions
Can I ride home on a wheel with a broken spoke?
Only if the wheel spins without rubbing the brake, frame or fork and you keep your speed low. If the rim touches anything or the wobble is visible, stop and transport the bike, because a rubbing rim can lock the wheel suddenly.
Do I have to remove the cassette or the rotor to replace a spoke?
On a rear wheel, the cassette normally comes off first, using a lockring tool with a chain whip to hold it. Front wheels skip this step. On disc-brake wheels, six-bolt rotors come off with a T25 Torx key, while centre-lock rotors need their lockring removed first.
How do I know which length of spoke to buy?
Spokes are sold in 2 mm length steps, so measure the old spoke or compare it against the spoke chart for your wheel. A spoke that is too short will not seat fully in the nipple, while one that is too long can bottom out the nipple or push its end through the rim tape.