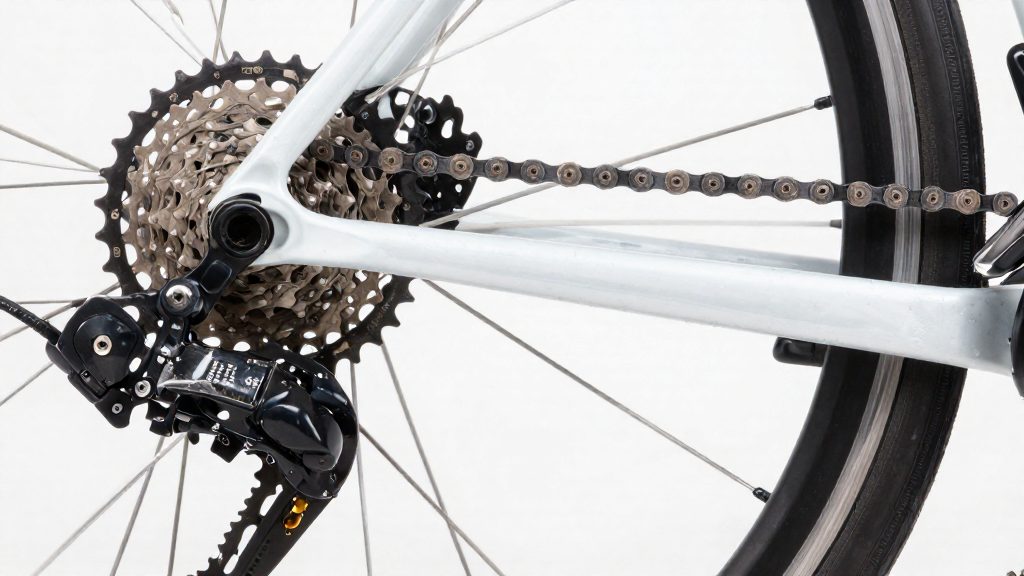
Under pedalling load, the chain is pulled tight between the chainring and the cog, and the teeth must carry the full drive force while the chain moves sideways to a new cog. When that transfer is incomplete, the chain can jump over a tooth instead of seating on it. Separately, Park Tool (2026) notes that wrong indexing can make the chain skip a gear, fail to reach the next cog, or rub on an adjacent cog. A fault that causes no problem with the bike stationary often appears as soon as you apply pressure to the pedals.
Why does a bike shift or skip under load?
When you push hard on the pedals, the chain is loaded against the teeth on one side. A shift requires the chain to ride up onto a neighbouring cog while still transmitting torque. Under load, the chain can only be guided into the new cog if the derailleur is positioned precisely over it. A small offset that goes unnoticed on an idle bike is enough to prevent clean engagement once the drivetrain is working.
Idle shifting hides these faults because, with no tension on the chain, it moves freely and seats even when the setup is slightly off. Under load, the same offset becomes visible as a jump or a delayed shift. Shifting at a standstill therefore gives a misleading picture of how the drivetrain behaves on the road.
Skipping versus slipping
Both faults make the drive lose contact with the cog, but they feel and sound different:
| Symptom | Skipping | Slipping |
|---|---|---|
| Chain behaviour | Jumps over one or more teeth and drops into a gap or onto the wrong tooth | Stays on the teeth but climbs partly or ratchets, losing engagement |
| Pedal feel | Sudden jolt or brief dead spot as the pedals run free | Repeated loss and recovery of drive, often on hard pedalling |
| Common trigger | Mis-indexed shift or a cog the chain does not reach (Park Tool, 2026) | Worn teeth or a chain pulling over the cog under high torque |
Skipping in one specific gear often points to the position of the derailleur relative to that cog, but skipping under load that persists after adjustment can also come from a worn chain or cassette, so check chain wear too. Slipping tends to occur across several gears and is more often linked to the condition of the teeth themselves.
Is your chain worn out?
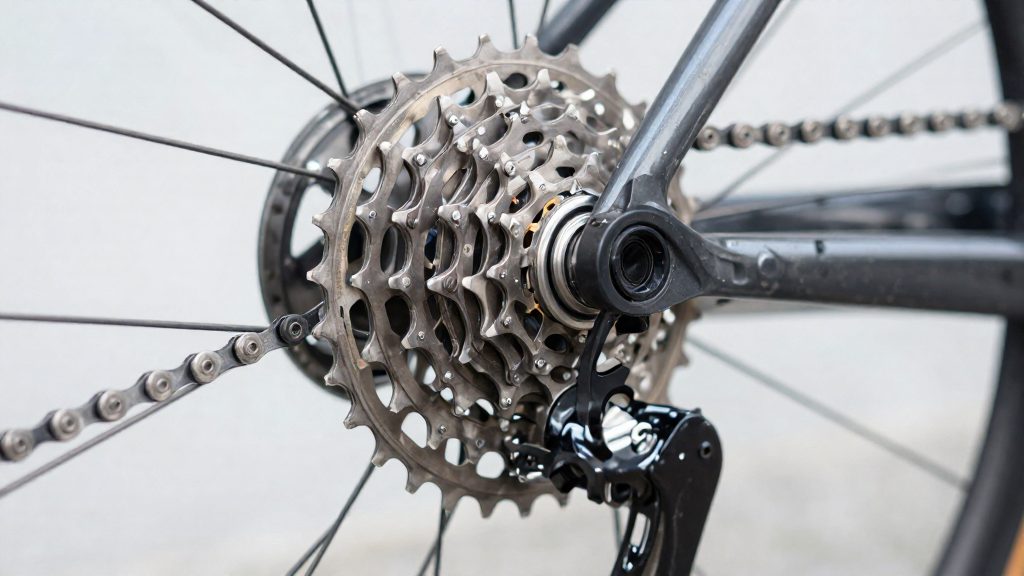
A chain stretches as its pins and rollers wear, which lengthens the chain between pins. Park Tool (2026) states that a worn chain causes poor shifting and can wear out other drivetrain components, which leads to more expensive repairs. Because the damage builds gradually, riders often notice the symptoms before they have a clear cause in mind.
The table below lists the most common signs and where they show up.
| Symptom | What it suggests | Where to observe |
|---|---|---|
| Chain skips on the cassette under pedalling load | Rollers no longer seat cleanly between the cassette teeth | Rear, in the largest-torque gears |
| Chain drops off the chainring when shifting or under load | Chain length is no longer matched to the chainring pitch | Front, when changing chainrings |
| Slow or hesitant front shifts | The chain resists lateral movement between rings | Front, during the shift |
| Clicking or rattling while pedalling | Loose rollers or dry, dirty links | Chain and drivetrain, at steady cadence |
| Pulsing or rough feel through the pedals | Uneven engagement as the chain rides over the teeth | Pedals and crank, under load |
The clicking and rattling noise often improves after cleaning and lubricating the chain, which points to dirt or dryness, not elongation. Pulsing through the pedals and skipping under load are harder to correct with lubrication alone and usually indicate that the chain no longer fits the sprockets.
Stretch accelerates damage because an elongated chain no longer meshes evenly with the cassette and chainring. The load concentrates on fewer teeth, so wear shifts onto those sprockets. This is why a worn chain, if left in service, tends to shorten the life of the cassette and chainring as well.
How do you check chain wear at home?
A chain wear gauge is the simplest home tool for measuring how far a chain has elongated. Park Tool recommends replacing a chain at or just before a fixed wear percentage, and that percentage depends on how many speeds the drivetrain has (Park Tool, 2026).
| Chain type | Replace at or just before |
|---|---|
| Single-speed | 1.0% wear |
| 5- to 10-speed | 0.75% wear |
| 11- to 13-speed | 0.5% wear |
Because the limit drops as the number of speeds rises, a chain that is acceptable on a single-speed bike may already be due for replacement on a 12-speed drivetrain. Always check the speed count printed on your cassette or chain packaging before choosing the limit.
Step-by-step method
- Choose a gauge rated for your chain type. Read the gauge’s label or instructions to confirm which chain speeds it supports, and use only the wear limit that matches your chain.
- Hold the chain under light tension. Shift the chain onto a mid-range cog or hang it so it lies straight. Avoid bending it while measuring.
- Seat the gauge pins between the rollers. Insert the gauge across several links so the reading reflects the average stretch of that section, not a single pin gap. Do not force the gauge; if it does not seat, the chain is likely already beyond the reading range or the gauge is the wrong type.
- Read the scale. Note the percentage shown where the gauge indicates wear.
- Measure at several points. Wear is not uniform along a chain. Move the gauge to at least three separate positions around the chain, rotating it between readings, and record each result.
- Compare the highest reading to the limit. If any reading meets or exceeds the value for your speed count, replace the chain. Park Tool also advises checking the drivetrain manufacturer’s own recommendations, which can differ from the general limits.
Cassette and chainring wear
A stretched chain changes the teeth it runs on. As the pitch lengthens, each roller seats deeper into the cassette and chainring, and the teeth gradually take on a characteristic shape. Reading the wear on the teeth is a way to judge how far that damage has spread.
Shark-fin profile on cassette cogs is the most common sign on the rear cassette. The tooth tips become thin and pointed, and the trailing face ramps up into a fin-like outline. Inspect the cogs you use most, since they carry the most chain contact.
Hooked chainring teeth appear when the tooth tips bend forward into a hook. The chain can then catch on the hook, hang up, or drop, particularly under load. This is most visible on the largest chainring, which the chain wraps around for the most time.
Sharpening signs on the chainring show as narrow, pointed tips with sharp shoulders where the tooth should be rounded. A new chainring has evenly shaped, rounded-tipped teeth, so the difference is easy to spot by comparing the tooth outline with a visibly unworn ring.
| Component | Wear sign | What to look for |
|---|---|---|
| Cassette cog | Shark-fin profile | Pointed tooth tips with a ramped trailing face |
| Chainring tooth | Hooked tip | Tip bent forward into a hook |
| Chainring tooth | Sharpened profile | Narrow, pointed tips and sharp shoulders |
Wear on the cassette and chainring tends to be uneven. Teeth that carry the most load, usually the middle gears and the largest chainring, show the damage first. Check each cog and tooth individually rather than judging the whole drivetrain from one tooth.
Check the derailleur hanger and cable tension
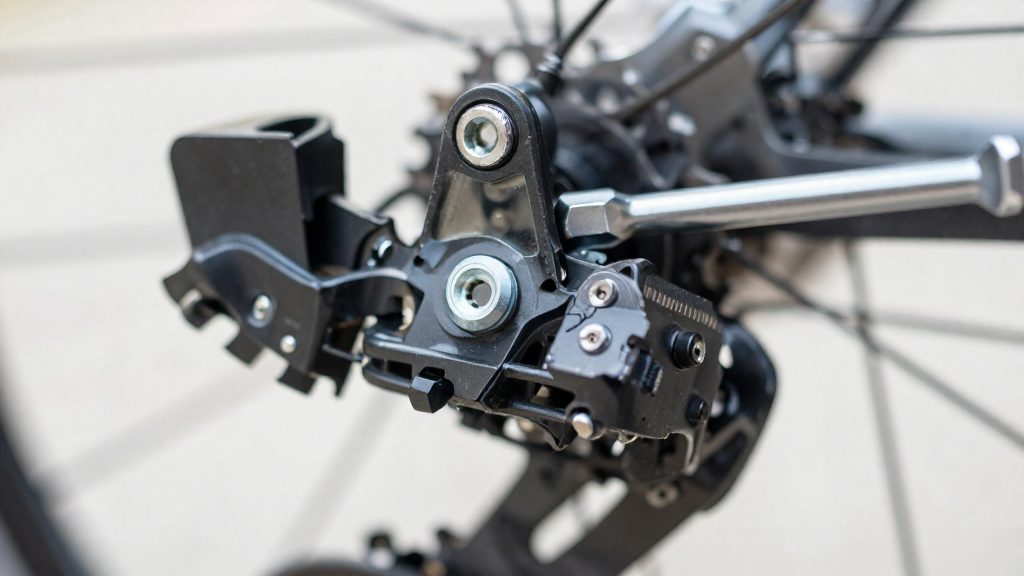
Check the derailleur hanger before touching cable tension. Park Tool (2026) lists a bent derailleur hanger as one of four common causes of poor shifting, alongside wrong cable tension, wrongly set limit screws and bad indexing, and advises checking the hanger first because adjustments will not work while it is bent. The hanger is the tab that bolts the rear derailleur to the frame. A small bend shifts the derailleur’s position relative to the cassette, so the cable and the other adjusters can no longer place the chain correctly on every cog.
Hanger alignment is checked with a hanger alignment gauge threaded into the derailleur mounting point, with the rear wheel in place. The gauge is read against the rim at several positions:
| Step | Action | Result to look for |
|---|---|---|
| 1 | Fit the gauge into the derailleur mounting point on the hanger | Gauge sits flush and does not rock |
| 2 | Swing the gauge around the wheel and compare its tip to the rim at several points | Gap to the rim stays constant |
| 3 | Turn the gauge over and repeat on the other side | Same contact on both sides |
| 4 | If one side shows a gap, the hanger is bent | Straighten with a hanger alignment tool, or replace the hanger |
If the hanger is bent, straighten it before any cable work. Once it is straight, the derailleur sits in the correct position and cable tension can be set reliably.
Cable stretch and housing compression change tension over time. A new cable stretches under load, and the outer housing compresses slightly at its ends, so the tension set on the first ride drifts. Set tension after the drivetrain has been ridden for a while rather than once at the workbench. To set it, shift the chain onto the smallest cog, remove the slack from the cable at the anchor bolt, and tighten the pinch bolt. Then fine-tune with the barrel adjuster.
Checking the hanger first also prevents a common mistake: repeated cable adjustments that seem to help for a few rides but never resolve the underlying misalignment.
Limit screws and indexing basics
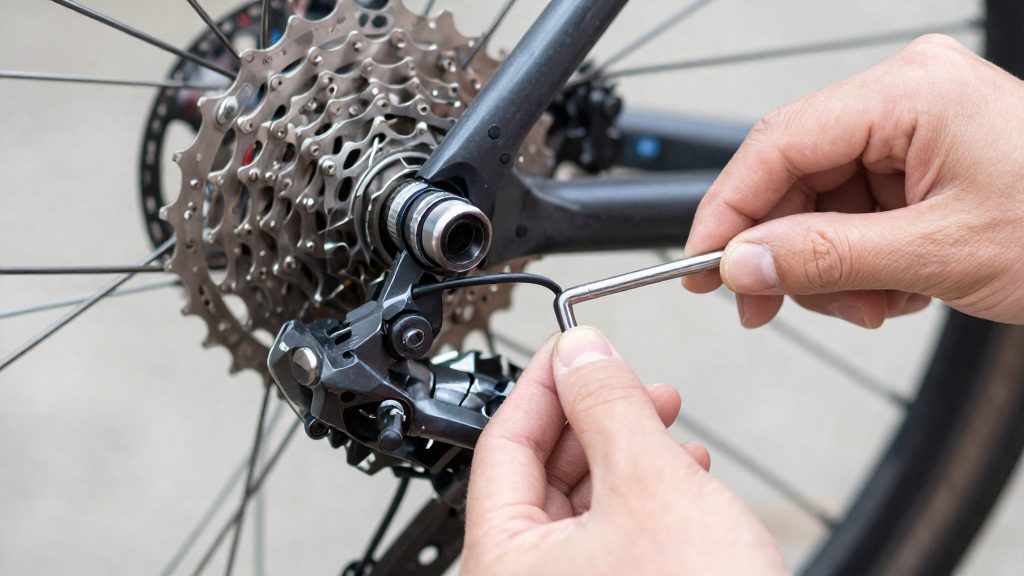
The limit screws and the barrel adjuster are the fine-tuning controls on a rear derailleur. Park Tool lists wrongly set limit screws and bad indexing among the four common causes of poor shifting (Park Tool, 2026). The limit screws define the outer travel of the derailleur cage, and the barrel adjuster sets where the chain lands on each cog.
High and low limit screw setting
The two screws are marked H (high) and L (low). The H screw stops the cage from moving outward past the smallest cog, which is the cog farthest from the spokes. The L screw stops it from moving inward past the largest cog, which is closest to the spokes, so the chain cannot fall into the spokes.
- Shift the chain onto the smallest rear cog.
- Turn the H screw until the upper pulley lines up directly beneath that cog, then stop before the cage overshoots outward past the smallest cog.
- Shift onto the largest rear cog and adjust the L screw so the upper pulley lines up beneath it without letting the chain drop inward toward the spokes.
- Shift by hand through the full range to confirm the cage stops cleanly at both ends.
If the chain climbs off the smallest cog or drops off the largest, the relevant limit screw is not restricting travel enough.
Barrel adjuster turns for indexing and shift timing
Indexing is the alignment of the derailleur’s position with each cog, and the barrel adjuster is the small threaded fitting on the derailleur or shifter cable housing that tunes it. Park Tool states that wrong indexing can make the chain skip a gear, fail to reach the next cog, or rub on an adjacent cog, and that small barrel adjuster turns often fix slow shifts (Park Tool, 2026).
| Symptom | Likely fault | Corrective action |
|---|---|---|
| Chain skips a gear | Indexing | Small barrel adjuster turns |
| Chain fails to reach the next cog | Indexing | Small barrel adjuster turns |
| Chain rubs on an adjacent cog | Indexing | Small barrel adjuster turns |
| Shift is slow to engage | Shift timing | Small barrel adjuster turns |
Make one small turn at a time and test after each adjustment. Large turns can move the chain past the correct cog and create a new fault.
Ghost shifting and rubbing diagnosis
Ghost shifting is when the chain moves to another cog without any input from the shifter. It can come from cable tension, cable friction, indexing or limit screw faults, or a bent hanger, so check those before blaming the chain.
- Rubbing in one specific gear suggests indexing. Use the barrel adjuster in small steps and check that gear again.
- Rubbing in one gear that shifts cleanly in the others suggests the cage is not aligned with that cog.
- A chain that drops inward toward the spokes points to the L screw, and one that overshoots outward past the smallest cog points to the H screw.
Rule out other causes before adjusting the screws, because limit and indexing settings cannot be trusted while a fault outside this section is present.
When should you replace the chain and cassette together?
Replacing the chain-only is usually enough when the cassette has not worn with the old chain. Pairing the chain with a new cassette becomes worthwhile when the chain has been run long past its service life, because the cassette cogs will have taken on the shape of the stretched chain. The cassette is the component most exposed to this wear, since its cogs engage the chain on every pedal stroke.
The decision depends on how the old chain was used:
| Situation | Recommended action | Reason |
|---|---|---|
| Chain worn, cassette fitted recently or barely used with the old chain | Replace the chain only | The cogs have little wear to absorb |
| Chain worn, cassette has run through several chain changes | Replace the chain and cassette | The cogs have worn to the old chain’s profile |
| Chain and cassette speed counts do not match | Order both to the same speed count | A chain only engages correctly with a cassette of the same speed range |
Speed compatibility is the main technical constraint. Park Tool groups chains into single-speed, 5- to 10-speed and 11- to 13-speed categories (2026), and the new chain must match the speed count of the cassette it runs on. Check the speed marking on the old chain’s packaging and on the cassette before ordering.
Paired replacement also changes the cost picture. Compare current retailer prices for a chain and a cassette of your speed count before deciding. The cassette is usually the larger outlay, so the question is whether the cost of a second component failure justifies it.
Seasonal checks for Canadian riders
Canadian winters combine road salt, slush and repeated freeze-thaw cycles, and each attacks the drivetrain differently. The routine below covers a pre-winter clean and storage, a post-winter inspection, and a lubricant choice matched to wet, cold riding.
Pre-winter cleaning and storage
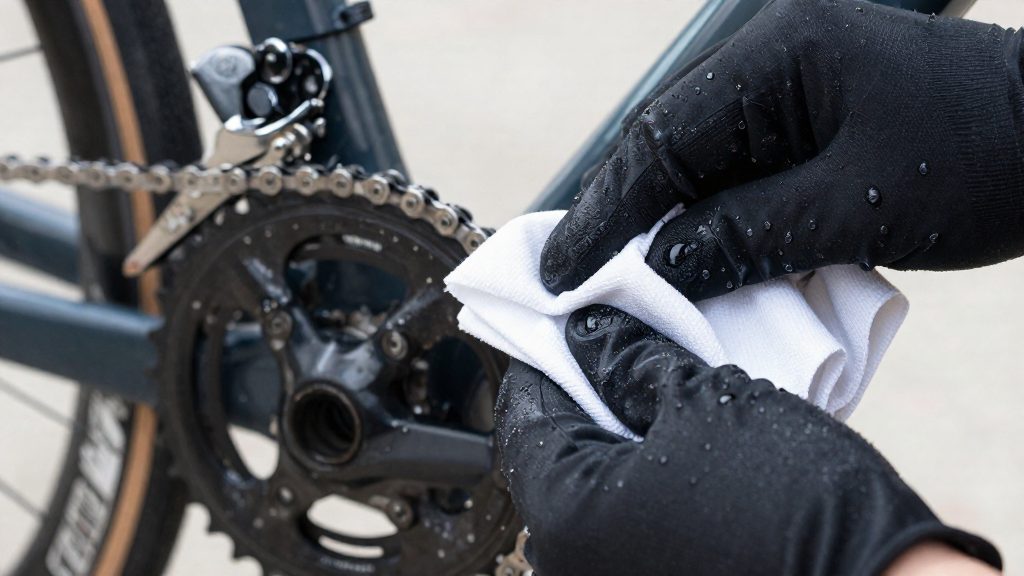
Clean the drivetrain before the first salted ride, not after the last one. Remove grit from the chain, cassette, chainrings and derailleur pulleys with a degreaser and a stiff brush. Rinse only as far as the manufacturer’s care guidance allows, then dry every surface completely. Water trapped between chain plates and rollers promotes rust, so wipe the chain by hand and run it through a clean rag until no dark residue appears. Apply lubricant once the parts are dry, then wipe off the excess, because surplus oil collects grit. Store the bike indoors, in a dry place, and avoid unheated spaces where condensation forms.
Post-winter inspection after salt exposure
Salt residue is corrosive and settles into the chain, cassette and derailleur pivots, so inspect as soon as the salted riding ends. Wash the drivetrain with warm soapy water, dry it, and check the chain plates, cassette cogs and chainring teeth for surface rust. Light surface rust can be removed with a rag and fine abrasive. Pitting or flaking on a chain or cassette calls for replacement rather than cleaning. Also check that the derailleur pivots move freely and that the chain runs smoothly across every cog.
Lubricant choice for cold and wet conditions
Lubricants fall into two broad families, and the choice depends on the riding conditions:
| Lubricant type | Best suited to | Behaviour in the field |
|---|---|---|
| Wet lube | Slush, road spray and salt | Forms a thicker film that resists washing off, but attracts more grit |
| Dry lube | Dry, dusty conditions | Forms a thinner film that sheds grit, but washes off quickly in rain |
Wet lube is the more practical choice for Canadian winter commuting, where spray and salt are frequent. Dry lube suits a bike used mainly in dry weather. Reapply after each salted ride, and check the product label for its stated temperature and wet-weather use before buying.
Frequently asked questions
Why does my chain skip in only one gear when the others shift fine?
Skipping confined to one gear usually traces back to indexing, the fine alignment of the rear derailleur over each cog. If adjustment does not clear it, a worn chain can also cause poor shifting, so check wear against Park Tool’s replacement limits of 0.75% for 5- to 10-speed chains and 0.5% for 11- to 13-speed chains (Park Tool, 2026).
Should I check the derailleur hanger before adjusting the shifting?
Yes. A bent derailleur hanger stops adjustments from working, so inspect it first. Once it is straight, small turns of the barrel adjuster often fix slow or sluggish shifts (Park Tool, 2026).
How do I start if cable tension may be the problem?
Park Tool sets rear derailleur cable tension with the chain on the smallest cog, so shift there first. Remove the slack at the anchor bolt, tighten the pinch bolt while holding the cable taut, and then fine-tune with the barrel adjuster (Park Tool, Rear Derailleur Adjustment, 2026).